
What we learnt in the Beginners Sewing 1 class

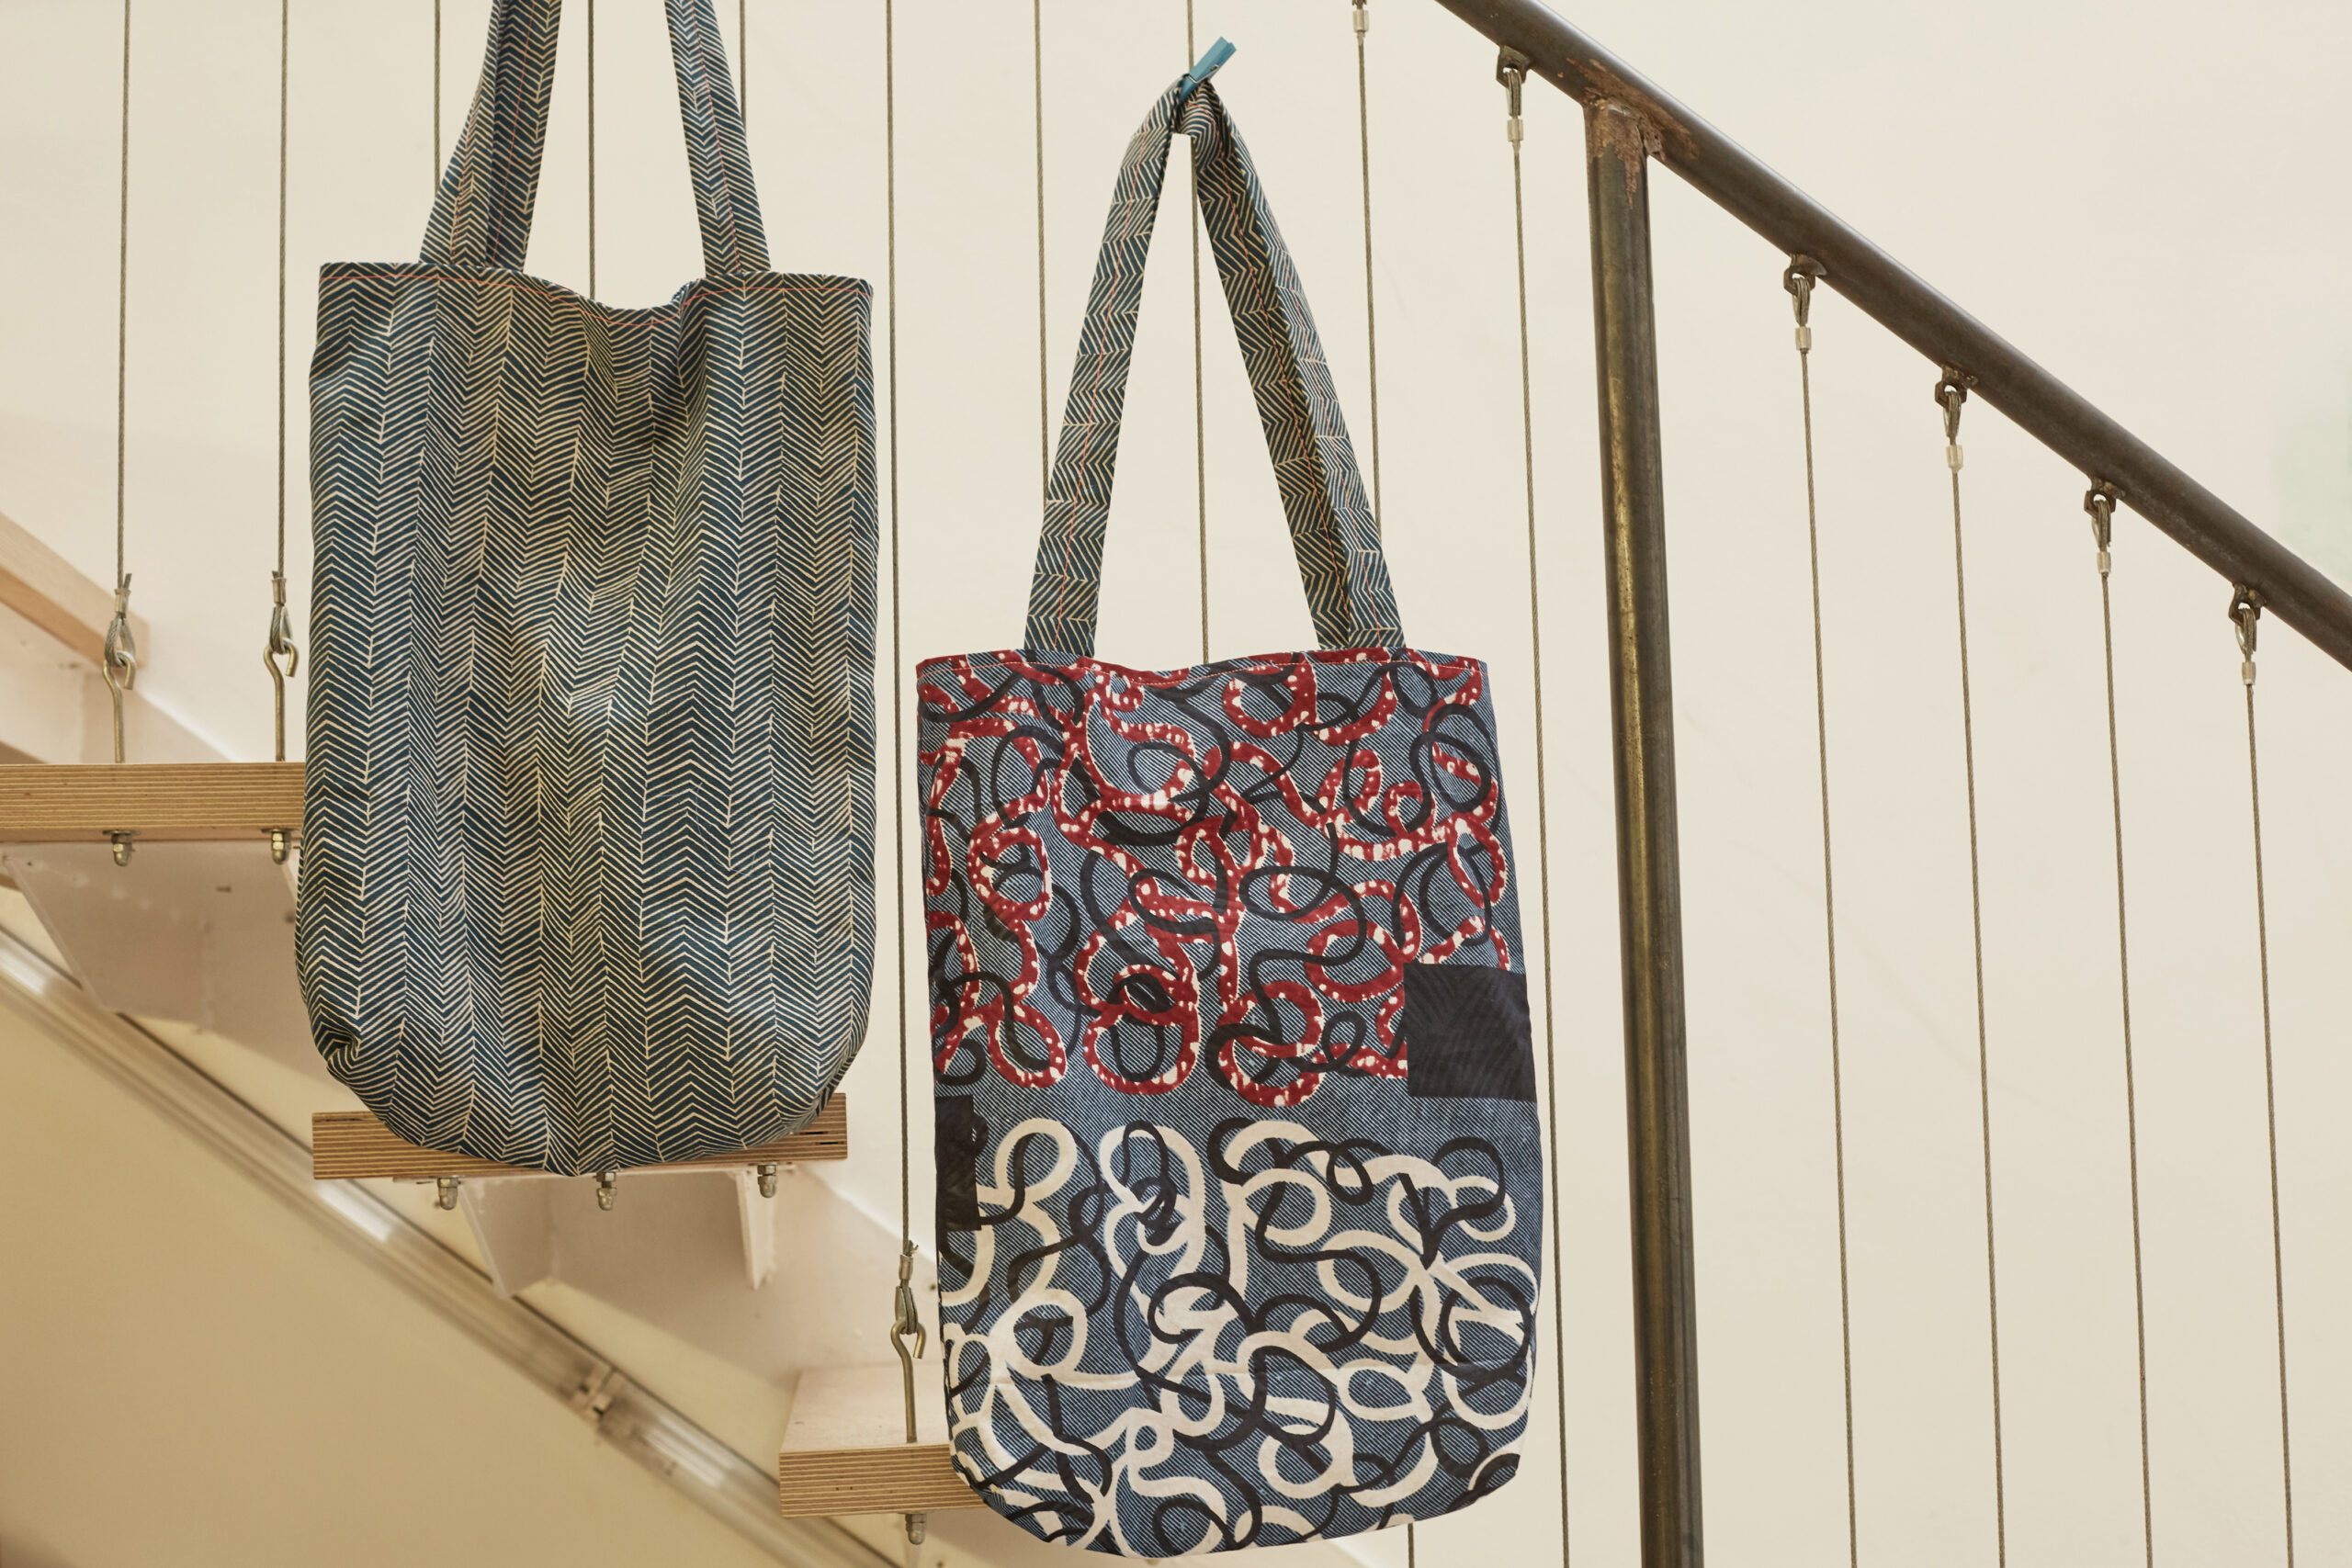
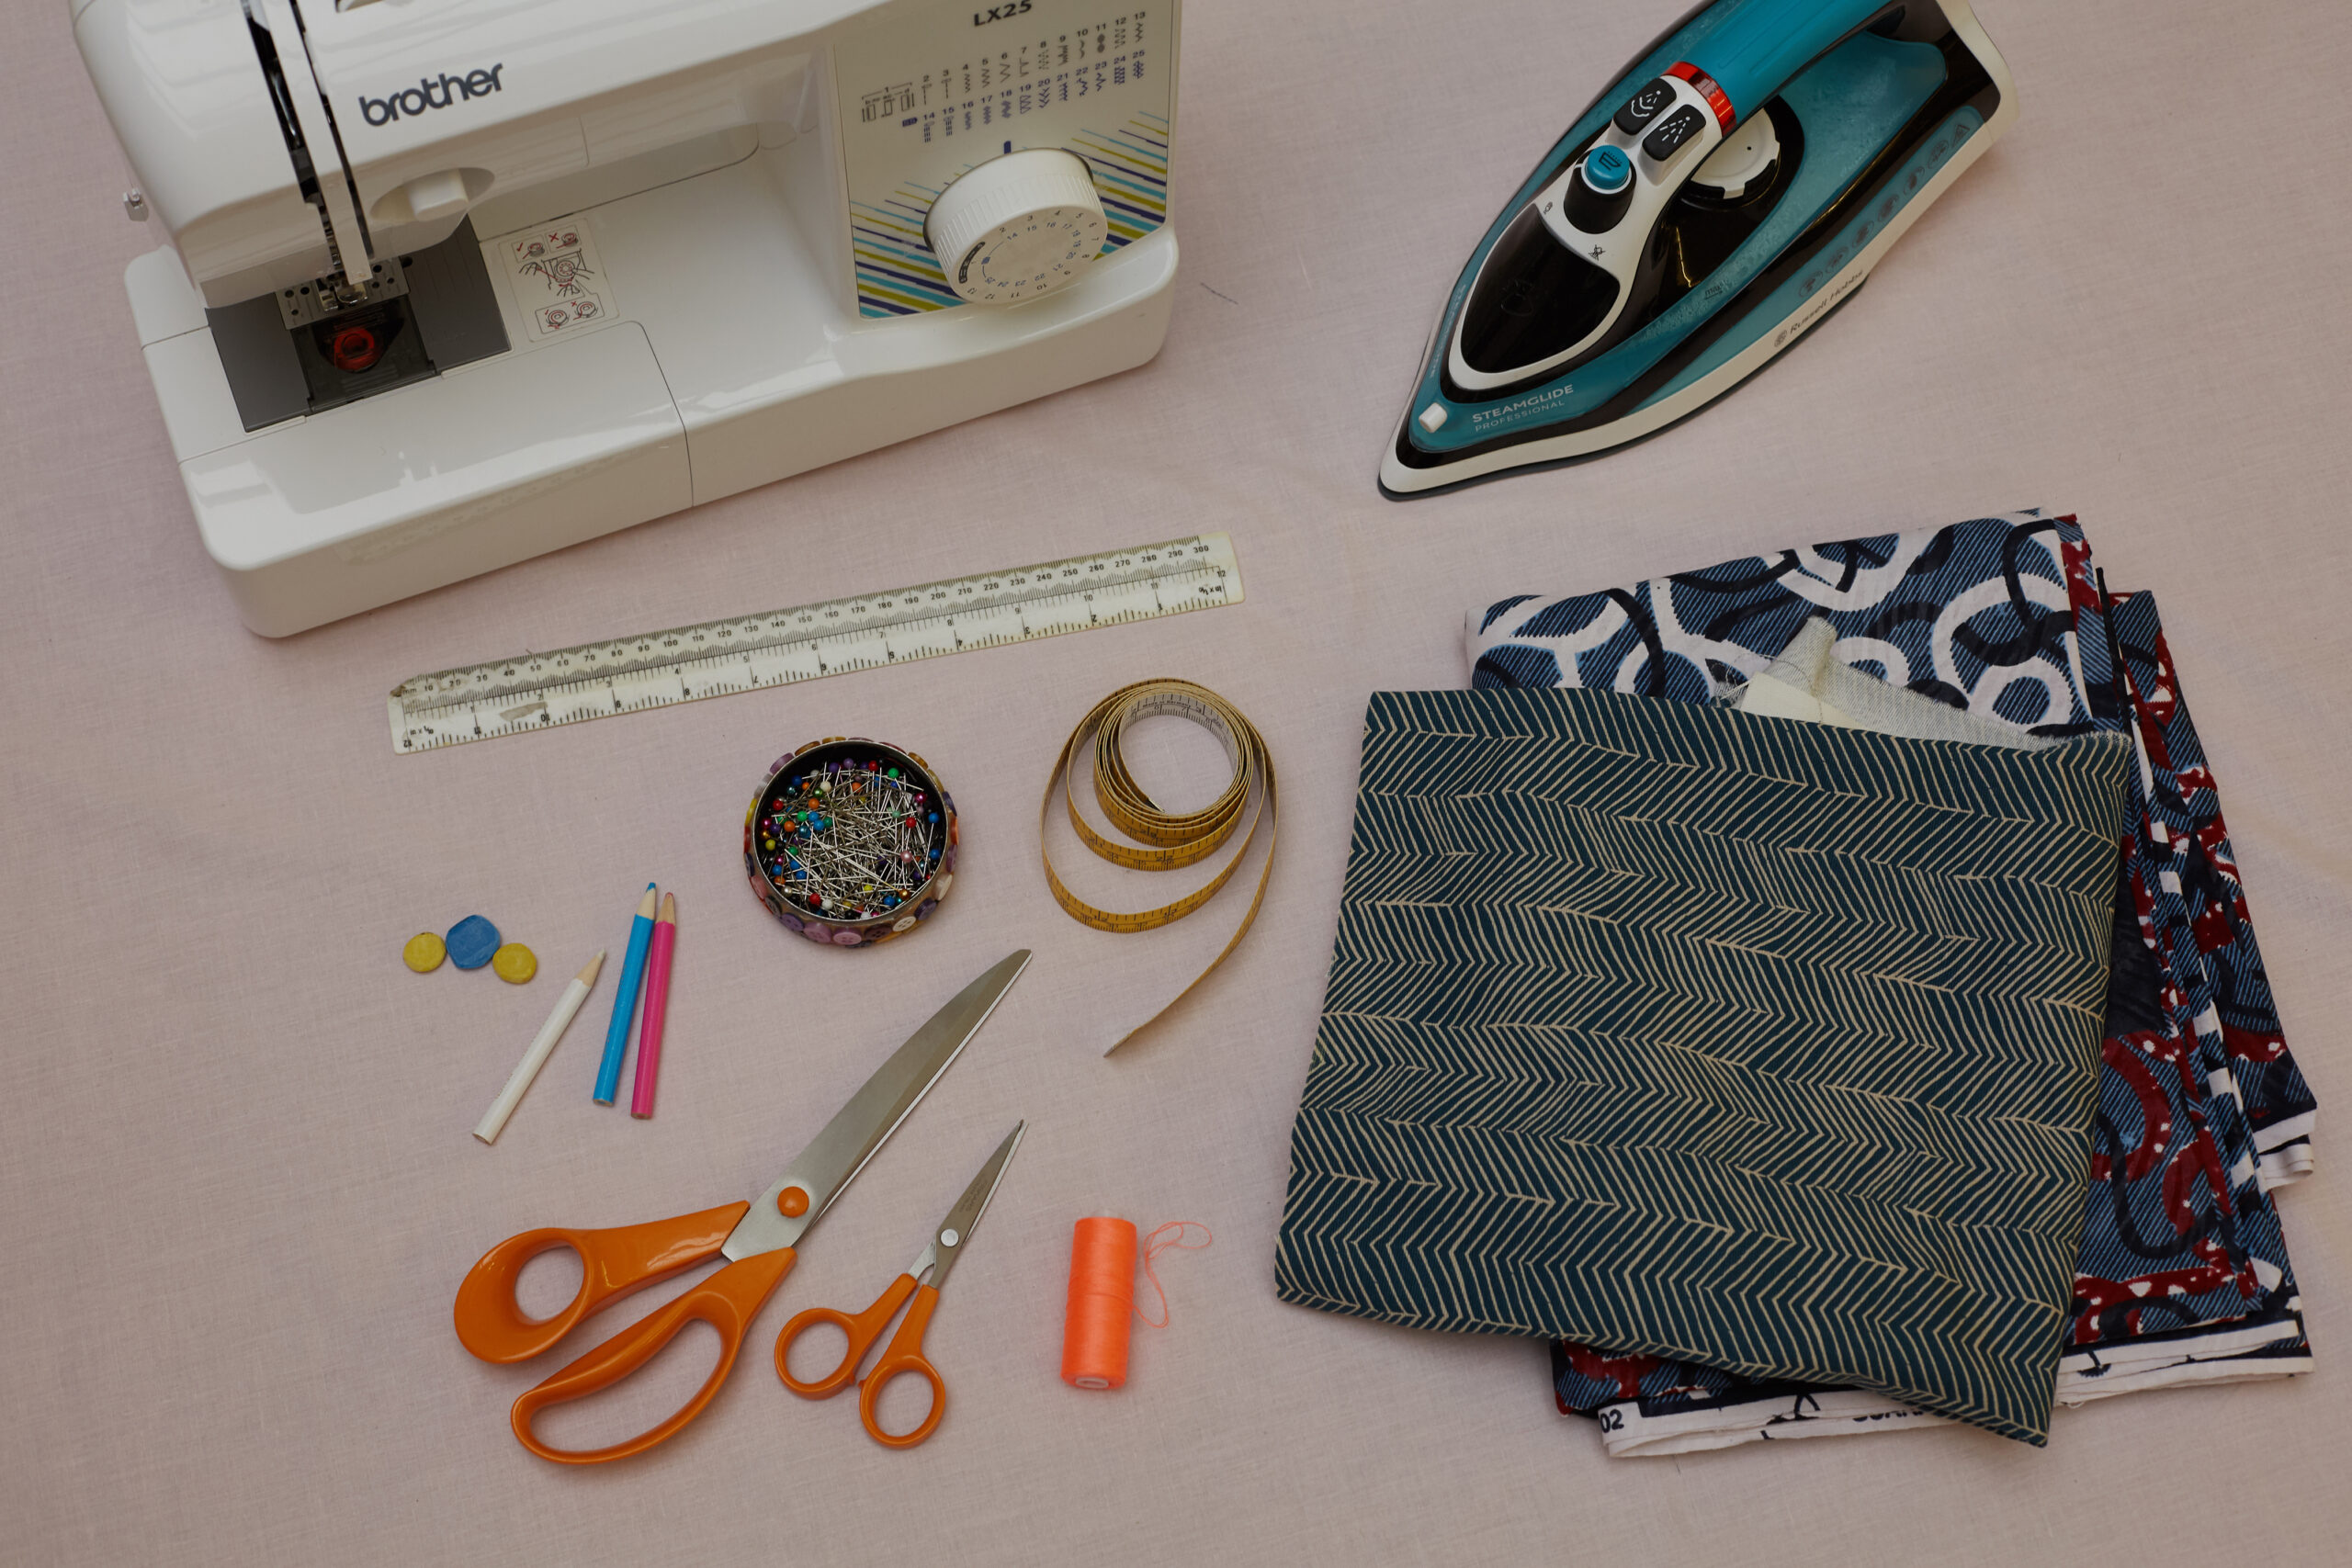
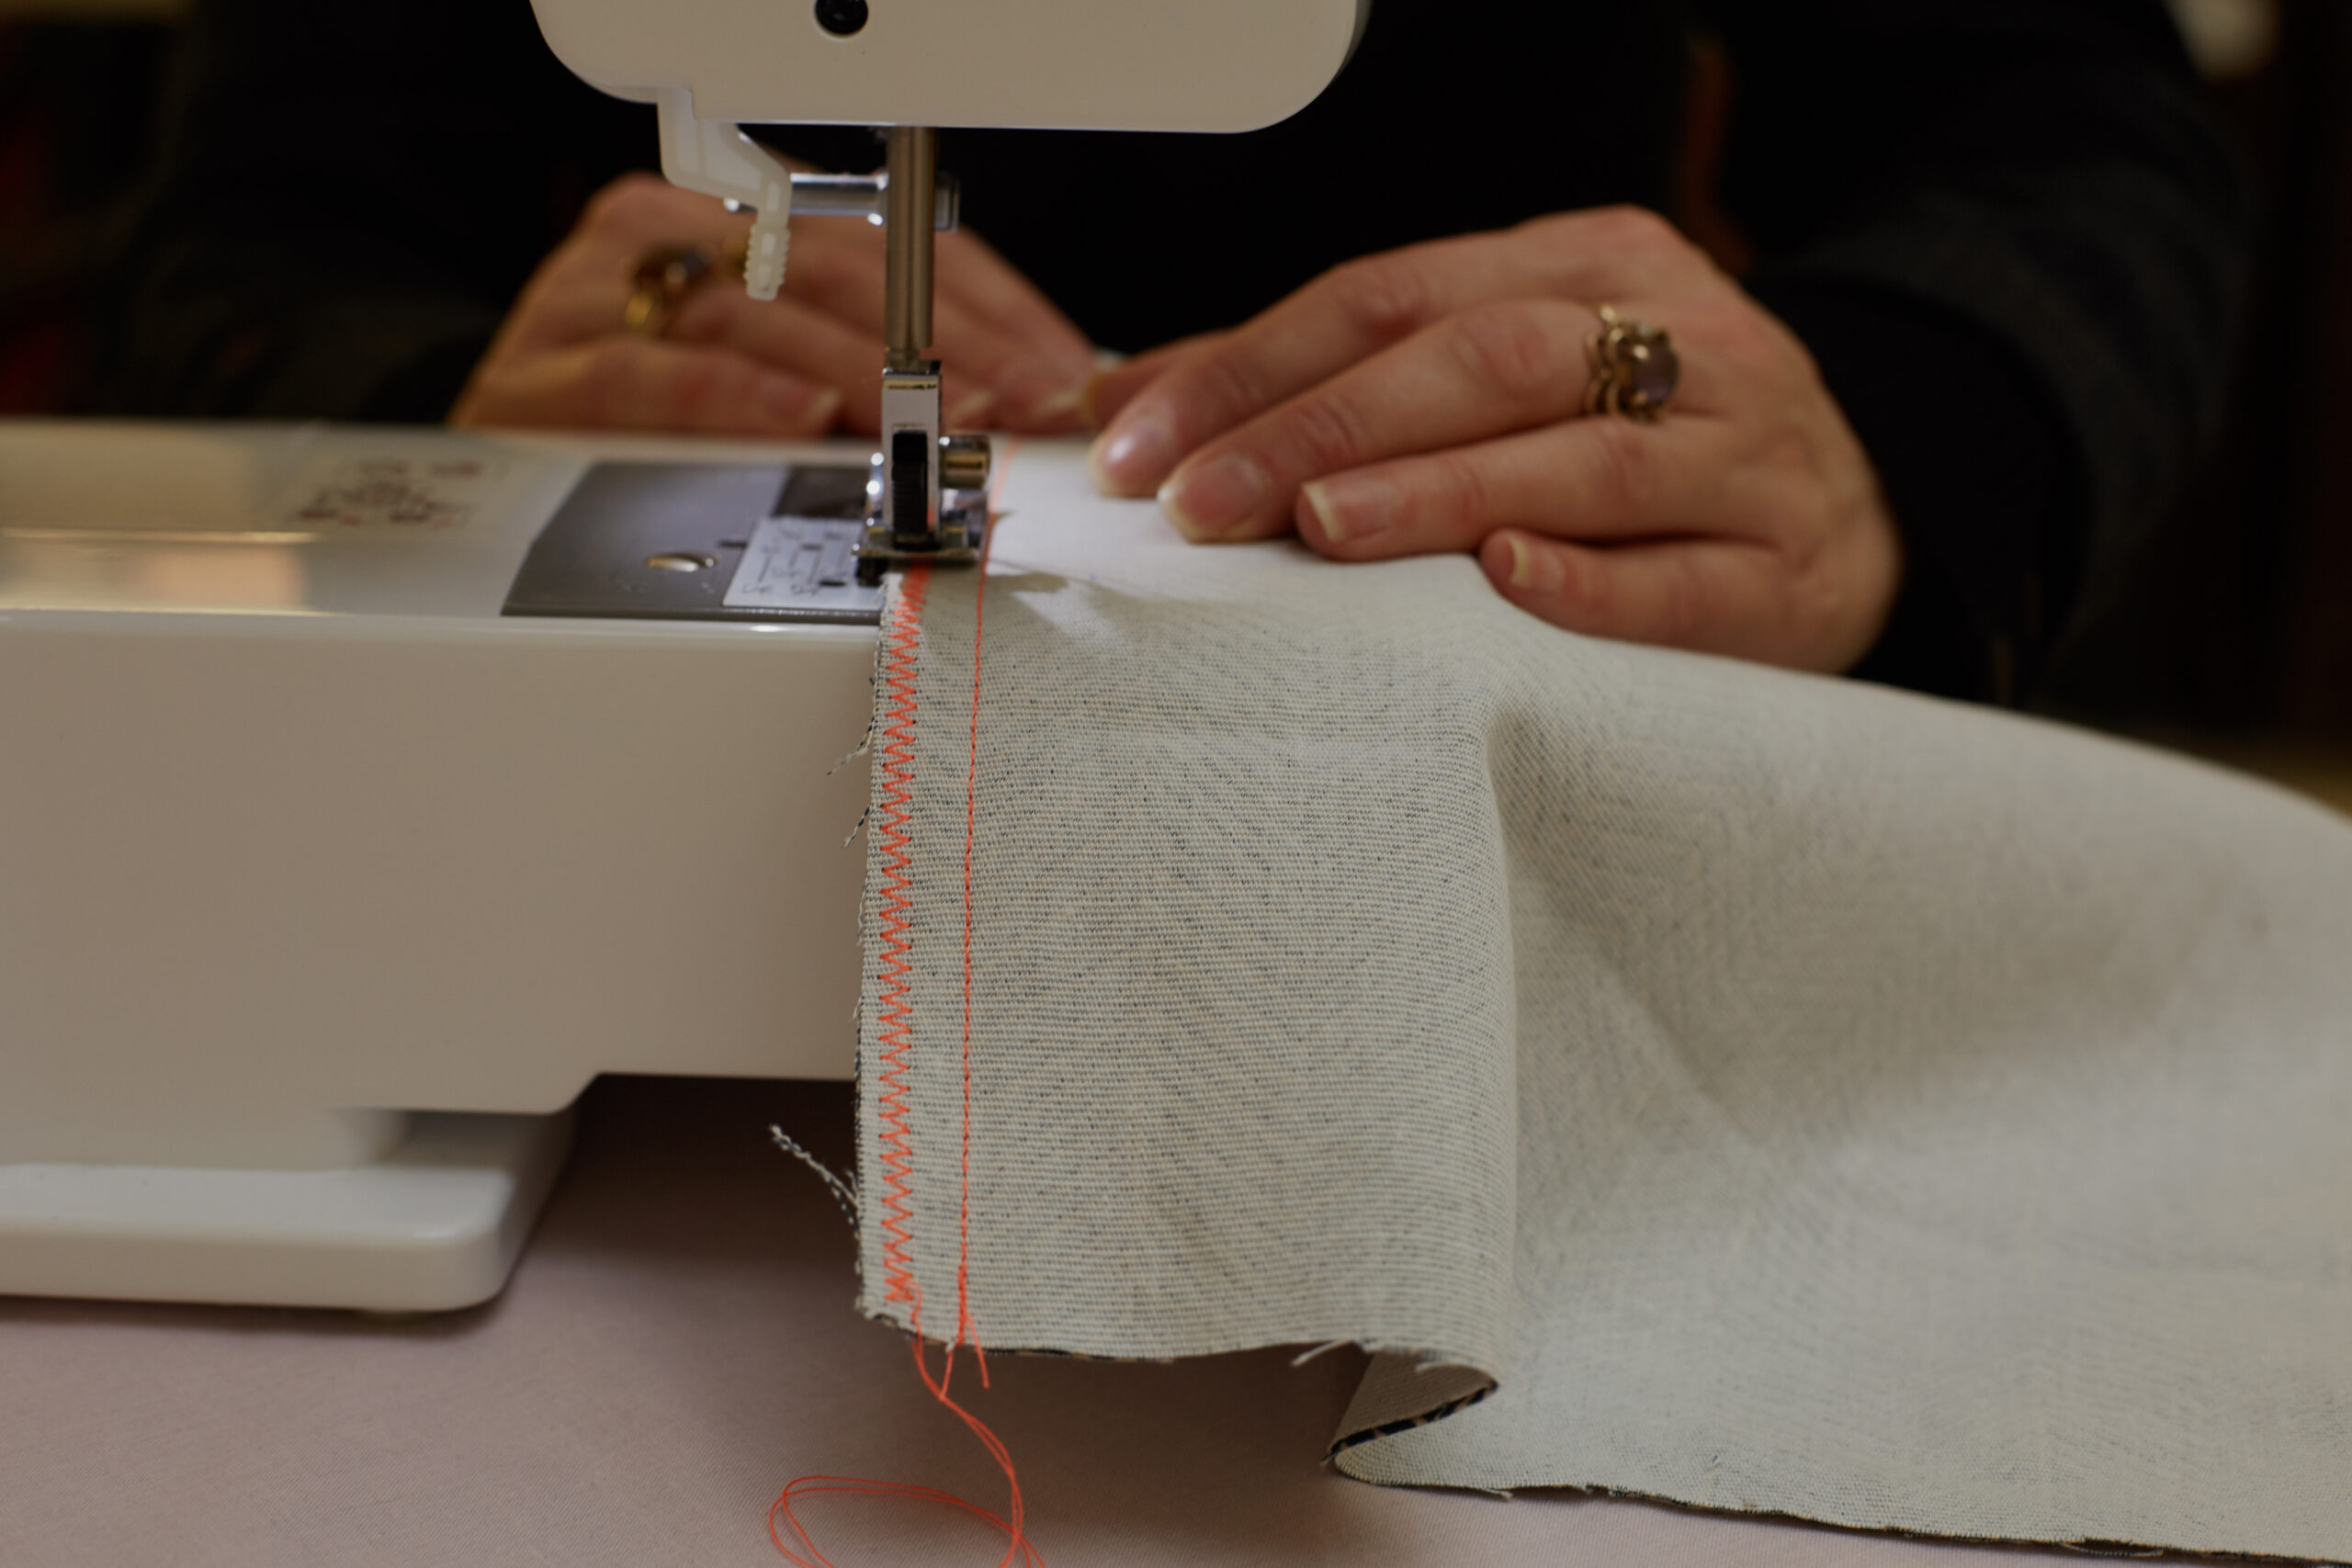
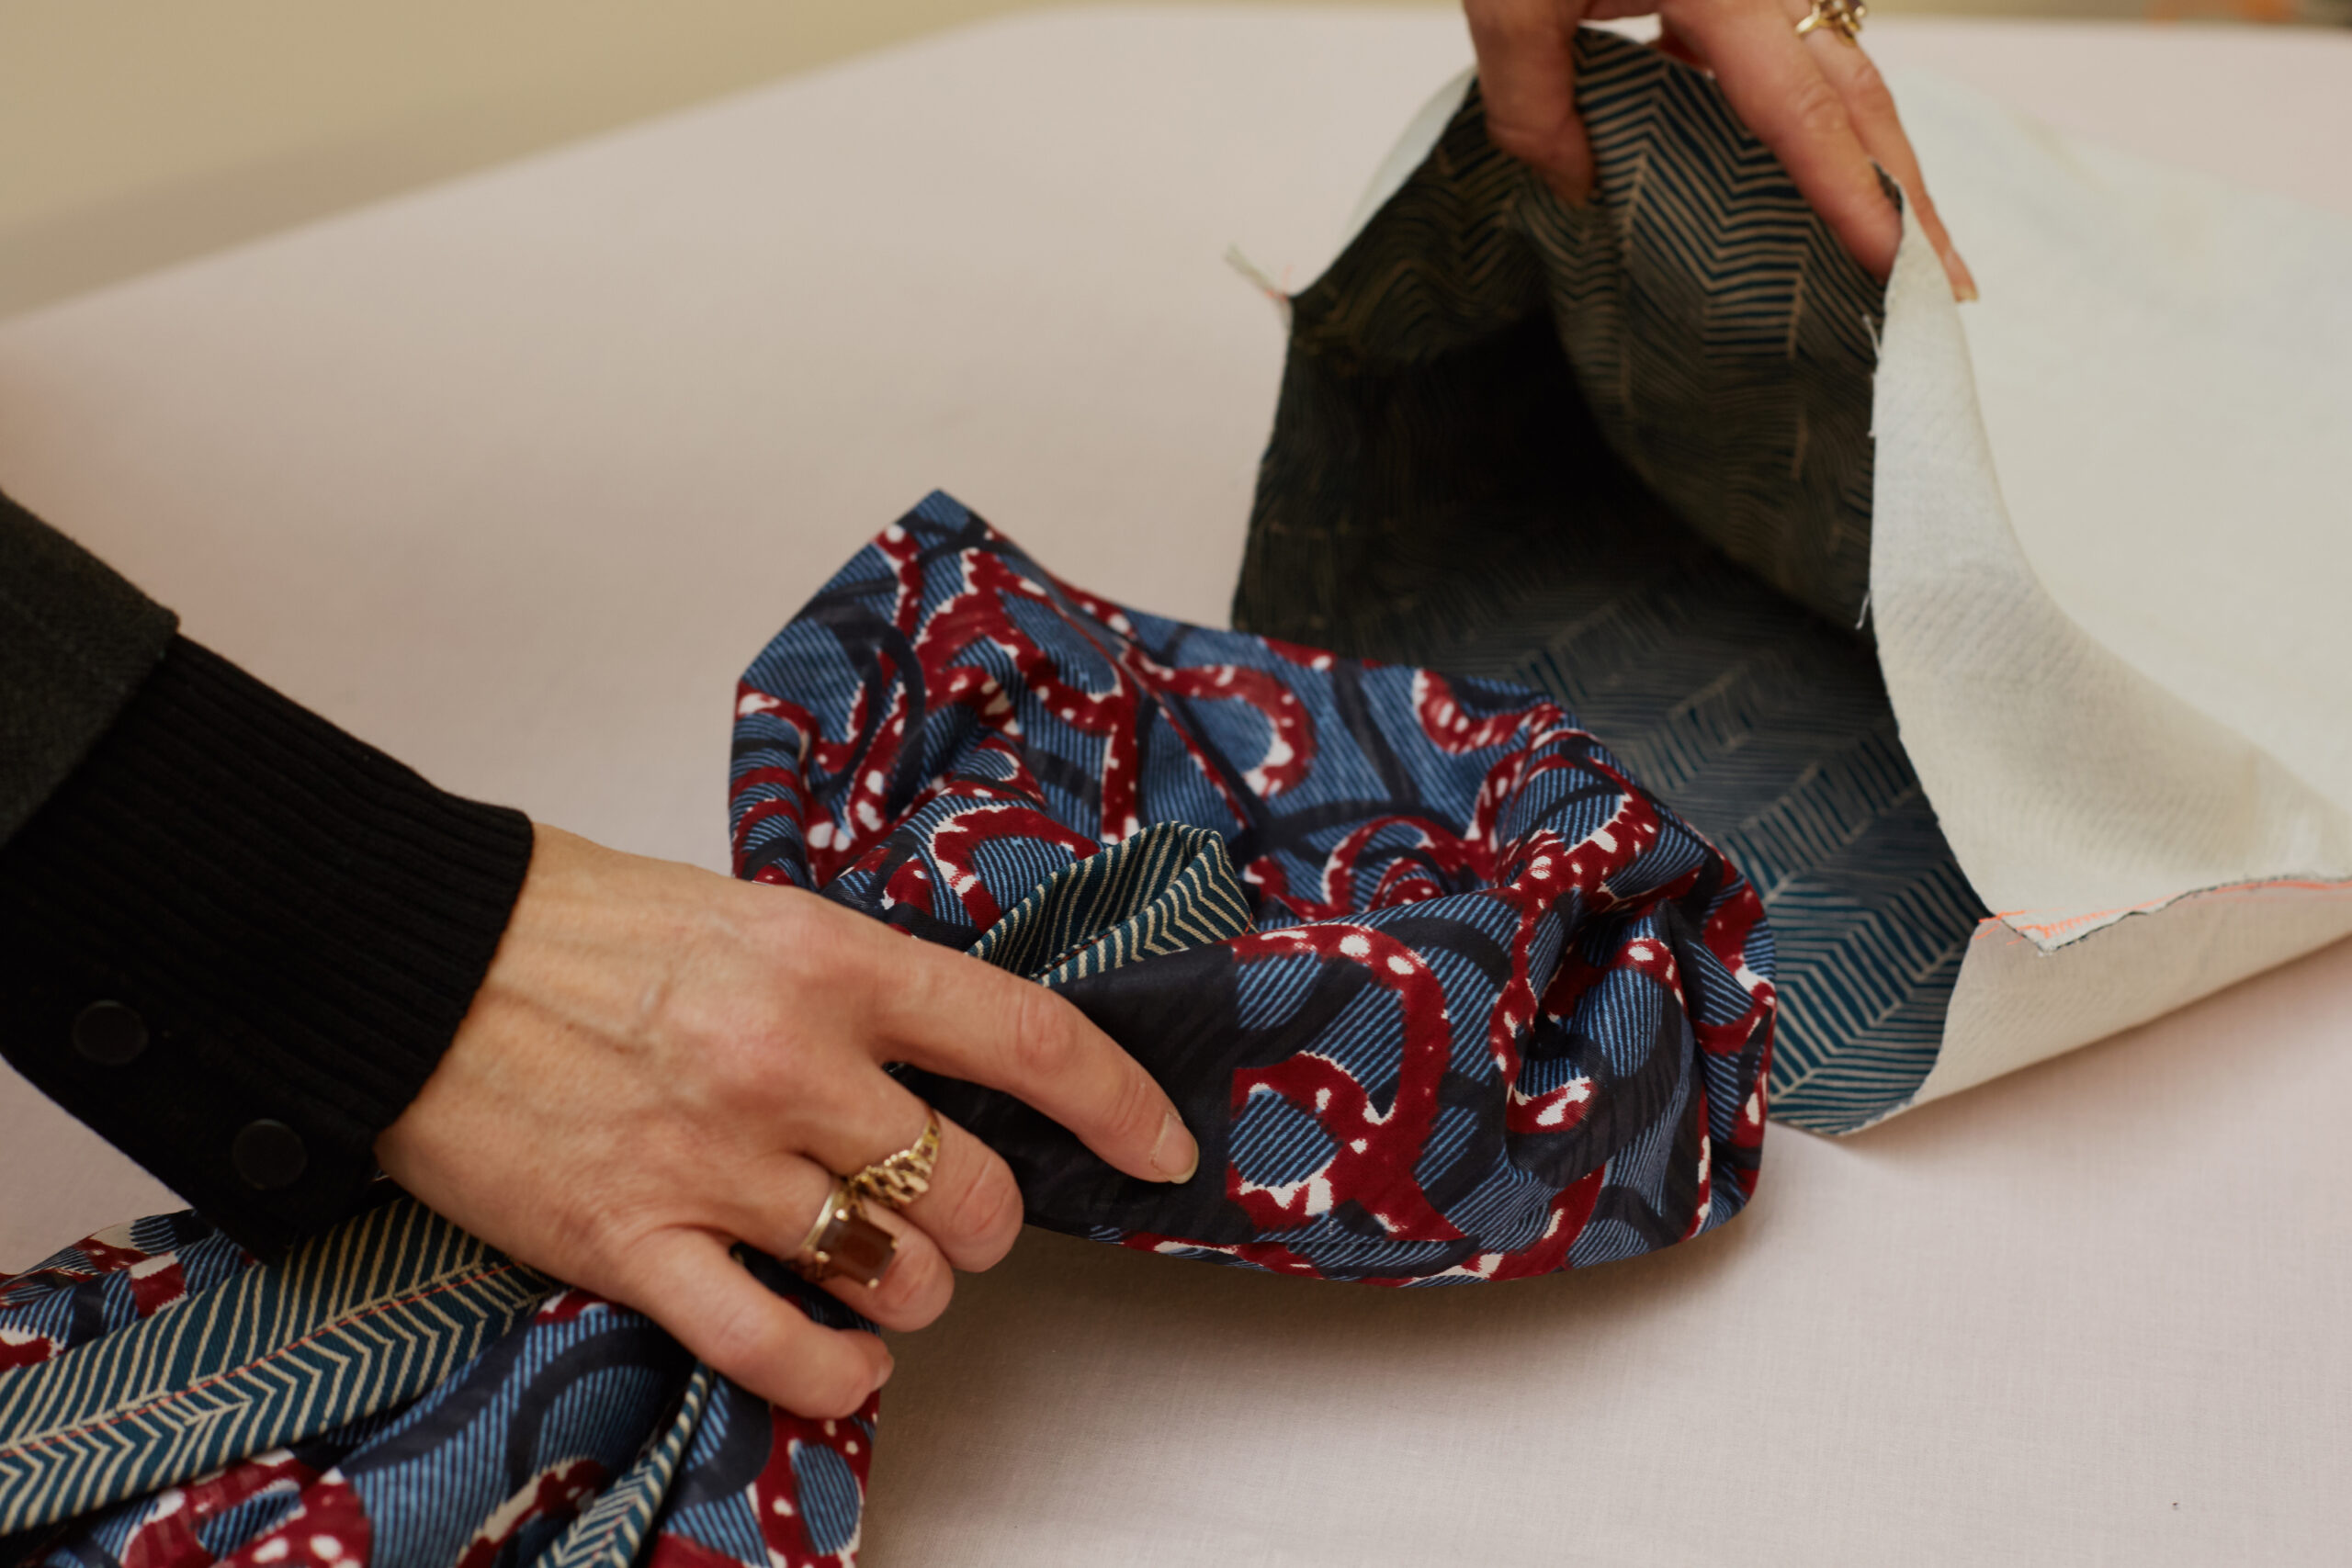
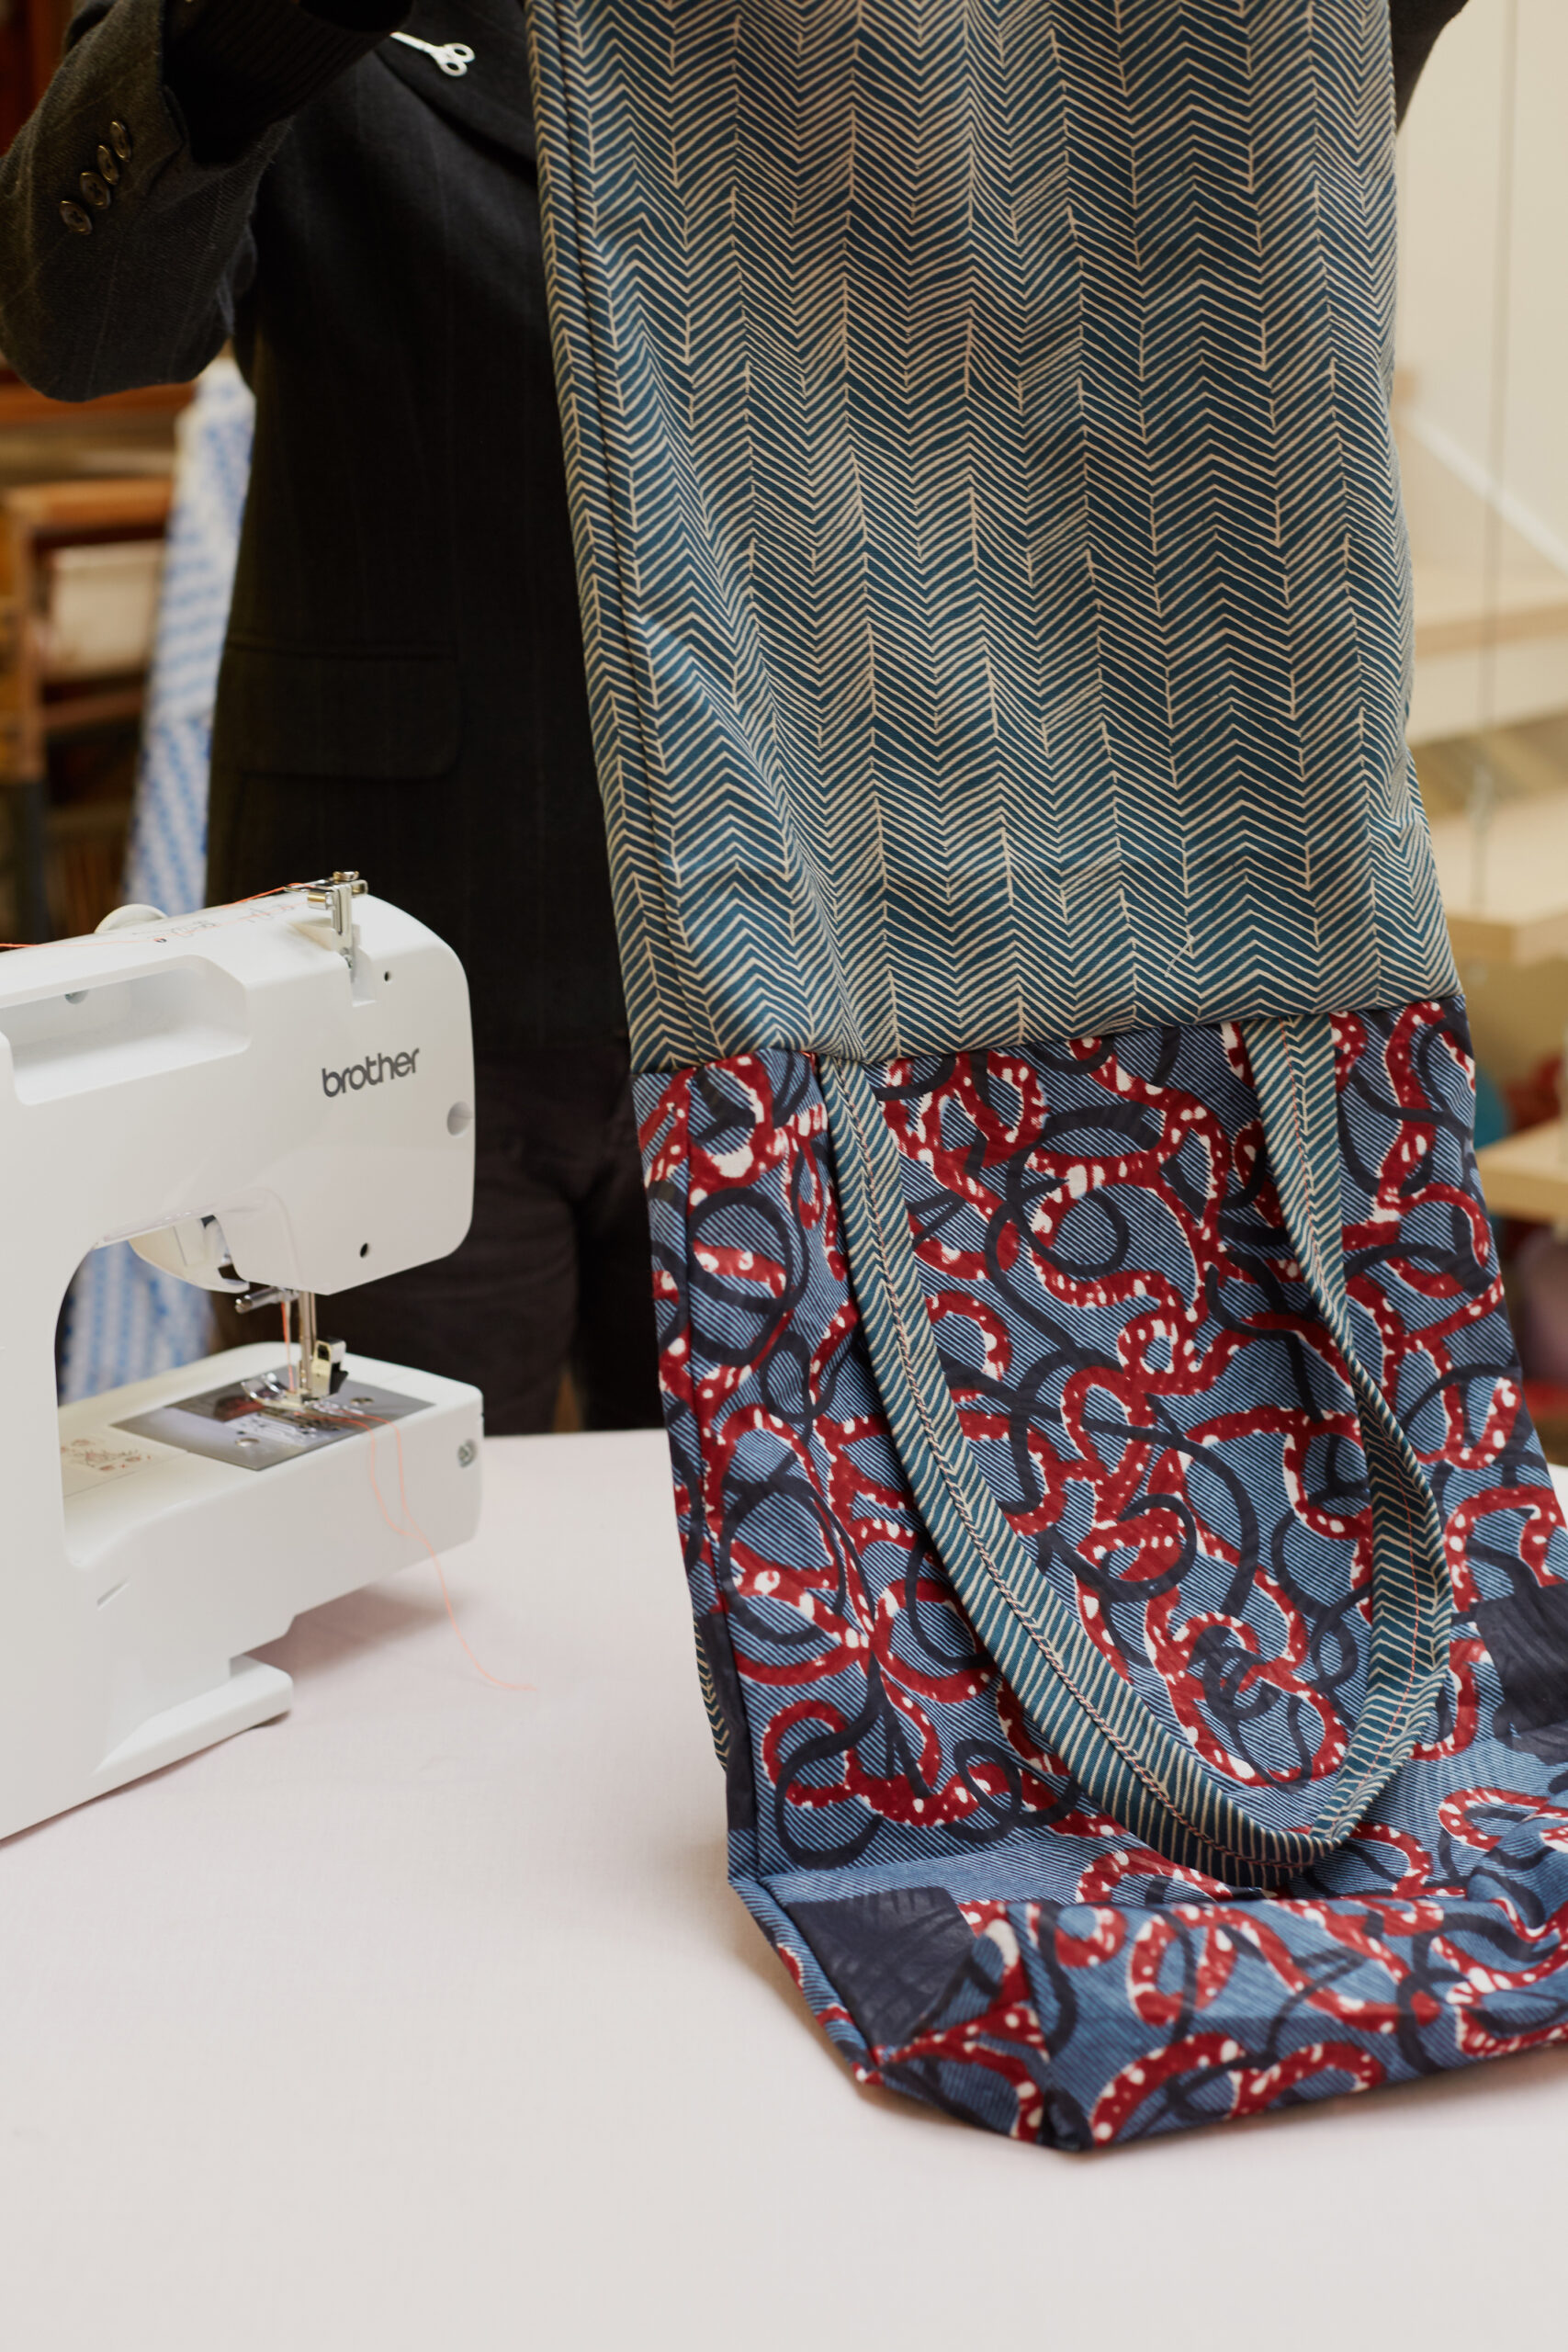
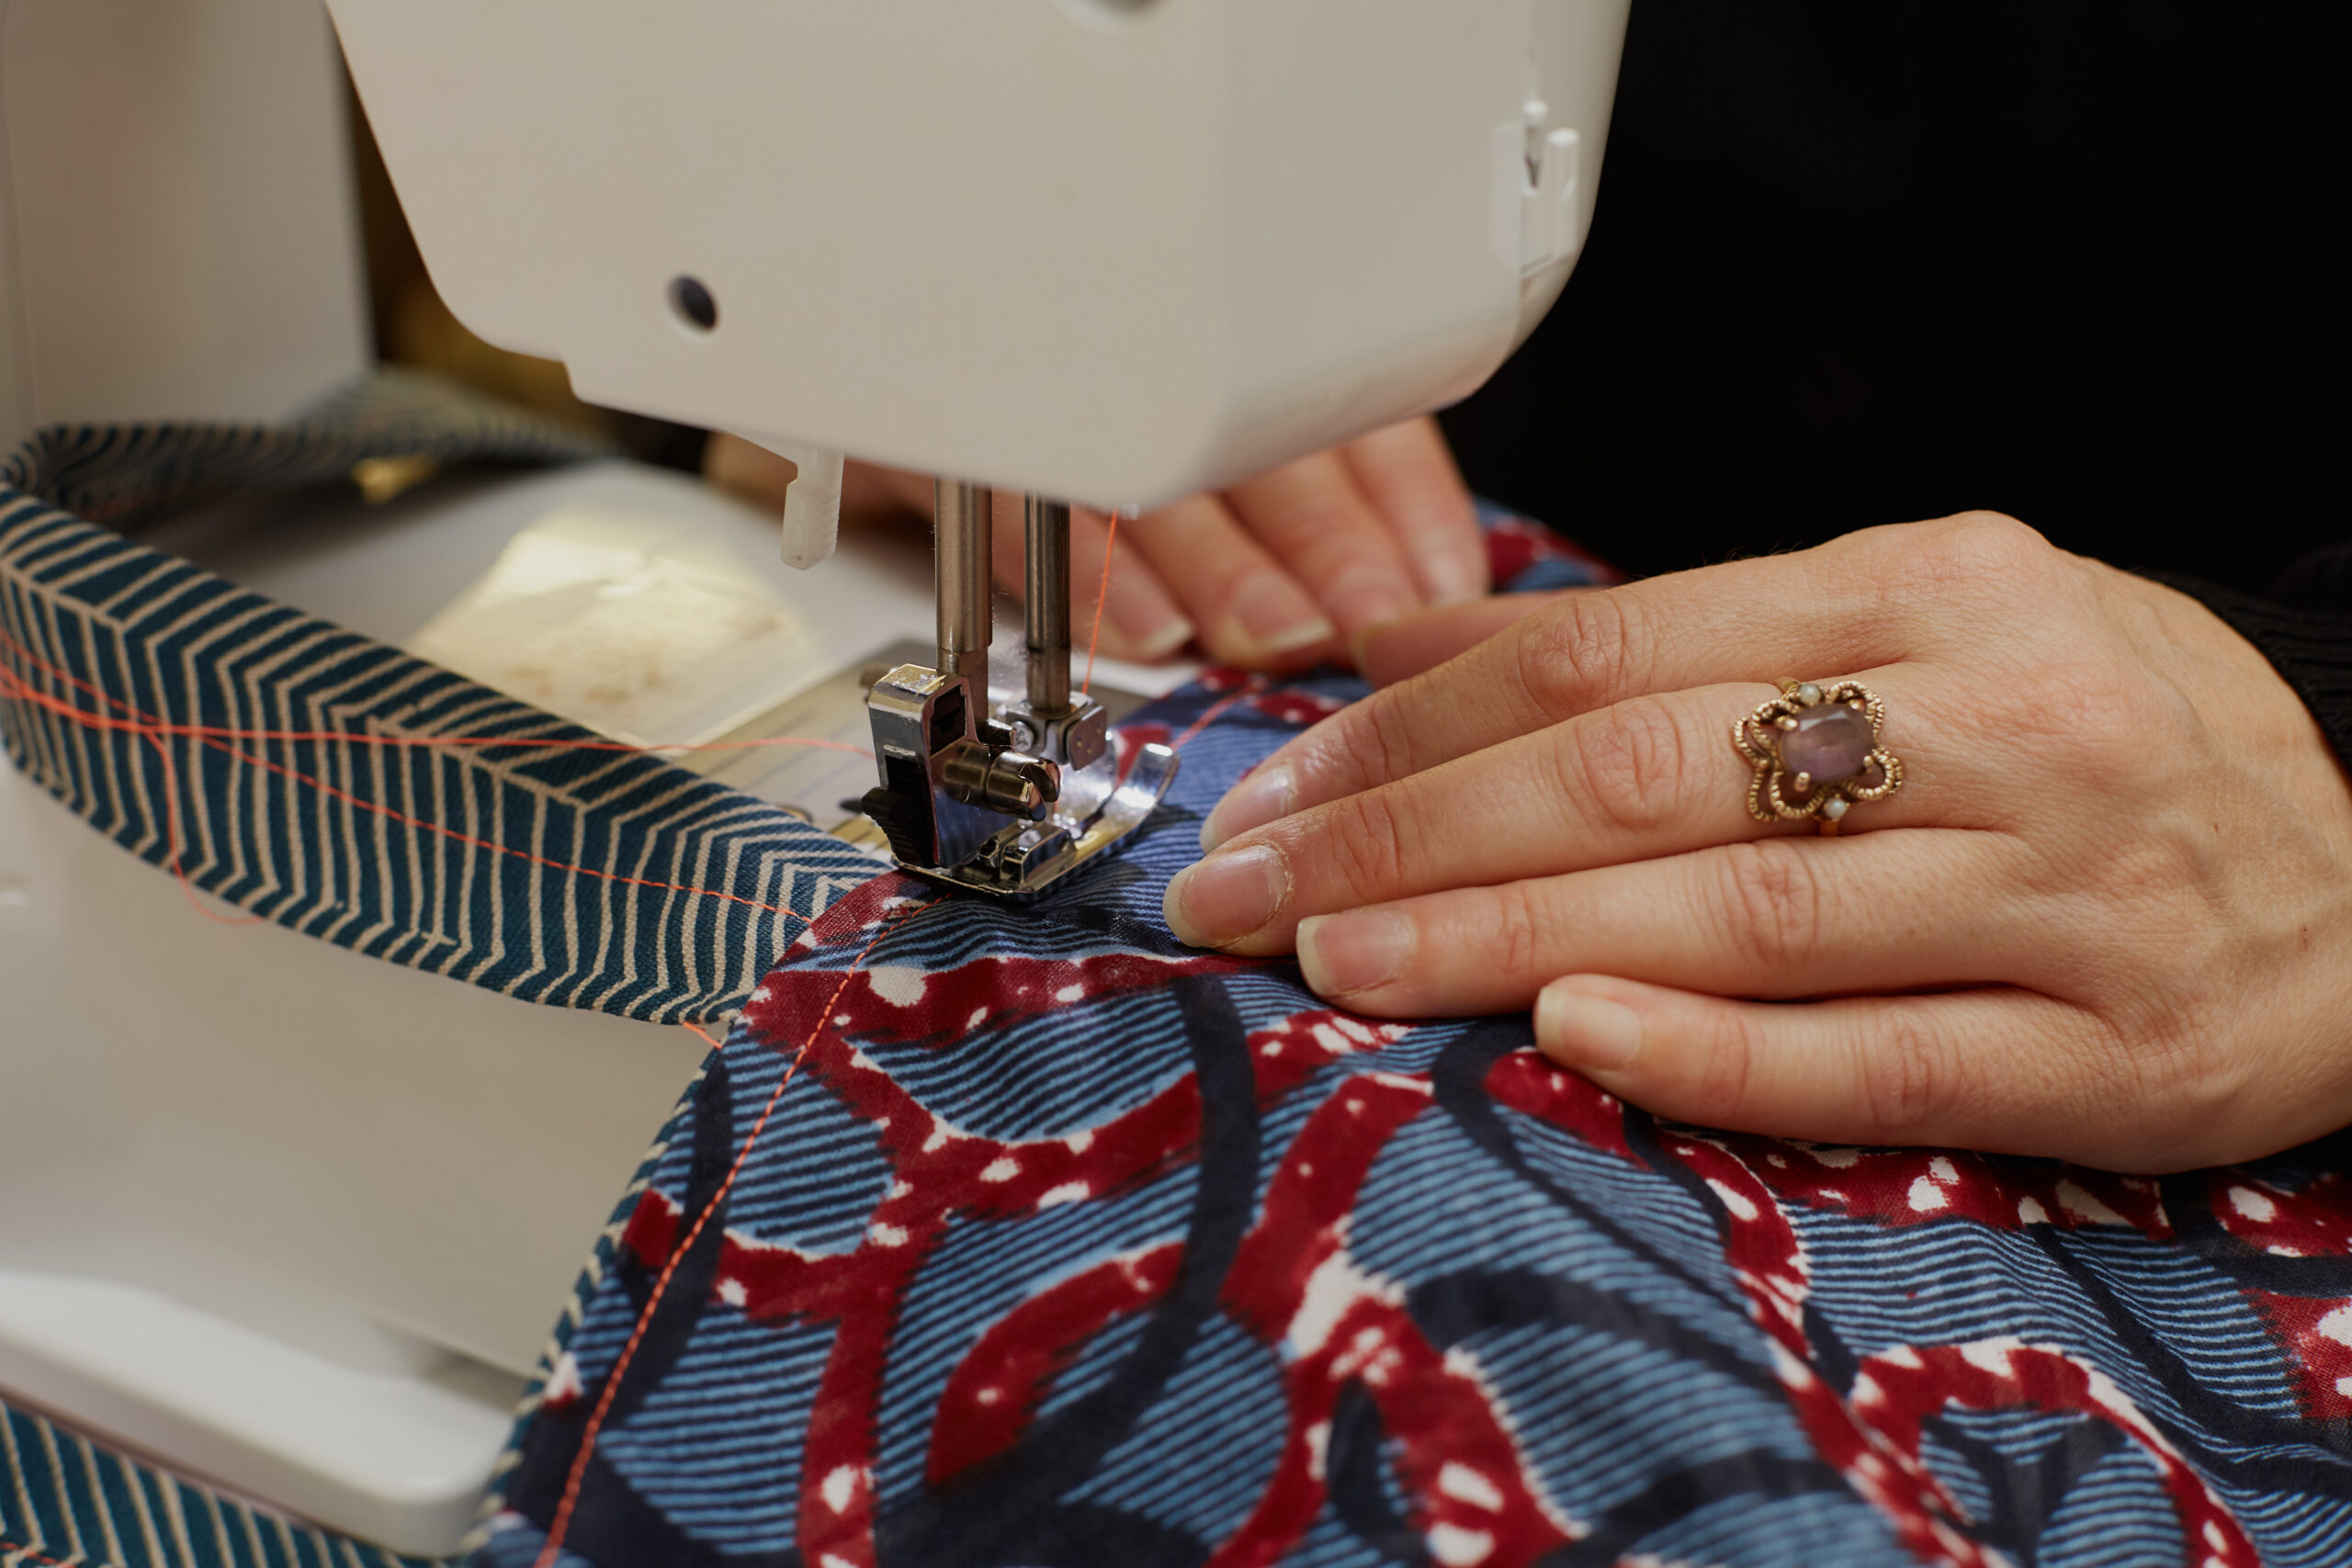
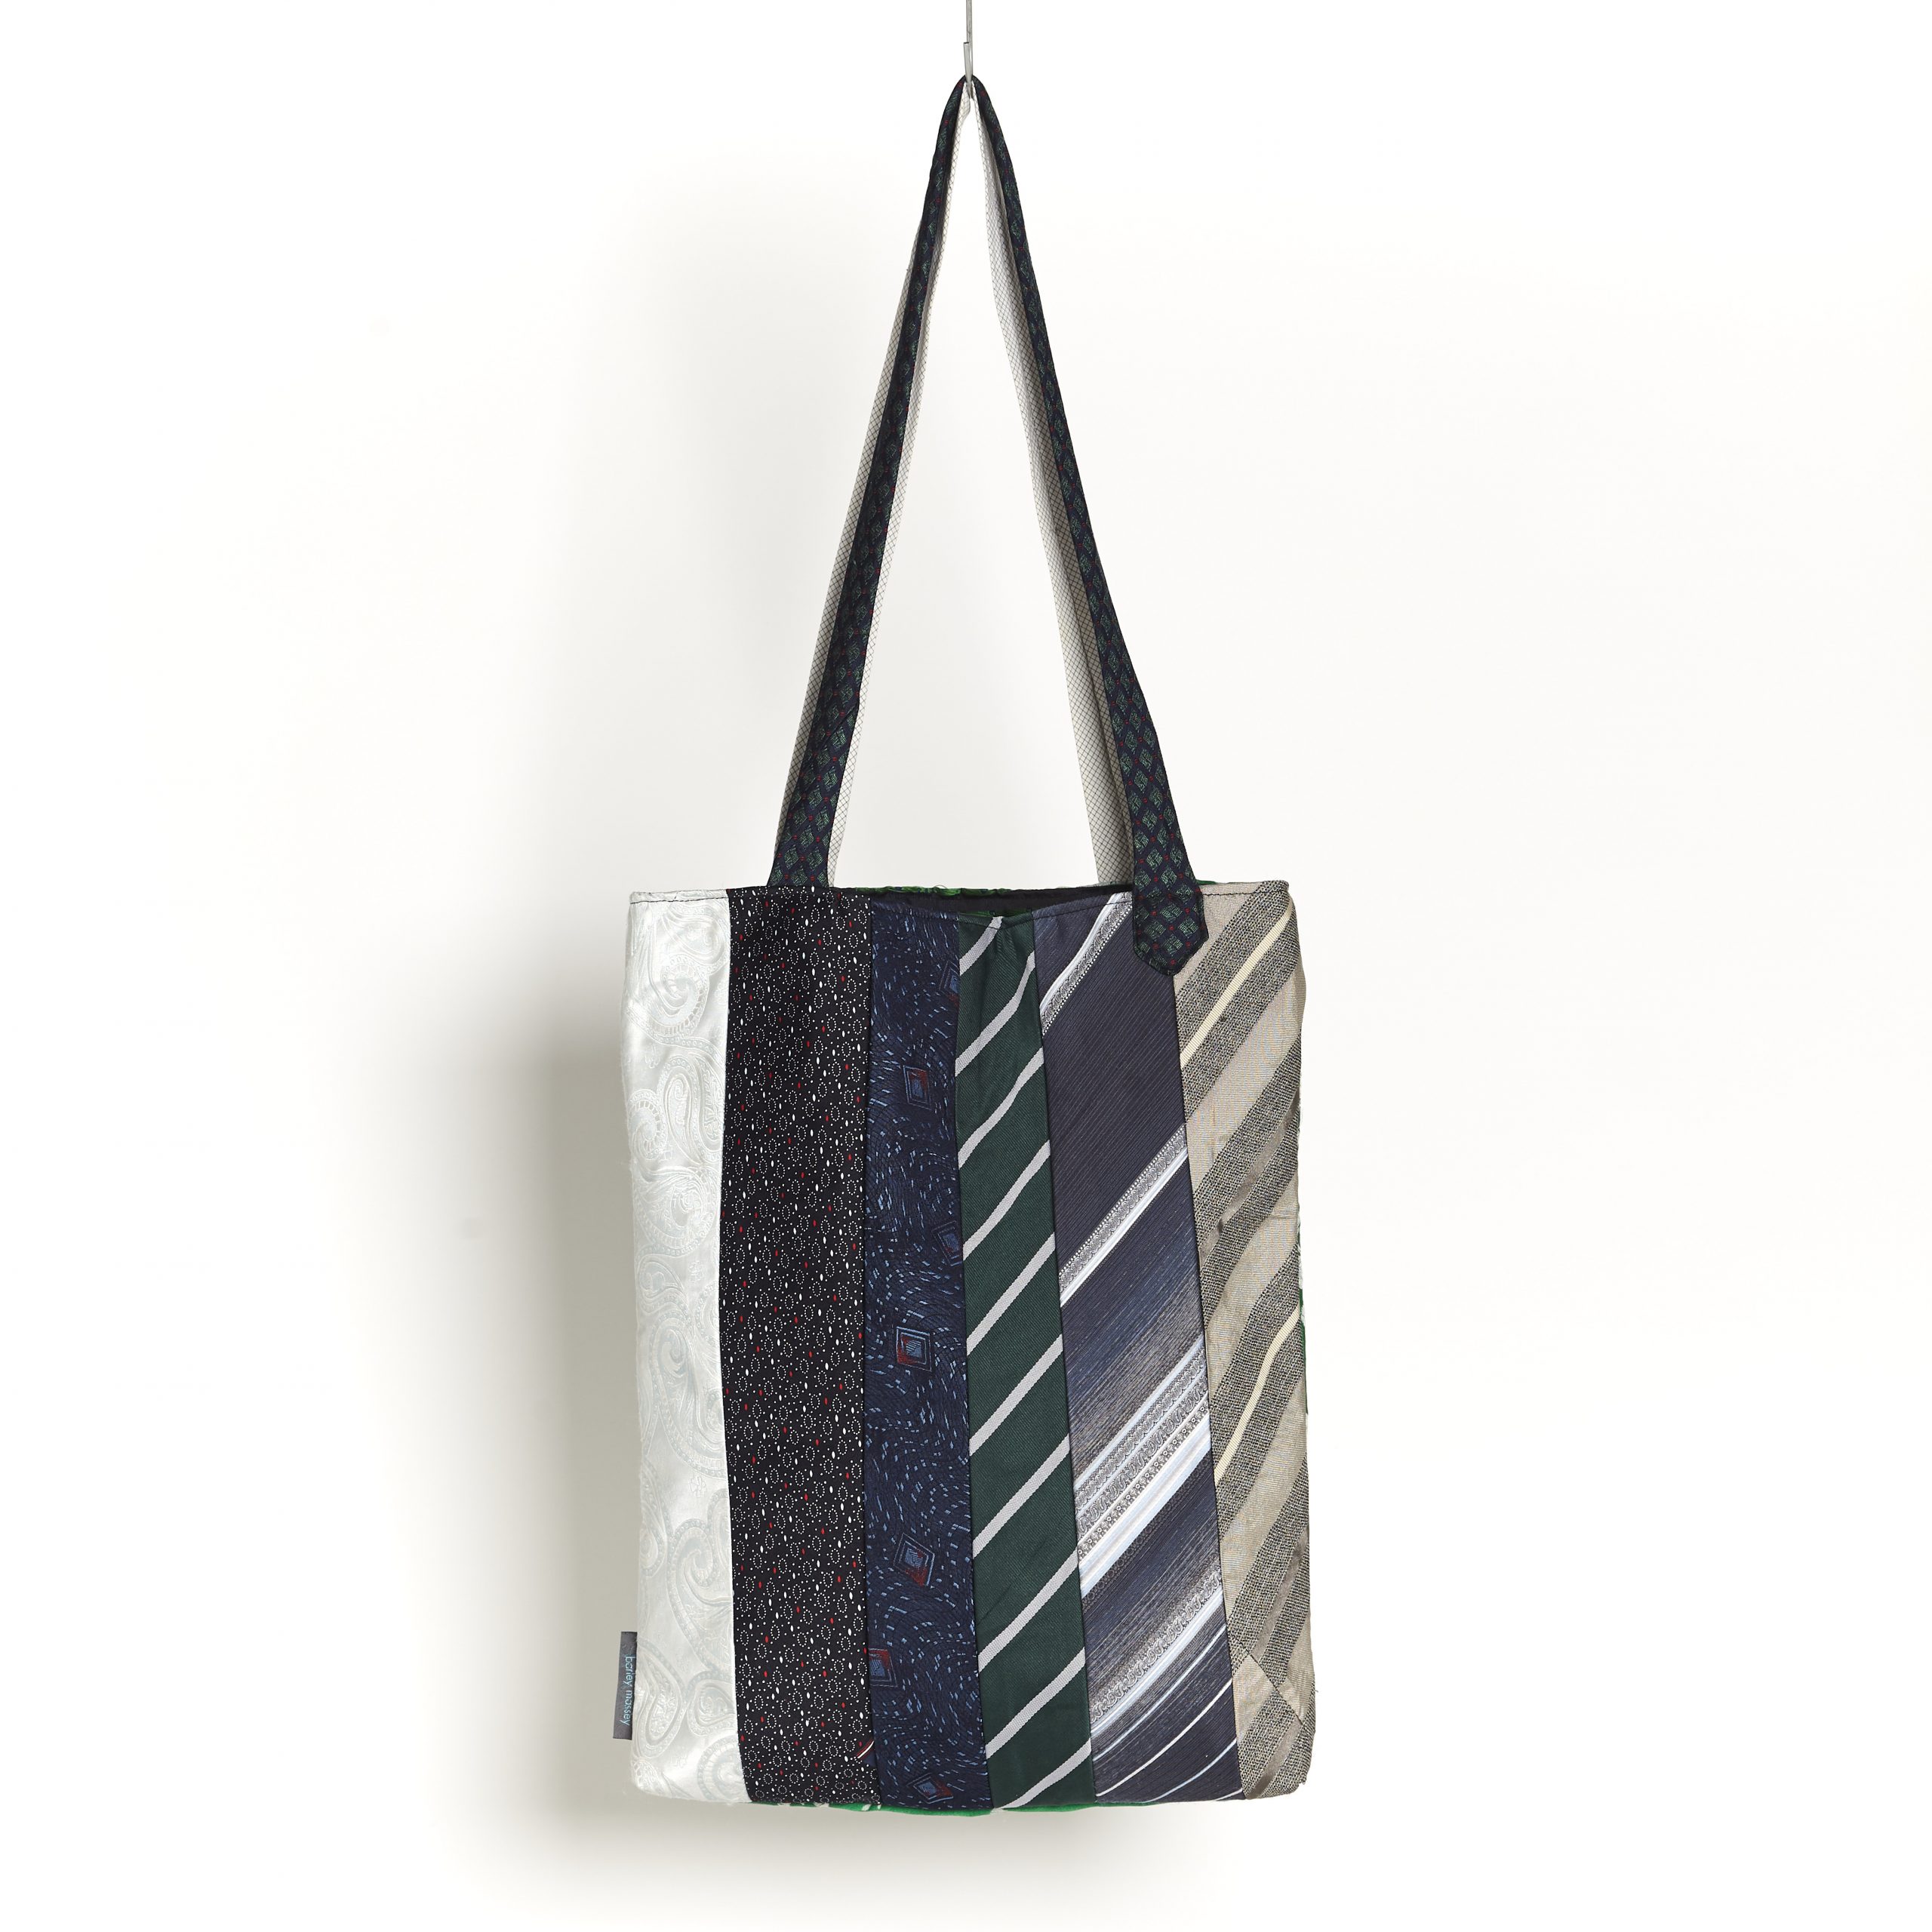
How to sew a handy reversible tote bag. Here’s a little reminder on how to thread up a sewing machine. This project also includes:

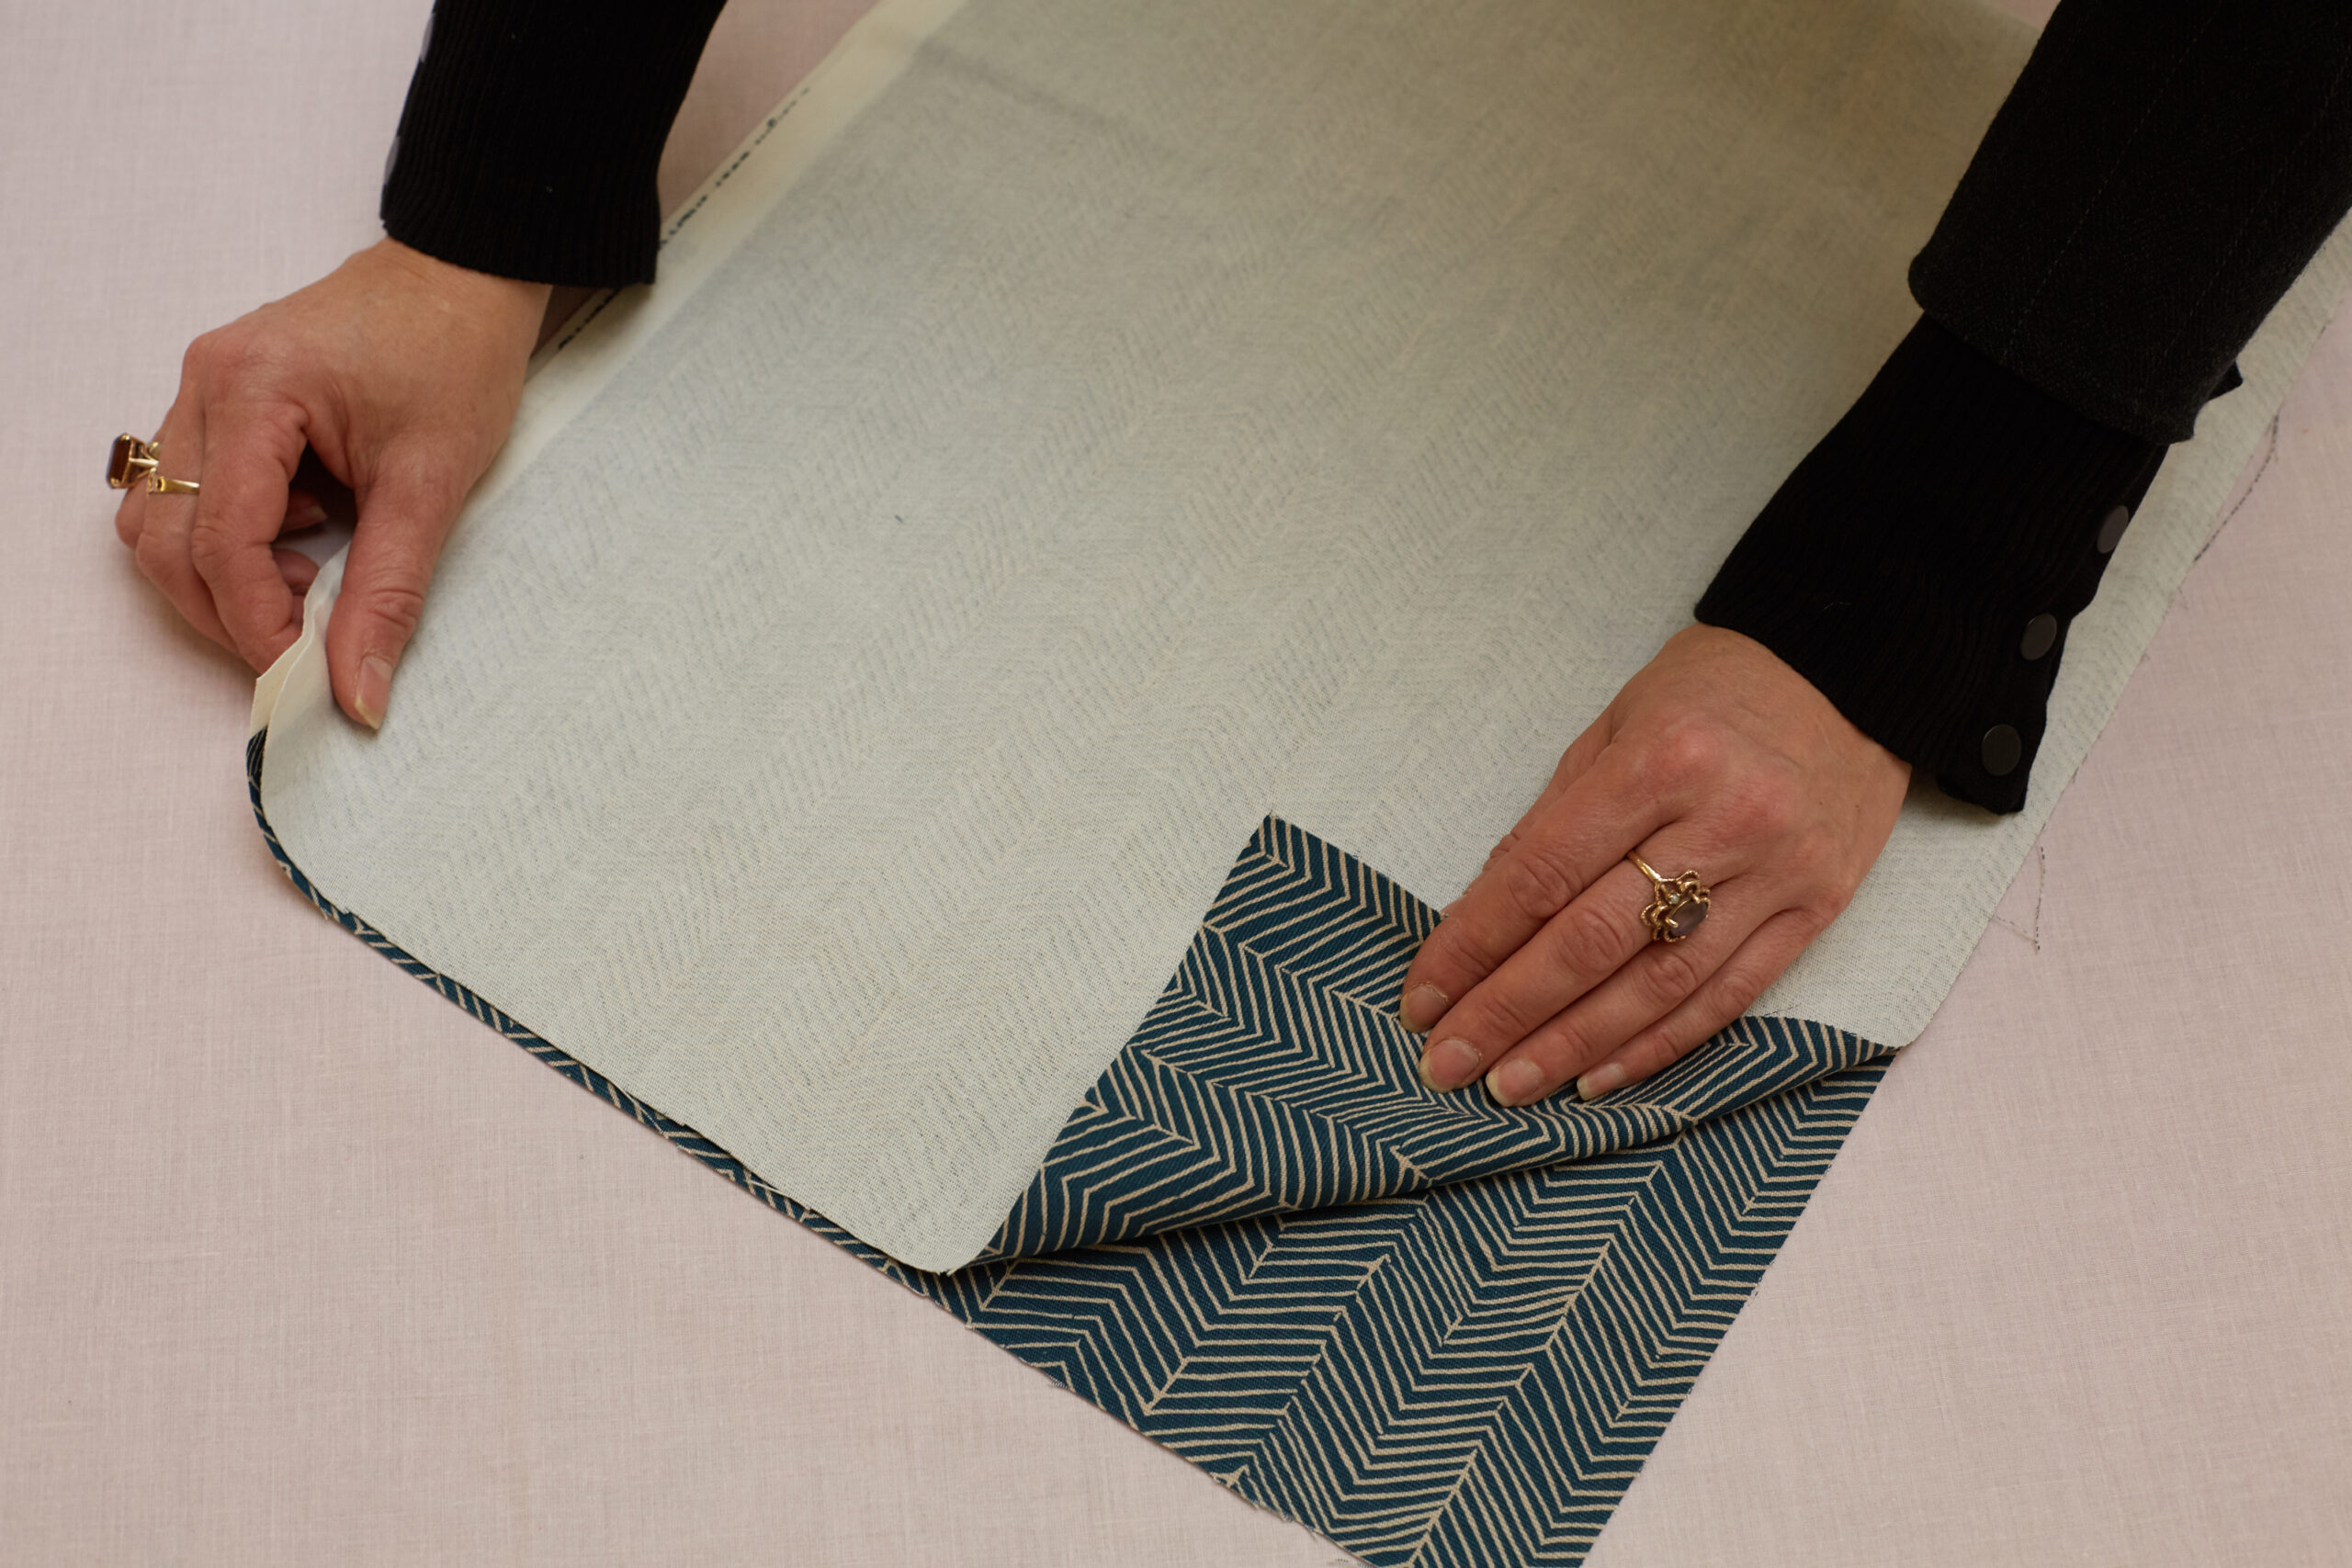
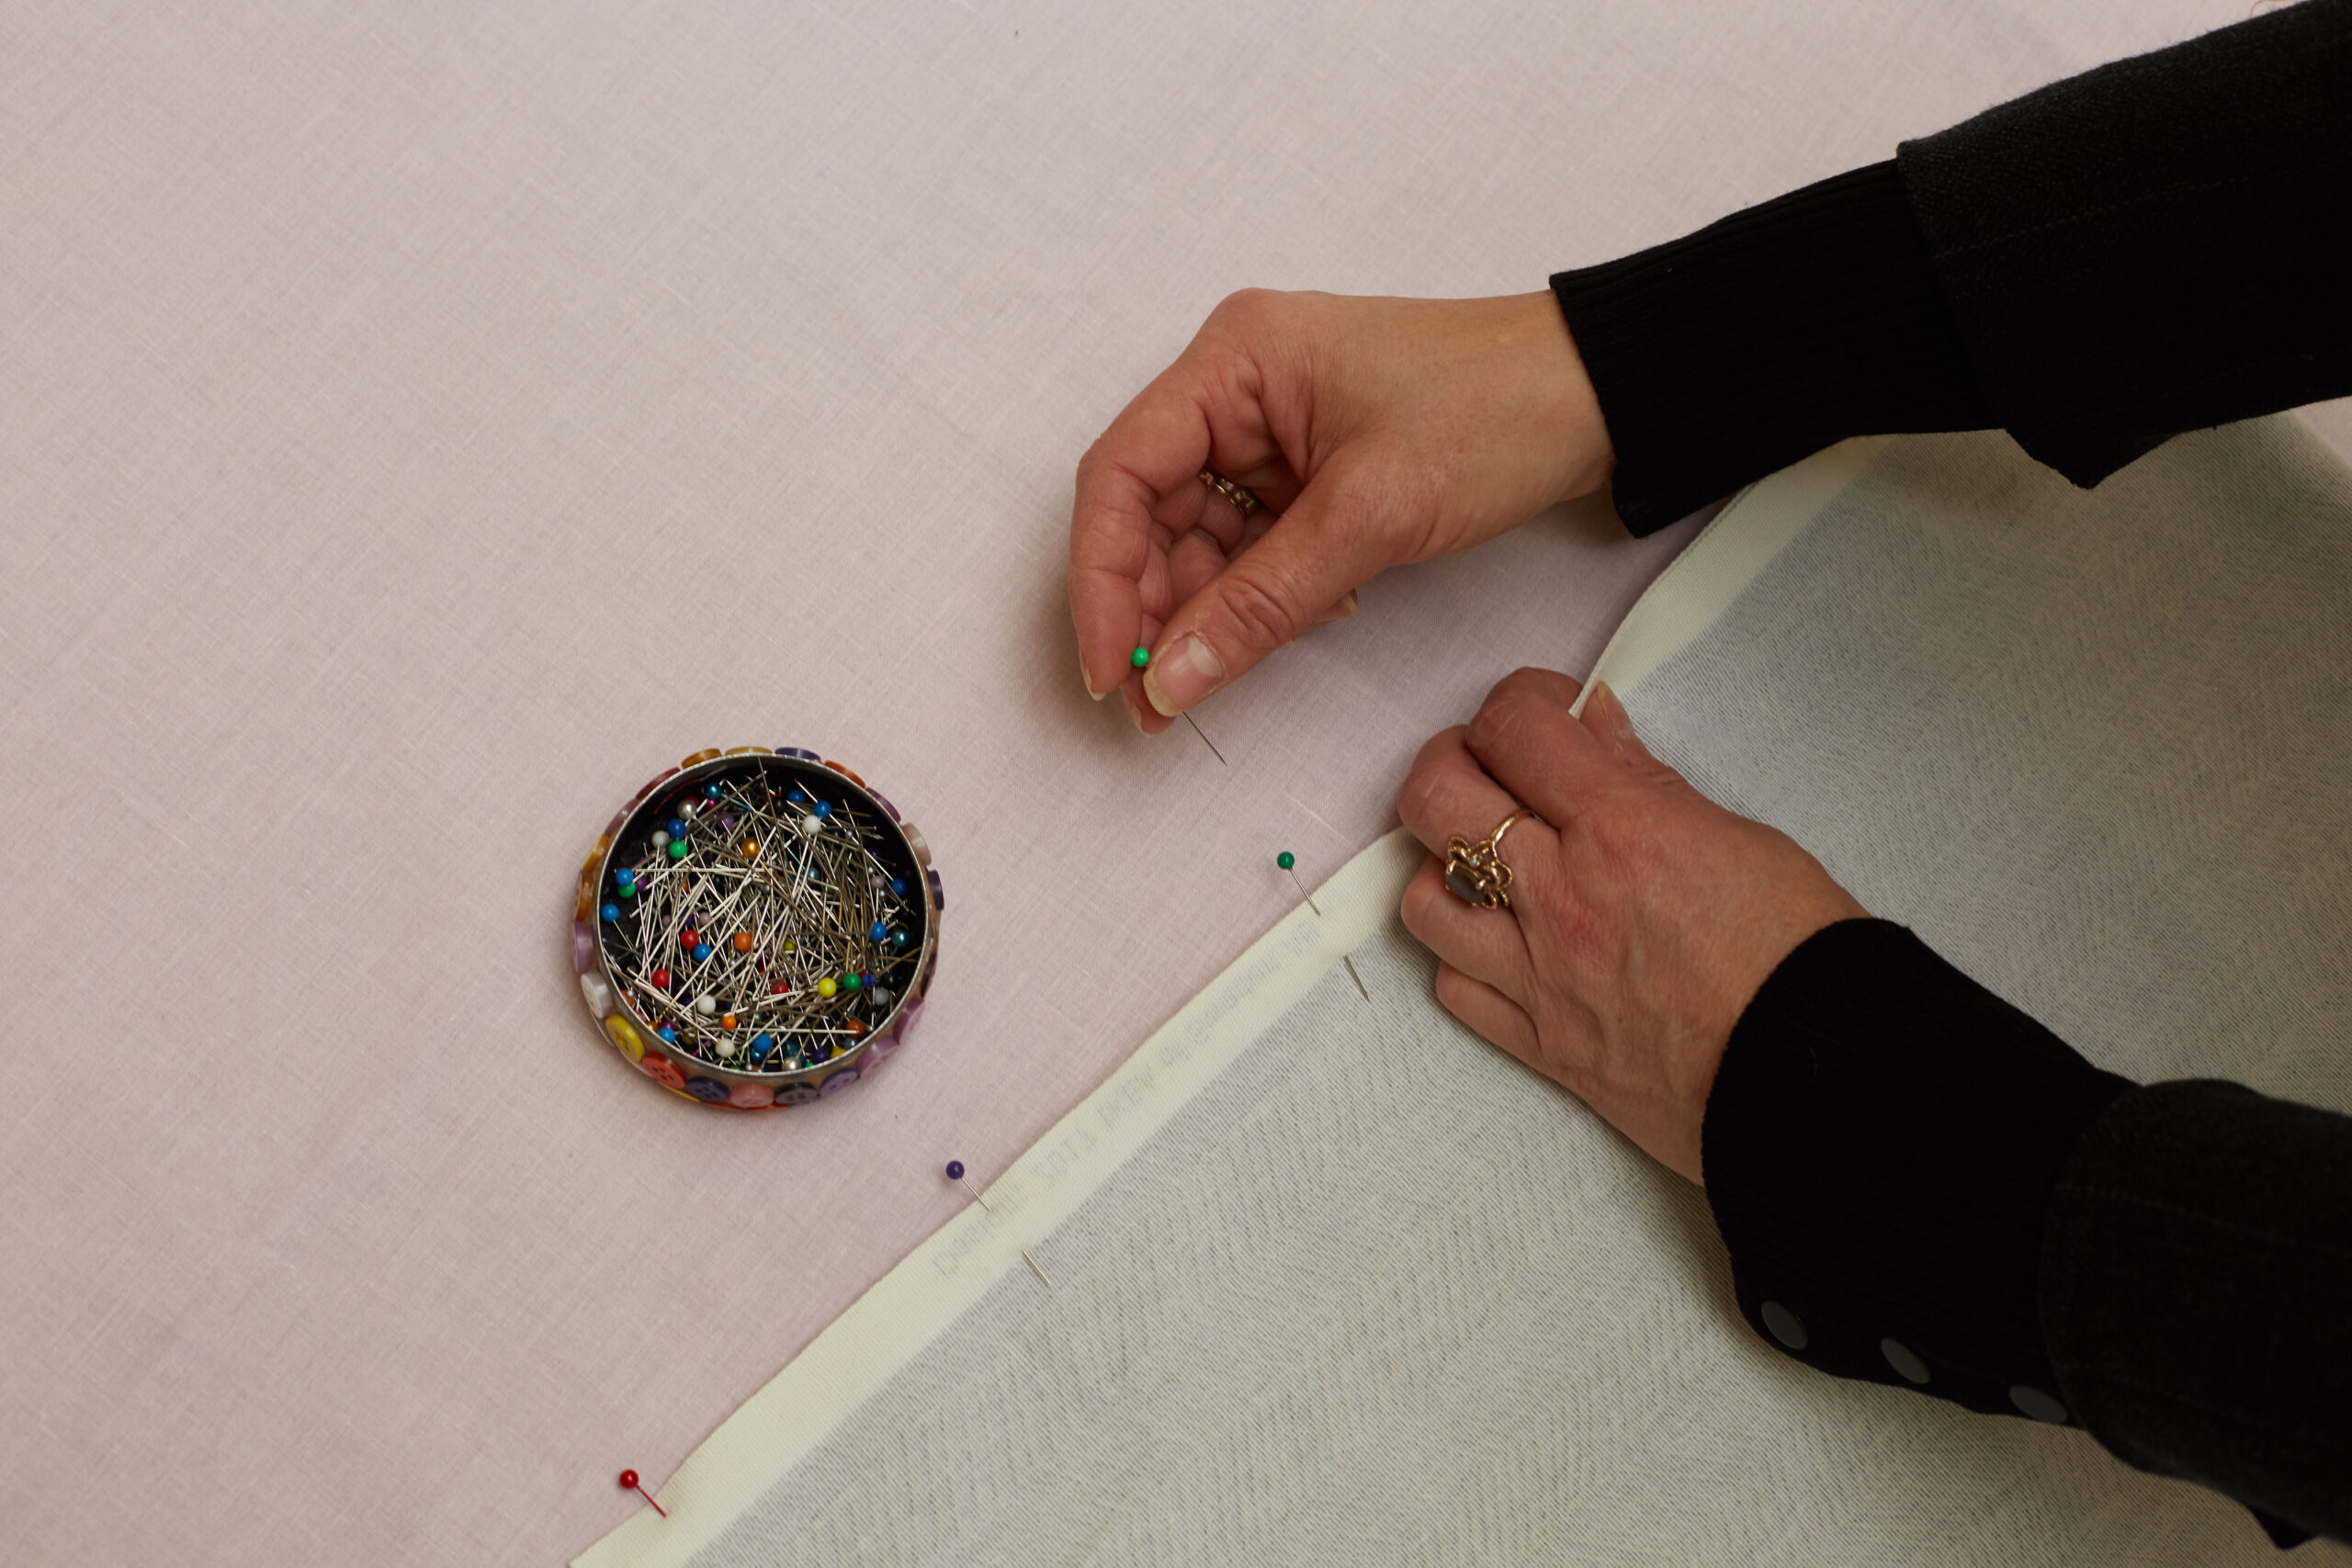
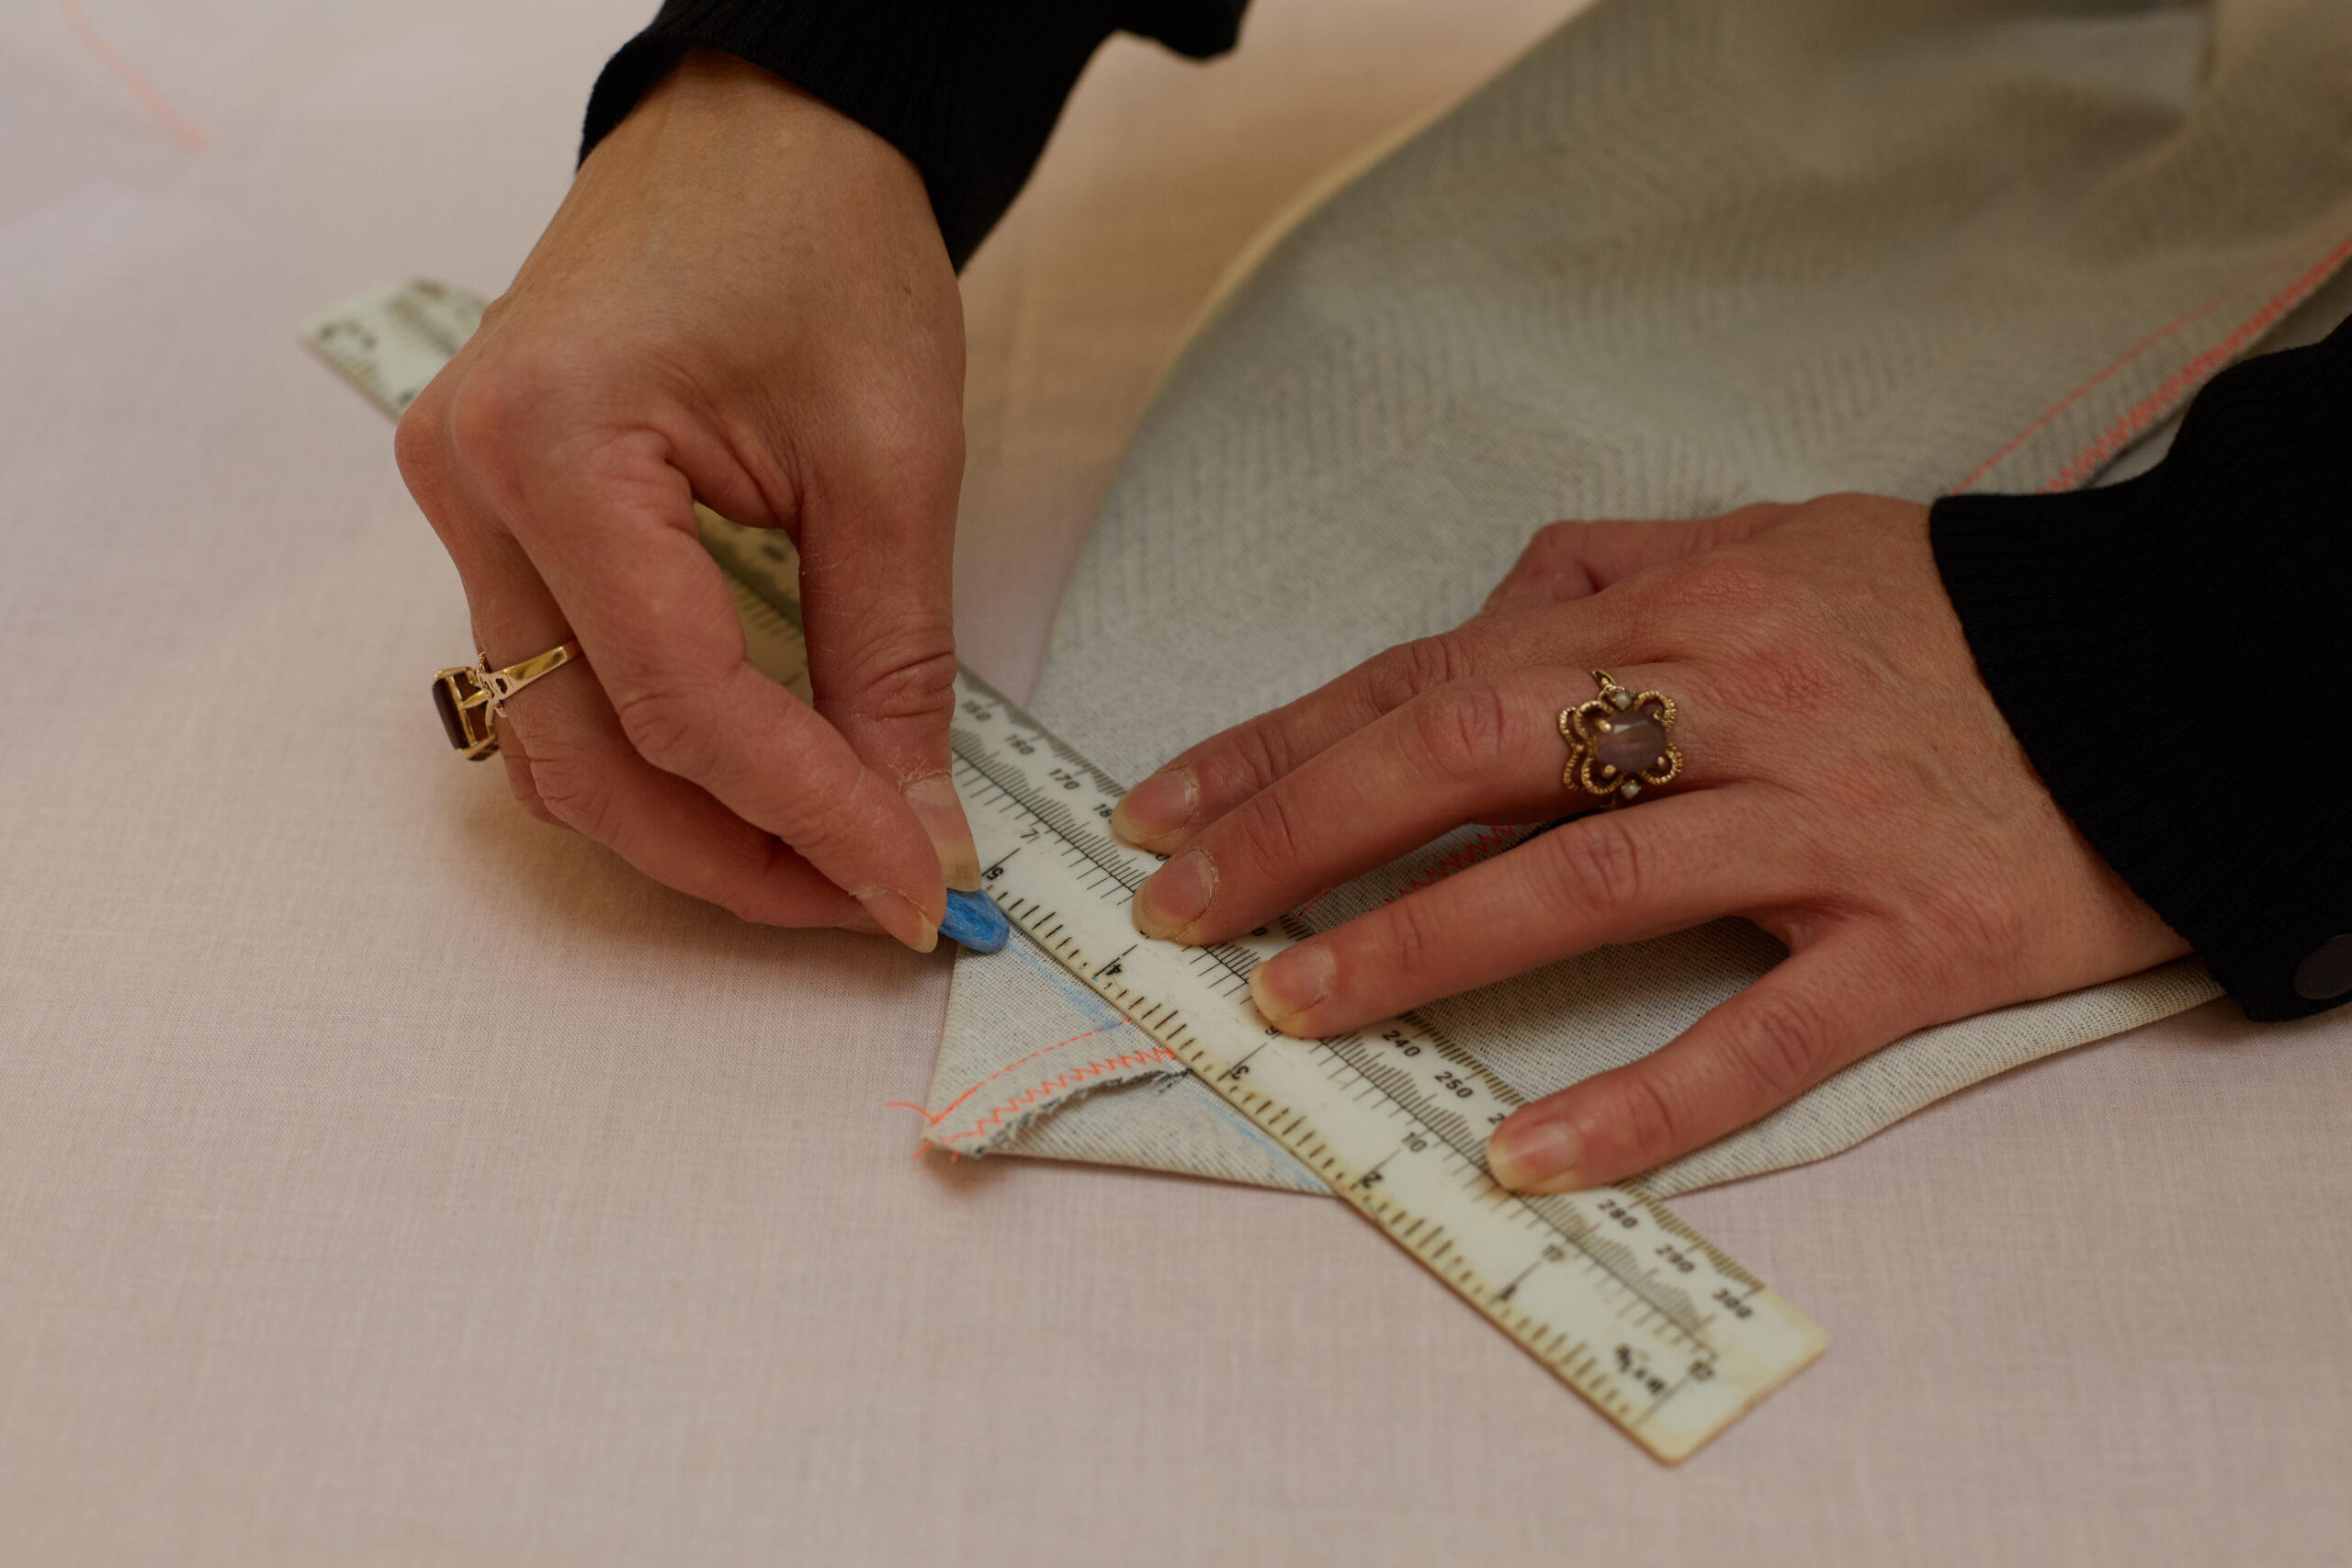
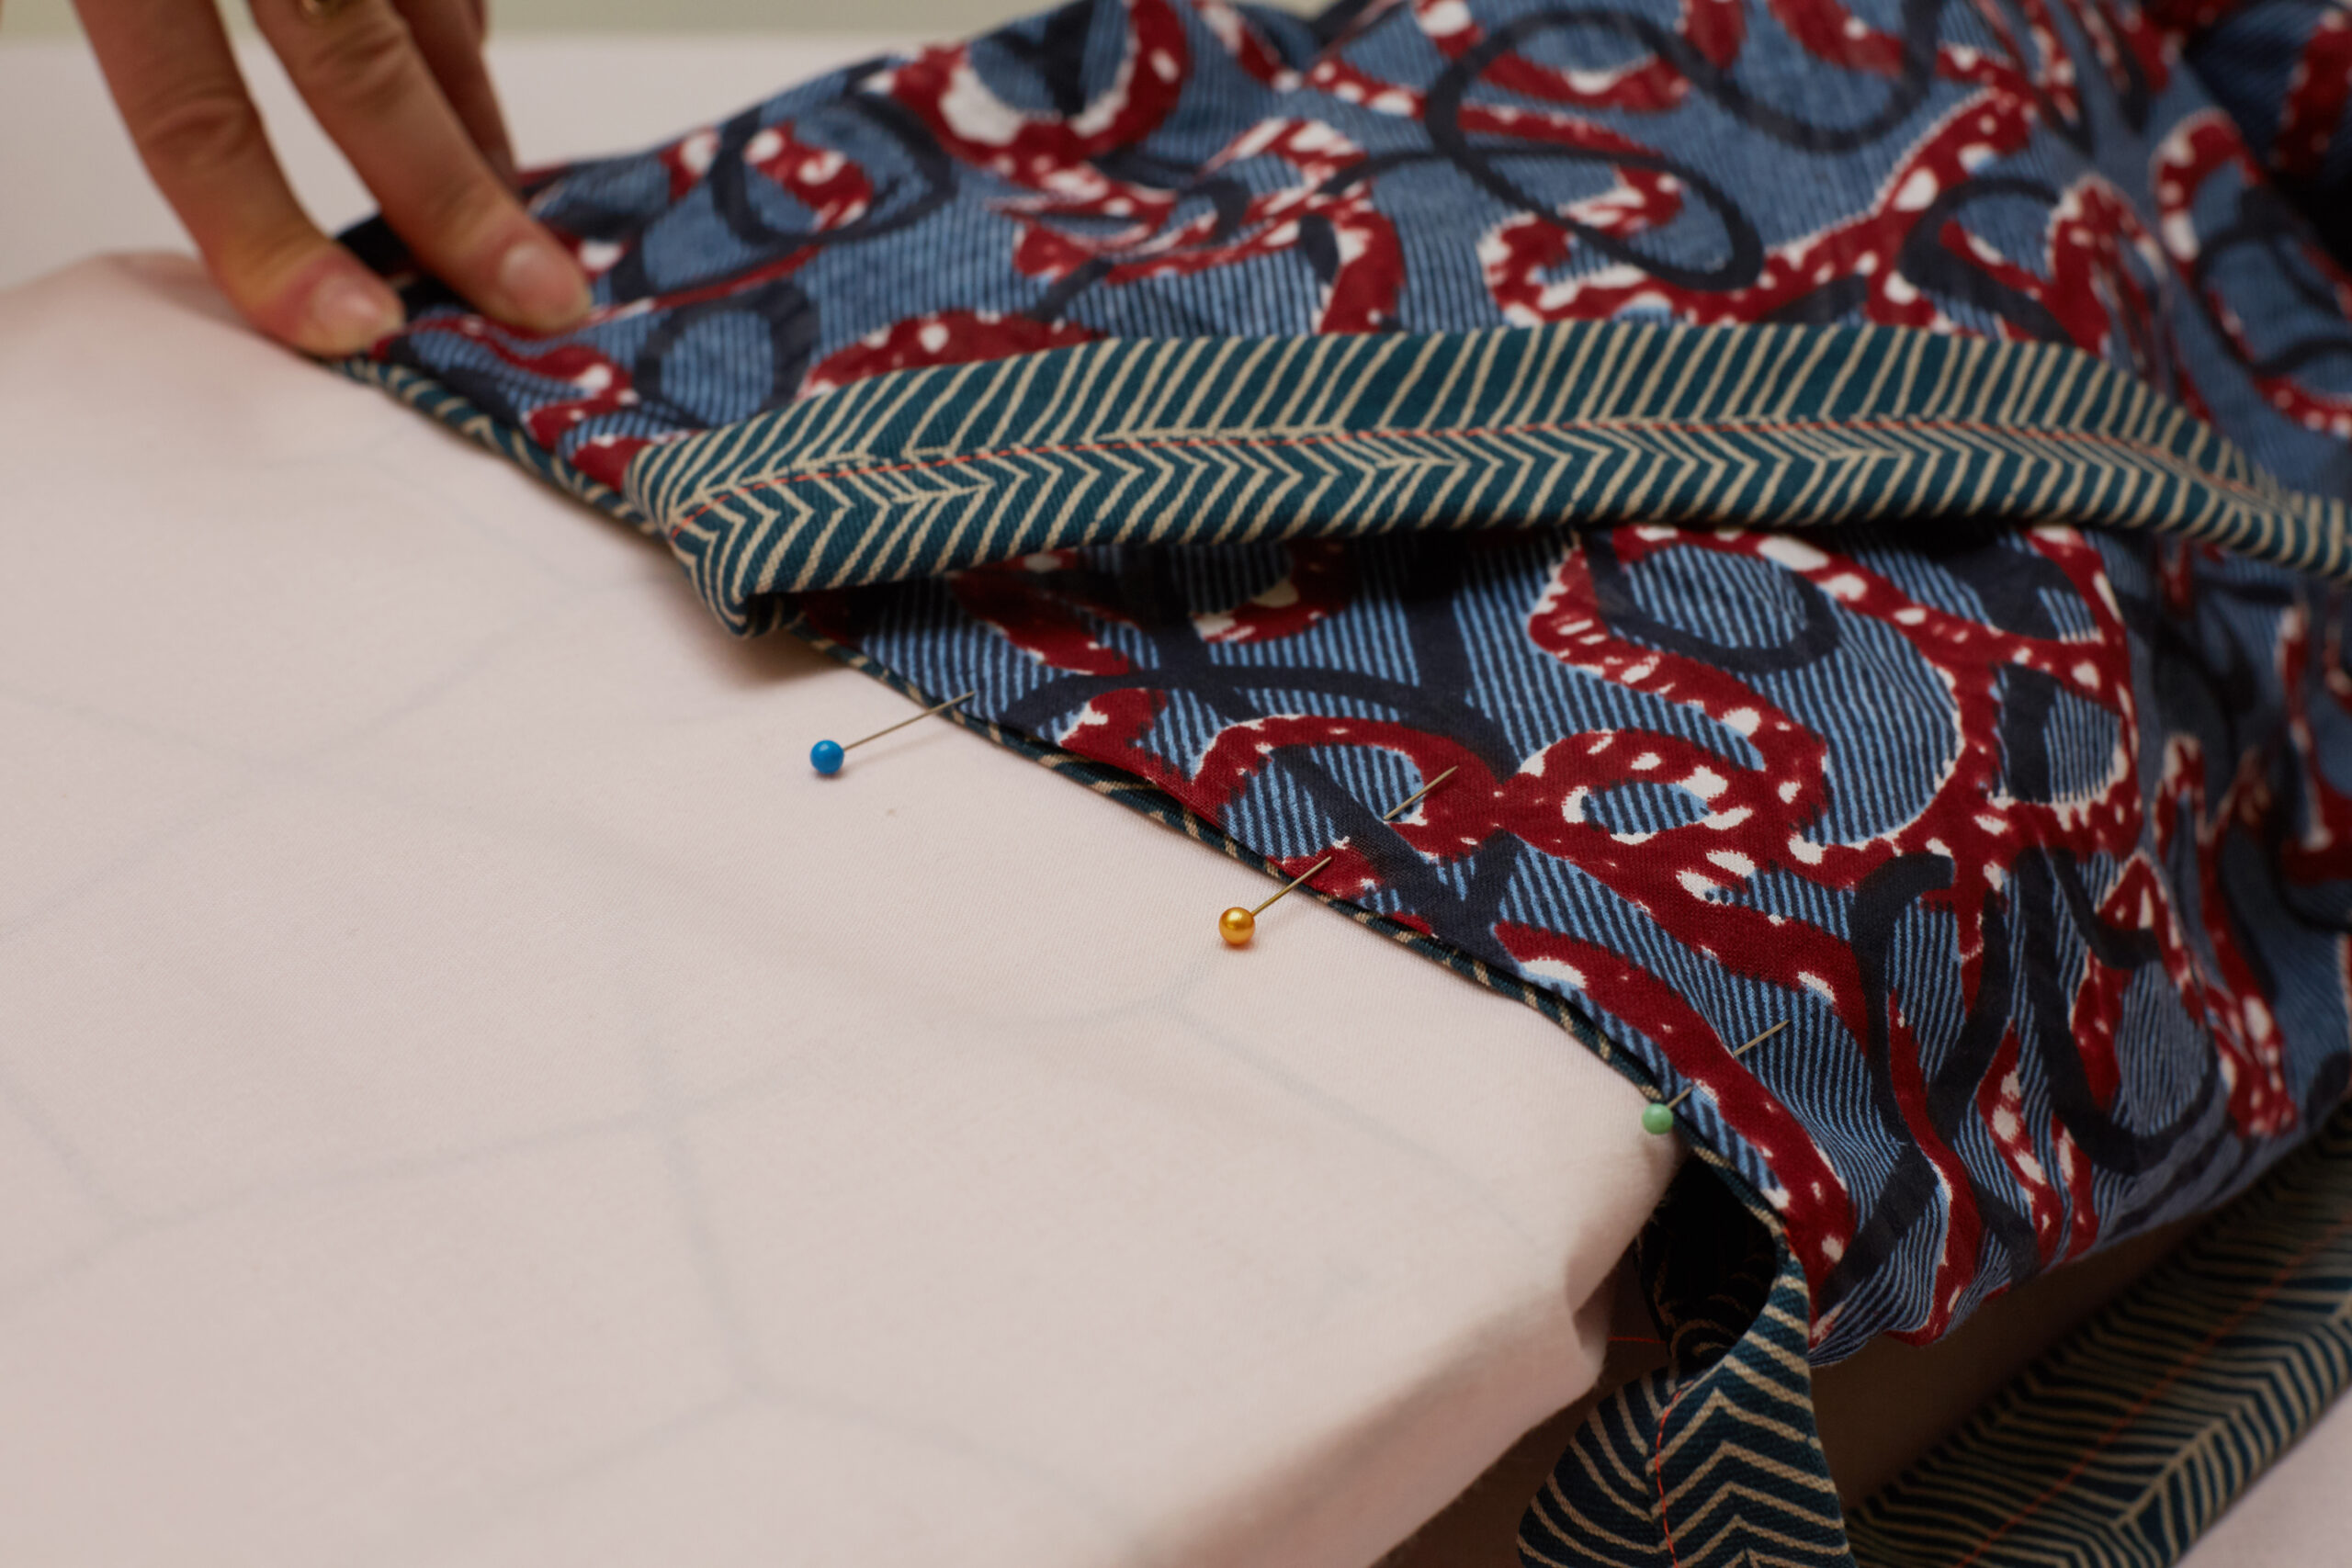
  • Basic pattern making and cutting
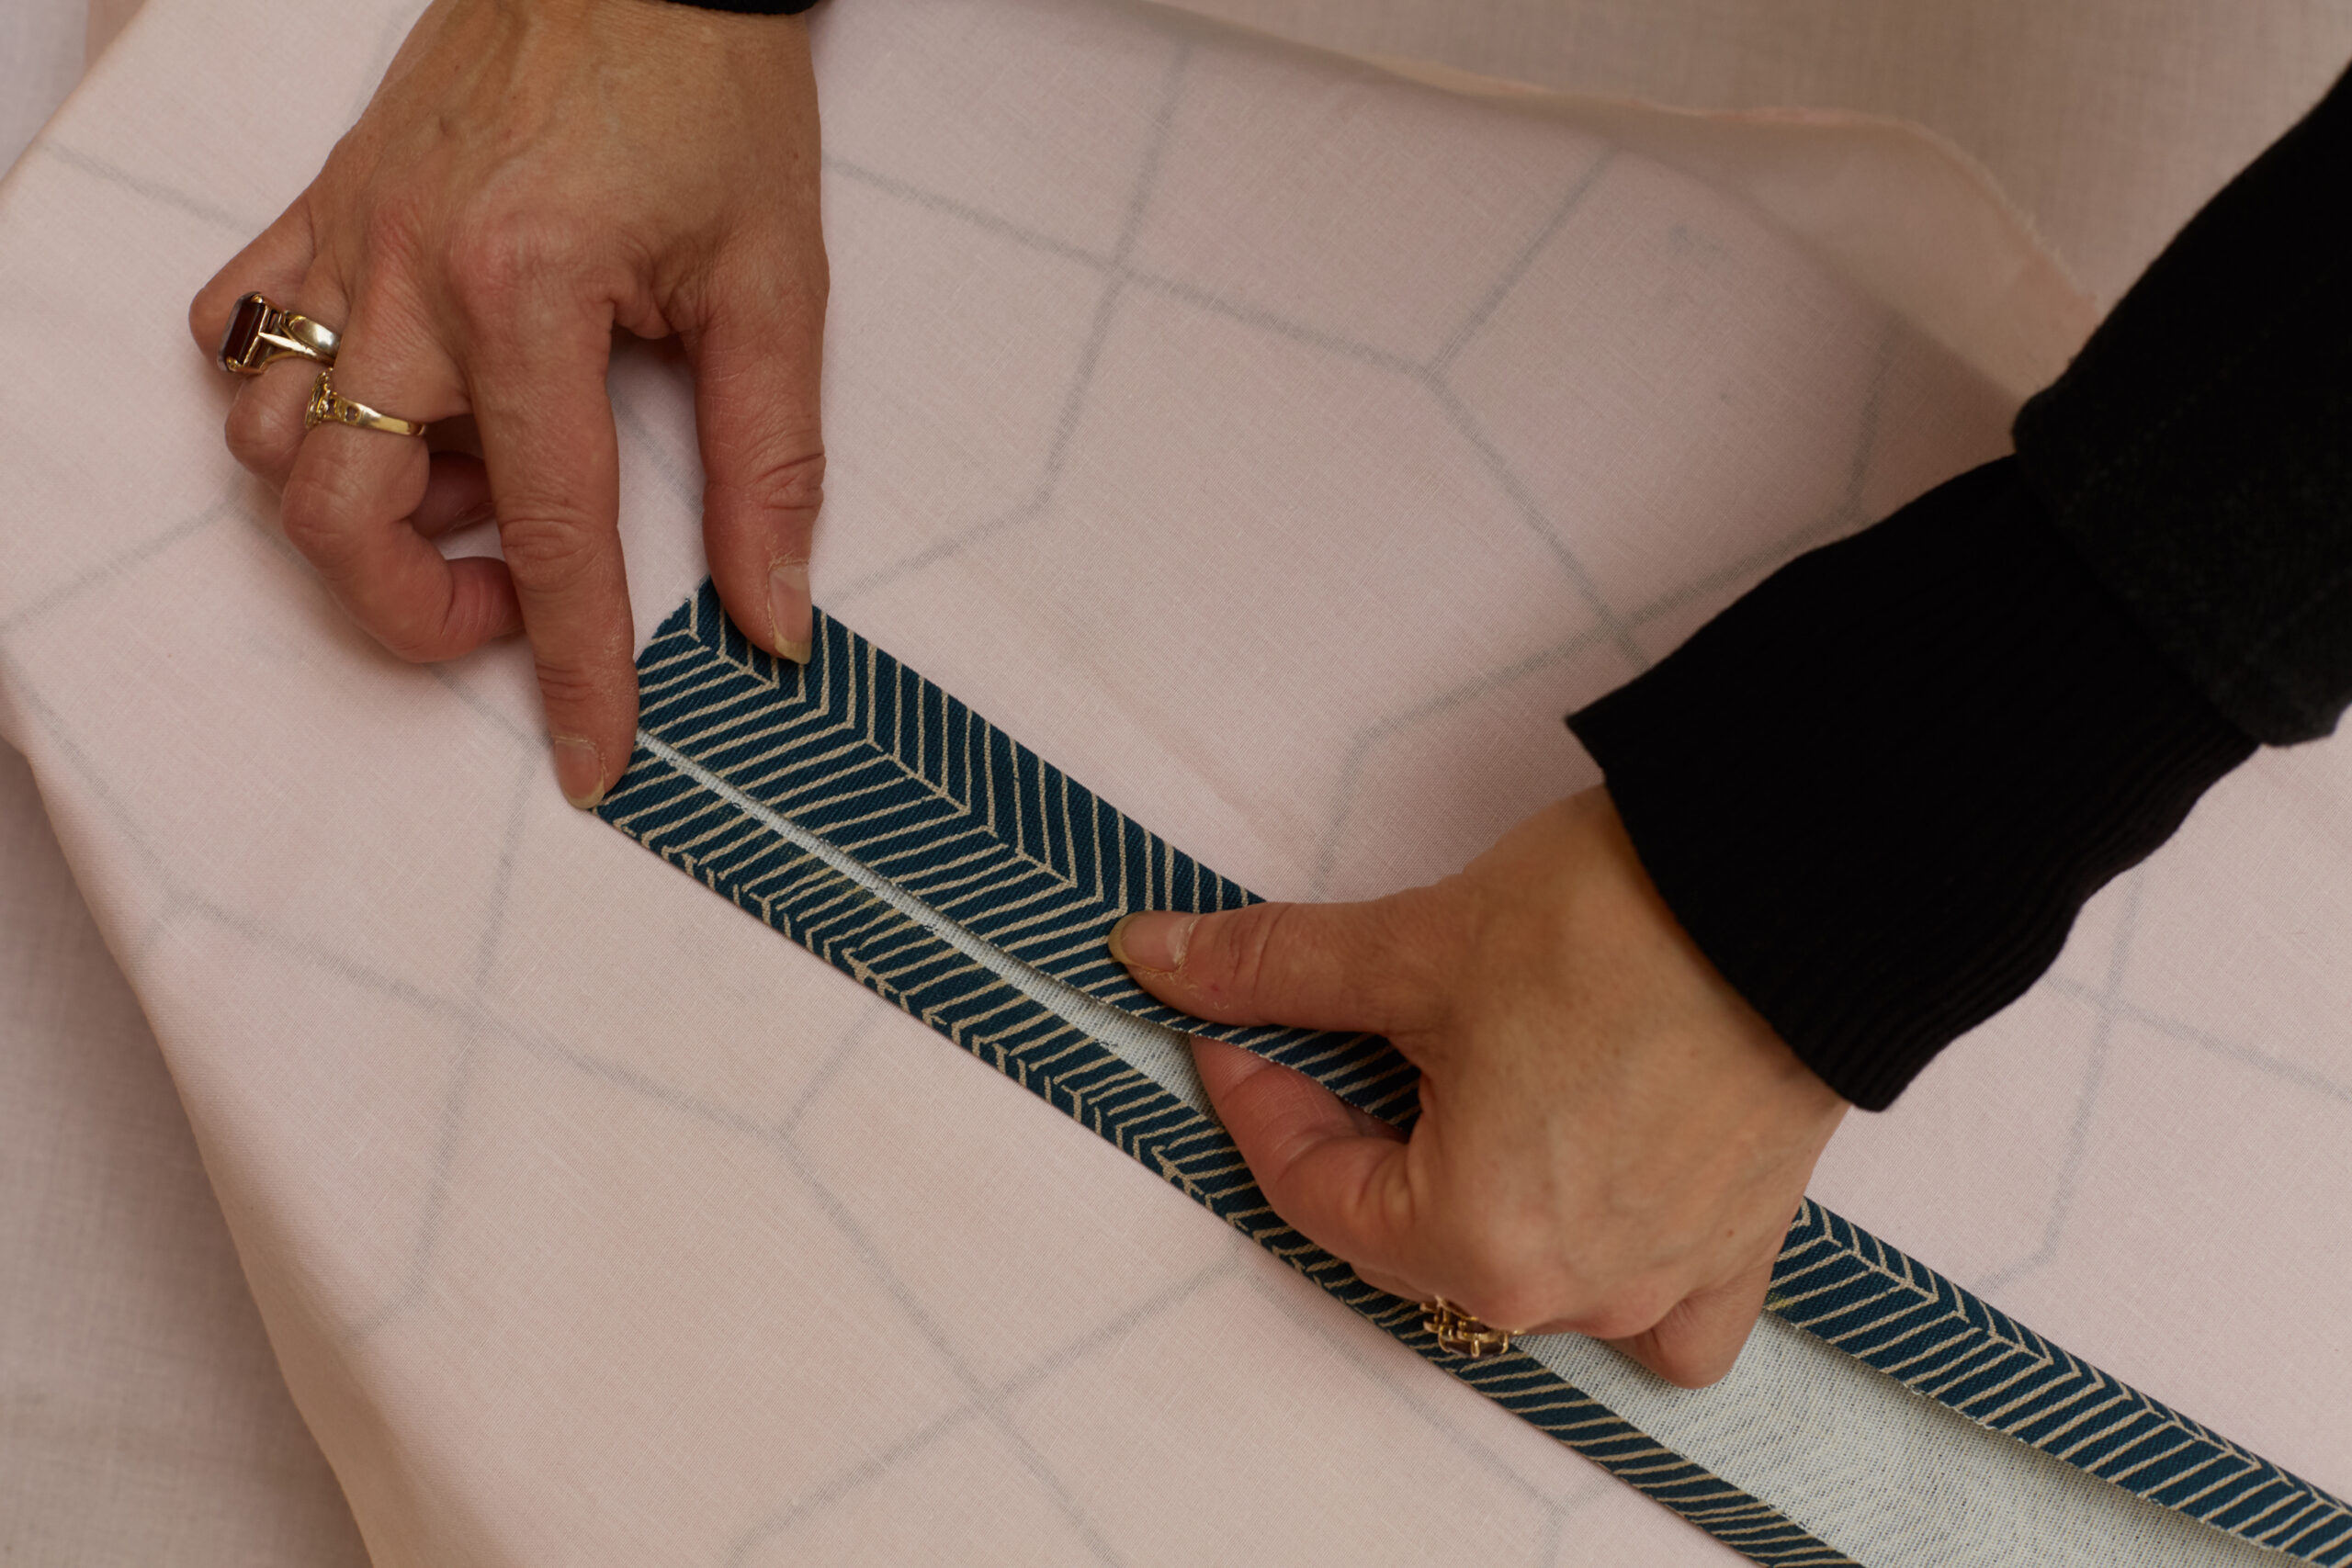
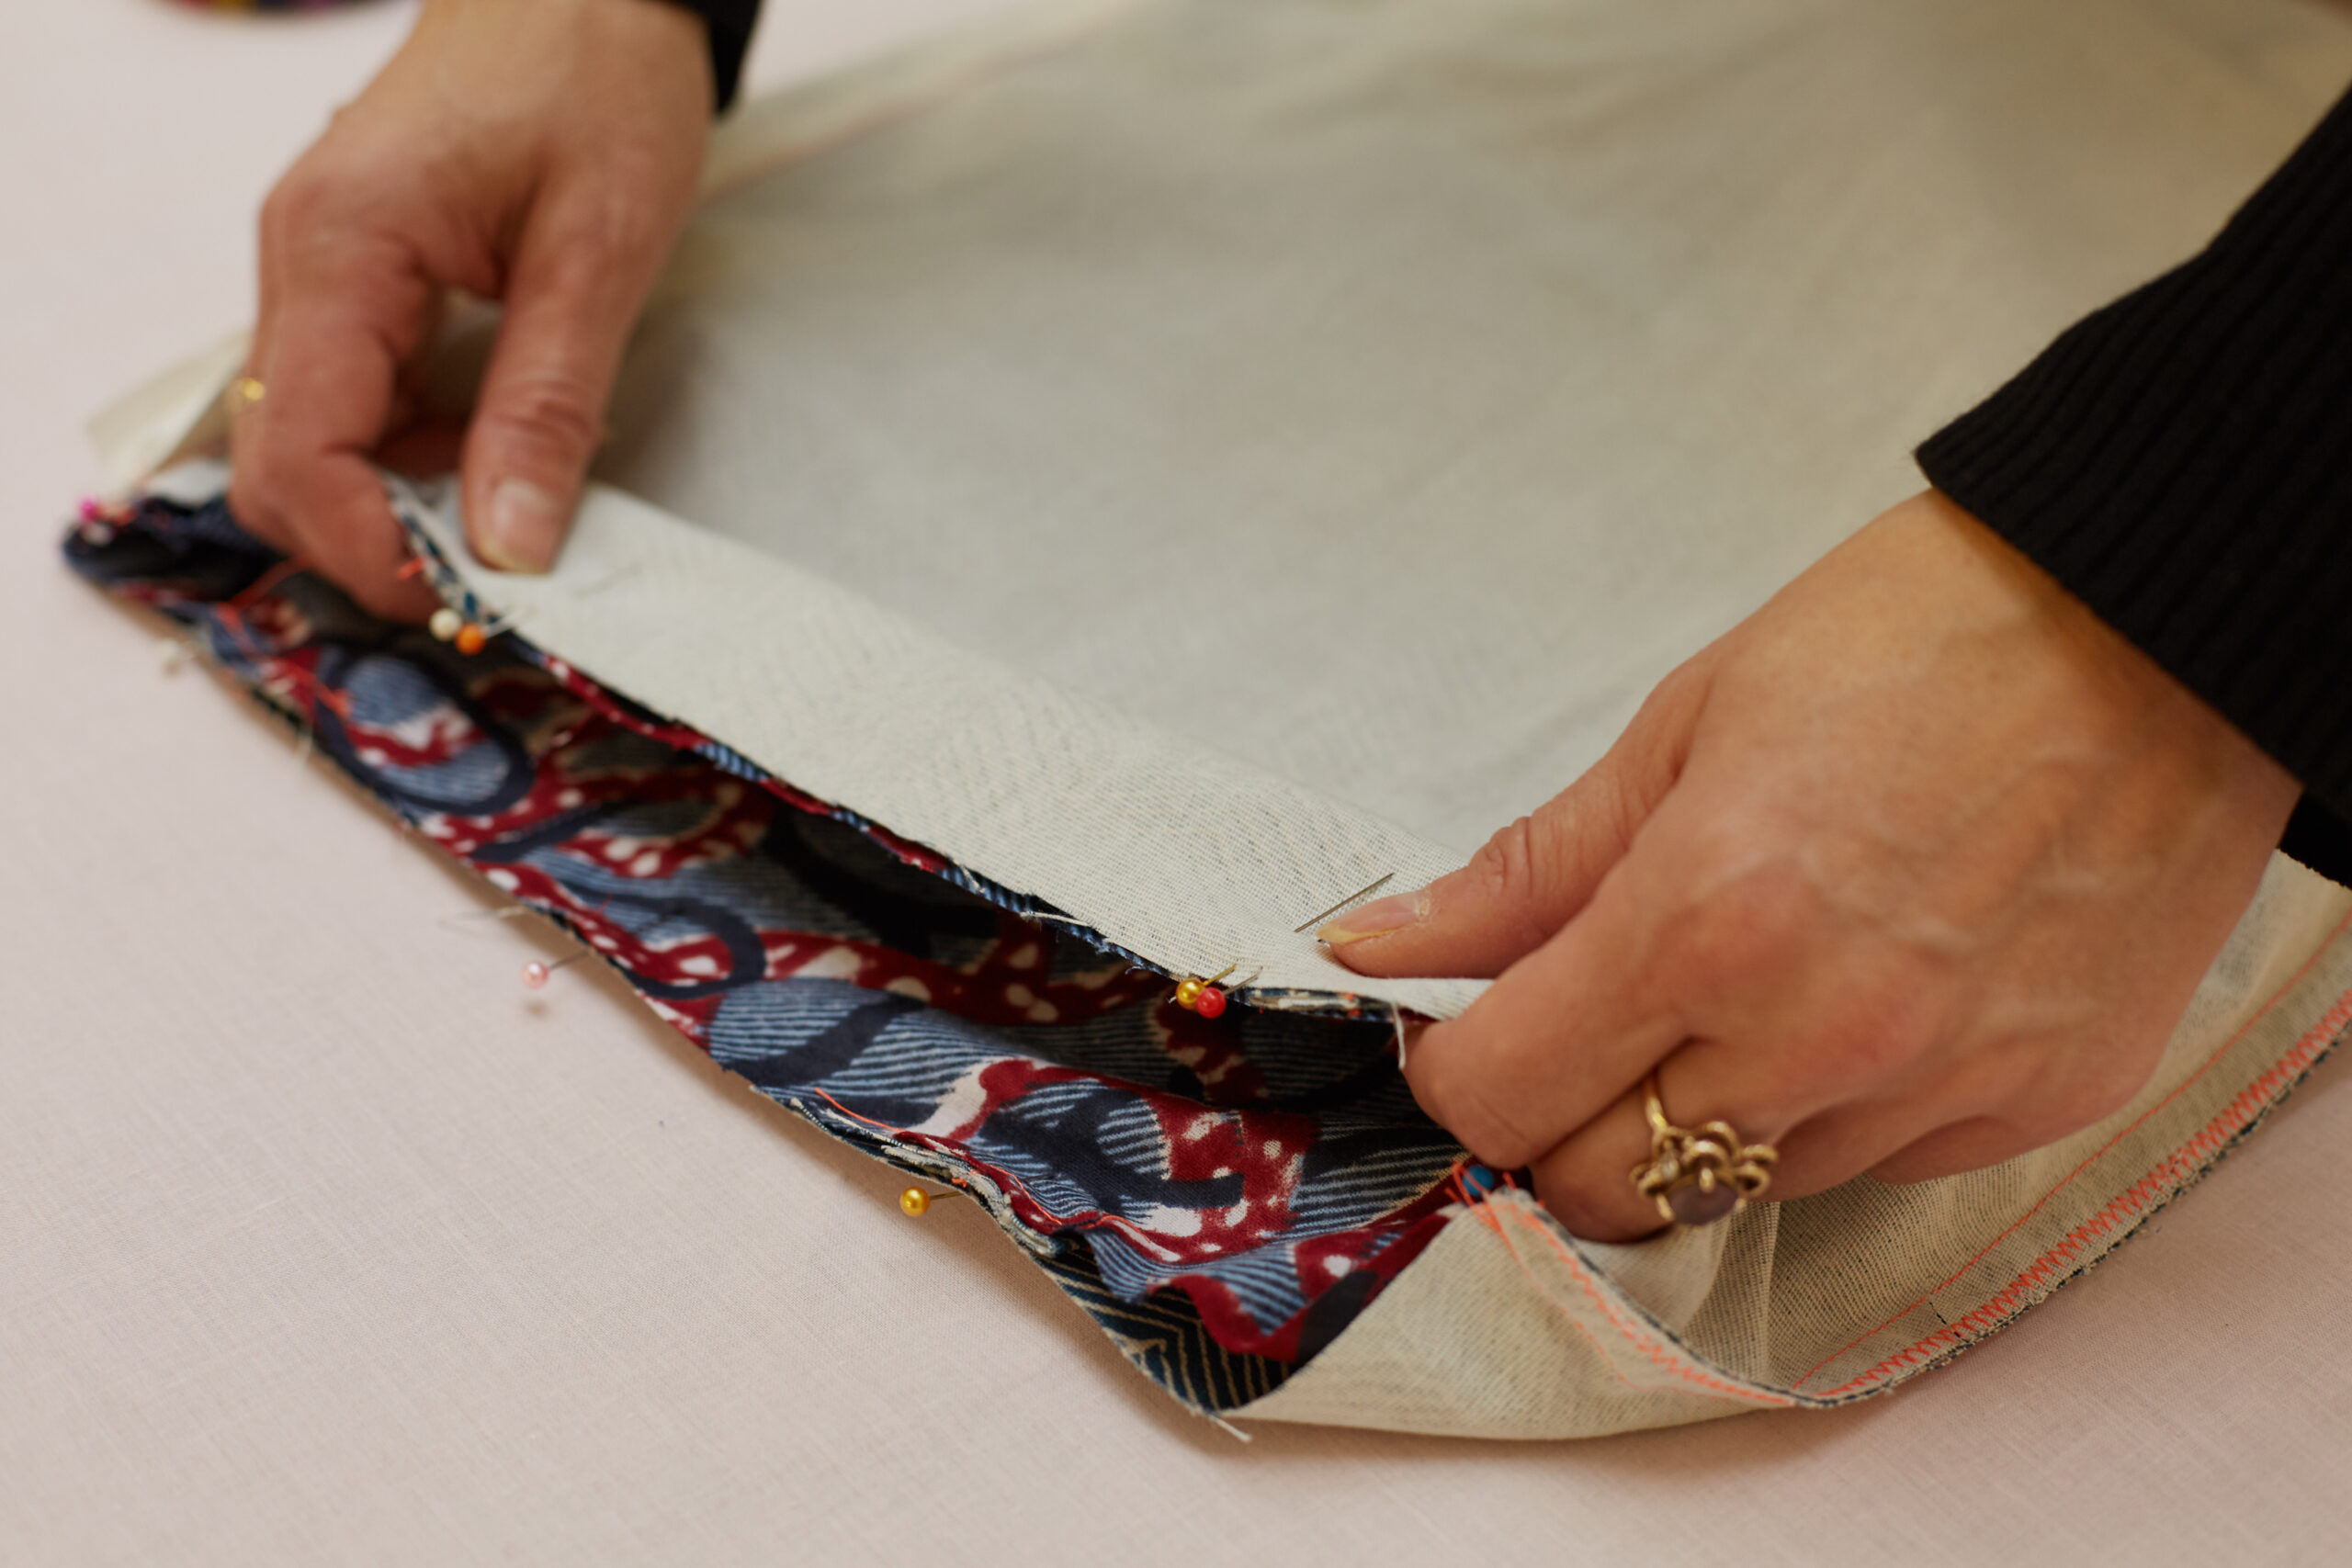
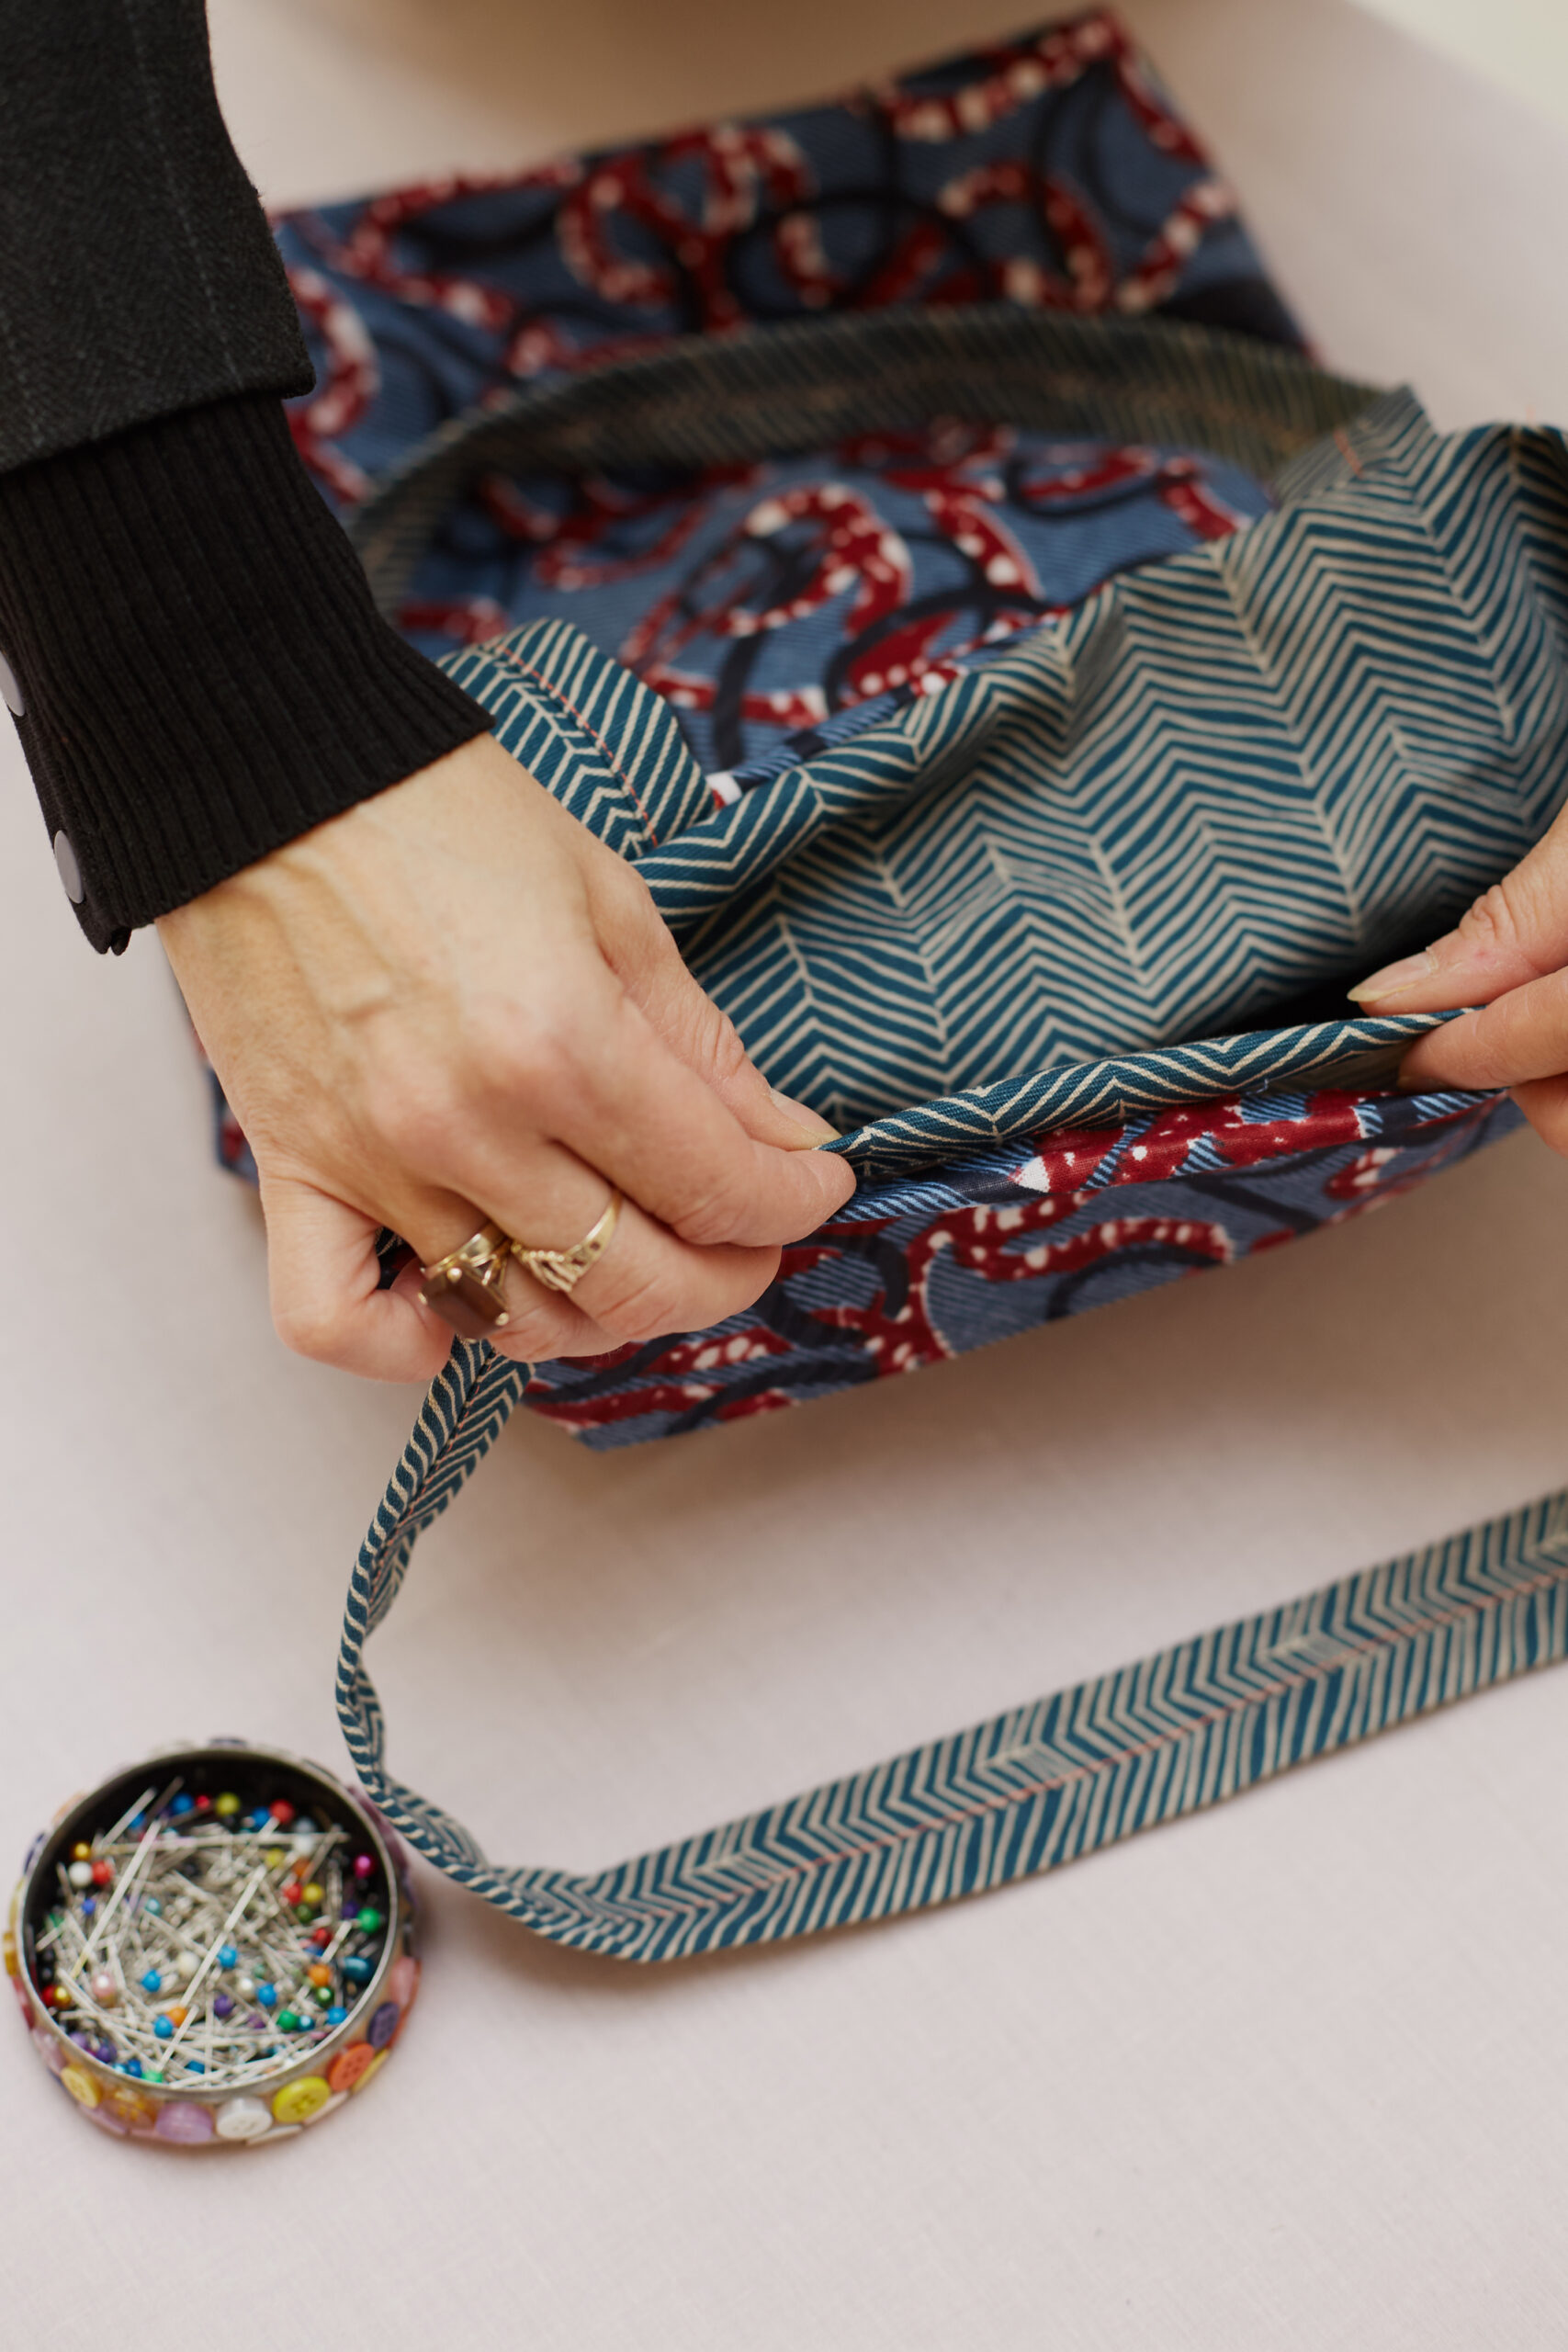
  • Choosing fabric combinations
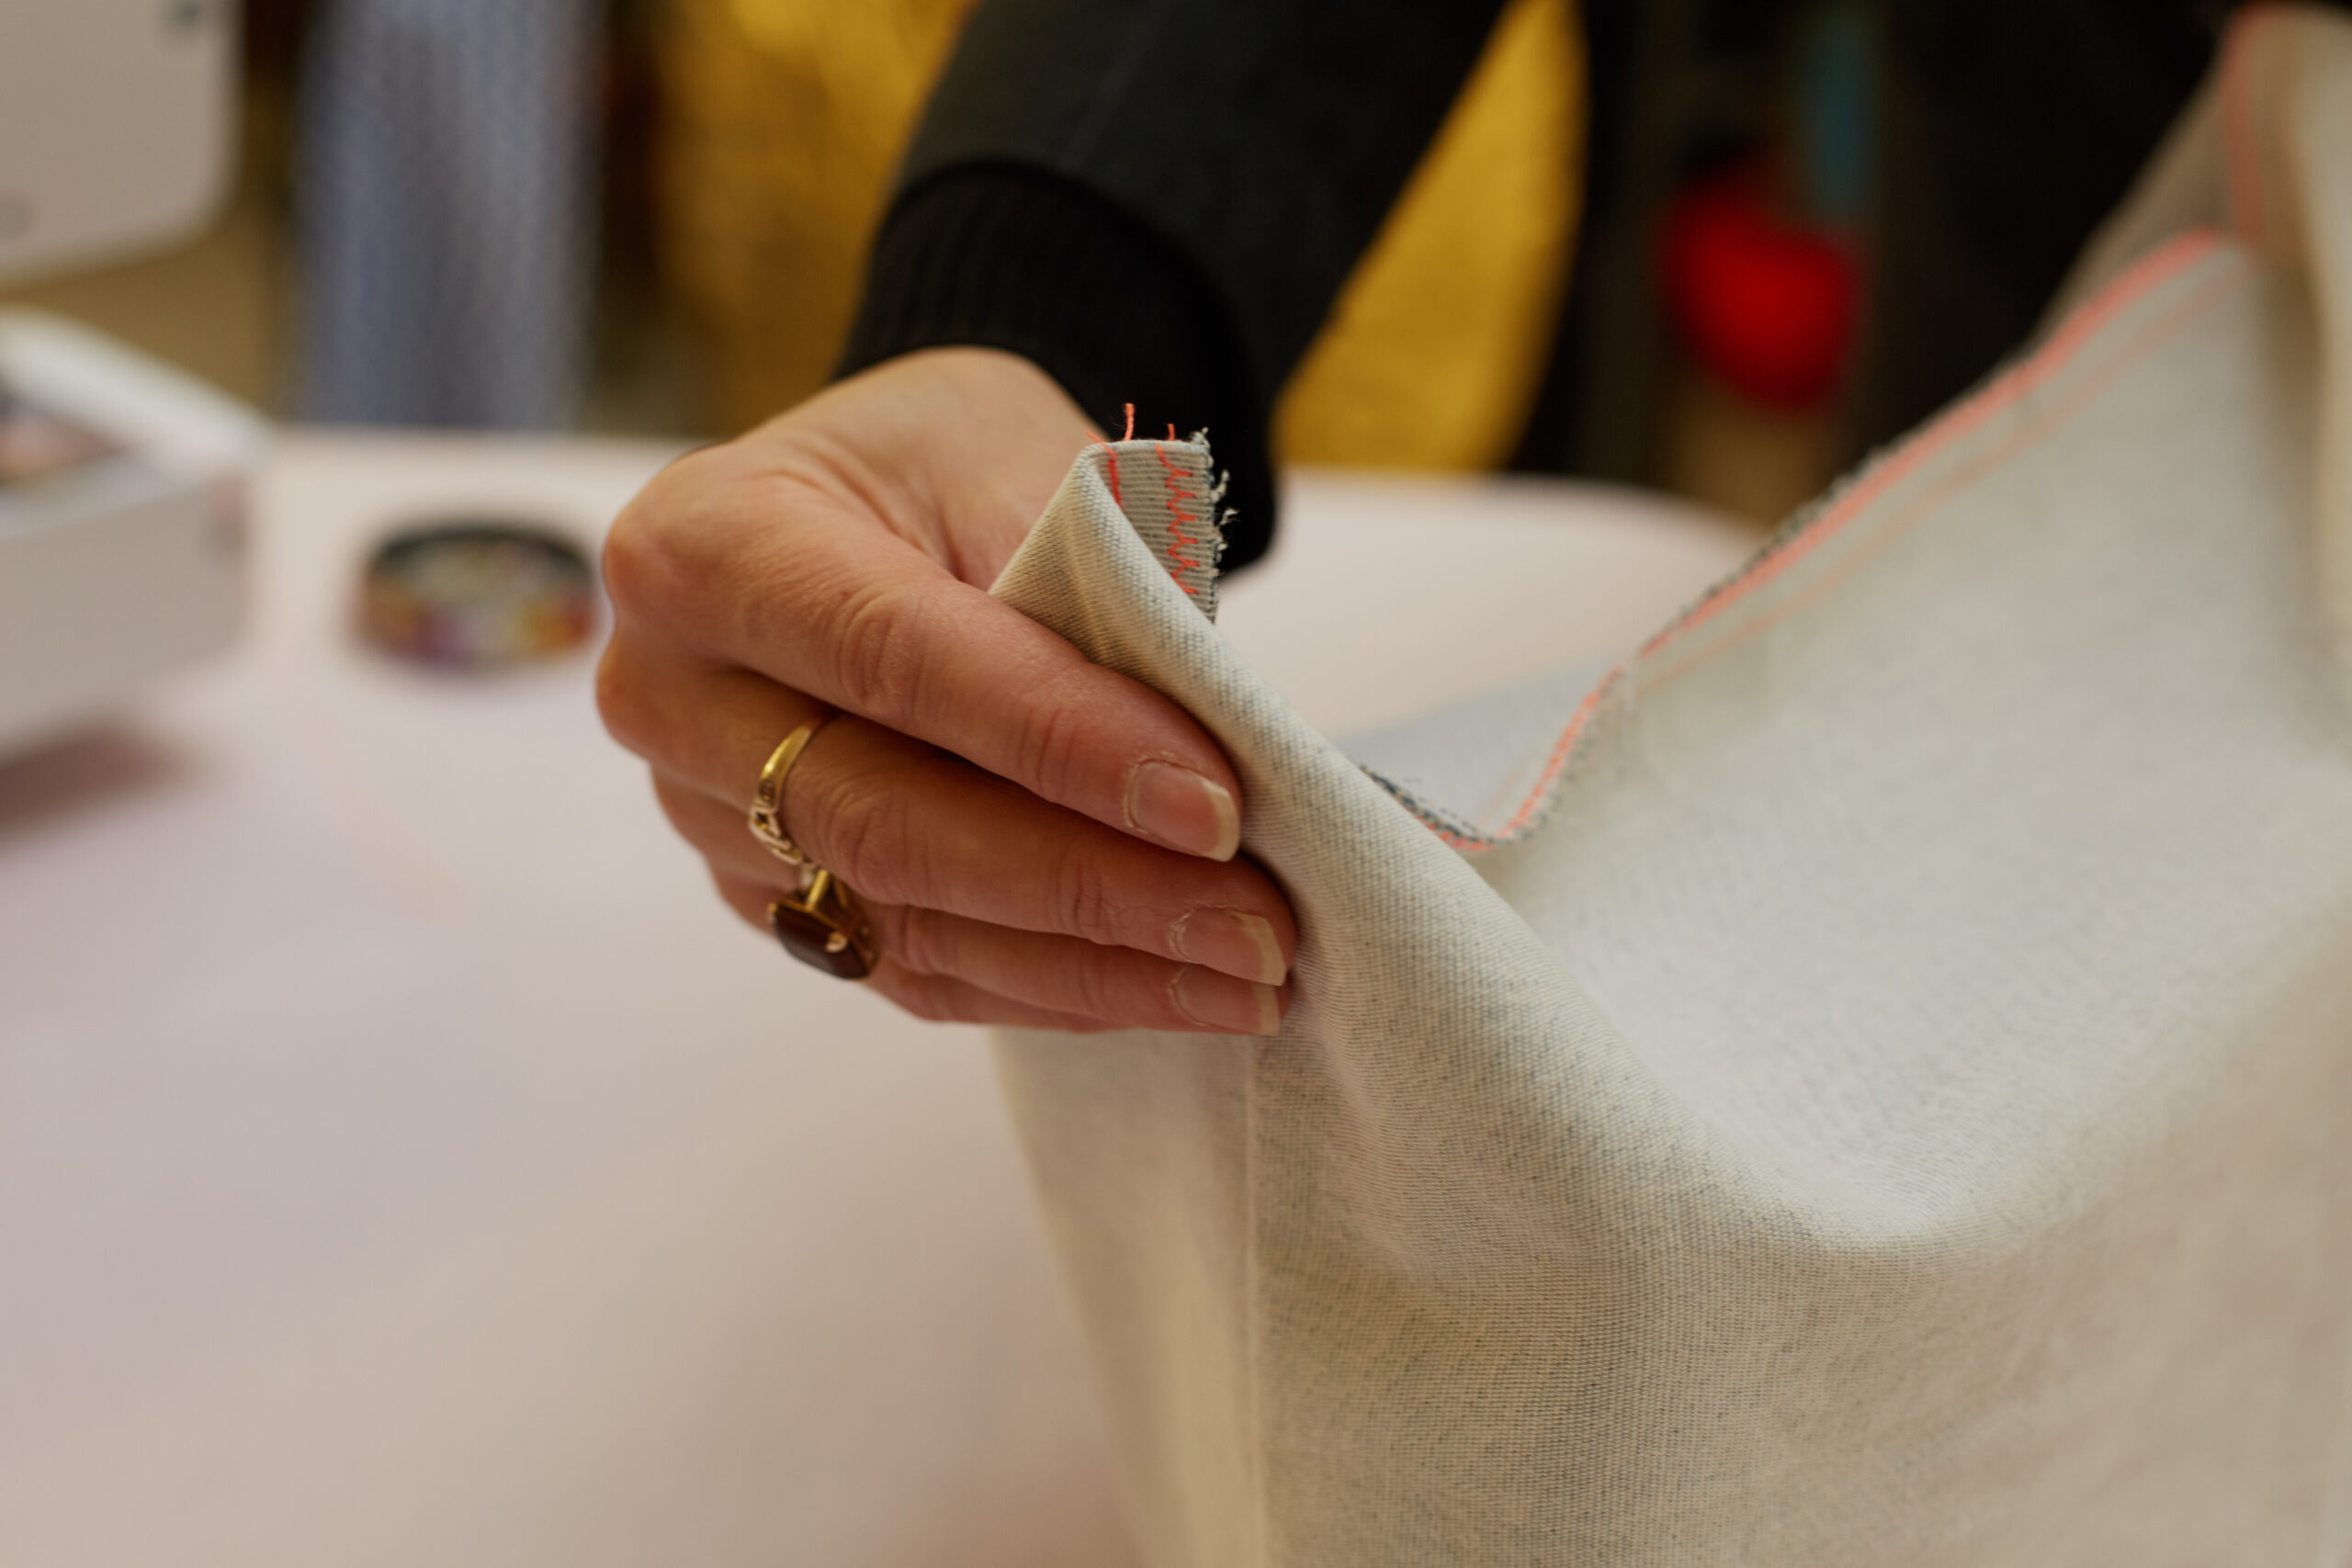
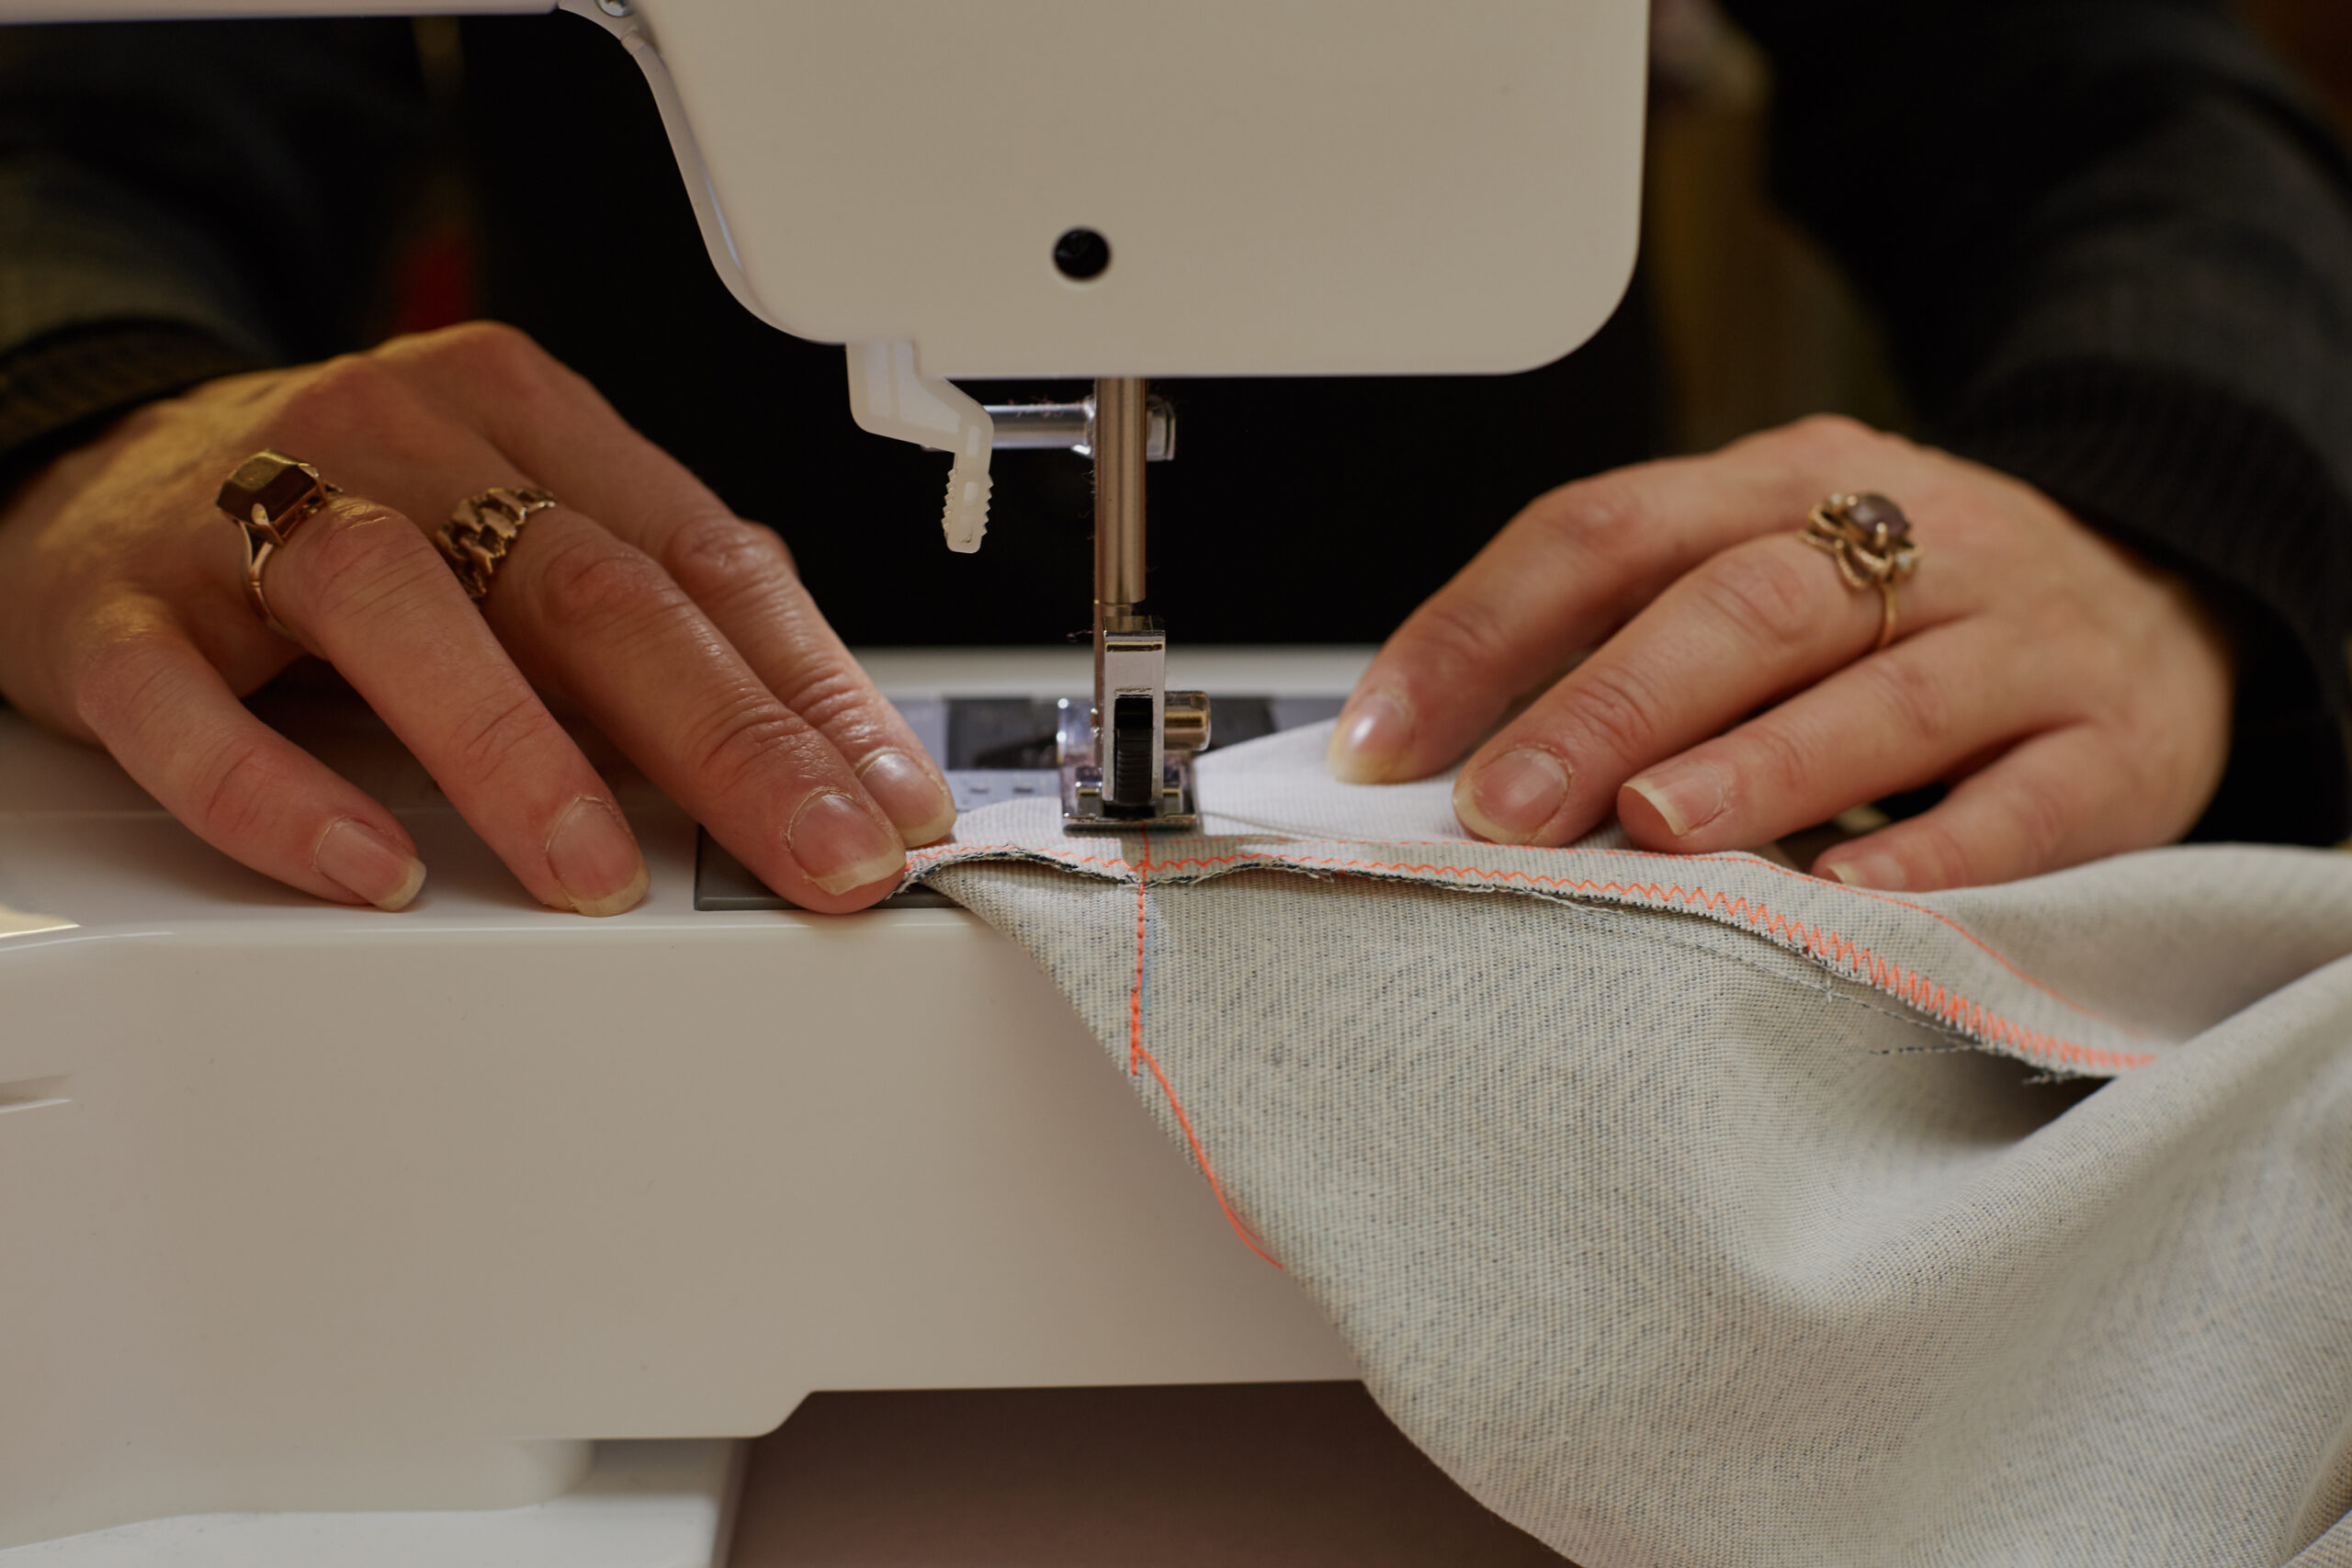
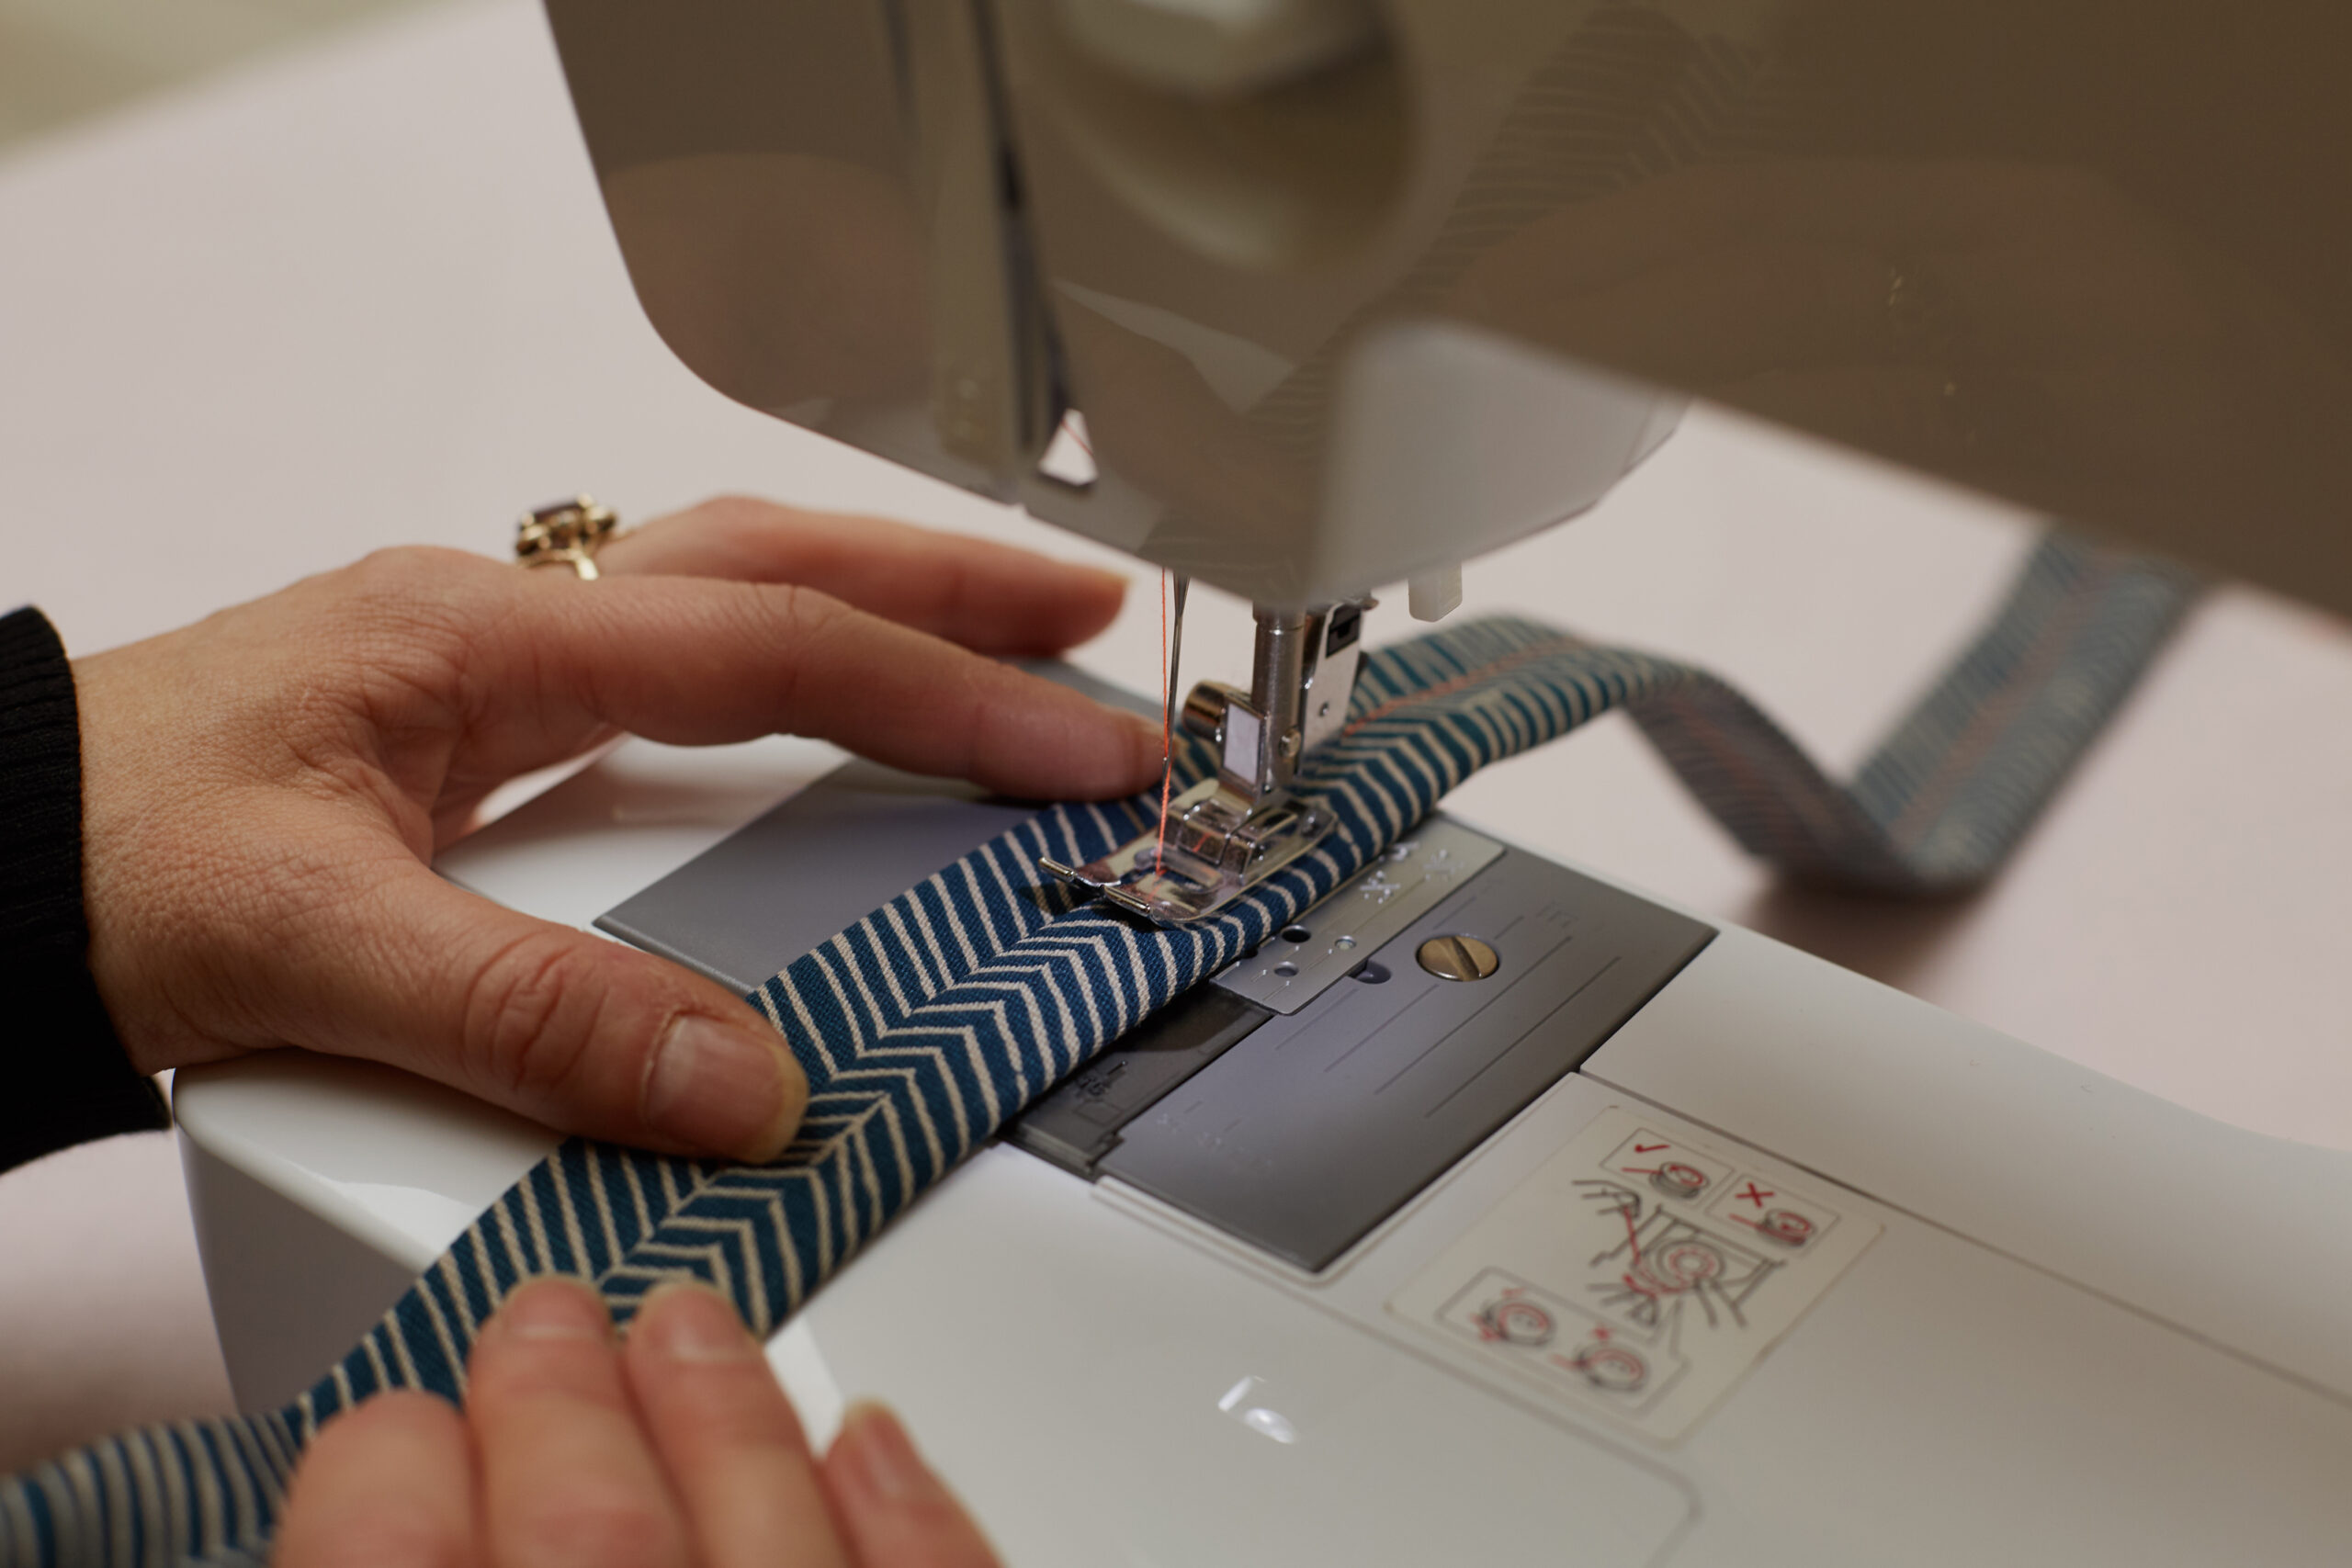
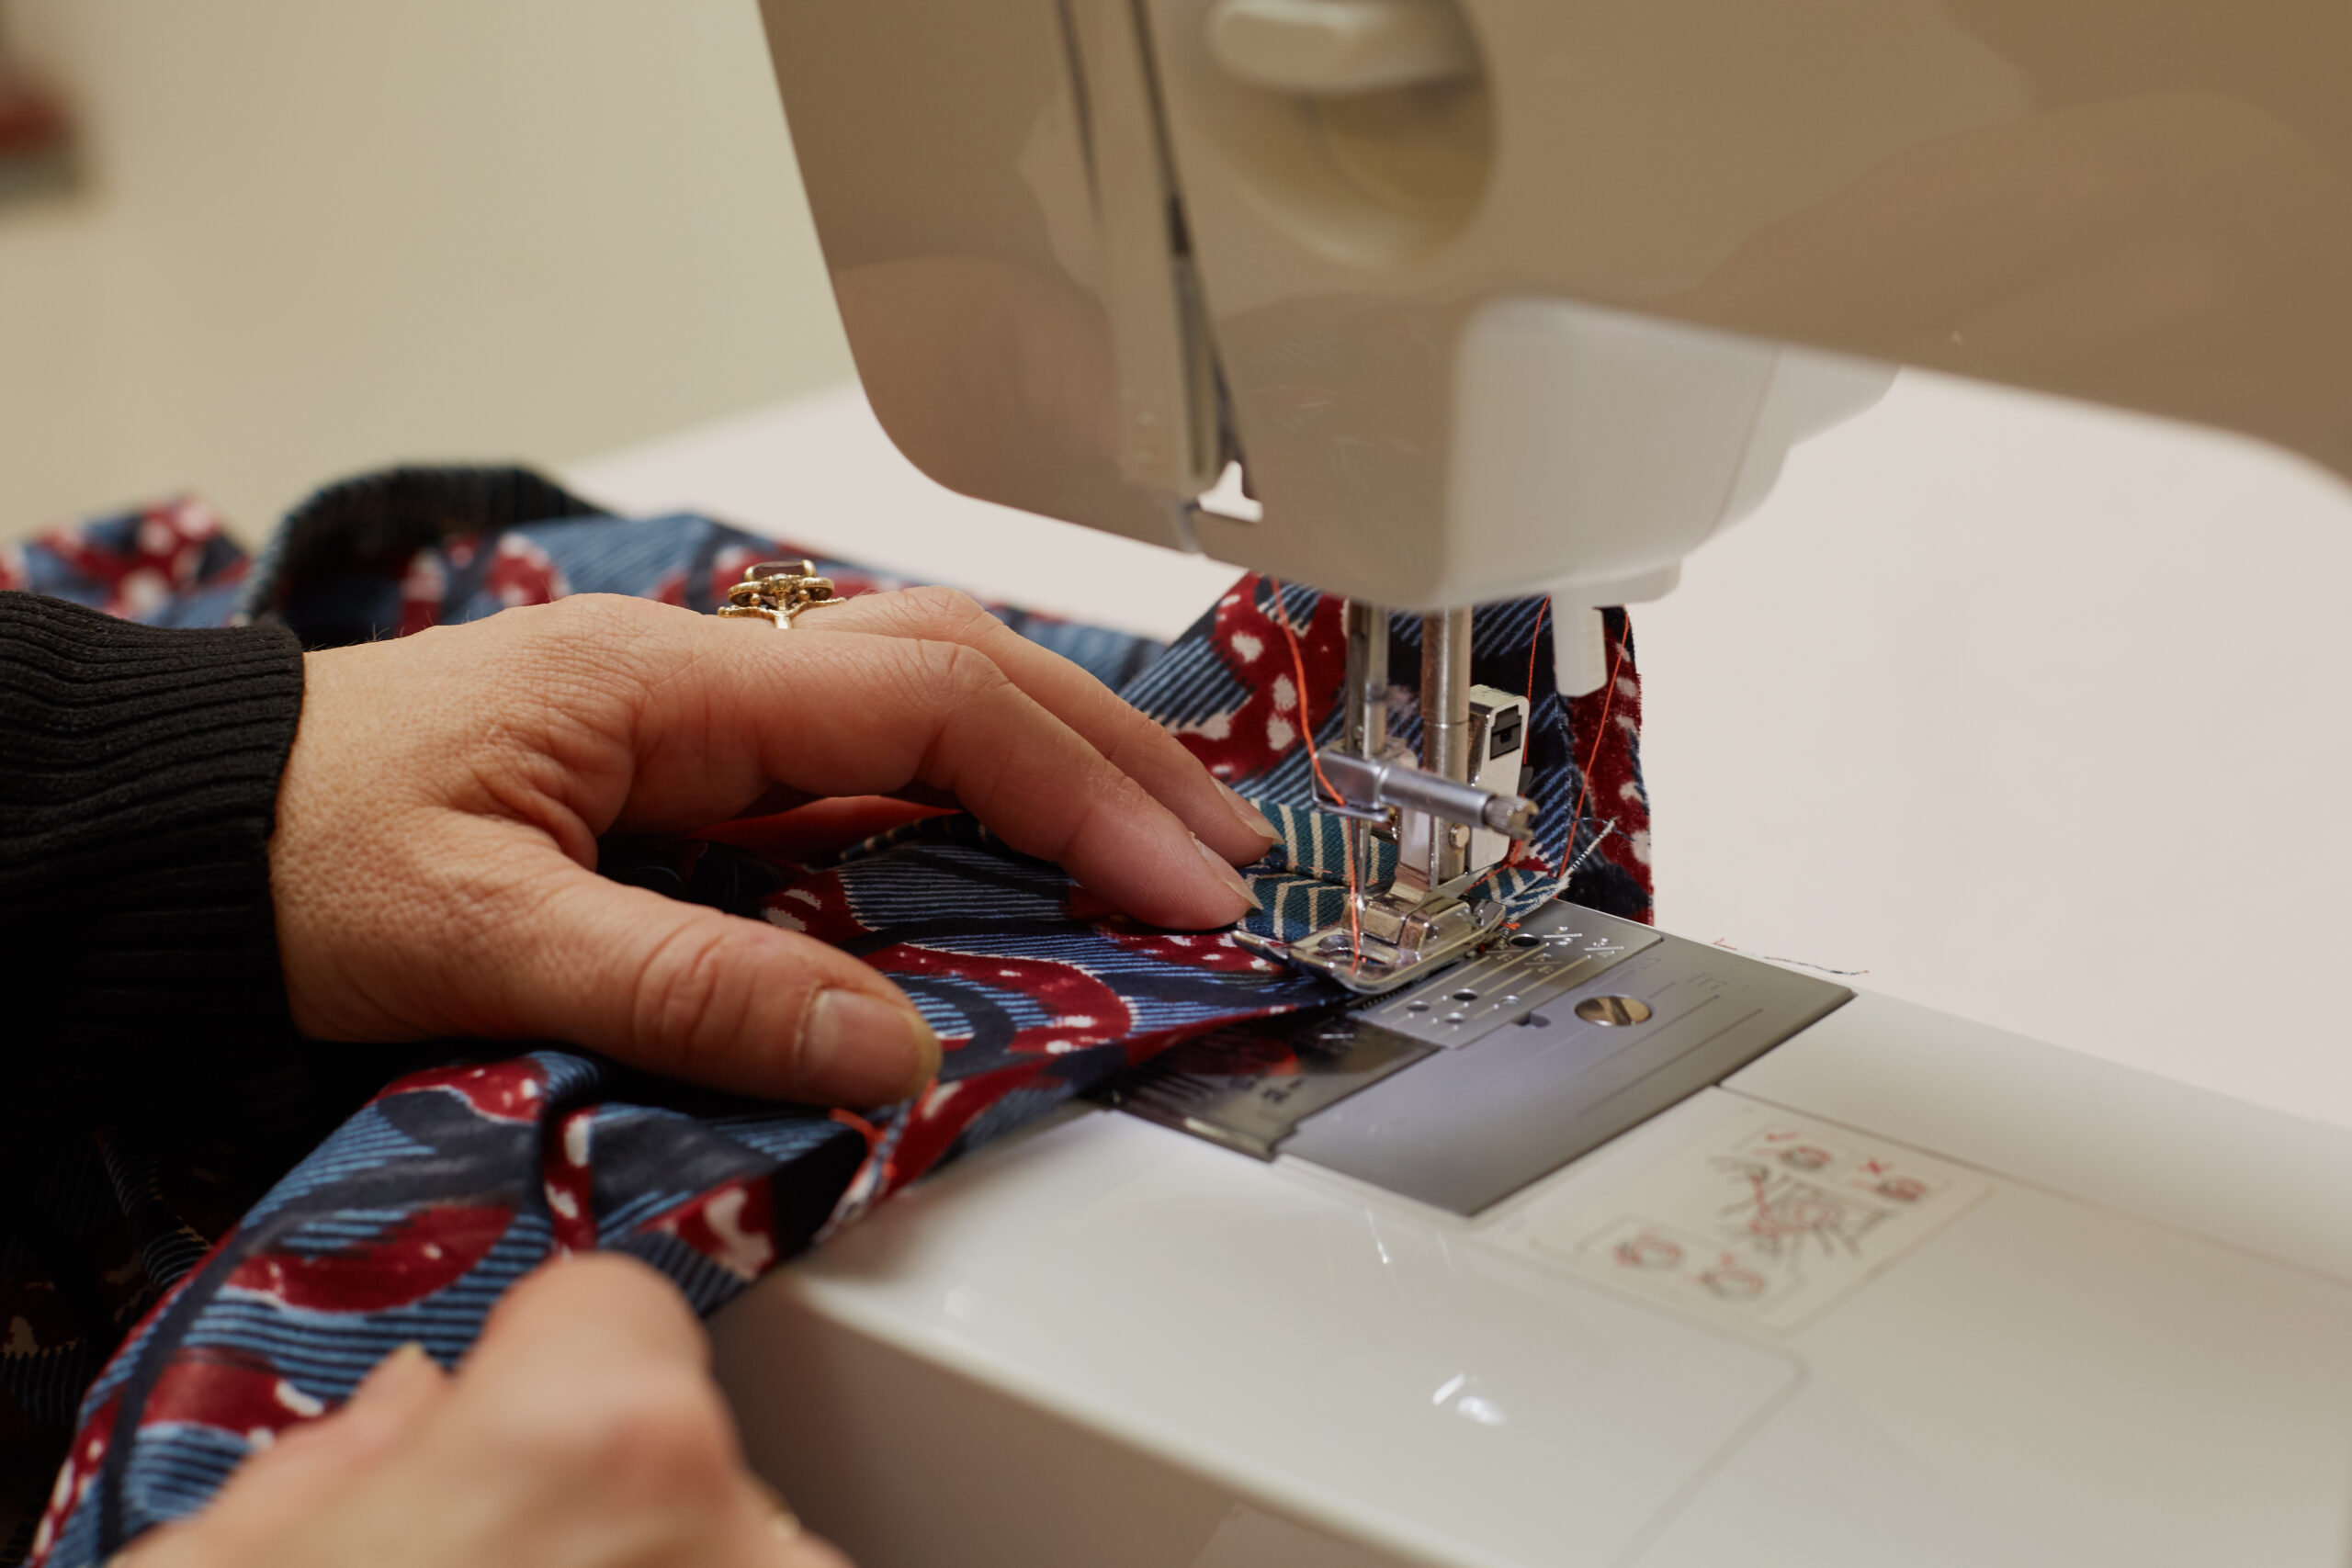
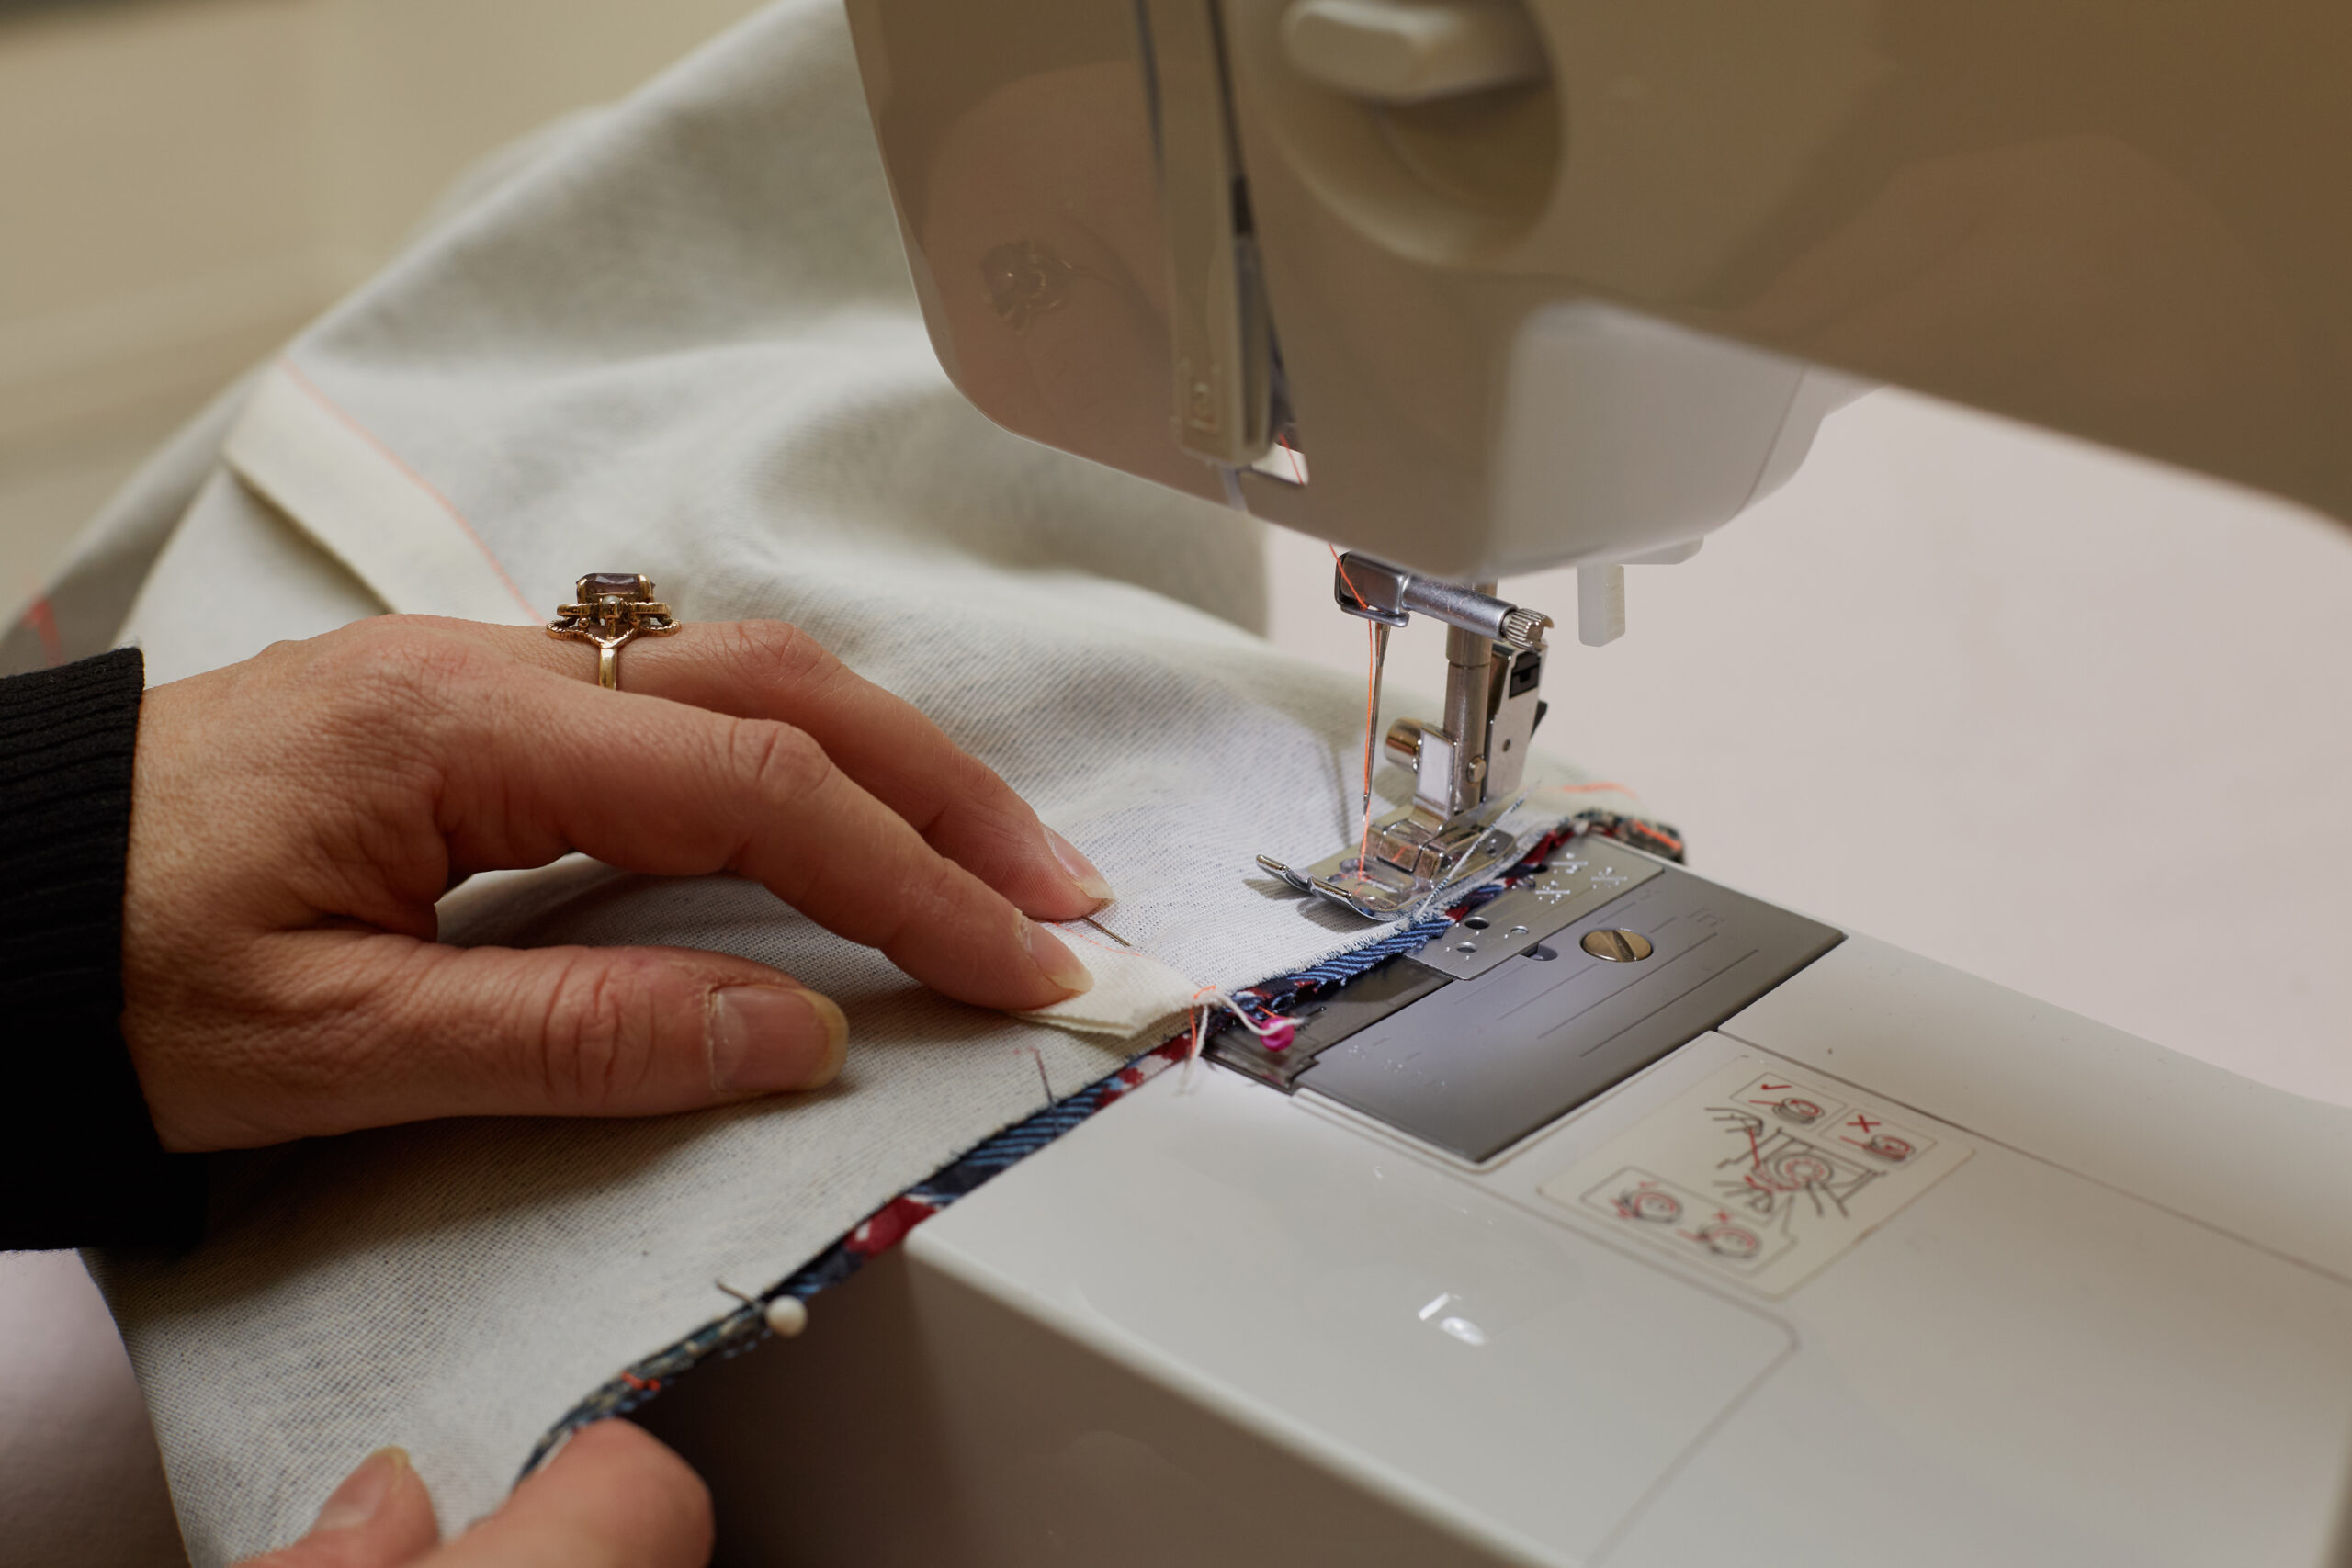
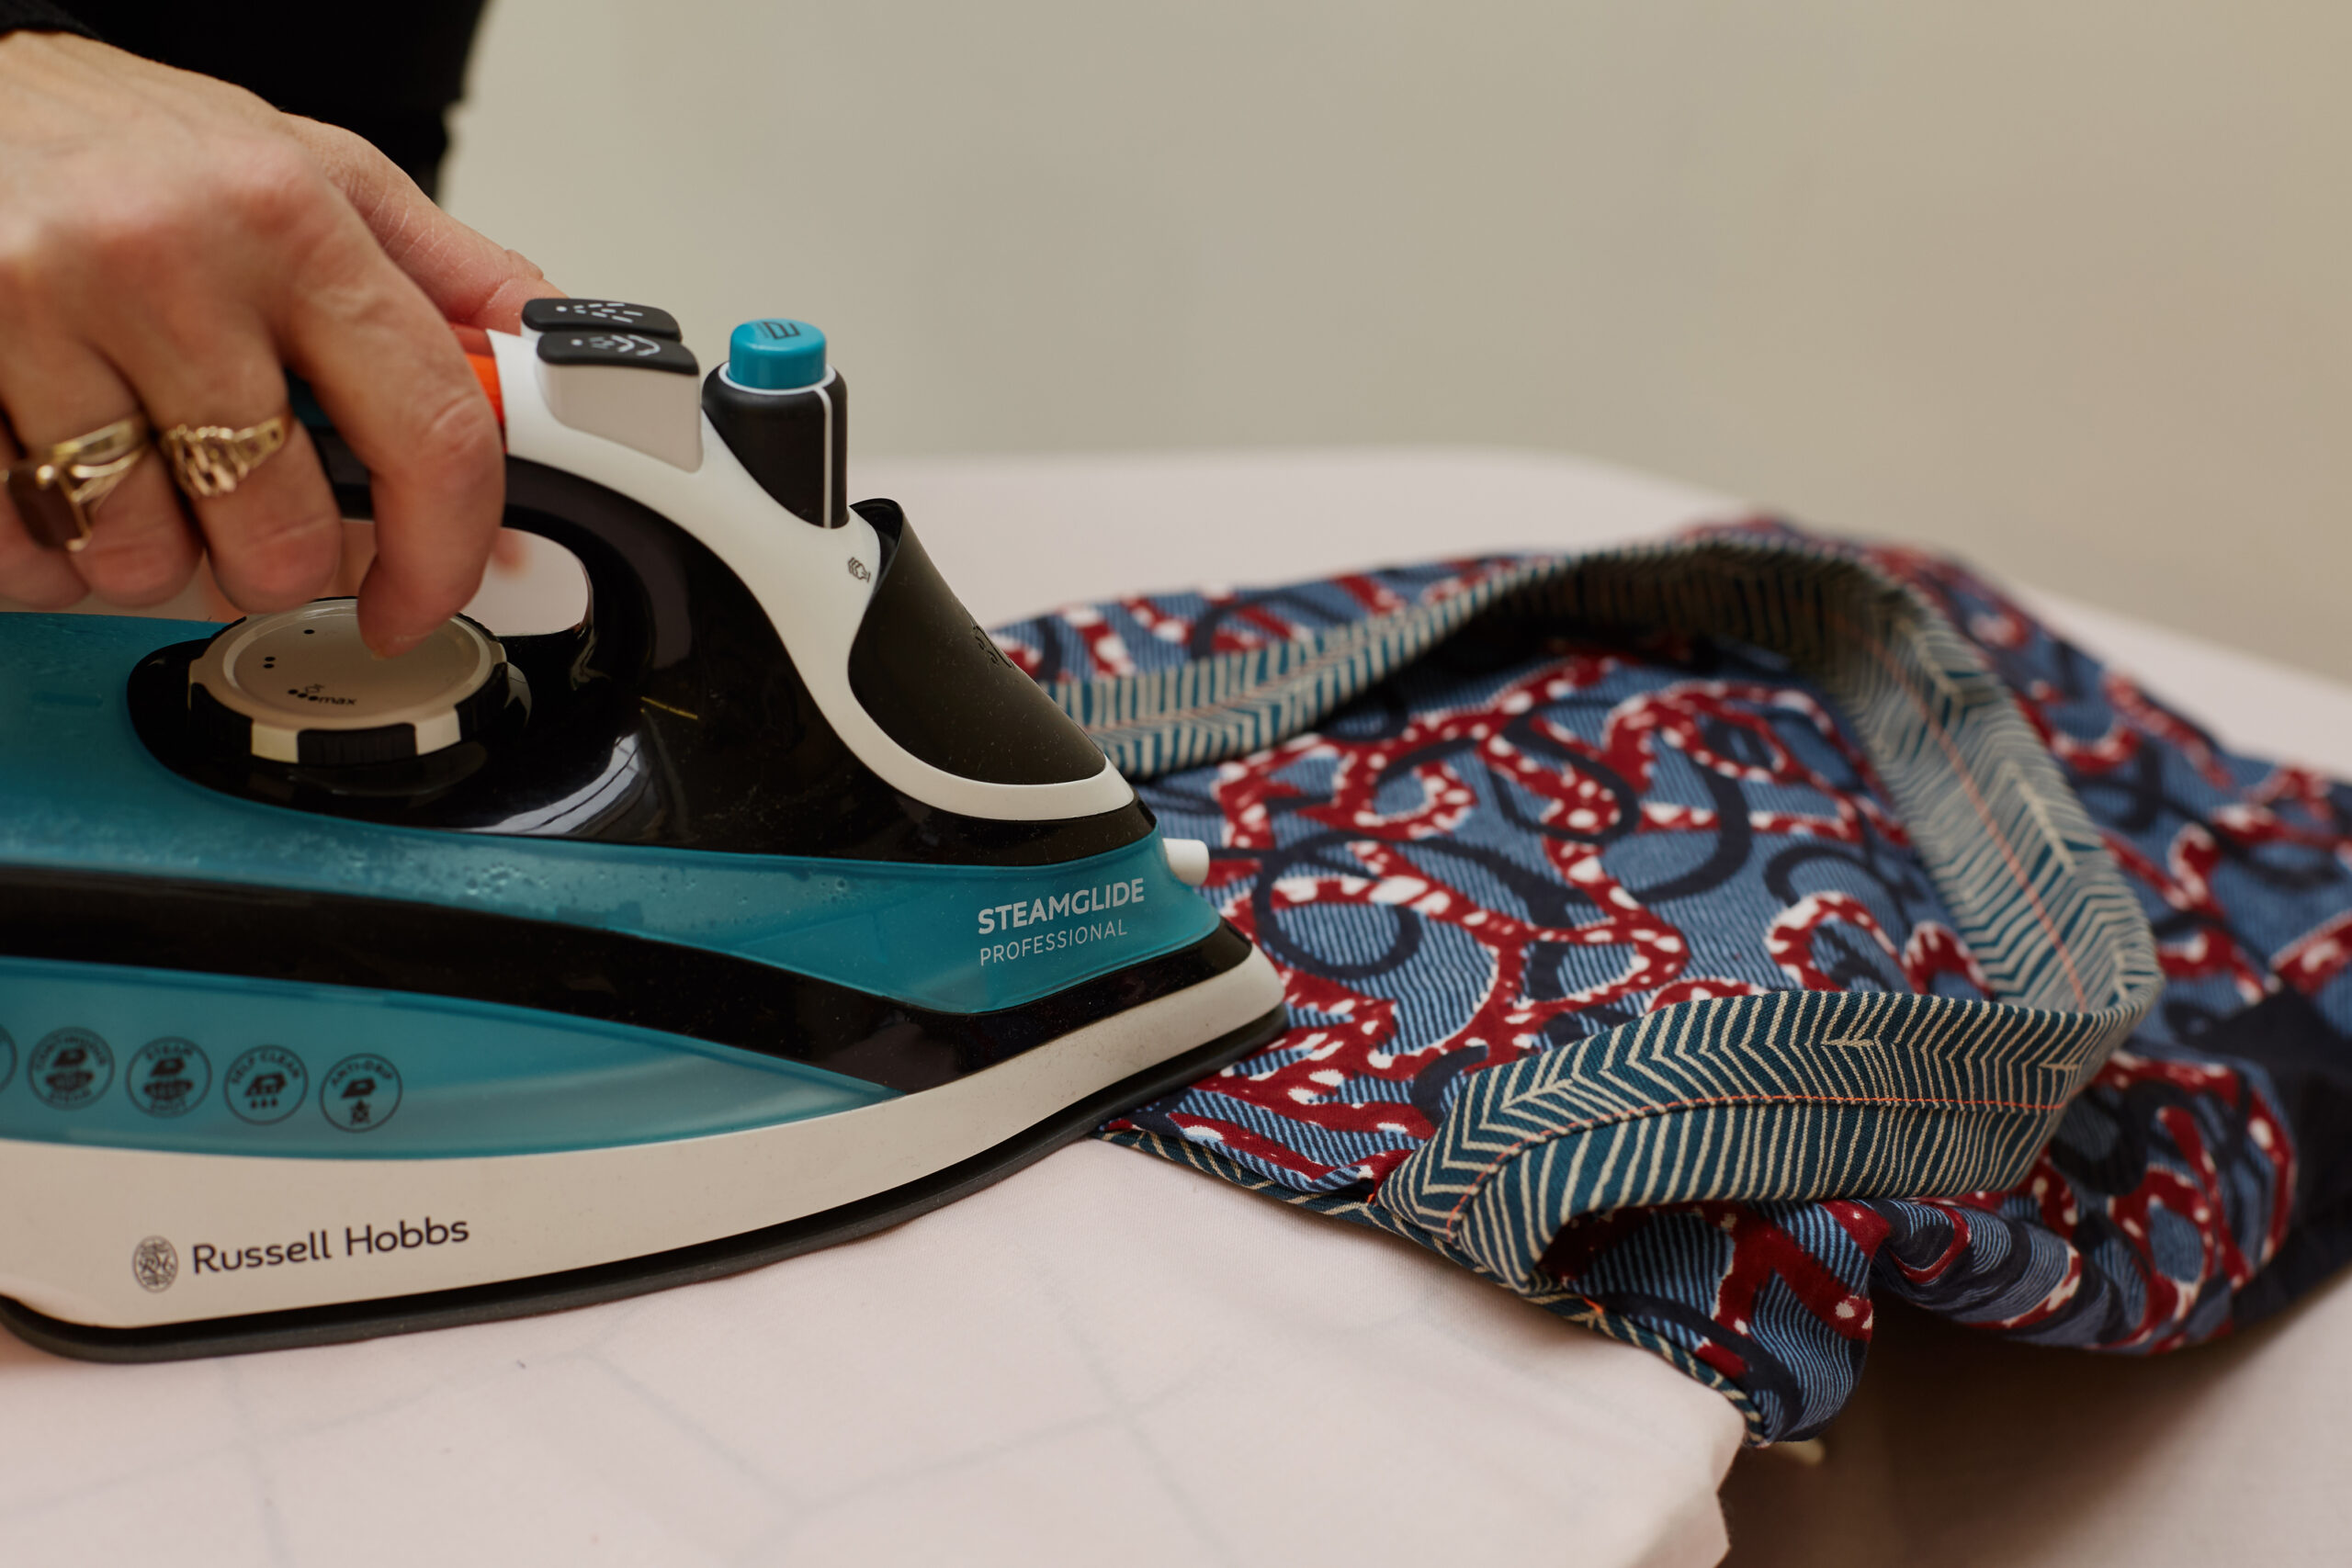
  • Using different types of stitching on a sewing machine
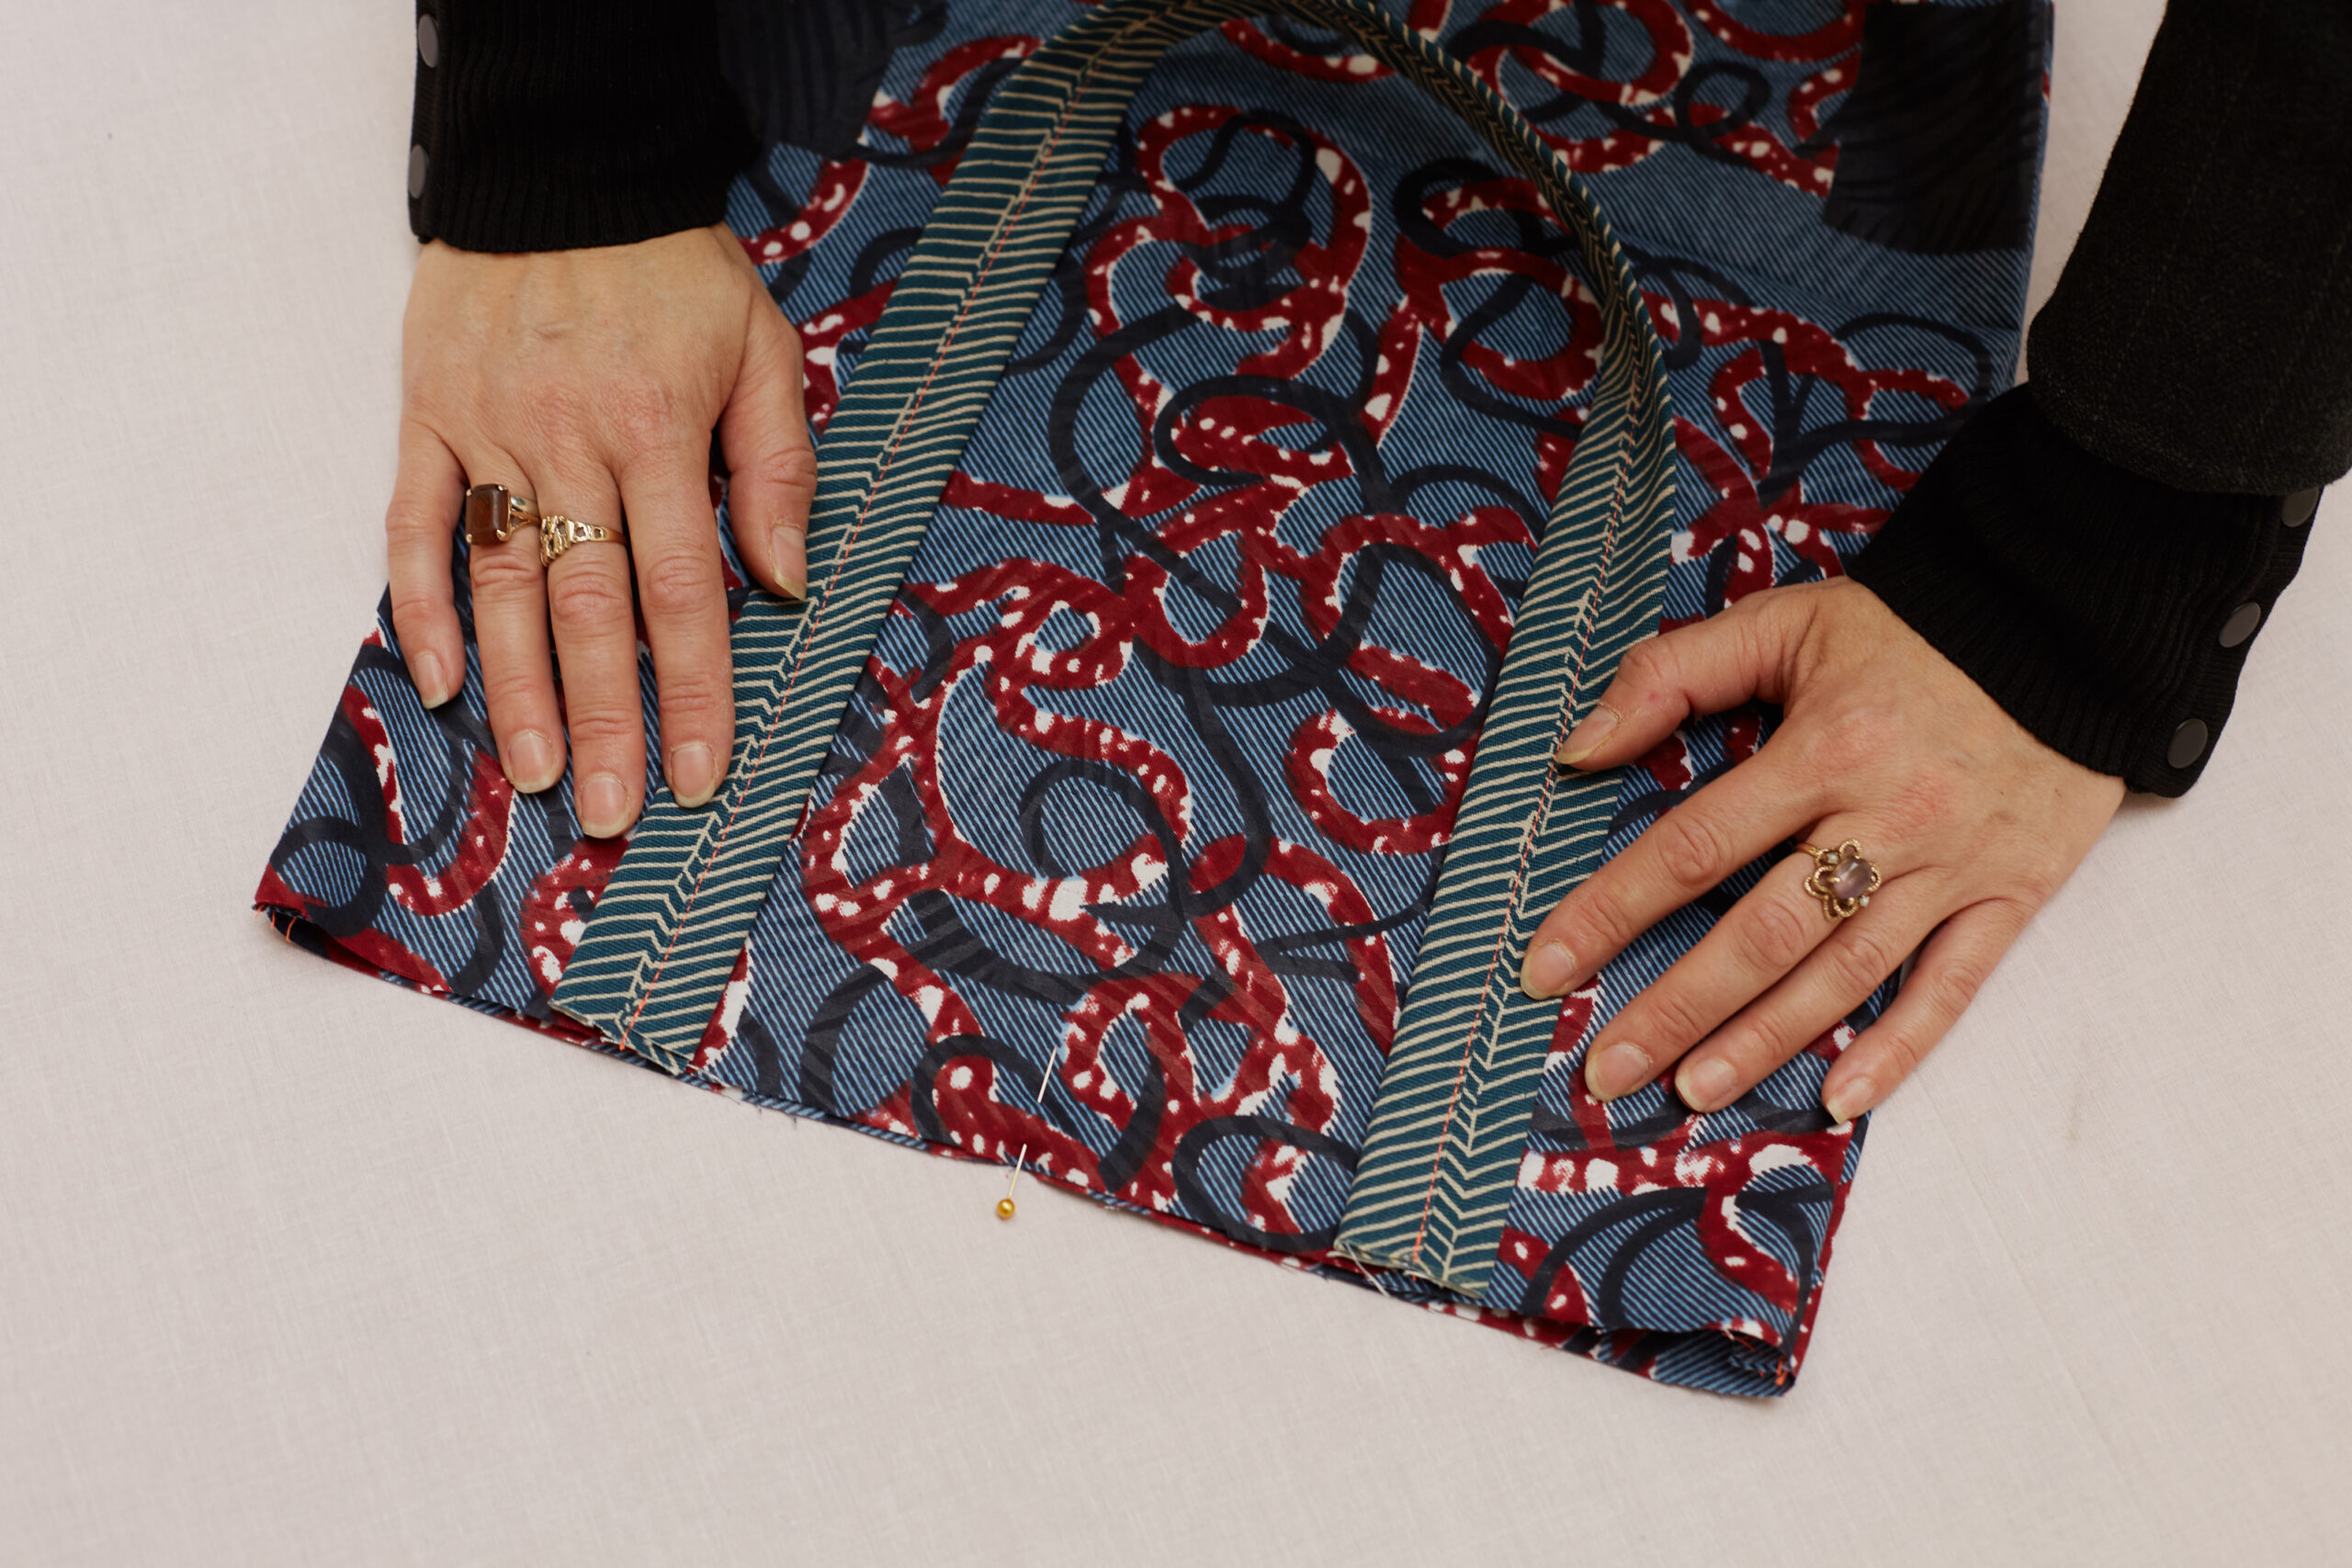
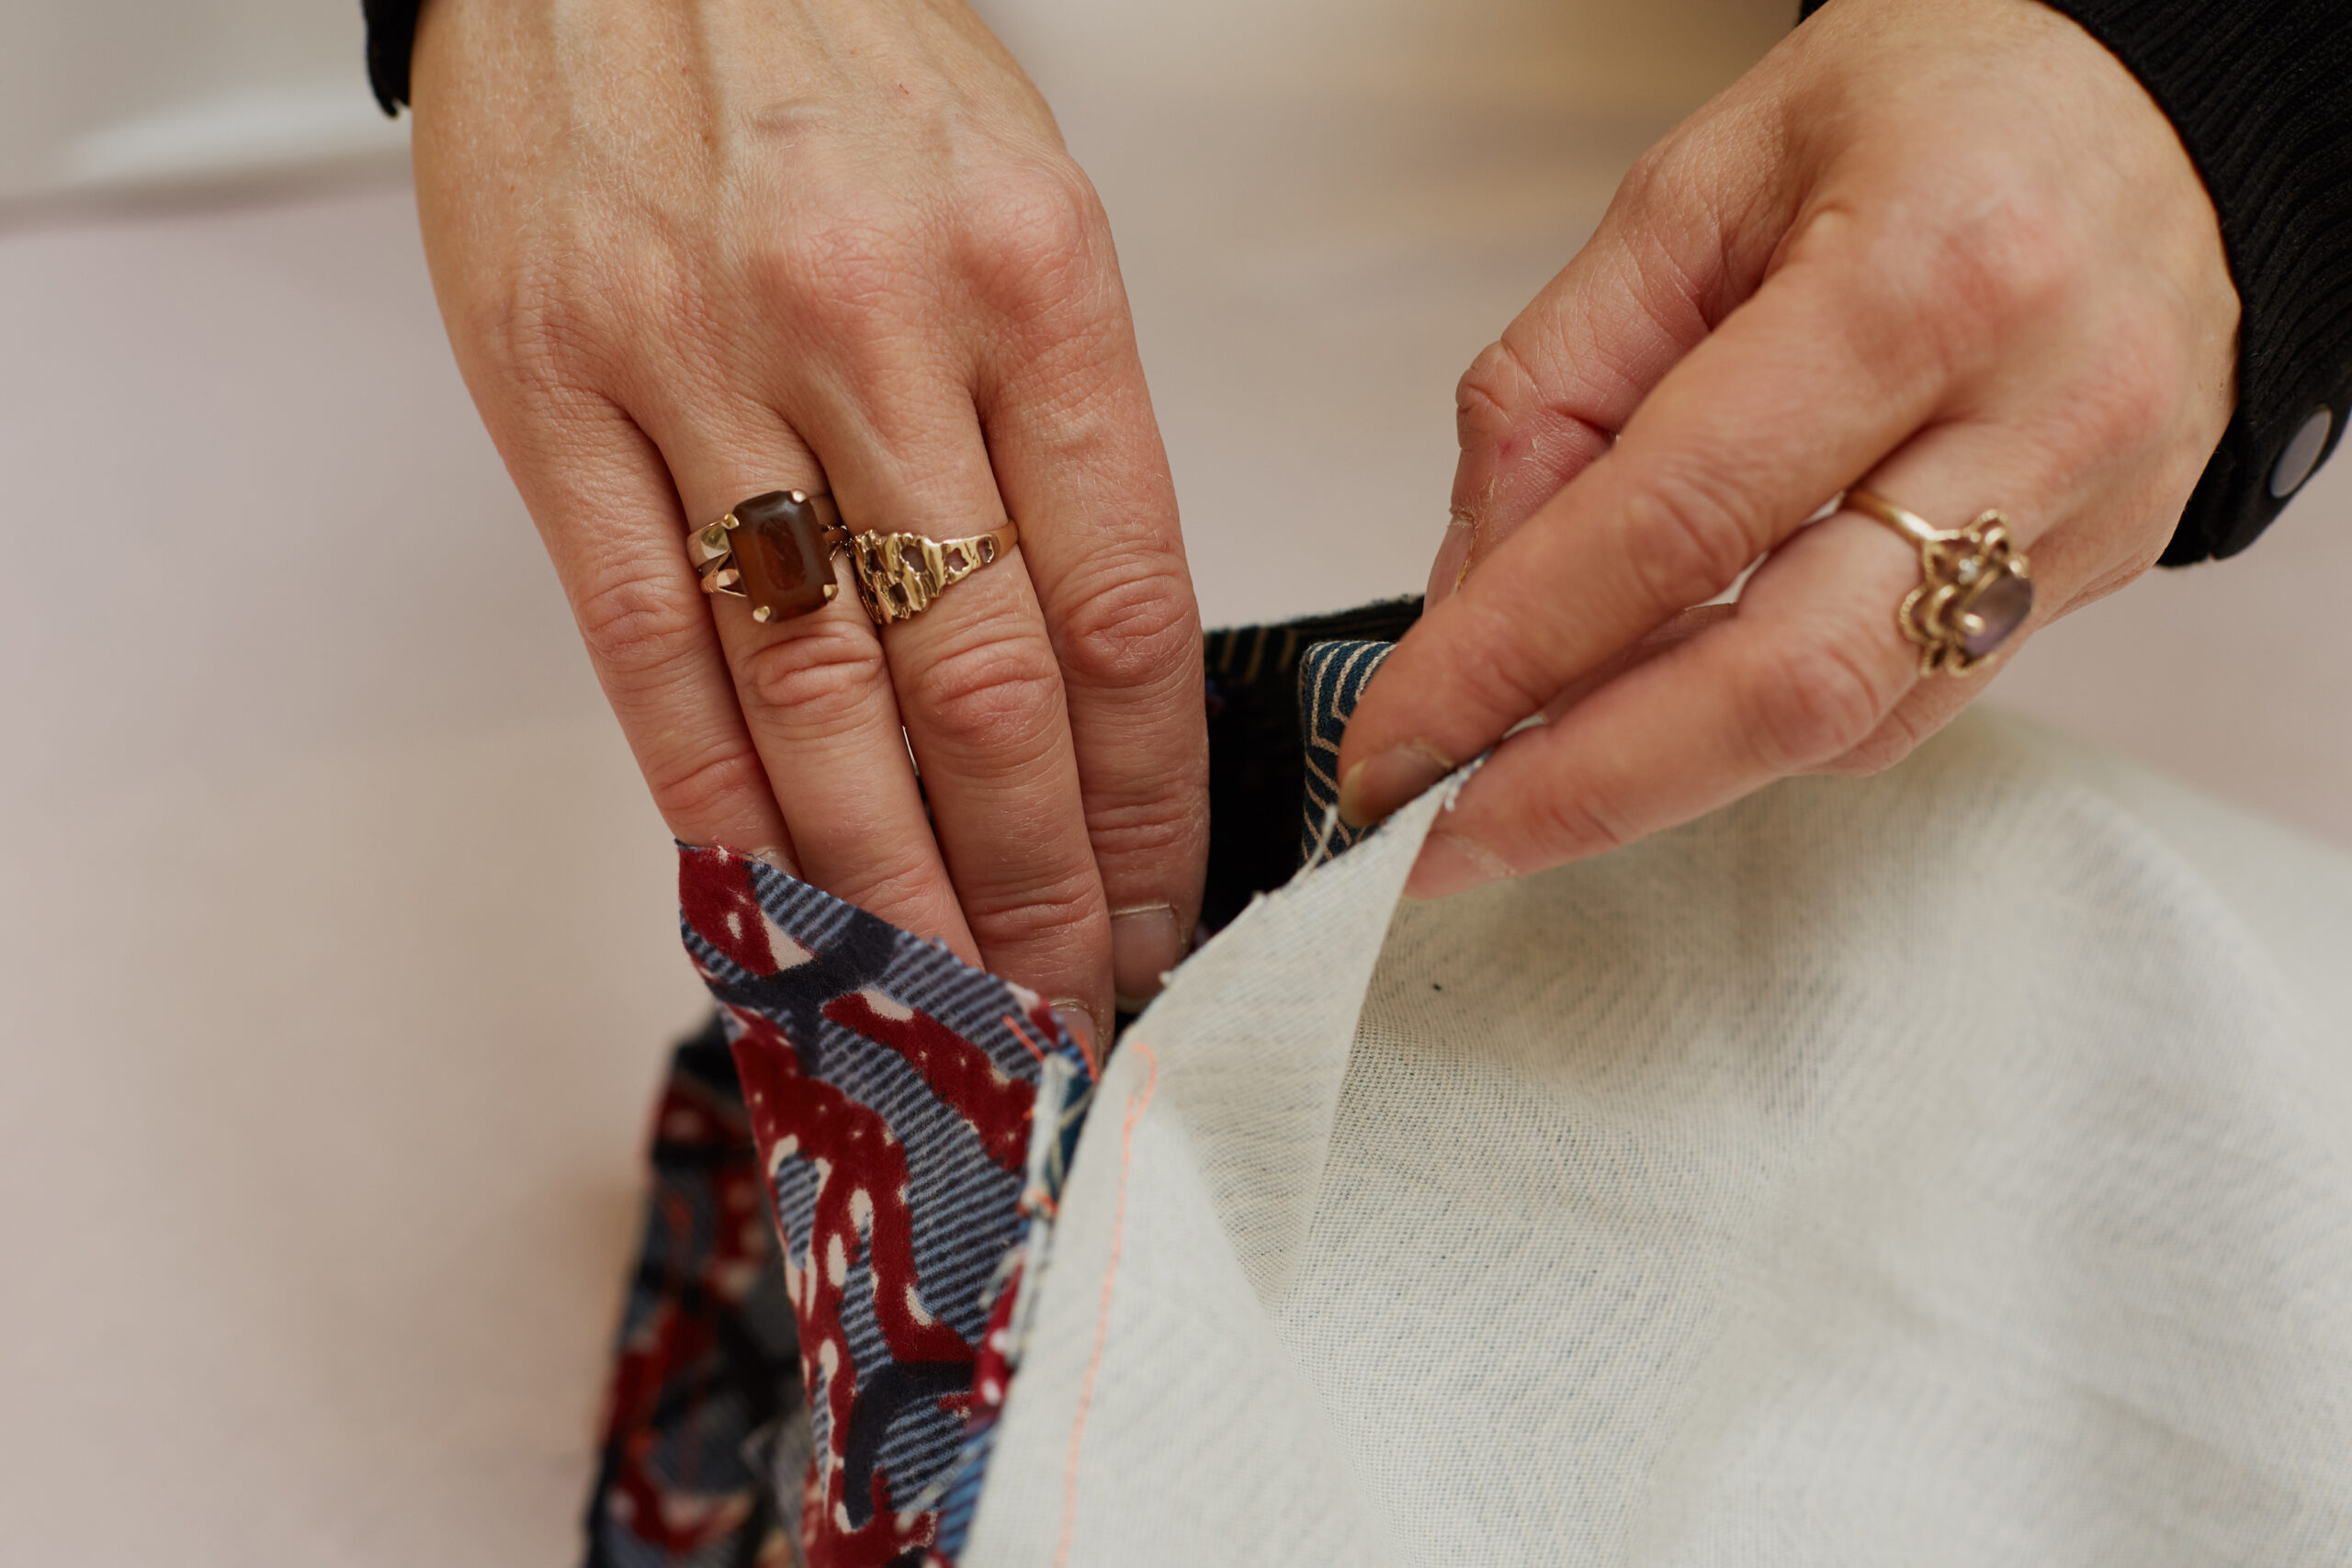
  • Bringing all of the different elements together to create a double-layered tote bag

What You’ll Need: 

Medium weight non-stretch cotton or other ‘stable’ type fabric (2 pieces of fabric 100cm x 40cm for the bag. 2 pieces of fabric 70cm x 10cm for the straps)

  • Sewing Machine
  • Thread (you may want to match or contrast the colour of your thread to the fabric)
  • Iron & Ironing Board
  • Tape Measure
  • Ruler (optional)
  • Tailor’s Chalk (or ordinary chalk)
  • Fabric Scissors
  • Pins
  • Embroidery Scissors (optional)
  • Old Fashioned wooden Knitting Needle (optional)
  • Pinking shears (optional)

Step 1: Measure, cut & prepare your fabric

My pattern is based on a bag 50cm x 40cm (including seam allowance).

Cut out two pieces of fabric 100cm x 40cm.

You can use the same fabric or two pieces of contrasting fabric, as the bag will be reversible. 

Measure and cut two pieces of fabric 70cm x 10cm for the straps.

Fold fabric: 

Fold one of the large pieces of fabric in half, with the ‘right’ sides facing each other.

Pin the fabric: 

Pin along the hem to secure the two sides of the fabric together.

Step 2: Set up the sewing machine & start sewing

Set up your sewing machine with your desired thread colour on the bobbin

To make the bag, you’ll be using the following stitches:

Straight stitch (2.5mm stitch length)

Zig-zag stitch (1.5mm stitch length)

Straight stitch the seams

Straight stitch (2.5mm stitch length) with ½” seam allowance down each longer sides of your bag. Remember to reverse / ‘lock stitch’ start and end of your seam. 

DO NOT: Stitch top or bottom of your bag!

And repeat!

Repeat the previous steps with the second large piece of fabric. 

You now have two seperate bags.

Step 3: Creating the shape (‘fake’ gusset , 3d effect)

With your stitched seams on the outside still, slip your hand into 1 of the bottom corners and pinch corner with your other hand to create a triangle point (bit like the bottom of a sugar bag).

Measure down 1” / 2.5cm from the top point of the triangle. Using a ruler, chalk a line to form the bottom edge of the triangle shape.

Stitch the corners

Straight stitch (2.5mm stitch length) along the line, reverse / ‘lock stitch’ at the beginning and end of your stitched line.

Repeat on the other three bottom corners (two on each bag).

Turn one of your bags through to show the ‘right side’ out and seams hidden and inside. Keep the other bag inside out (seams outside).

Step 4: Making the handles

For each strap, take a piece of fabric 70cm x 10cm. 

Iron a 2cm fold along one long edge.

Then fold and iron the opposite long edge towards the centre of the strap.

Finally, fold the first 2cm edge over the second folded edge and iron flat.

Repeat with your other piece of fabric to create the second strap. 

All raw edges are now tucked inside and you should have a finished strap width of about 3.5cm.

Pin and Stitch: 

Pin and stitch using straight stitch (2.5mm).

Repeat with your other piece of fabric to create the second strap. 

All raw edges are tucked inside and you should have a finished strap width of about 3.5cm.

Step 5: Adding the handles

Make a middle marker

Pick up the bag with ‘right sides’ facing out (seams inside).

Fold the bag in half lengthways to find the middle point between the two seams on the top opening.

Mark this central point with a pin.

Pin the handles on each side of the pin marker, on each side of the bag. ‘Stay stitch’ the handles in place, close to the bag edge (we don’t want this stitching to be visible once the two bags are joined together around the top edge) If you remove the front of the machine it gives you a narrower working and makes it easier to move the bag around whilst sewing.

Step 6: Joining the two bags together

Put one bag inside the other

Slip the ‘Right Sides’ out bag with handles attached inside the other bag (with seams on the outside).

Keep feeding the one bag inside the other, ensuring your handles are sandwiched between the layers.

Pin the parts together

Pin the two bags together around what will be the opening of the bag.

Start by pinning the side seams together. Split the seams (one seam folded one way, the other the opposite way) to avoid this area getting over bulky and then pin around the rest of the opening of the bag.

VERY IMPORTANT! Leave an unpinned gap between the handles on one side only, as this is where you will turn your finished bag through.

Stitch (2.5mm stitch length and with the needle to left), with at least ½” seam allowance, from start of your unpinned gap all the way around the top of the bag until you reach the end of the unpinned gap.

Keep edges quite taught while sewing as to avoid any unwanted pleats or puckering. Ensure all pins are removed as you stitch.

Turn the bag the right way round 

Turn the bag through by putting your hand into the gap and pulling all fabric through to reveal your bag – MAGIC! Tuck one bag inside the other.

Step 7: Finishing the bag

Iron hem and pin gap

Iron around the top edge to flatten and neaten, ensuring you fold the cloth inwards on your gap. Pin the gap together.

Top stitch

Finally ‘top stitch’ (needle in middle setting, straight stitch 2.5mm) all the way around the top of the bag, to not only stitch the gap closed but also to give the bag a nice finish. Don’t forget to reverse / ‘lock stitch’ start and end of your seam. Trim any loose threads.

The finished bag

Congratulations! You’ve made a reversible tote bag.

If you want to vary the design of the bag you can:

Make the bag horizontal e.g. for a laptop bag with the straps attached to the longer sides

Use different patterned fabrics for each side of the bag or the handles.

Personalise with applique (see cushion tutorial) or add pockets whilst the fabric is still ‘flat’ piece

Thank You to Sophie Rochester at Yodomo for helping me bring these online resource pages to fruition.

X