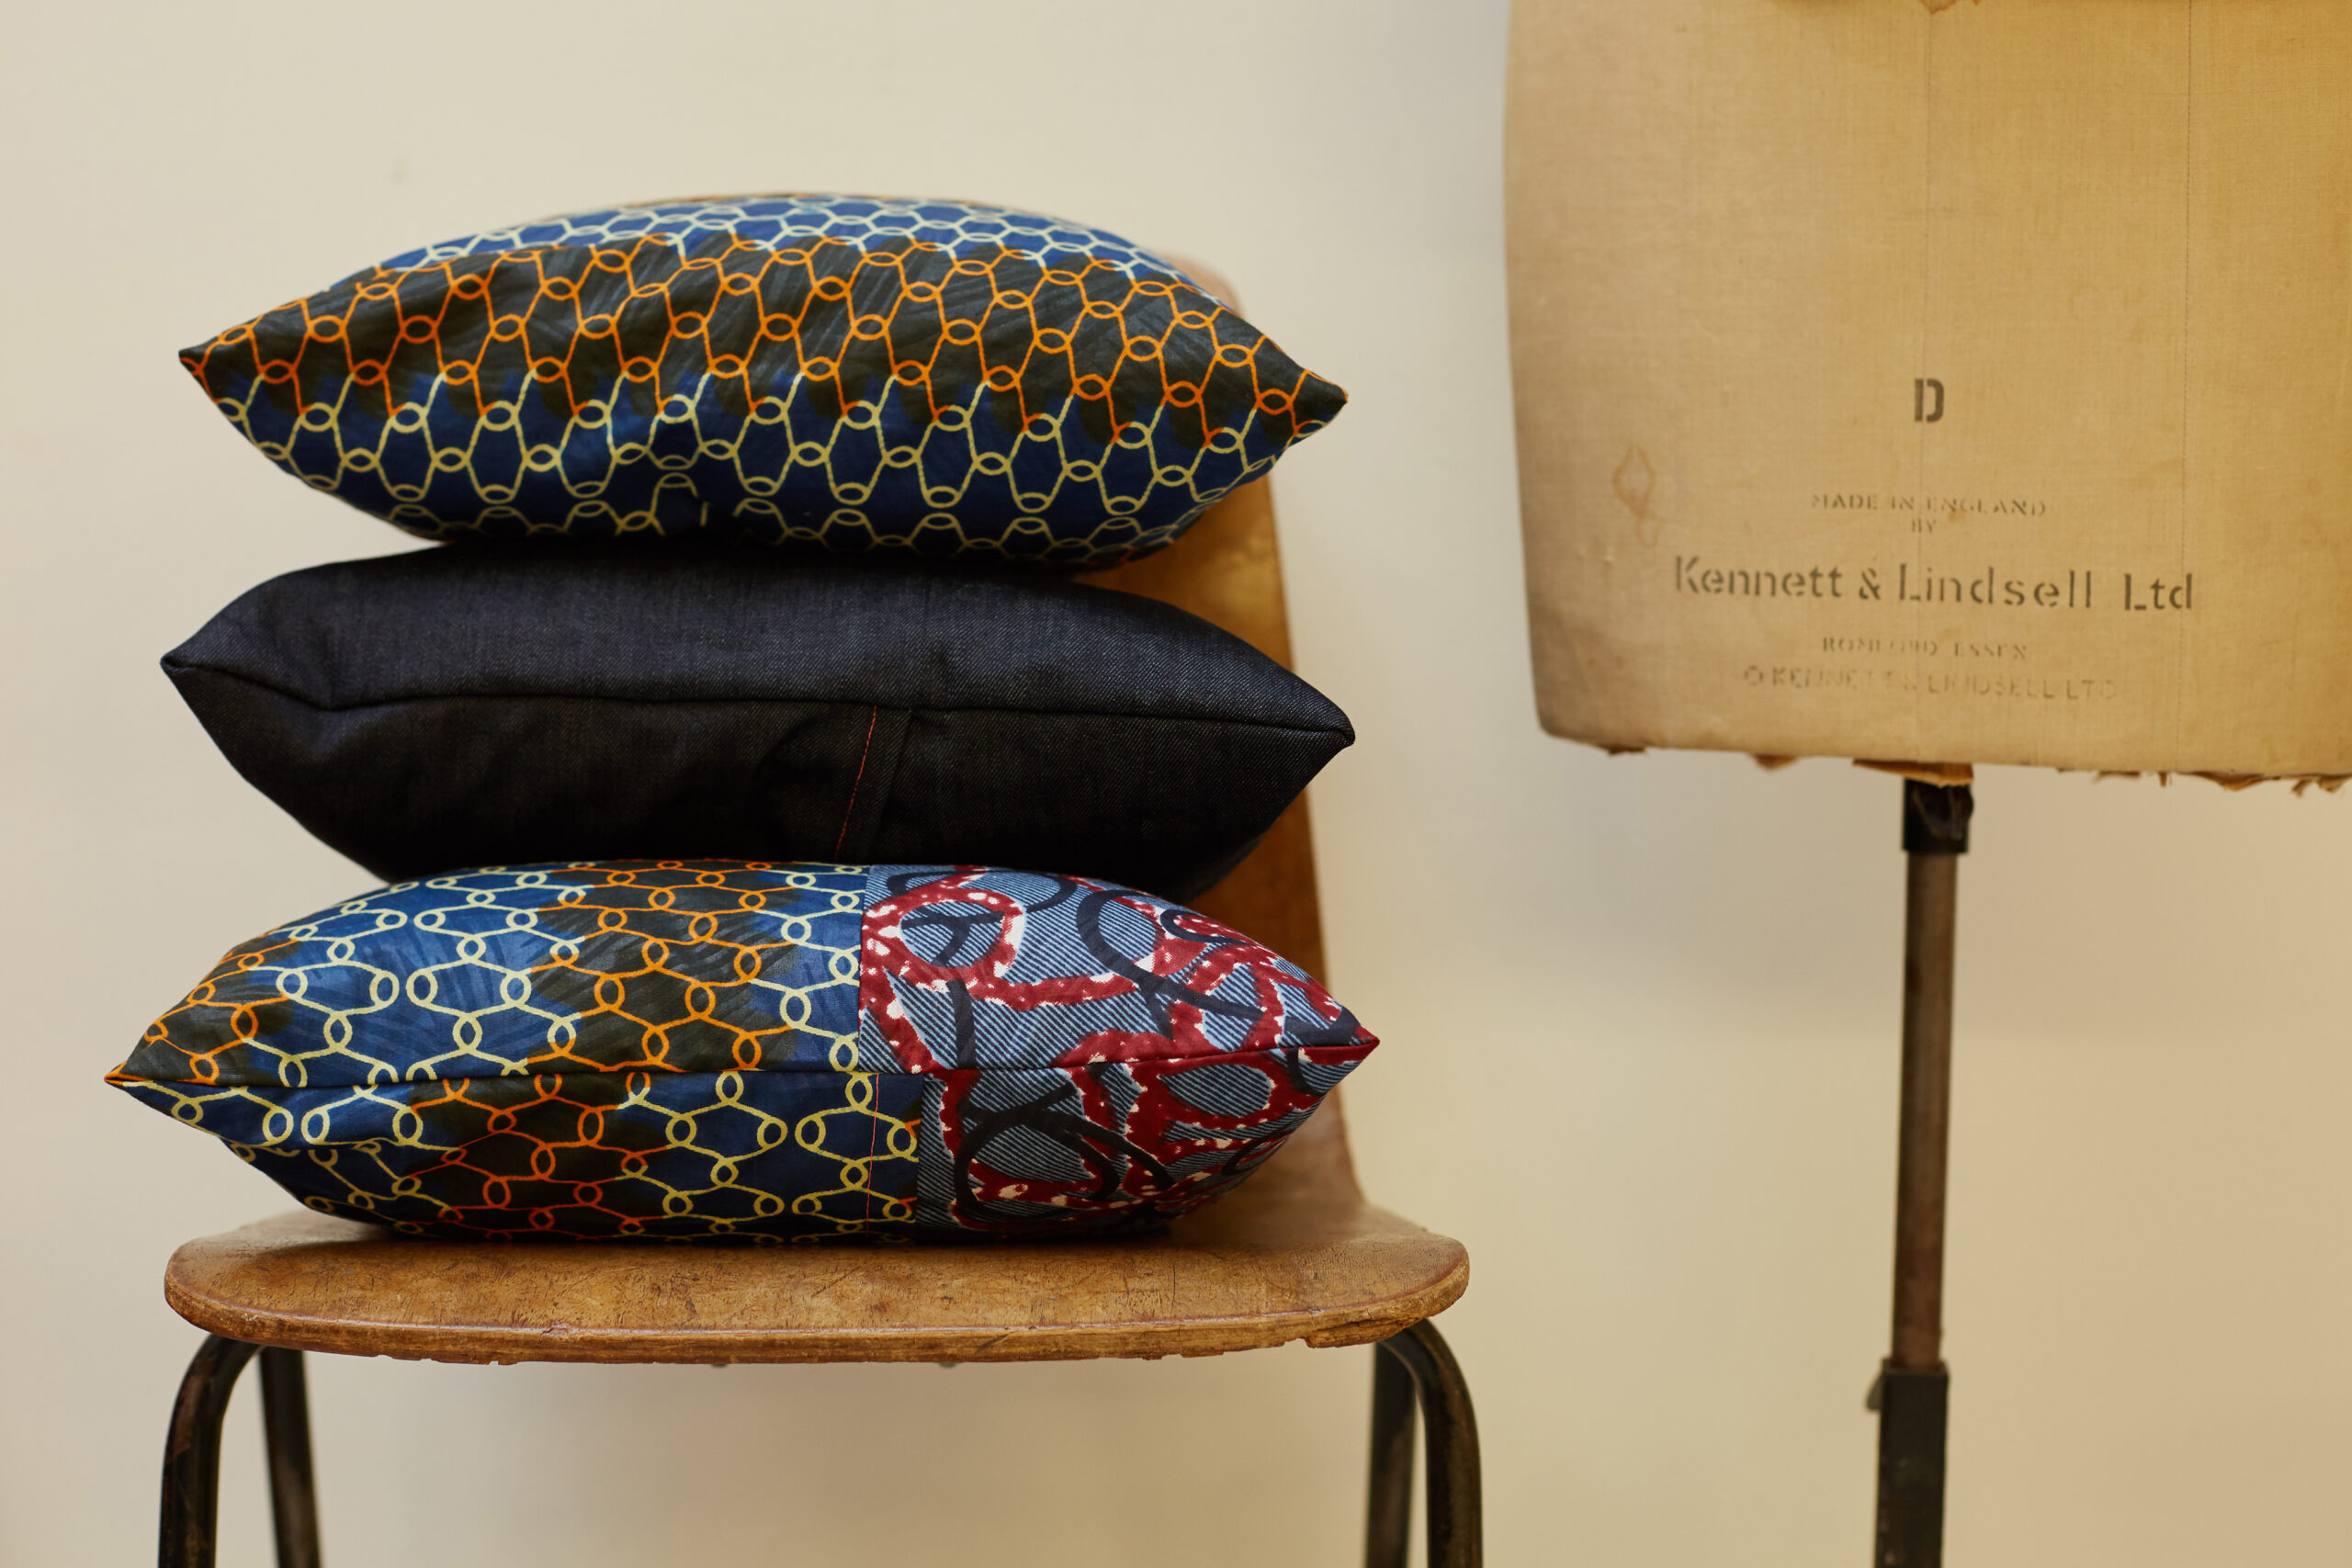
What you’ll learn:

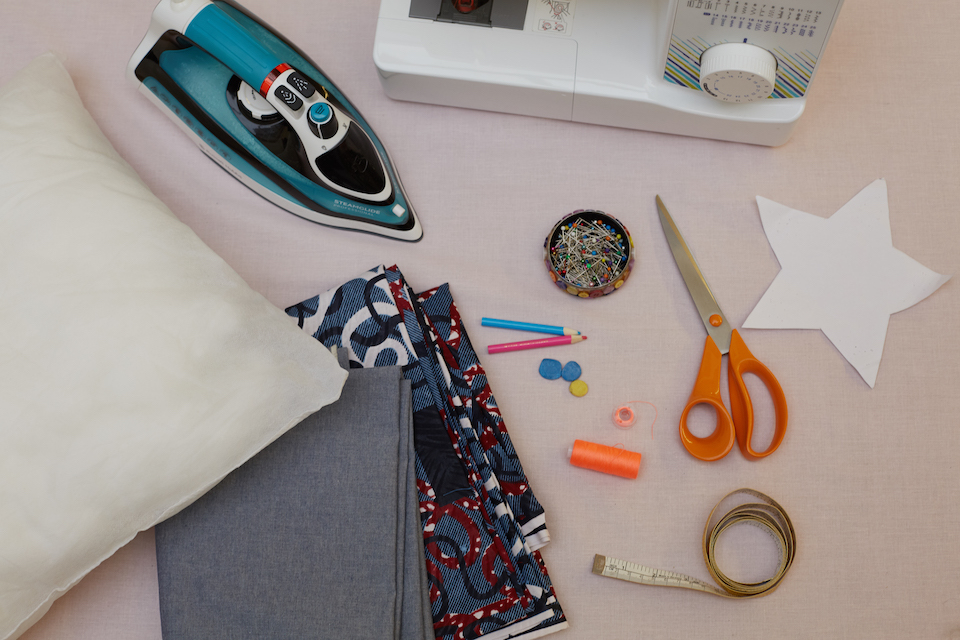
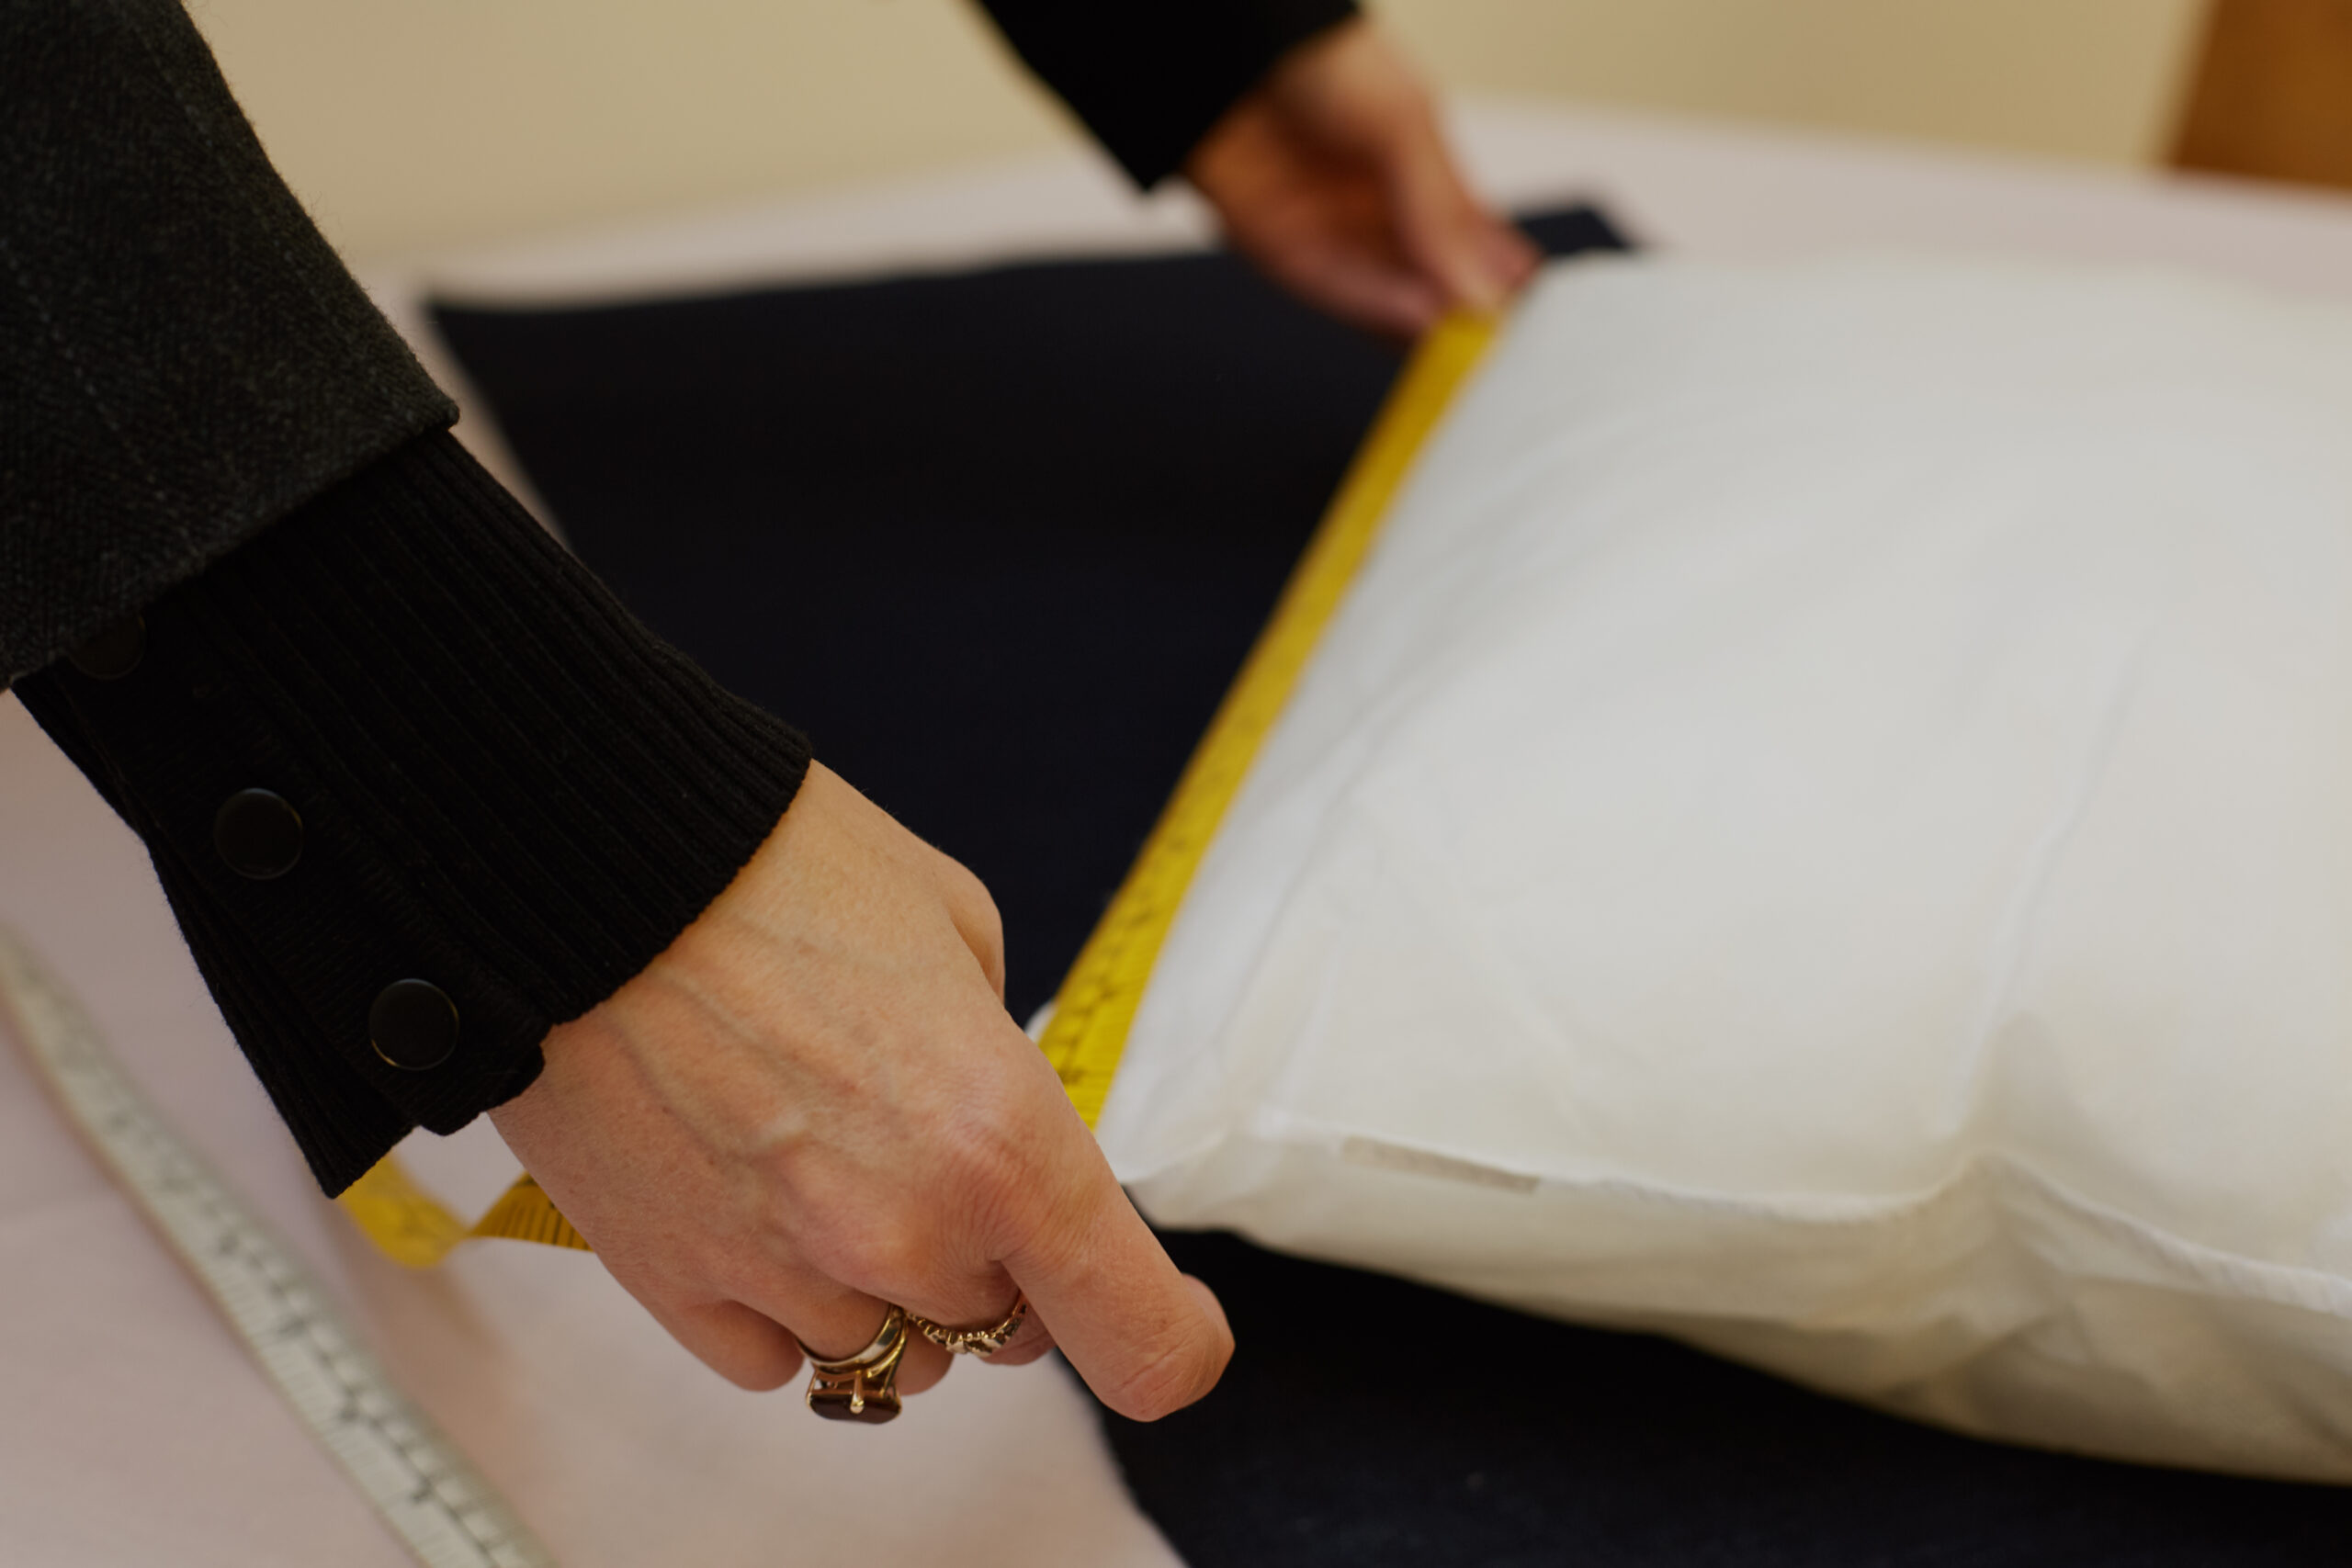
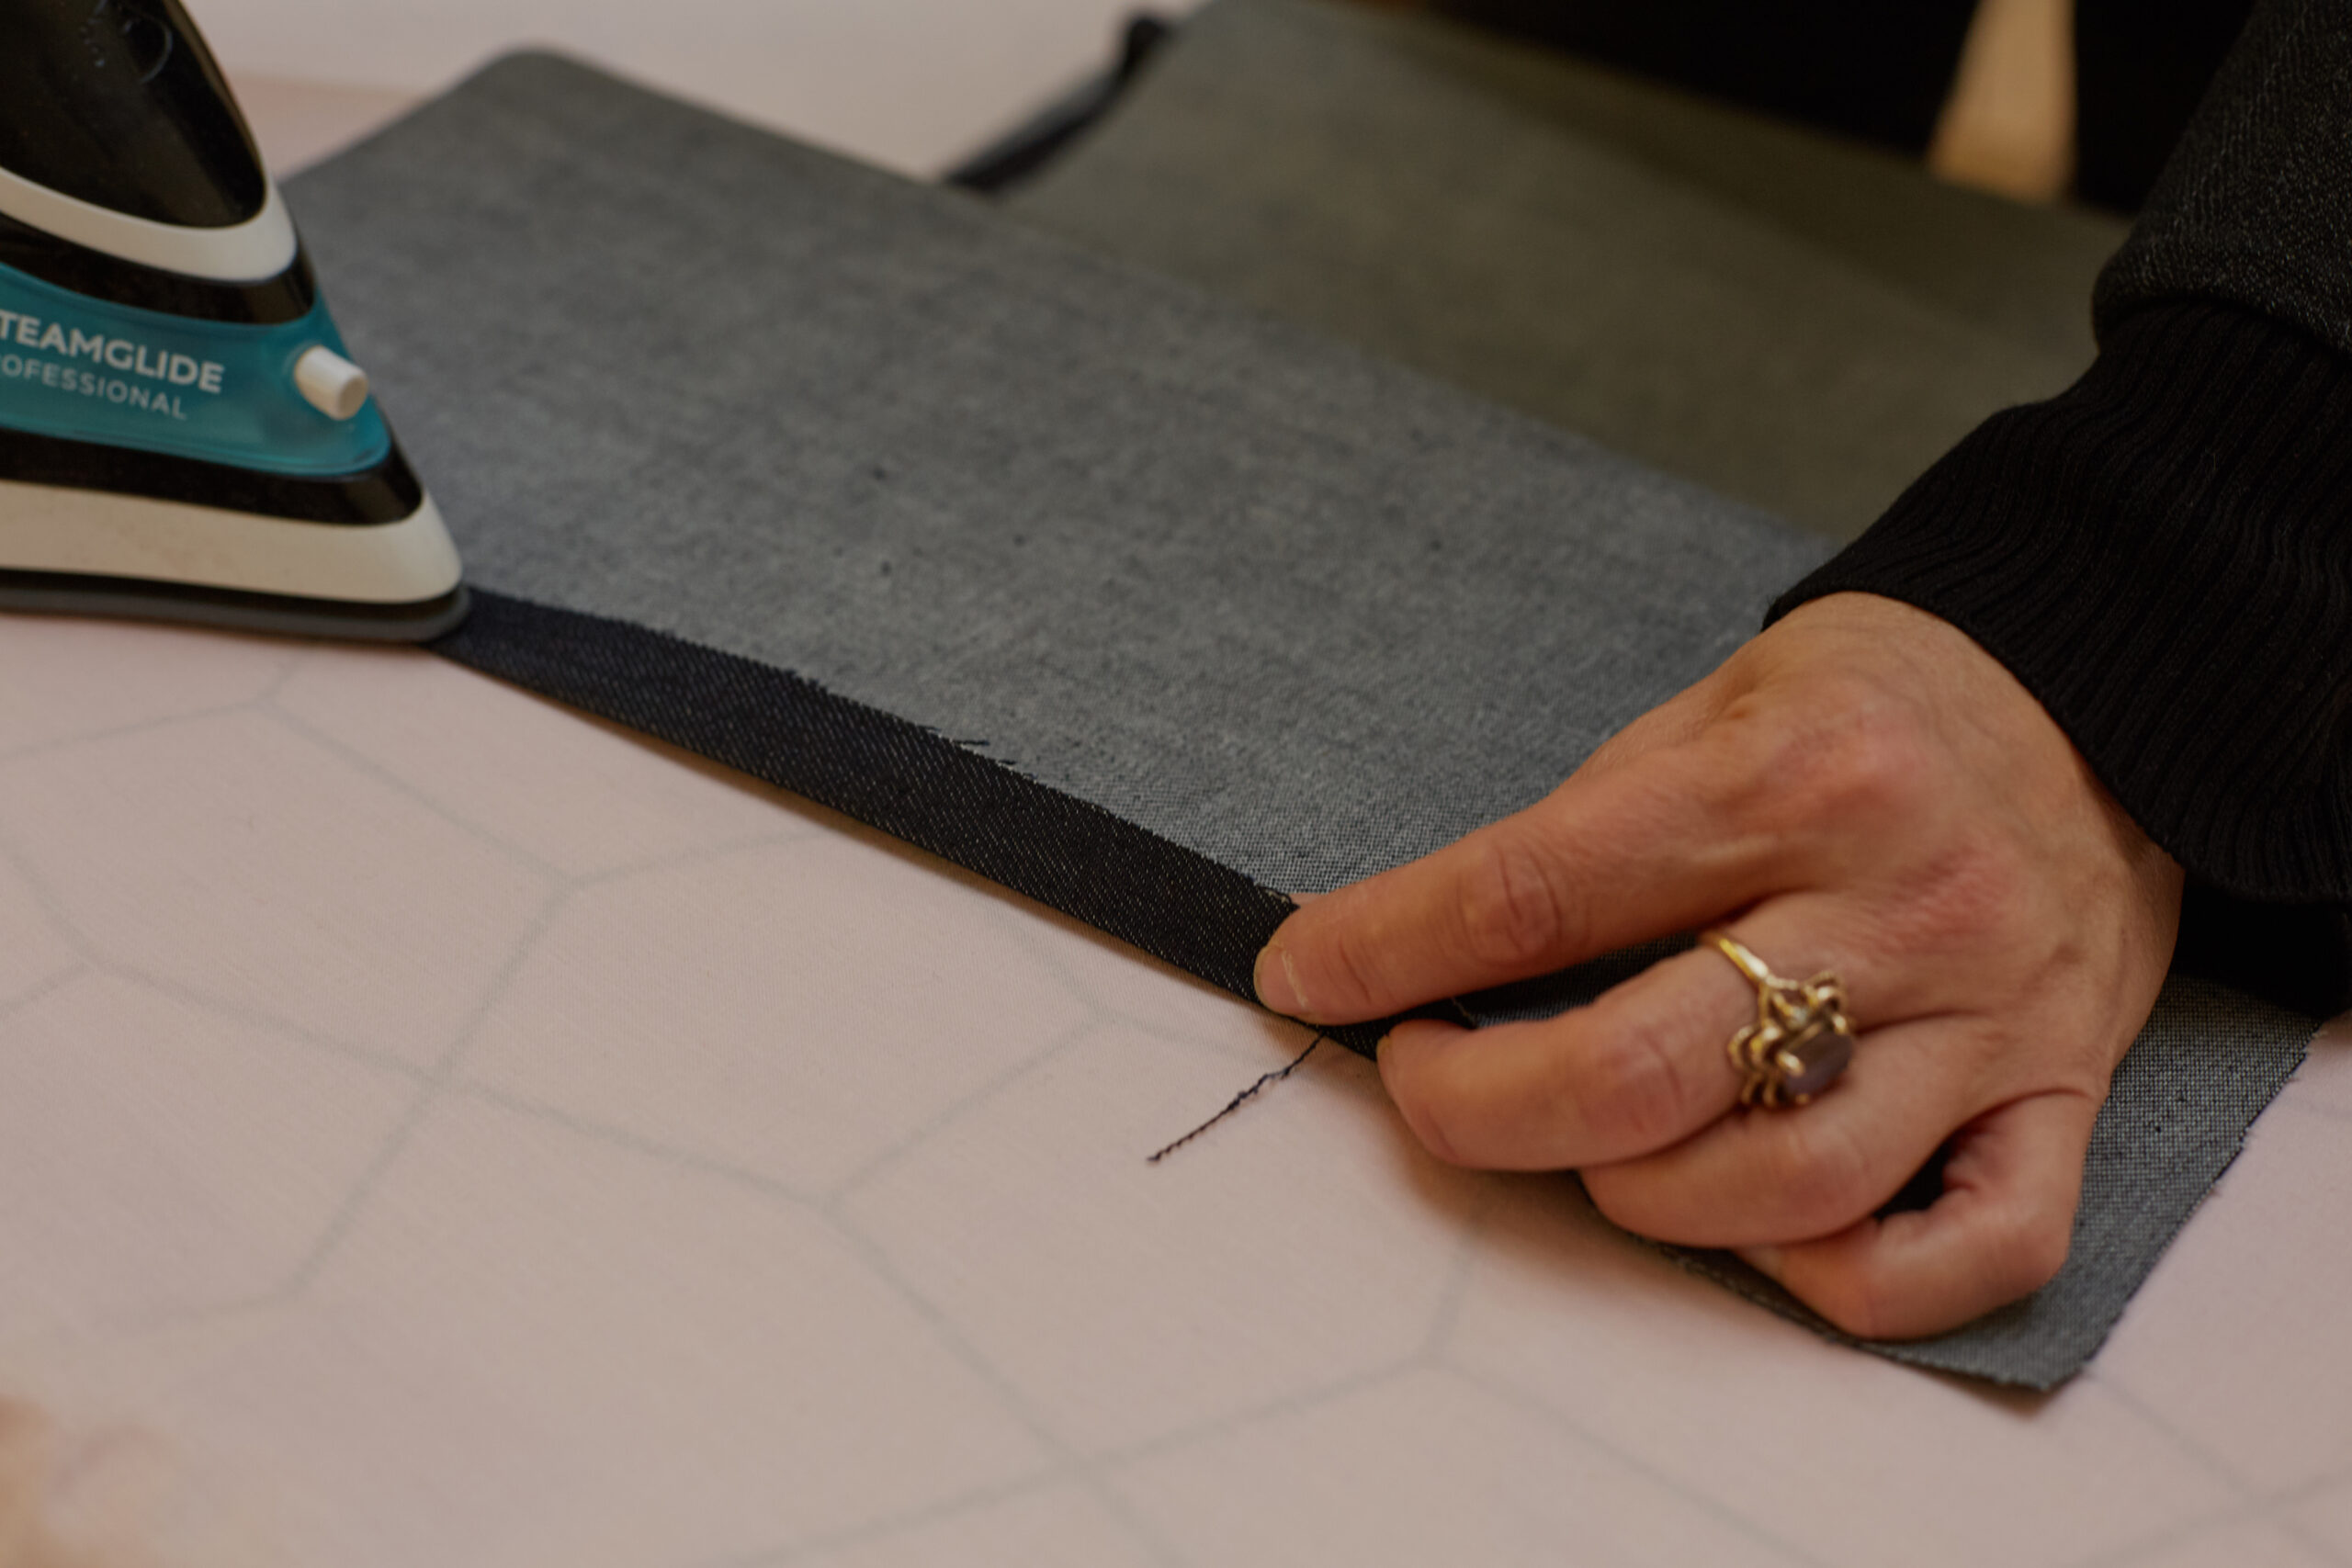
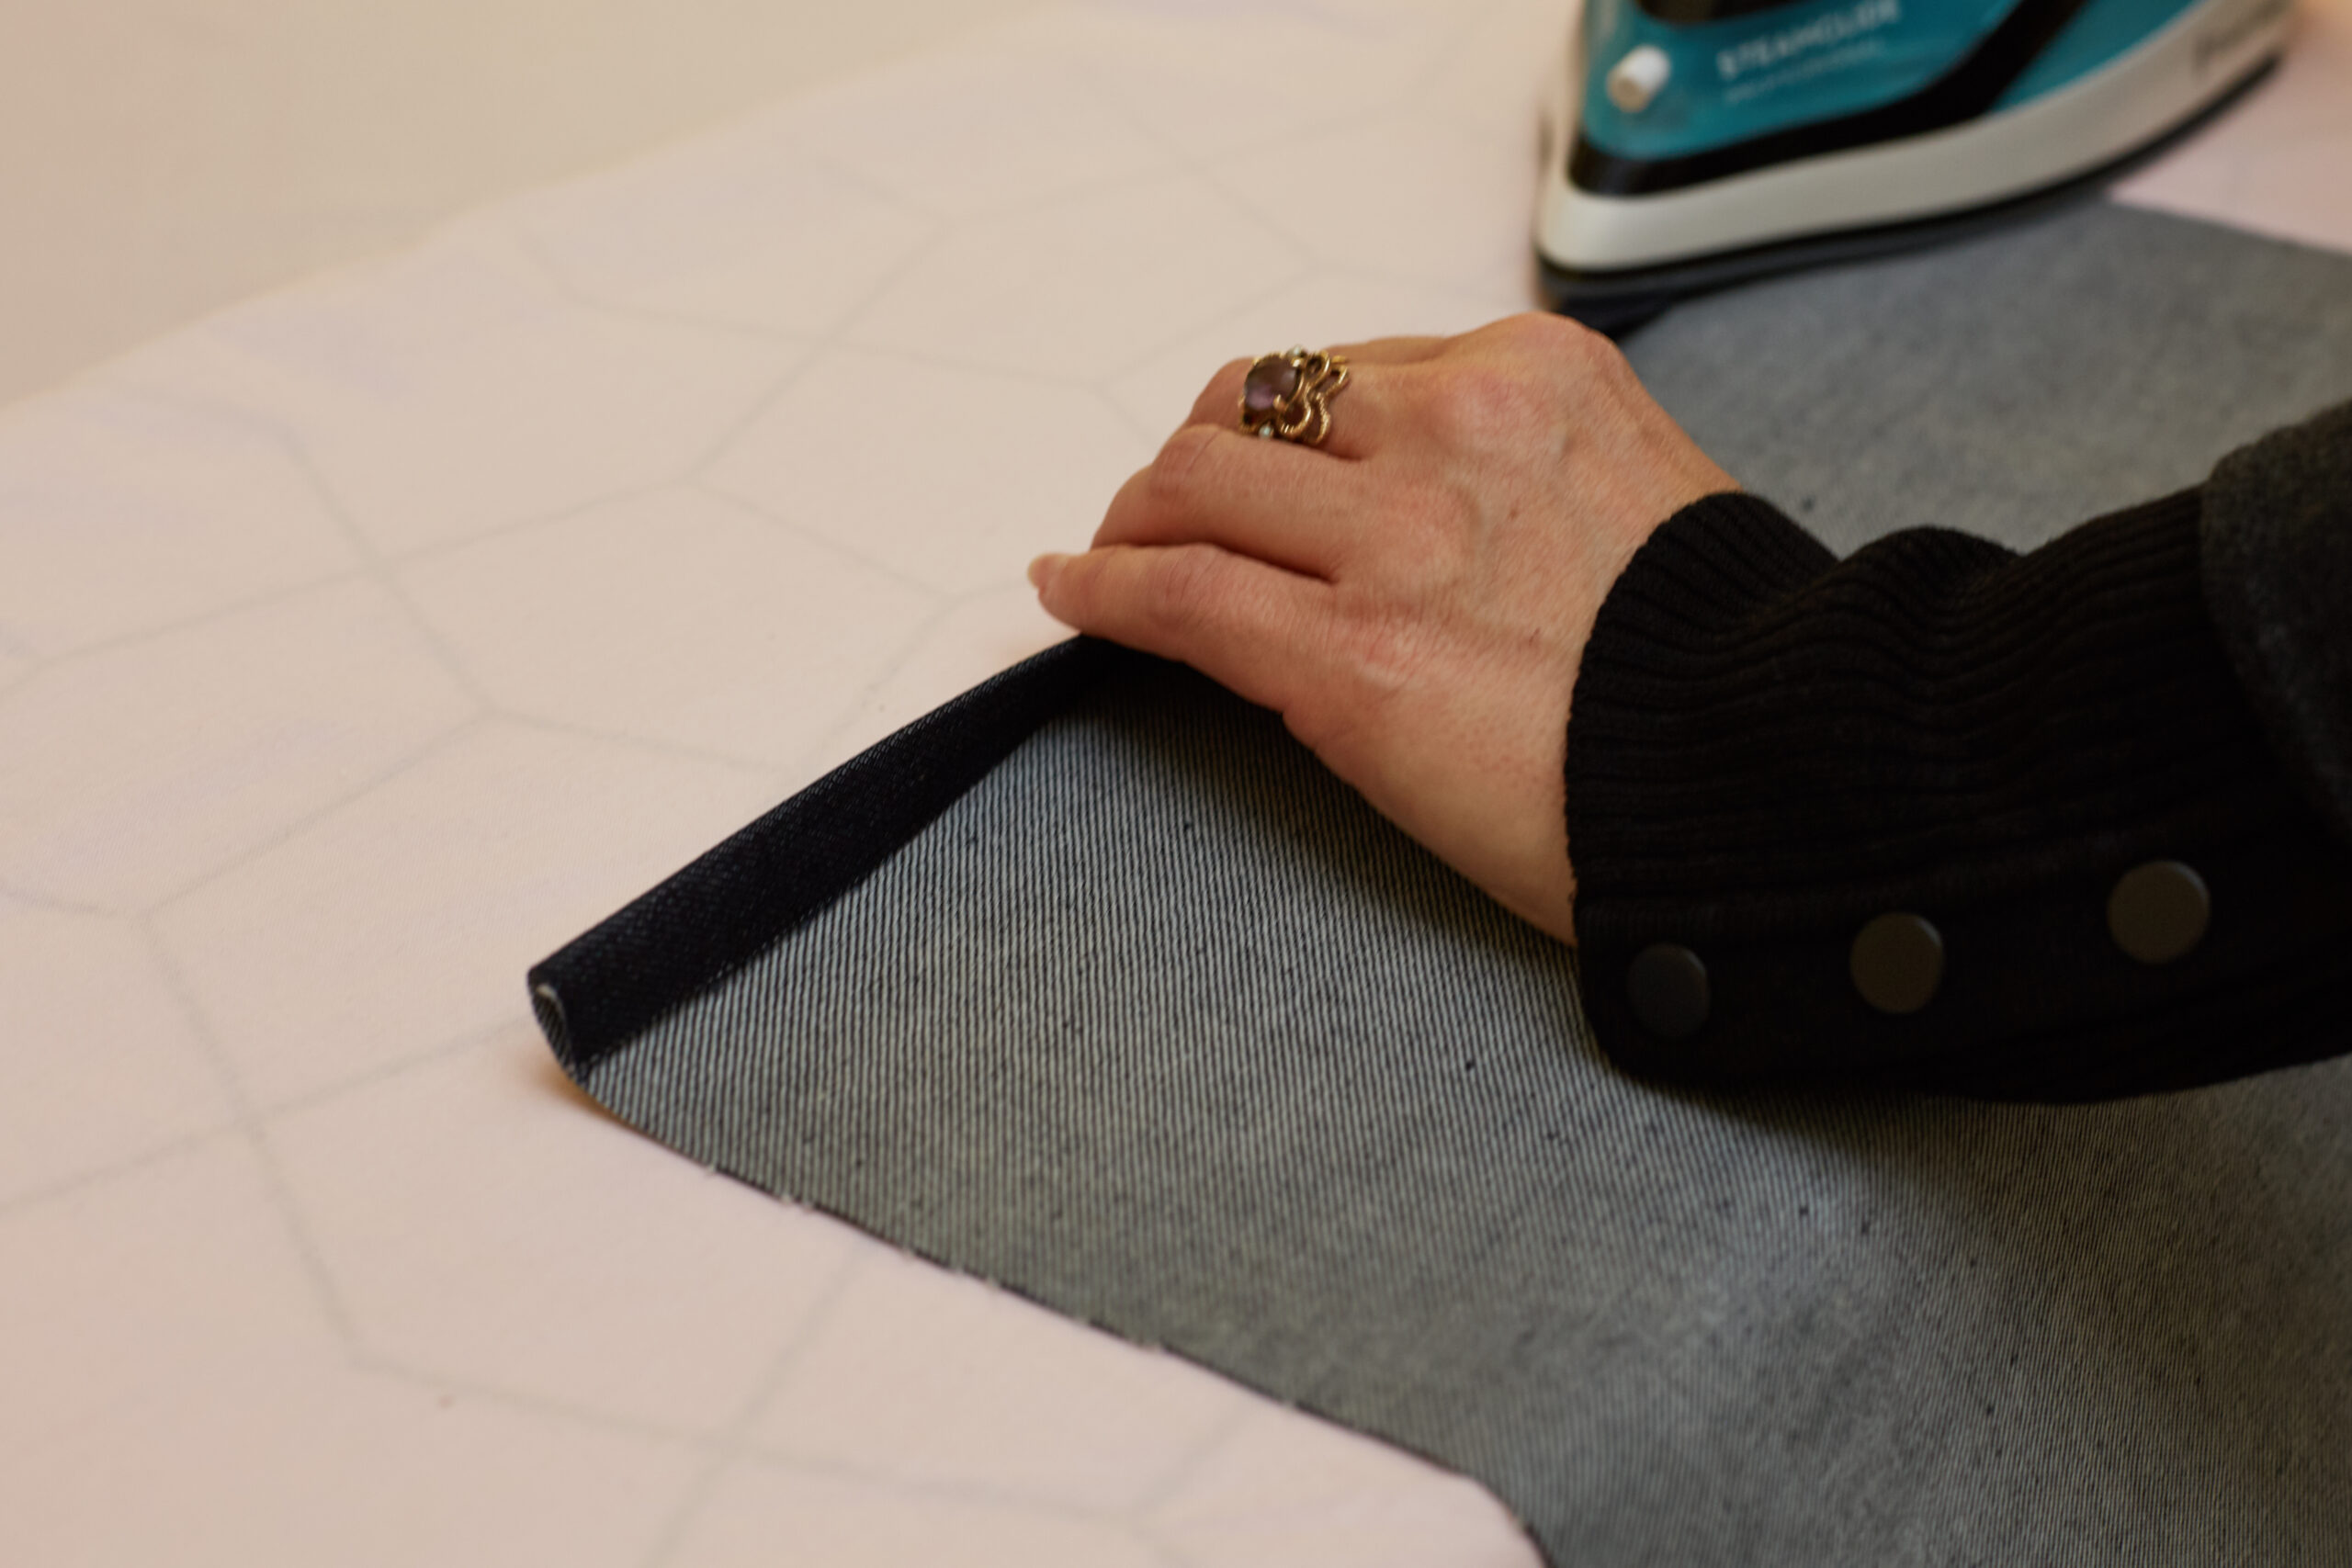
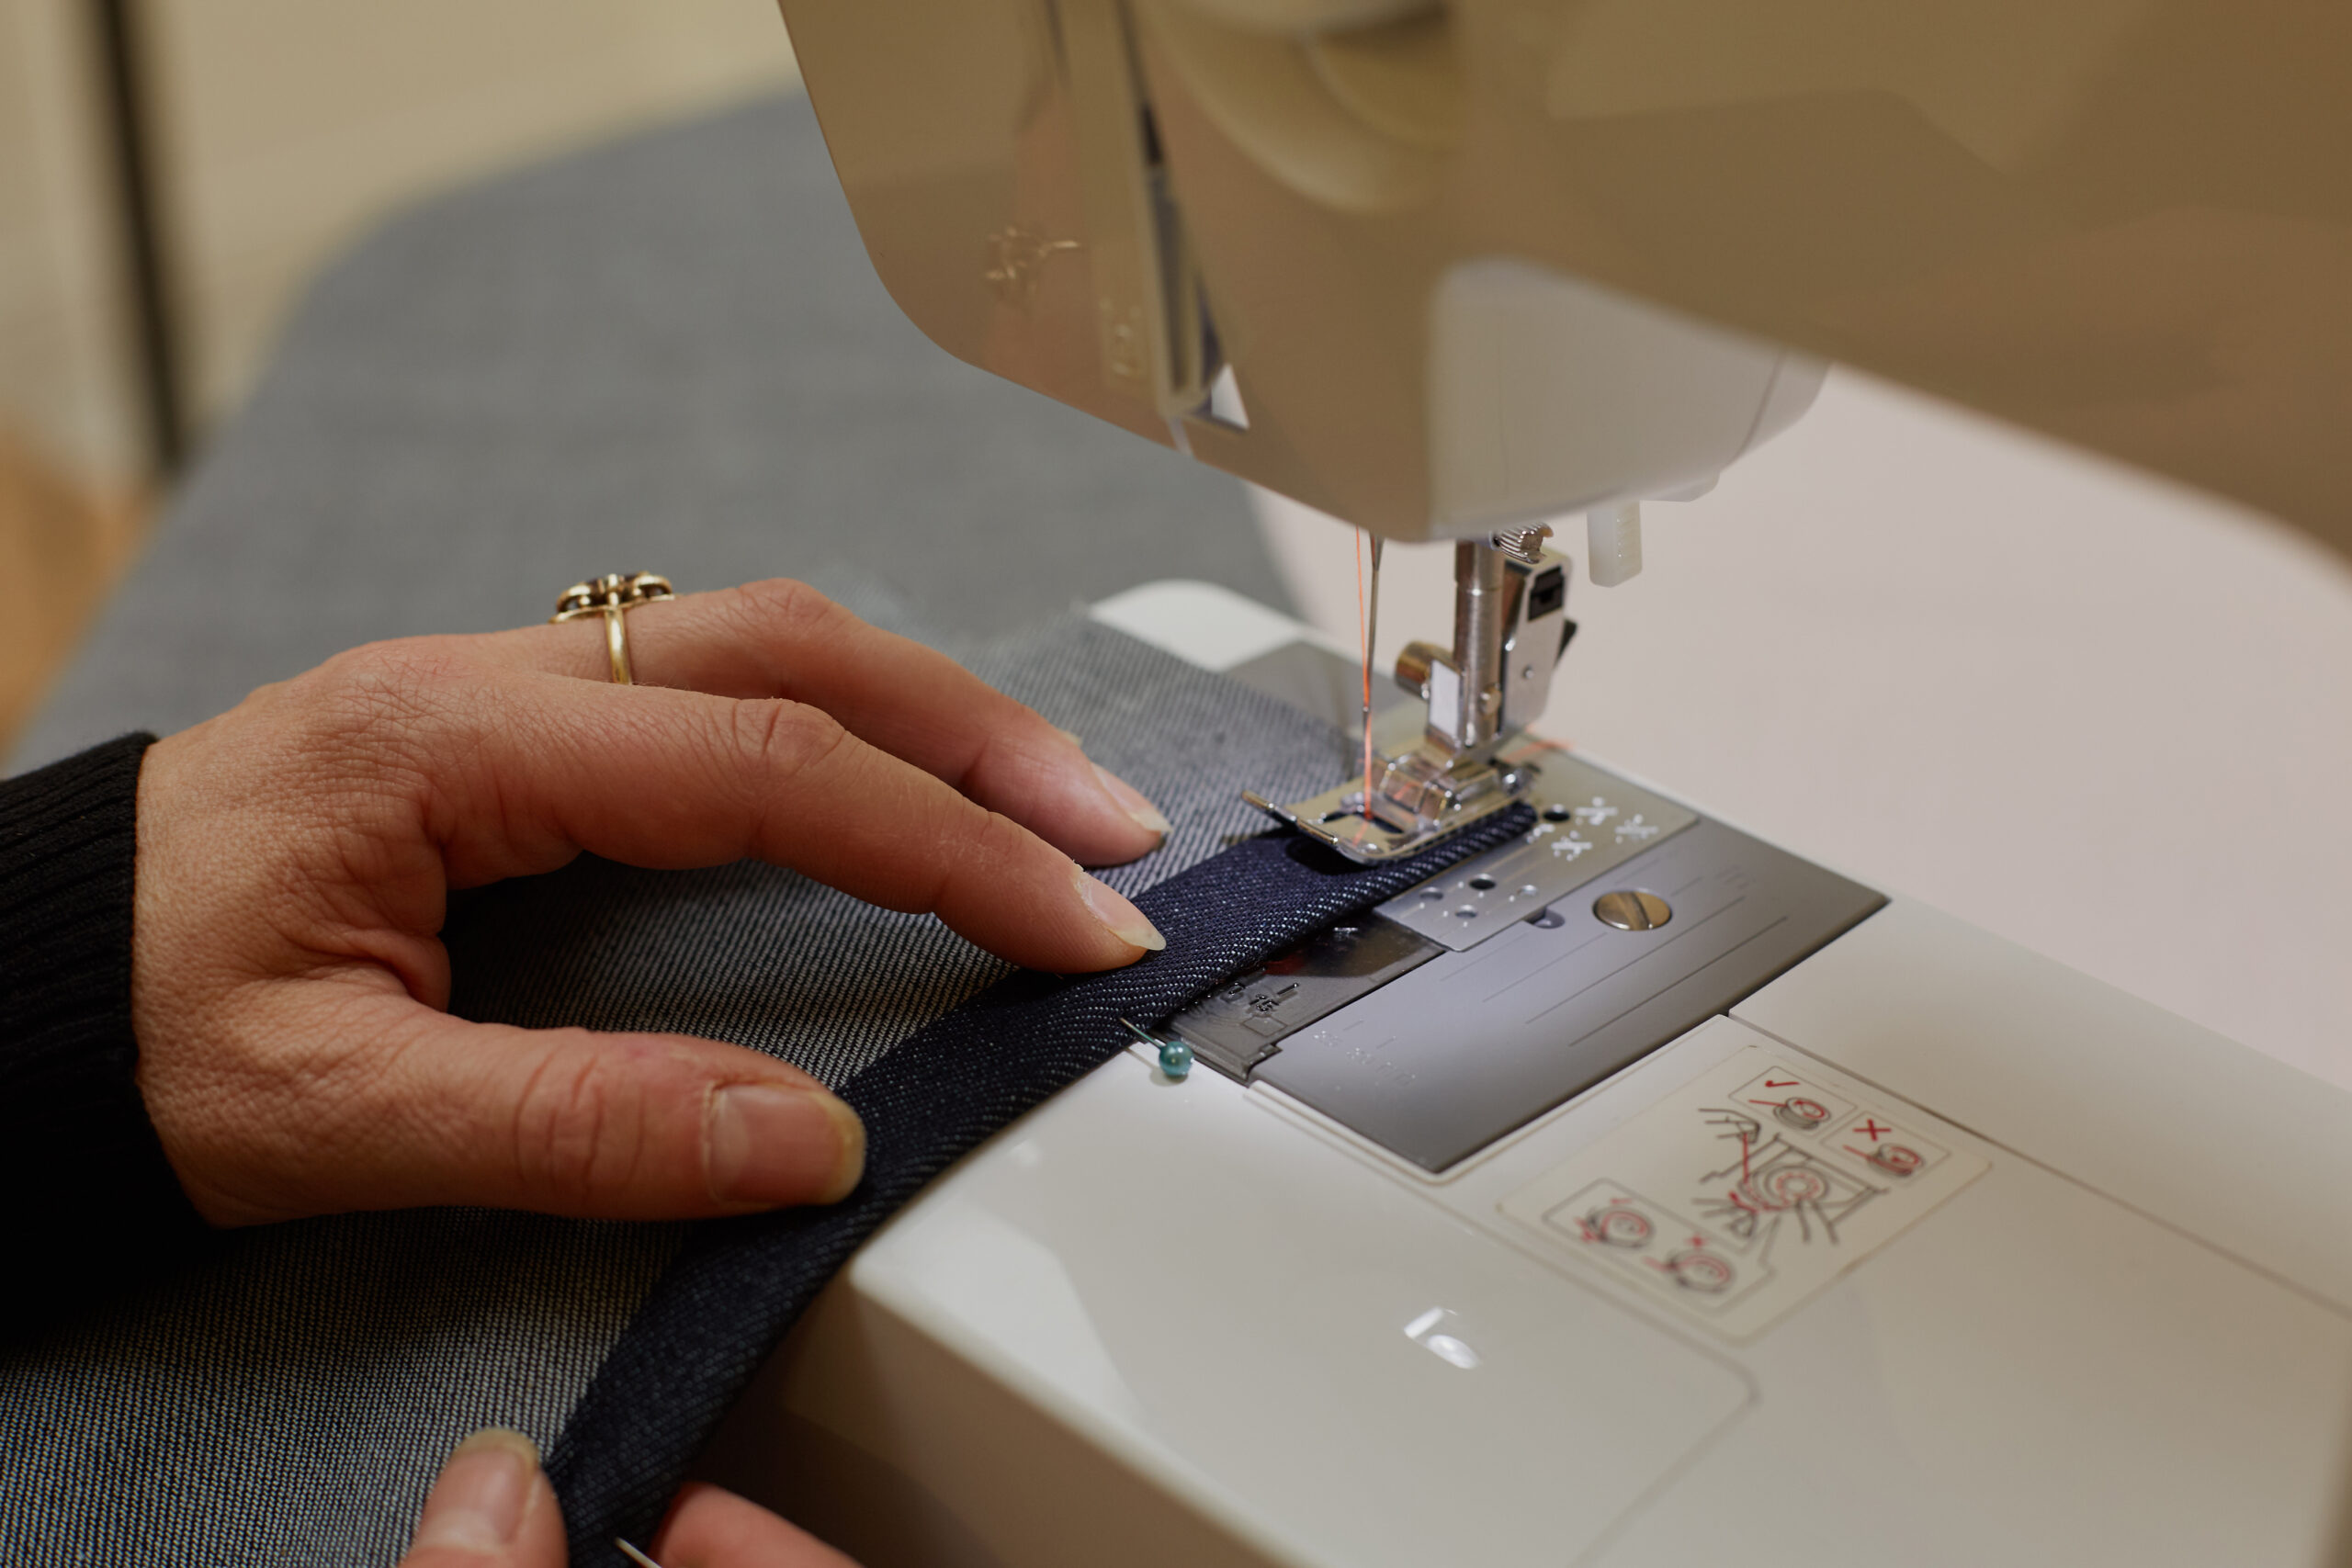
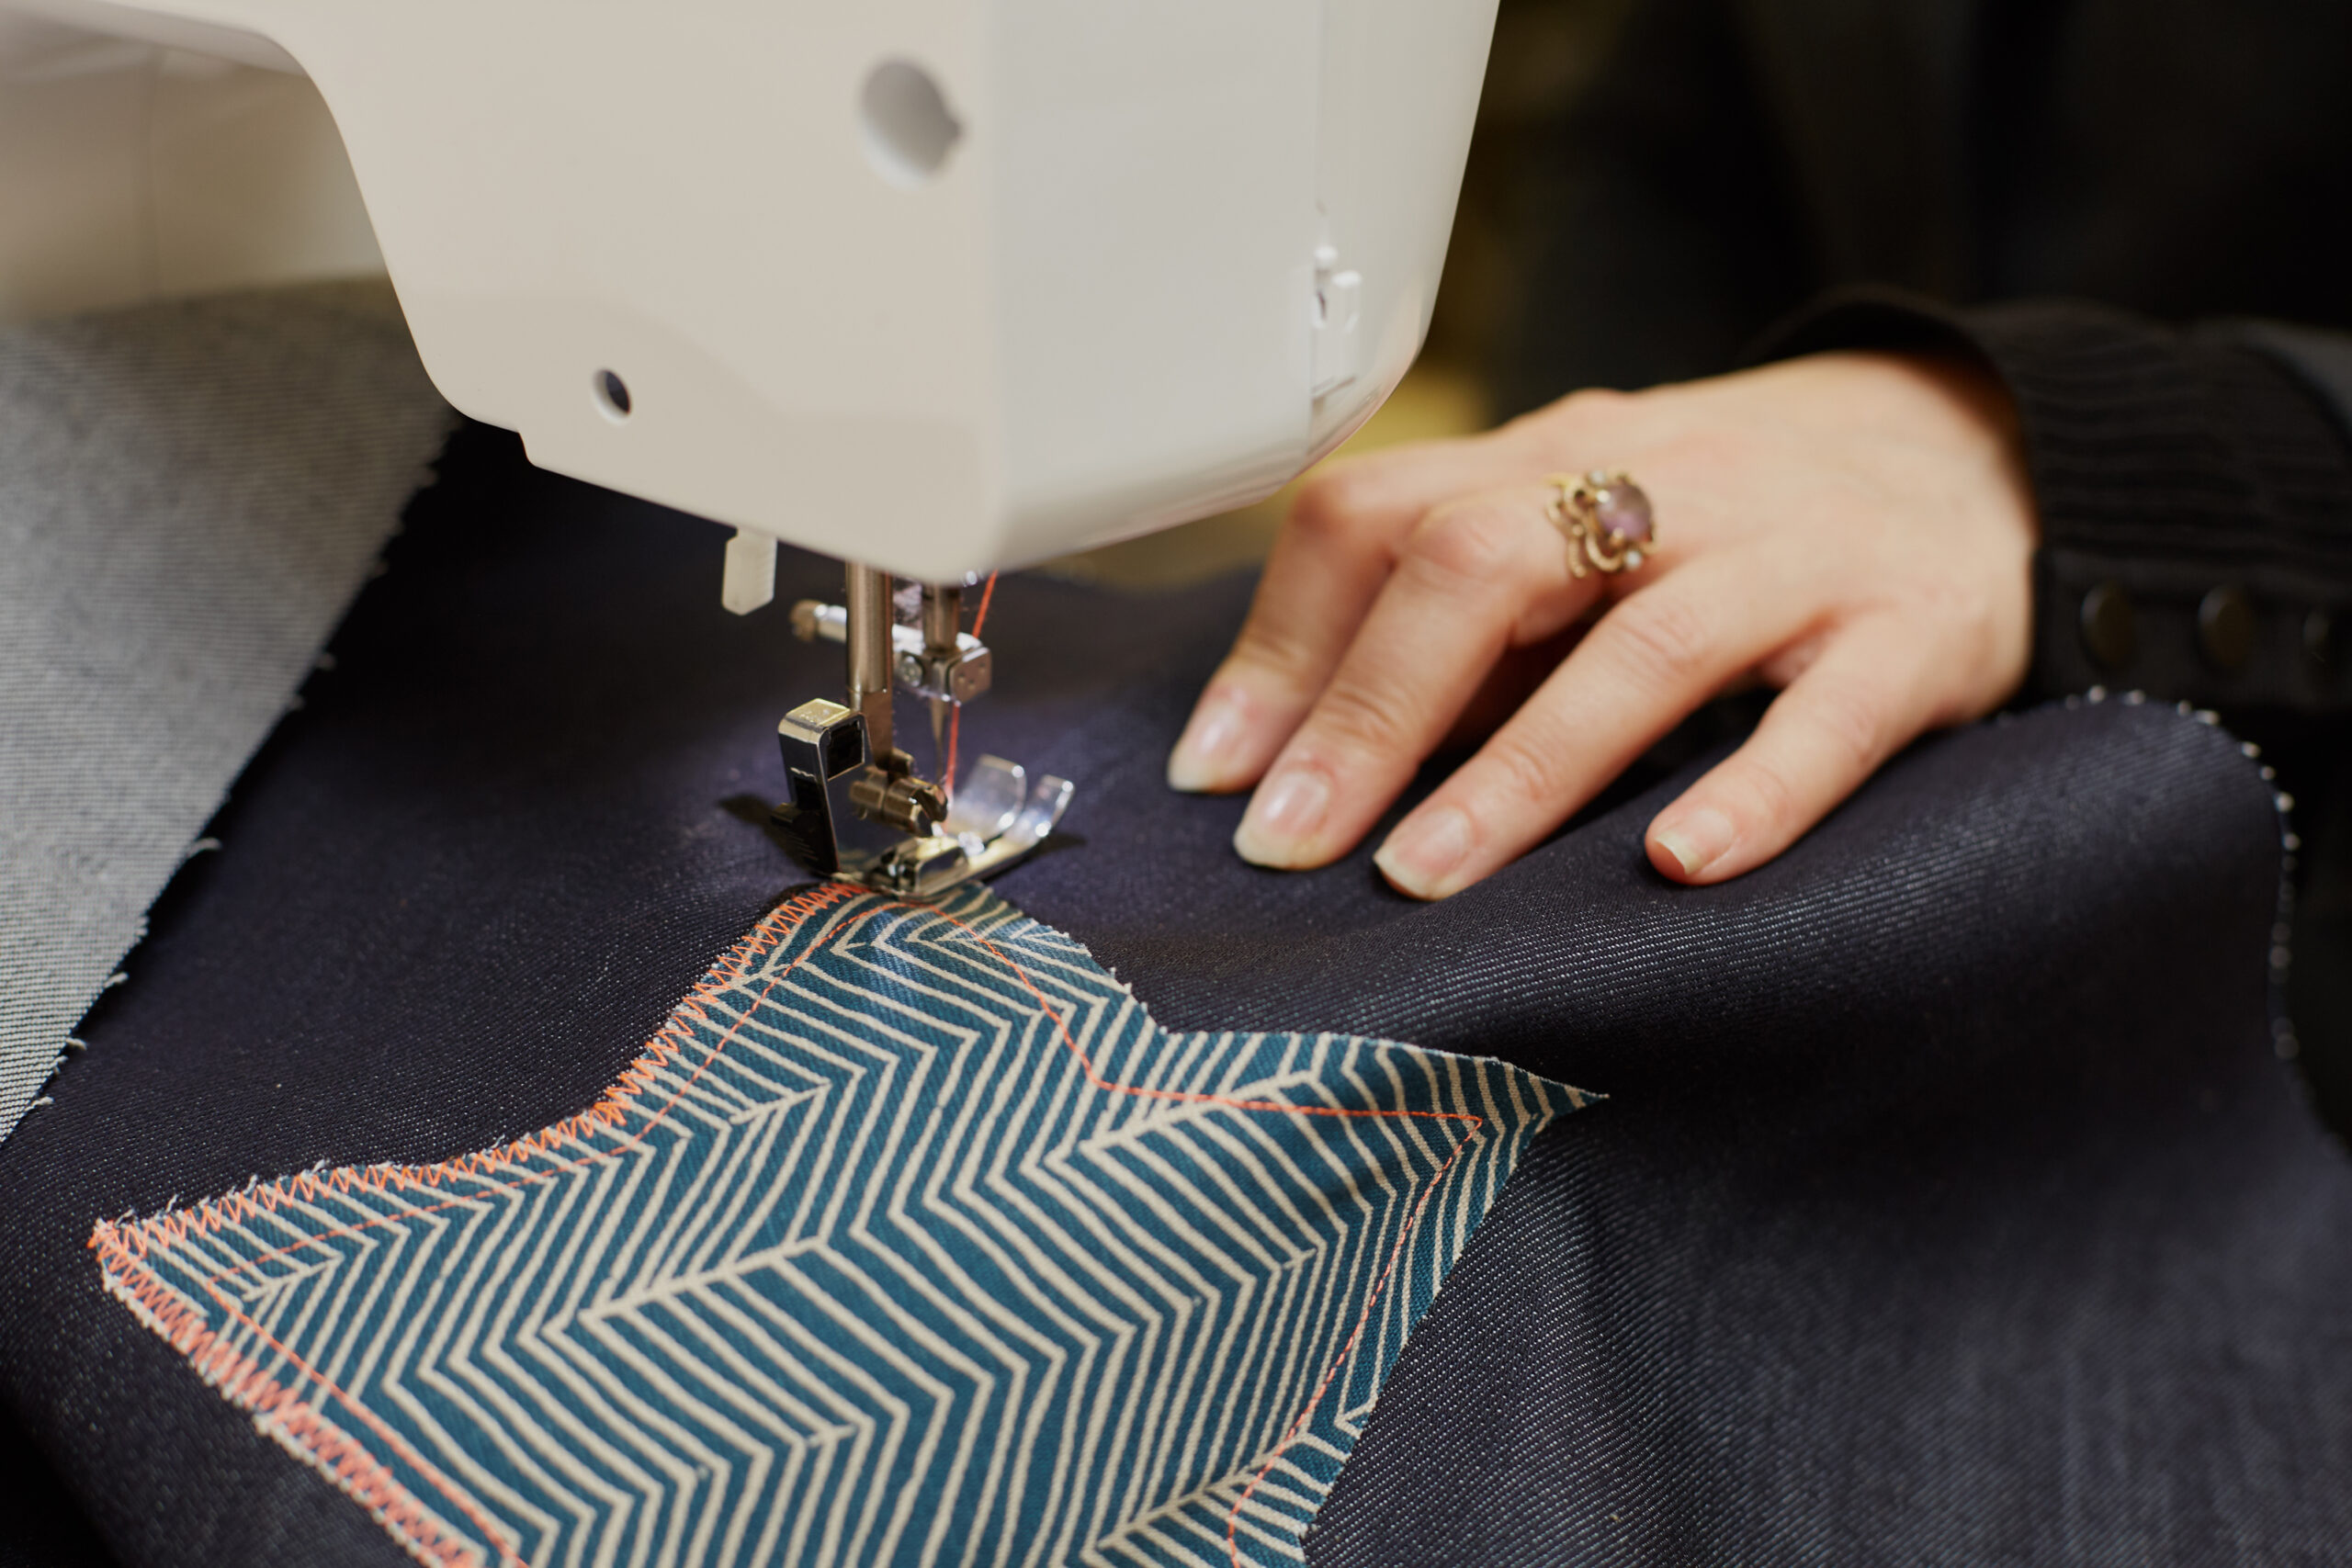
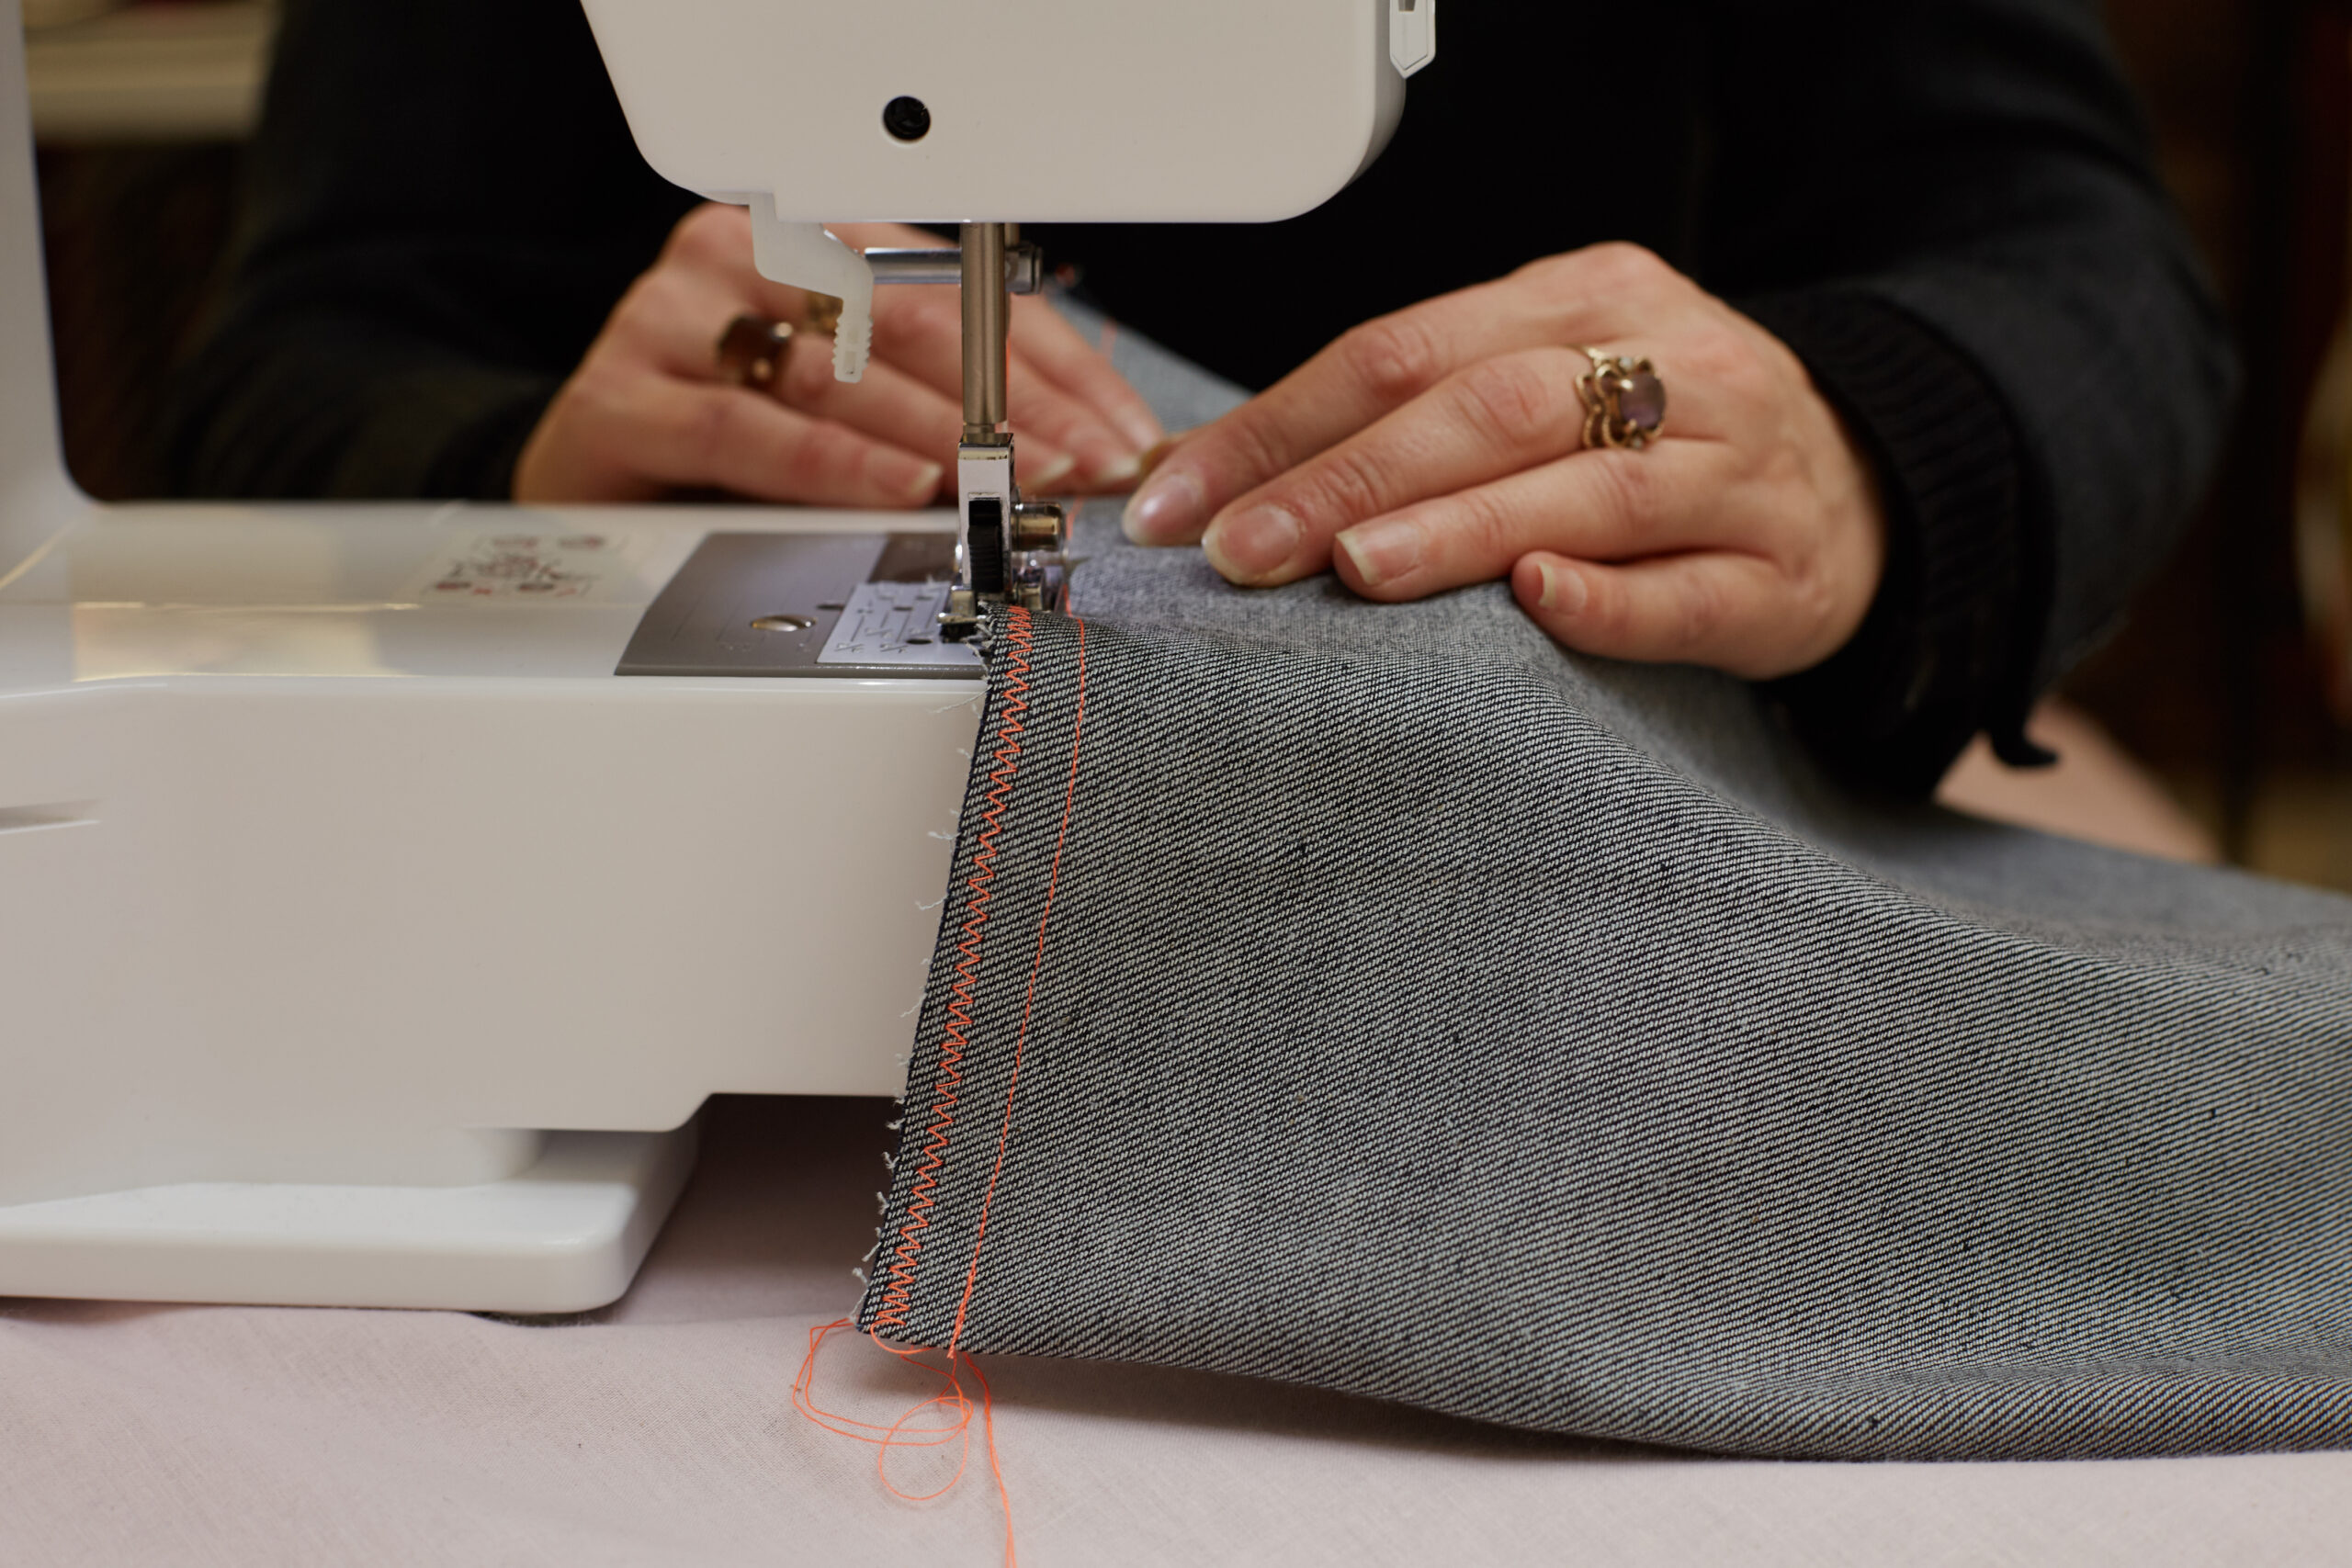
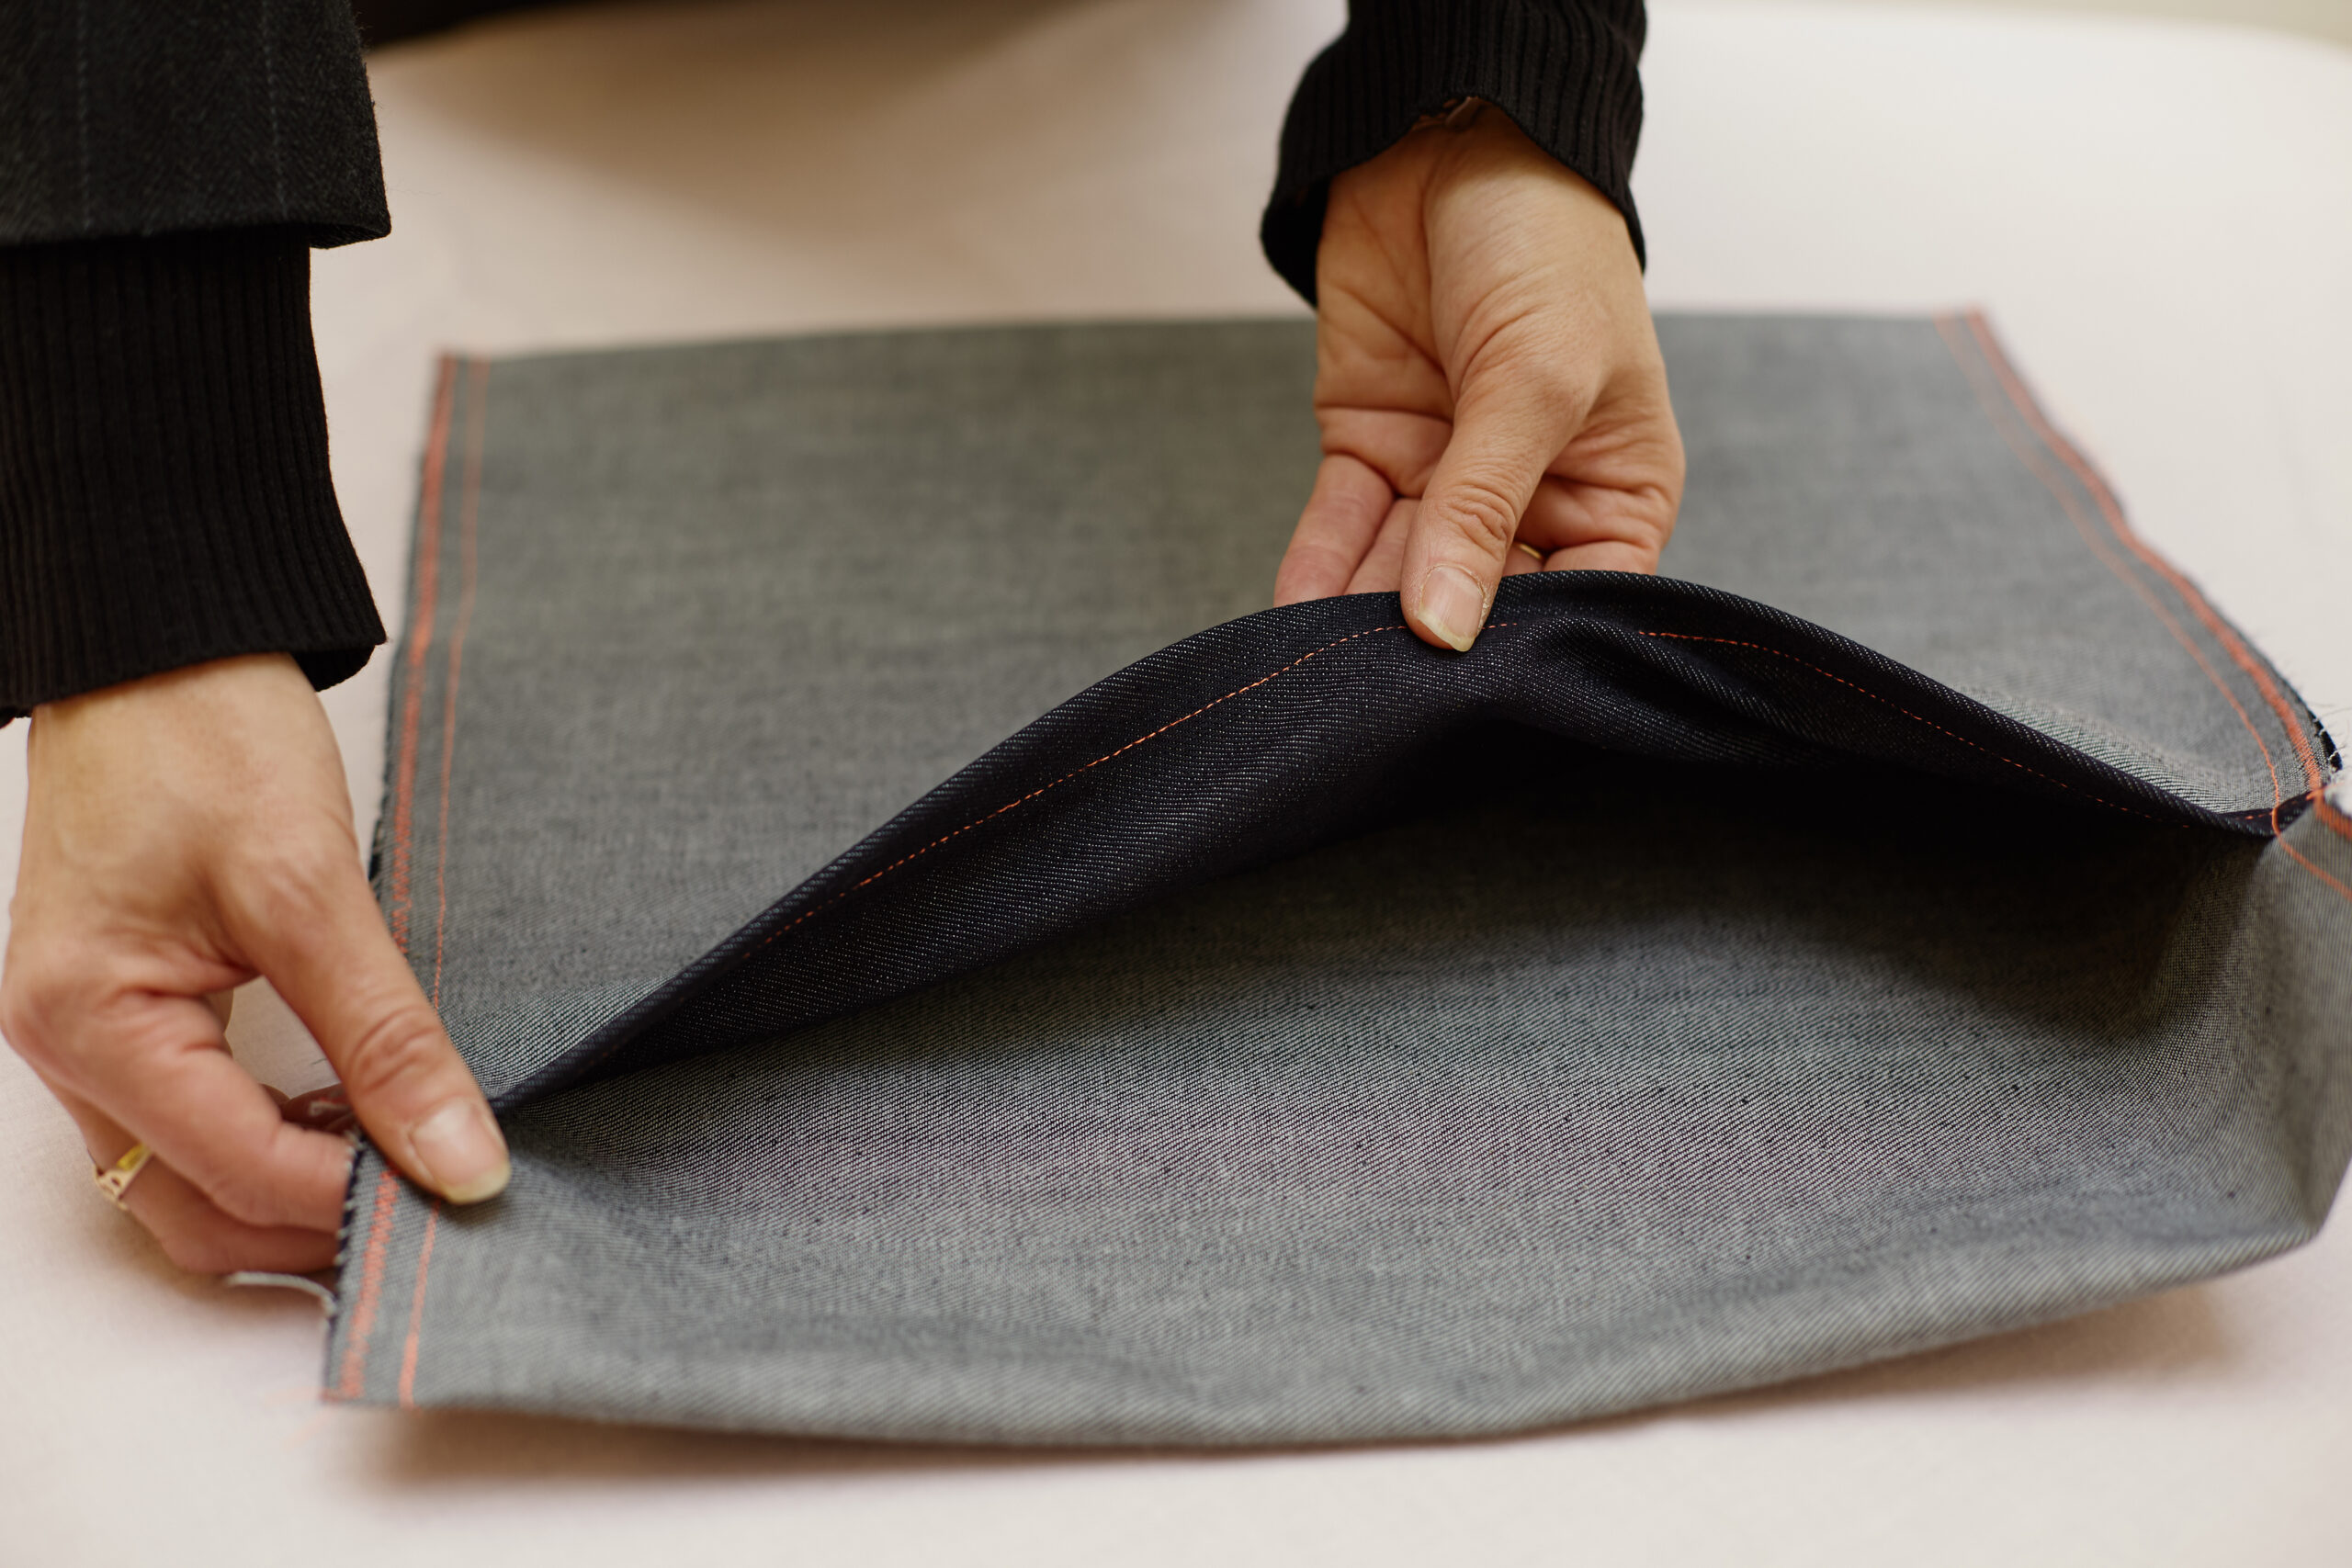
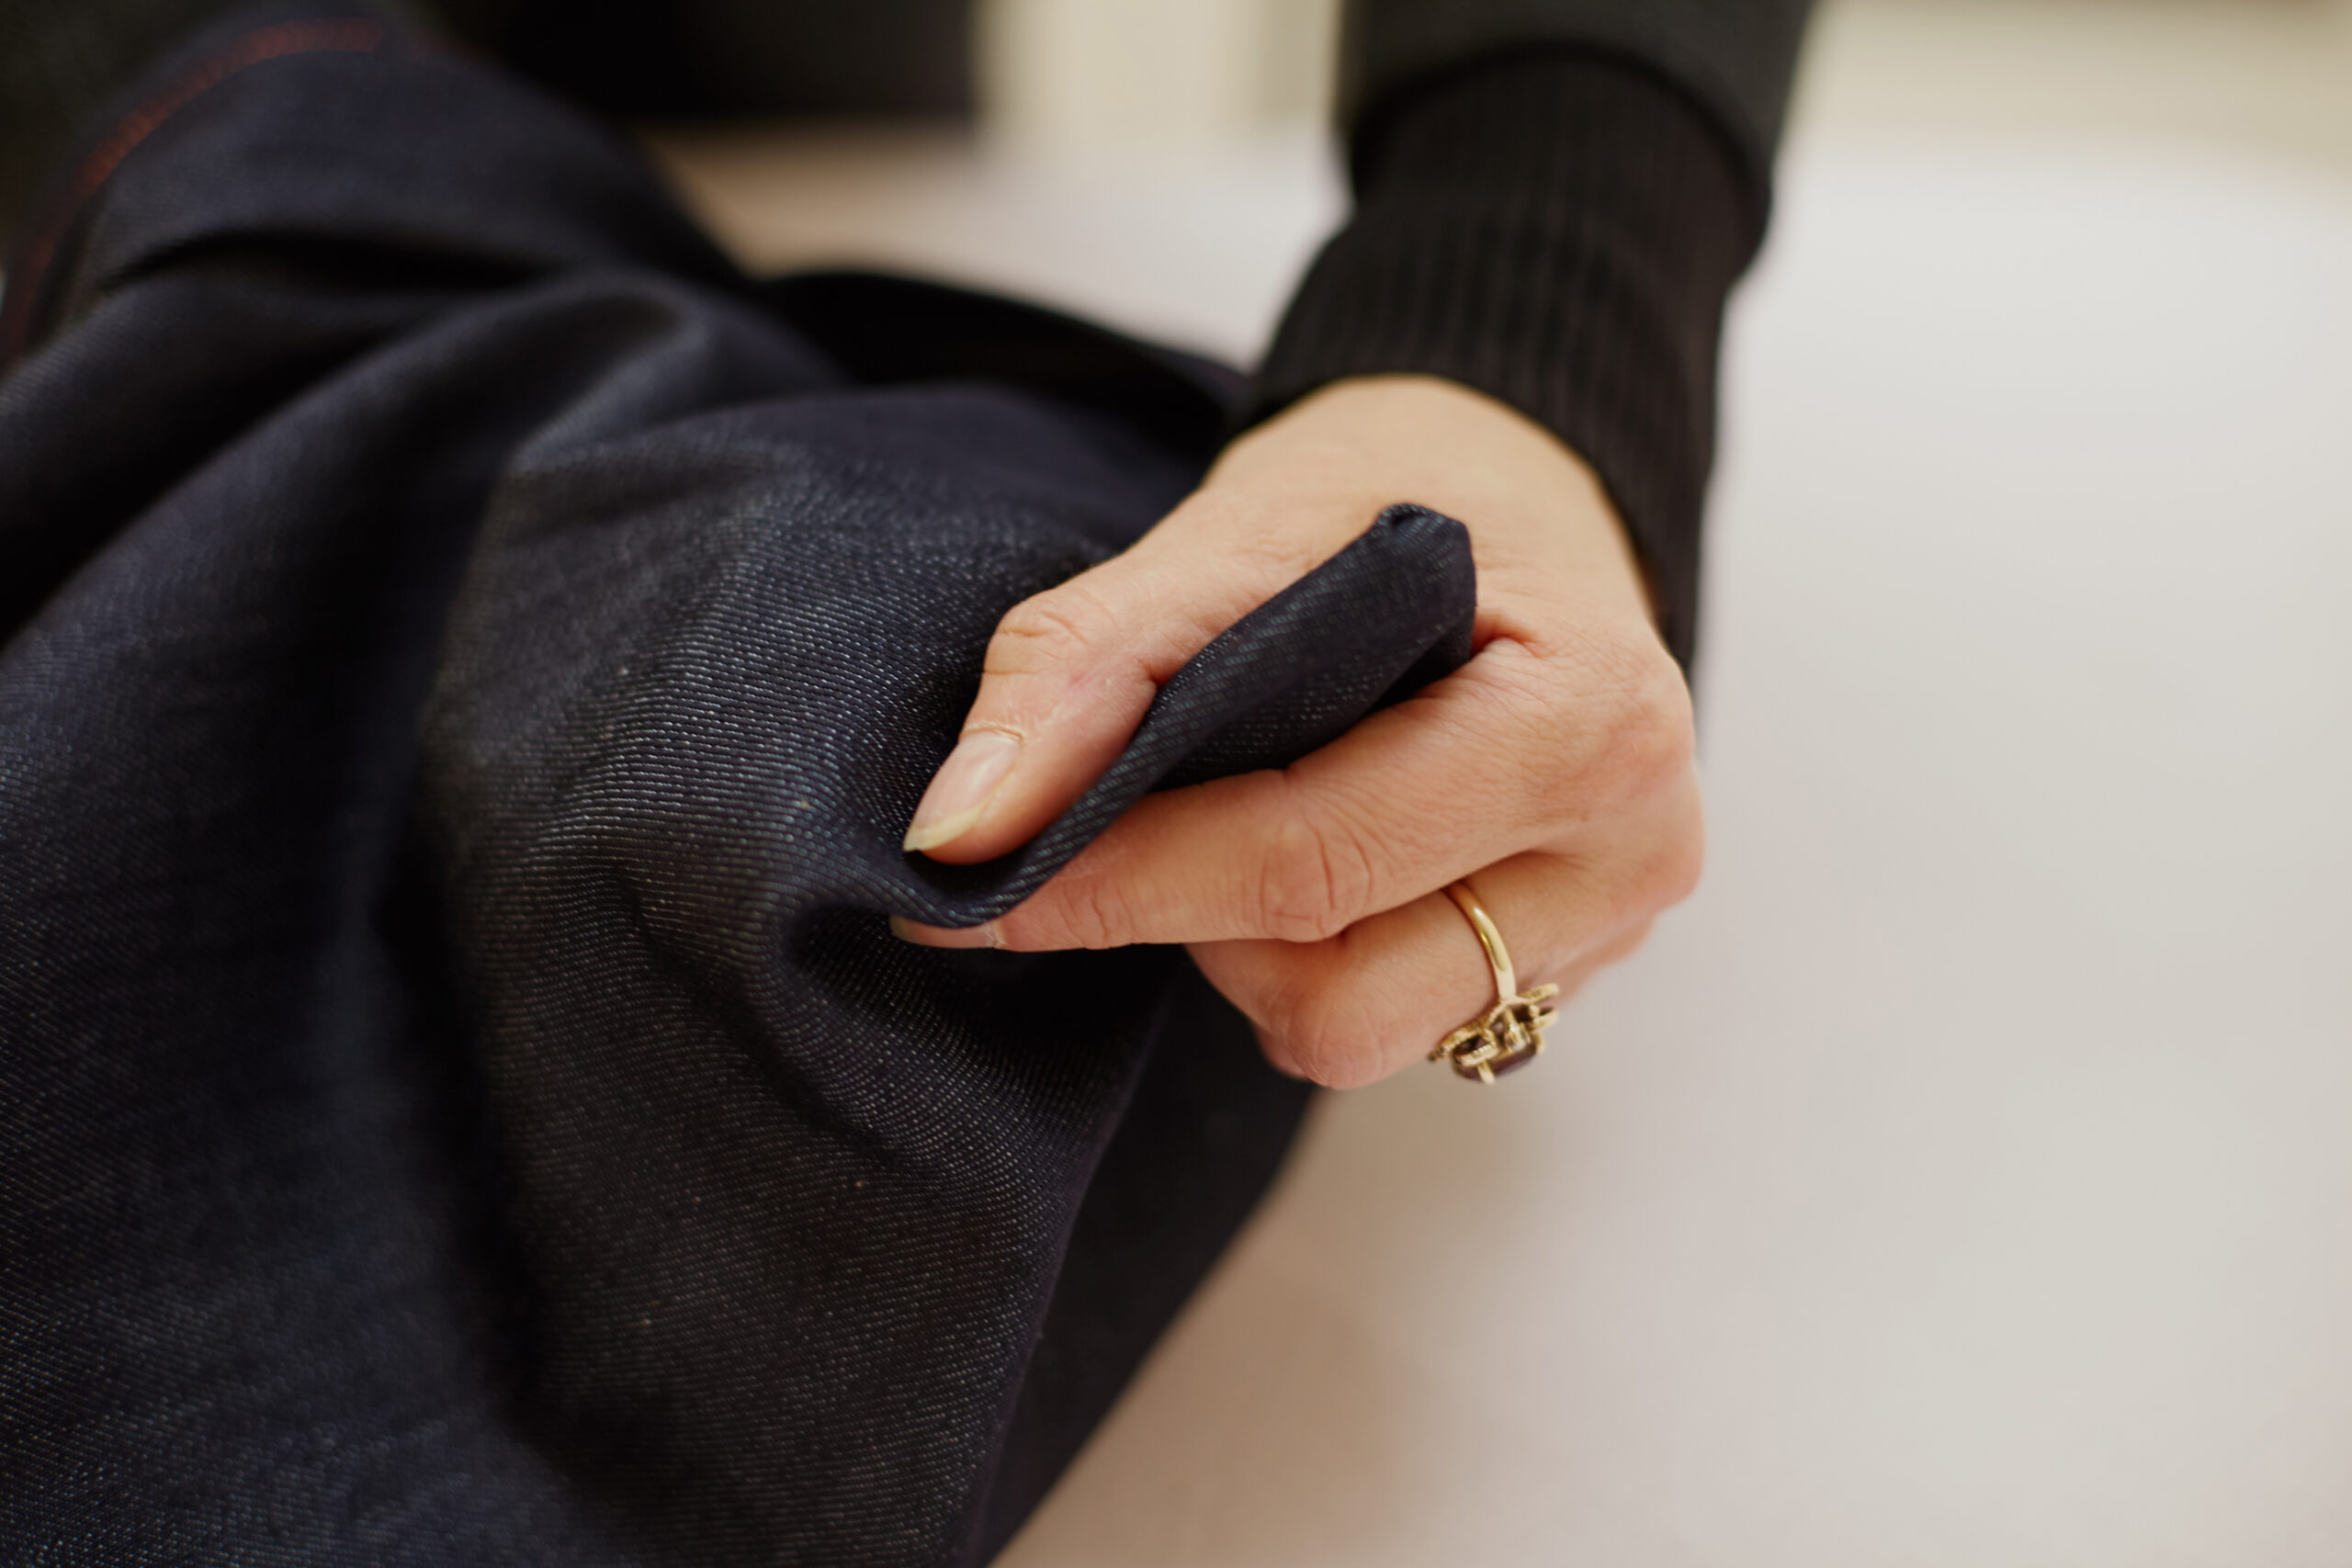
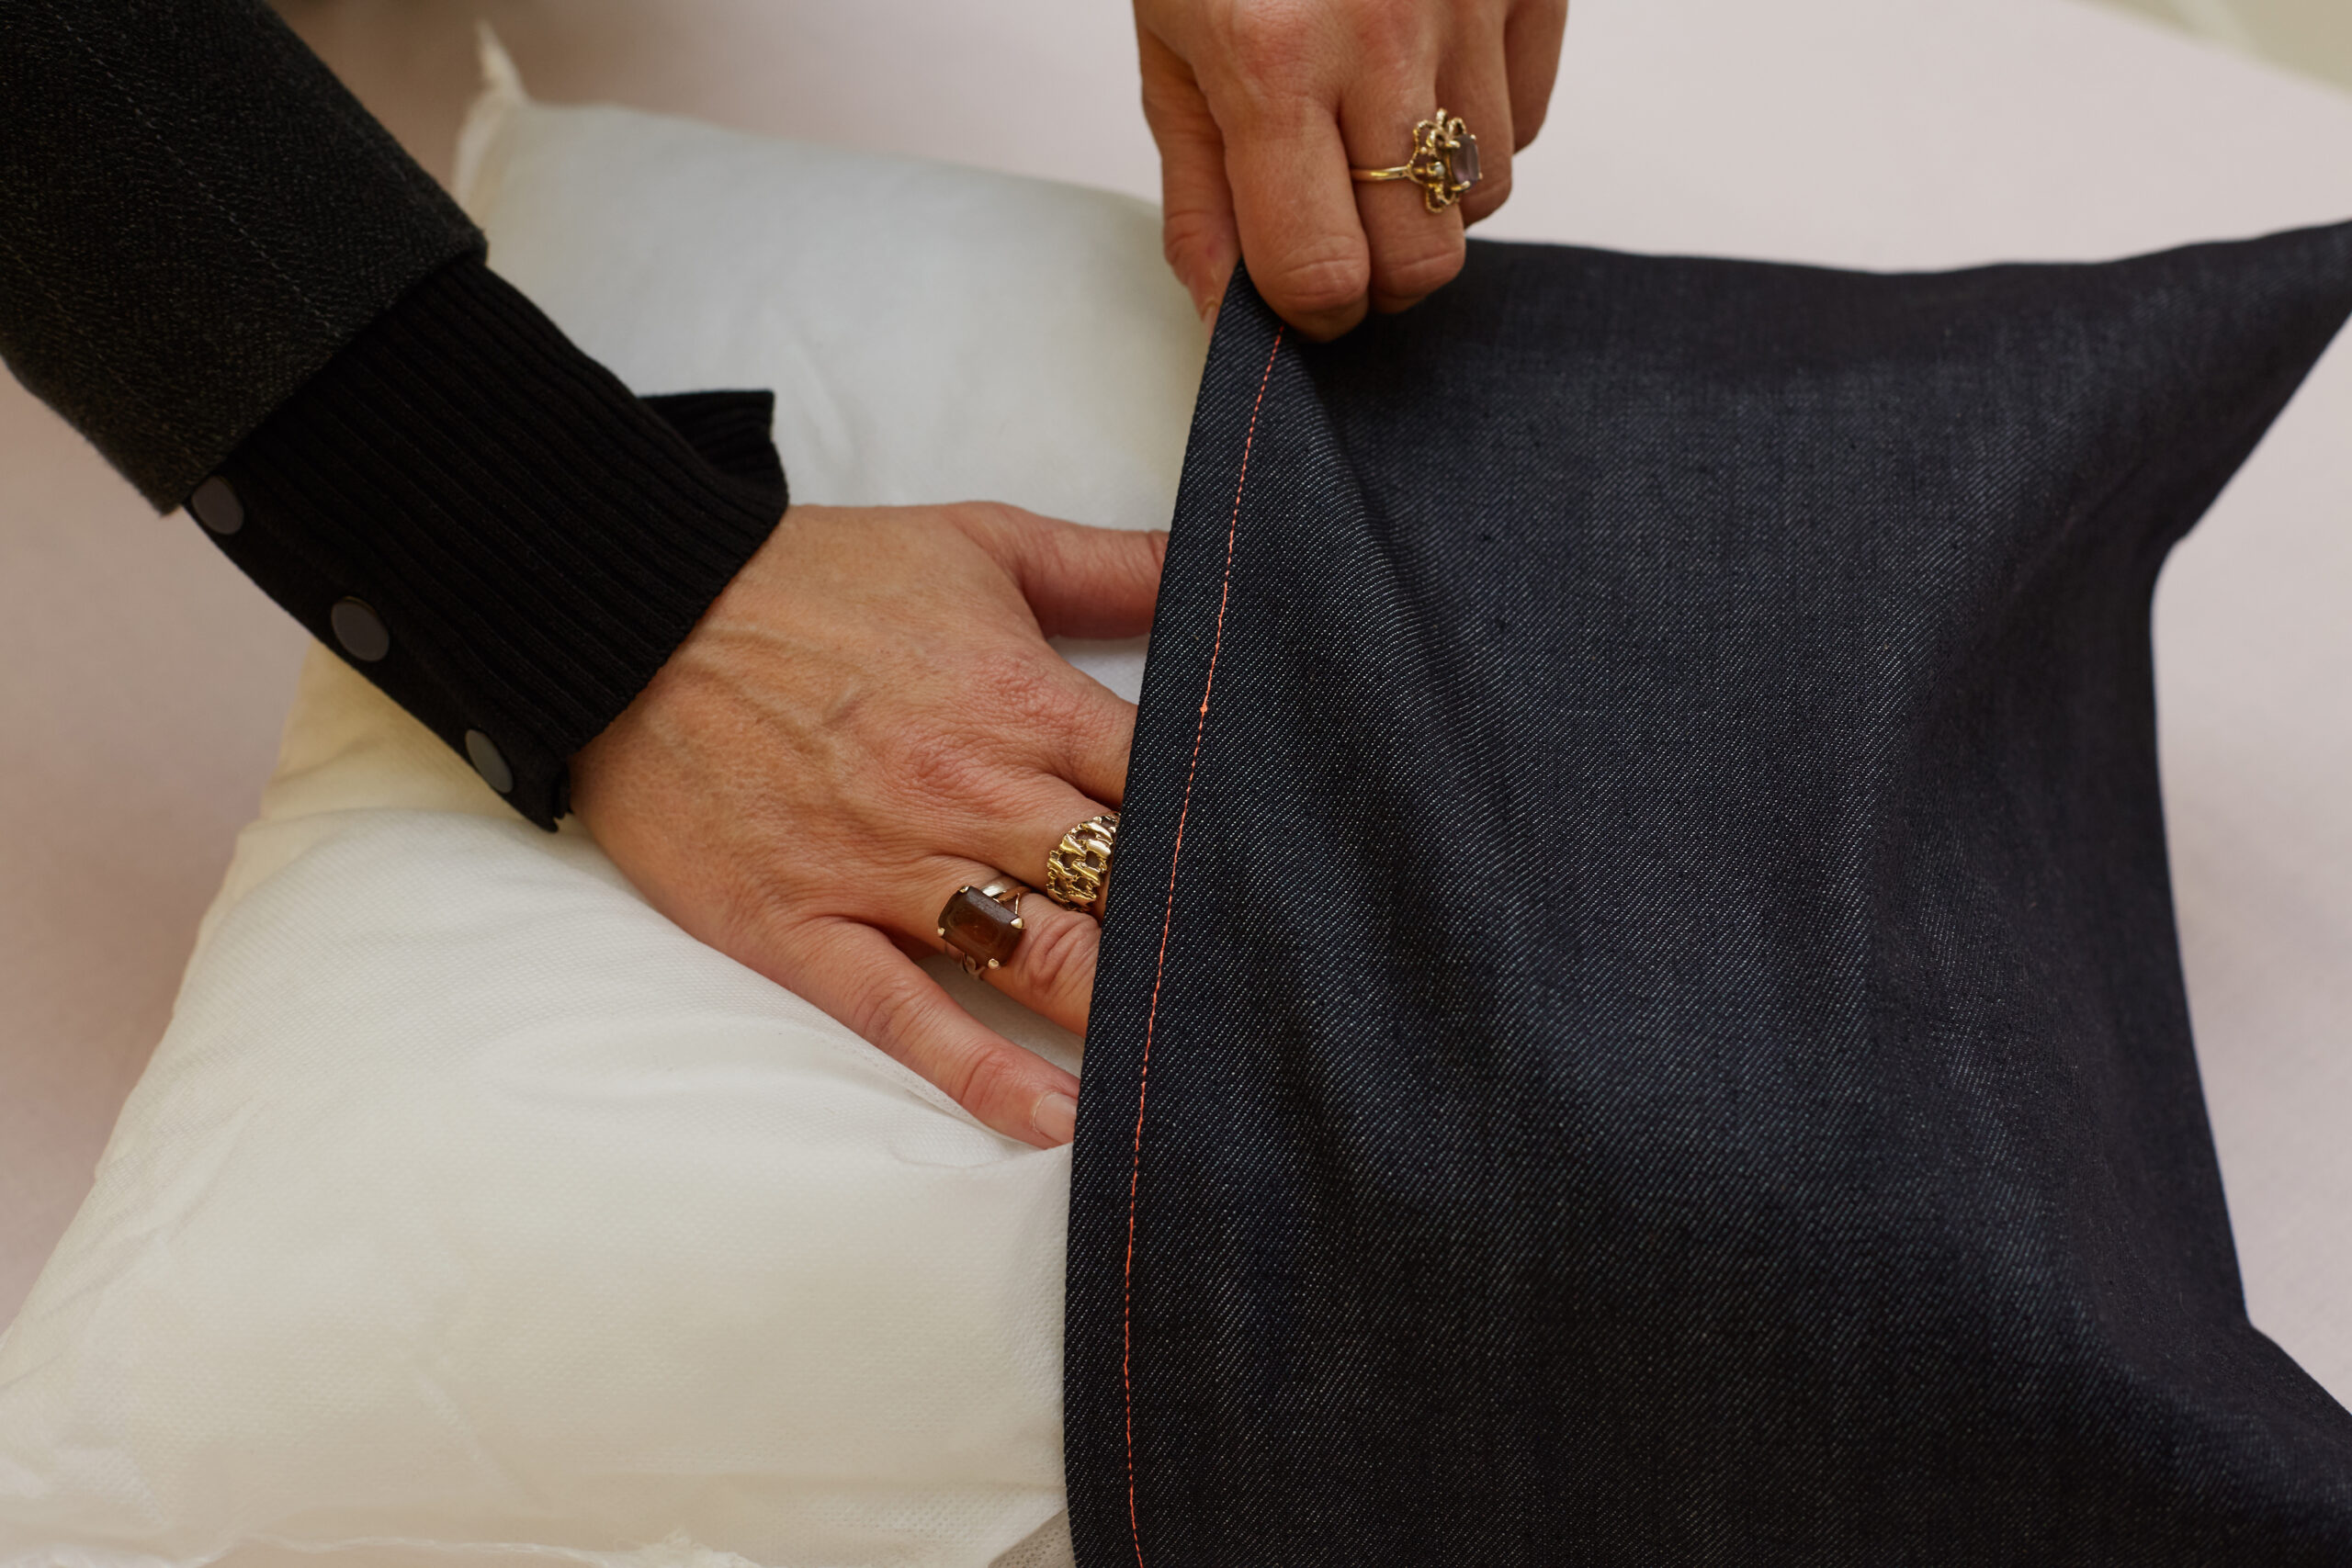
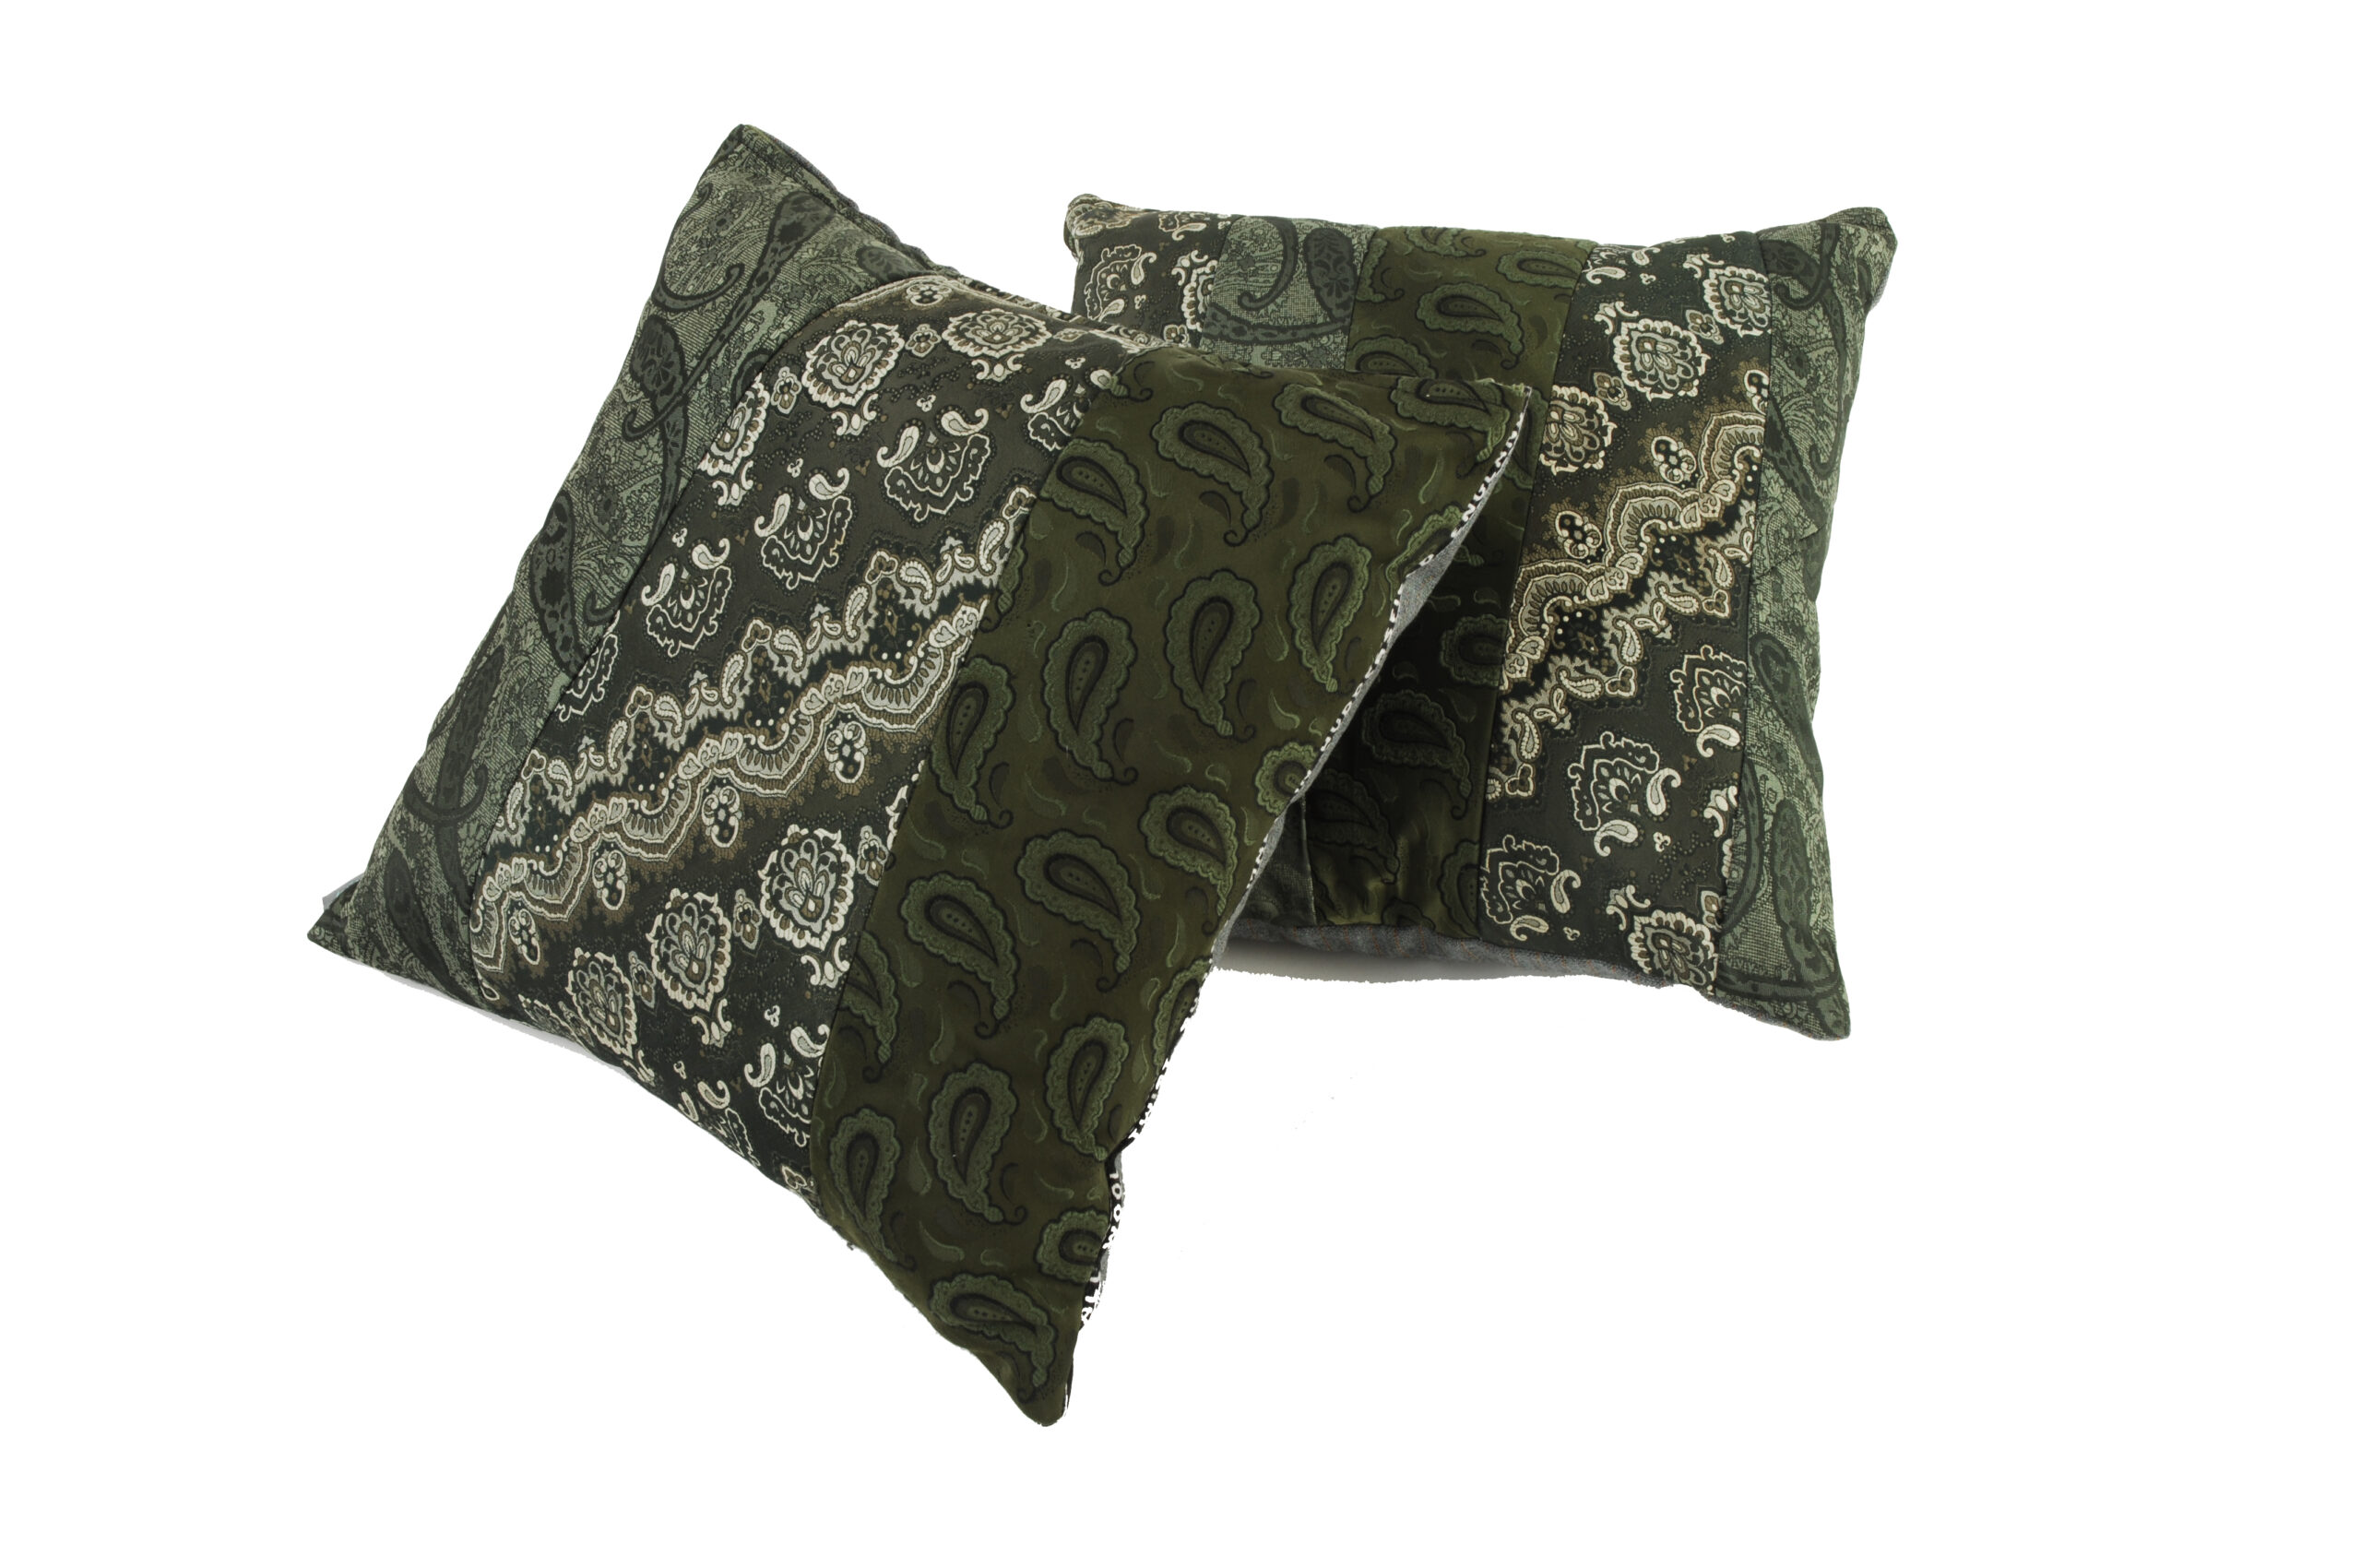
How to sew an envelope-style cushion cover. Here’s a little reminder on how to thread up the sewing machine.  This project also includes:

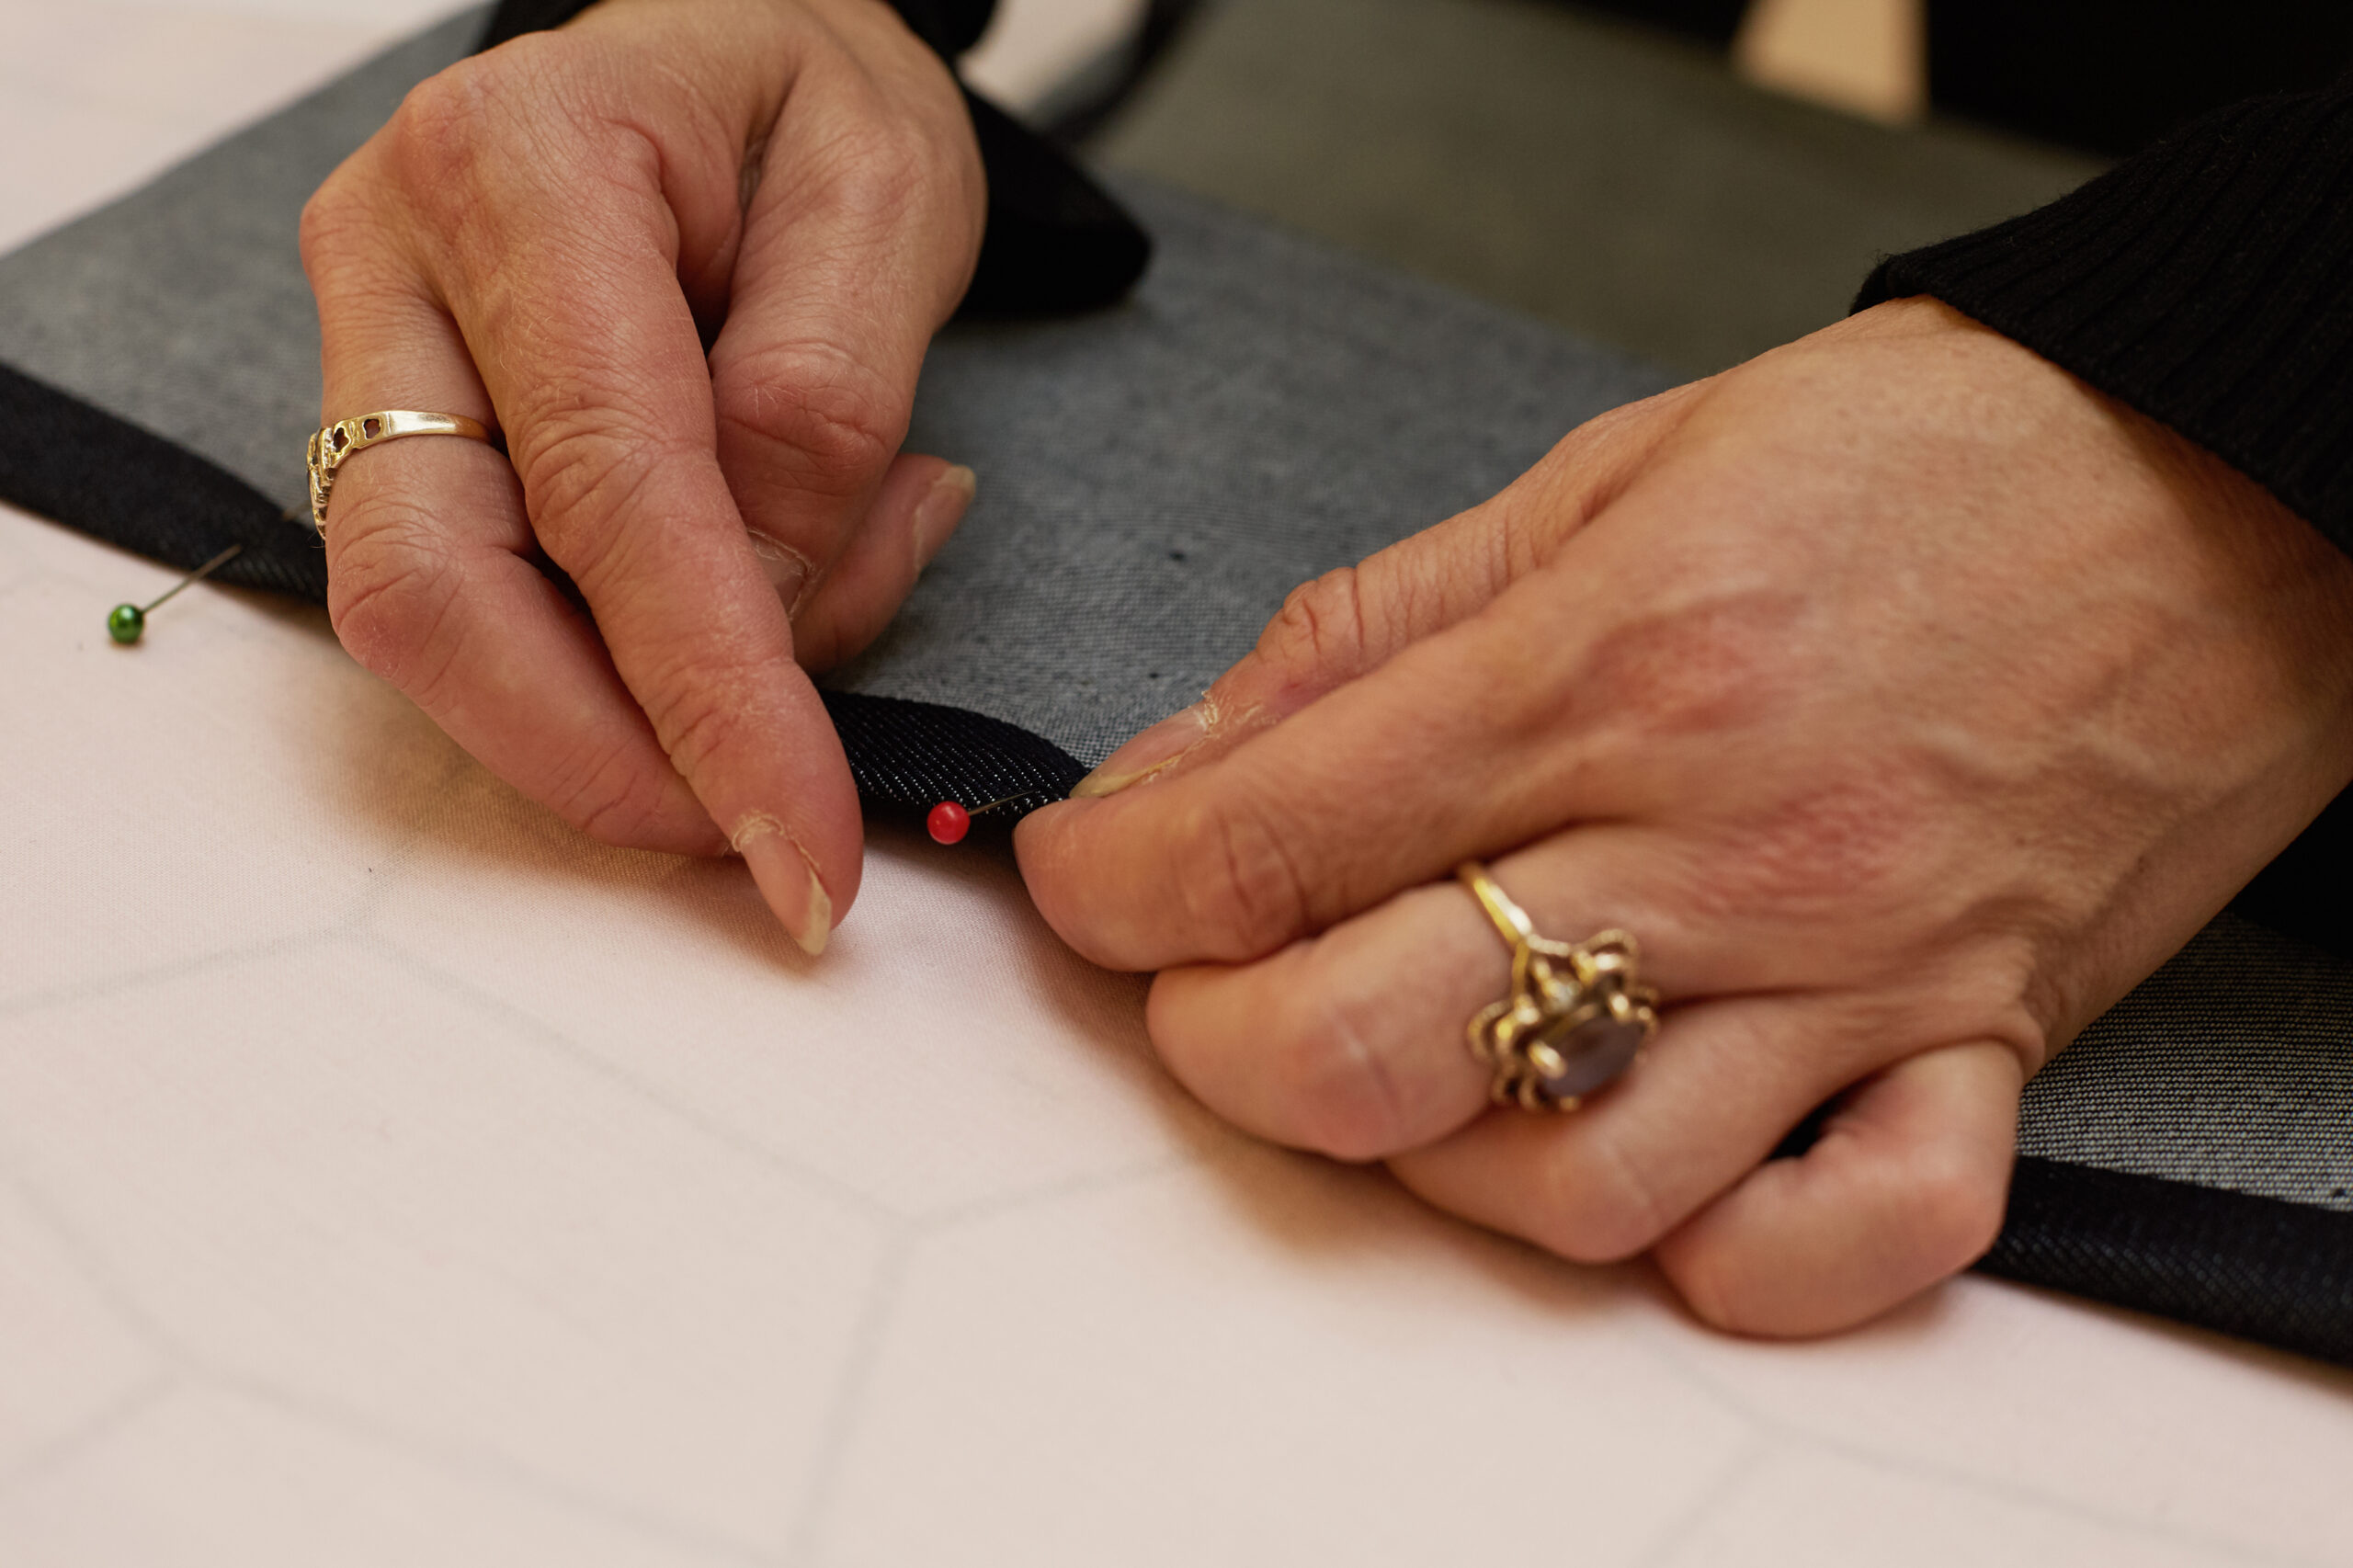
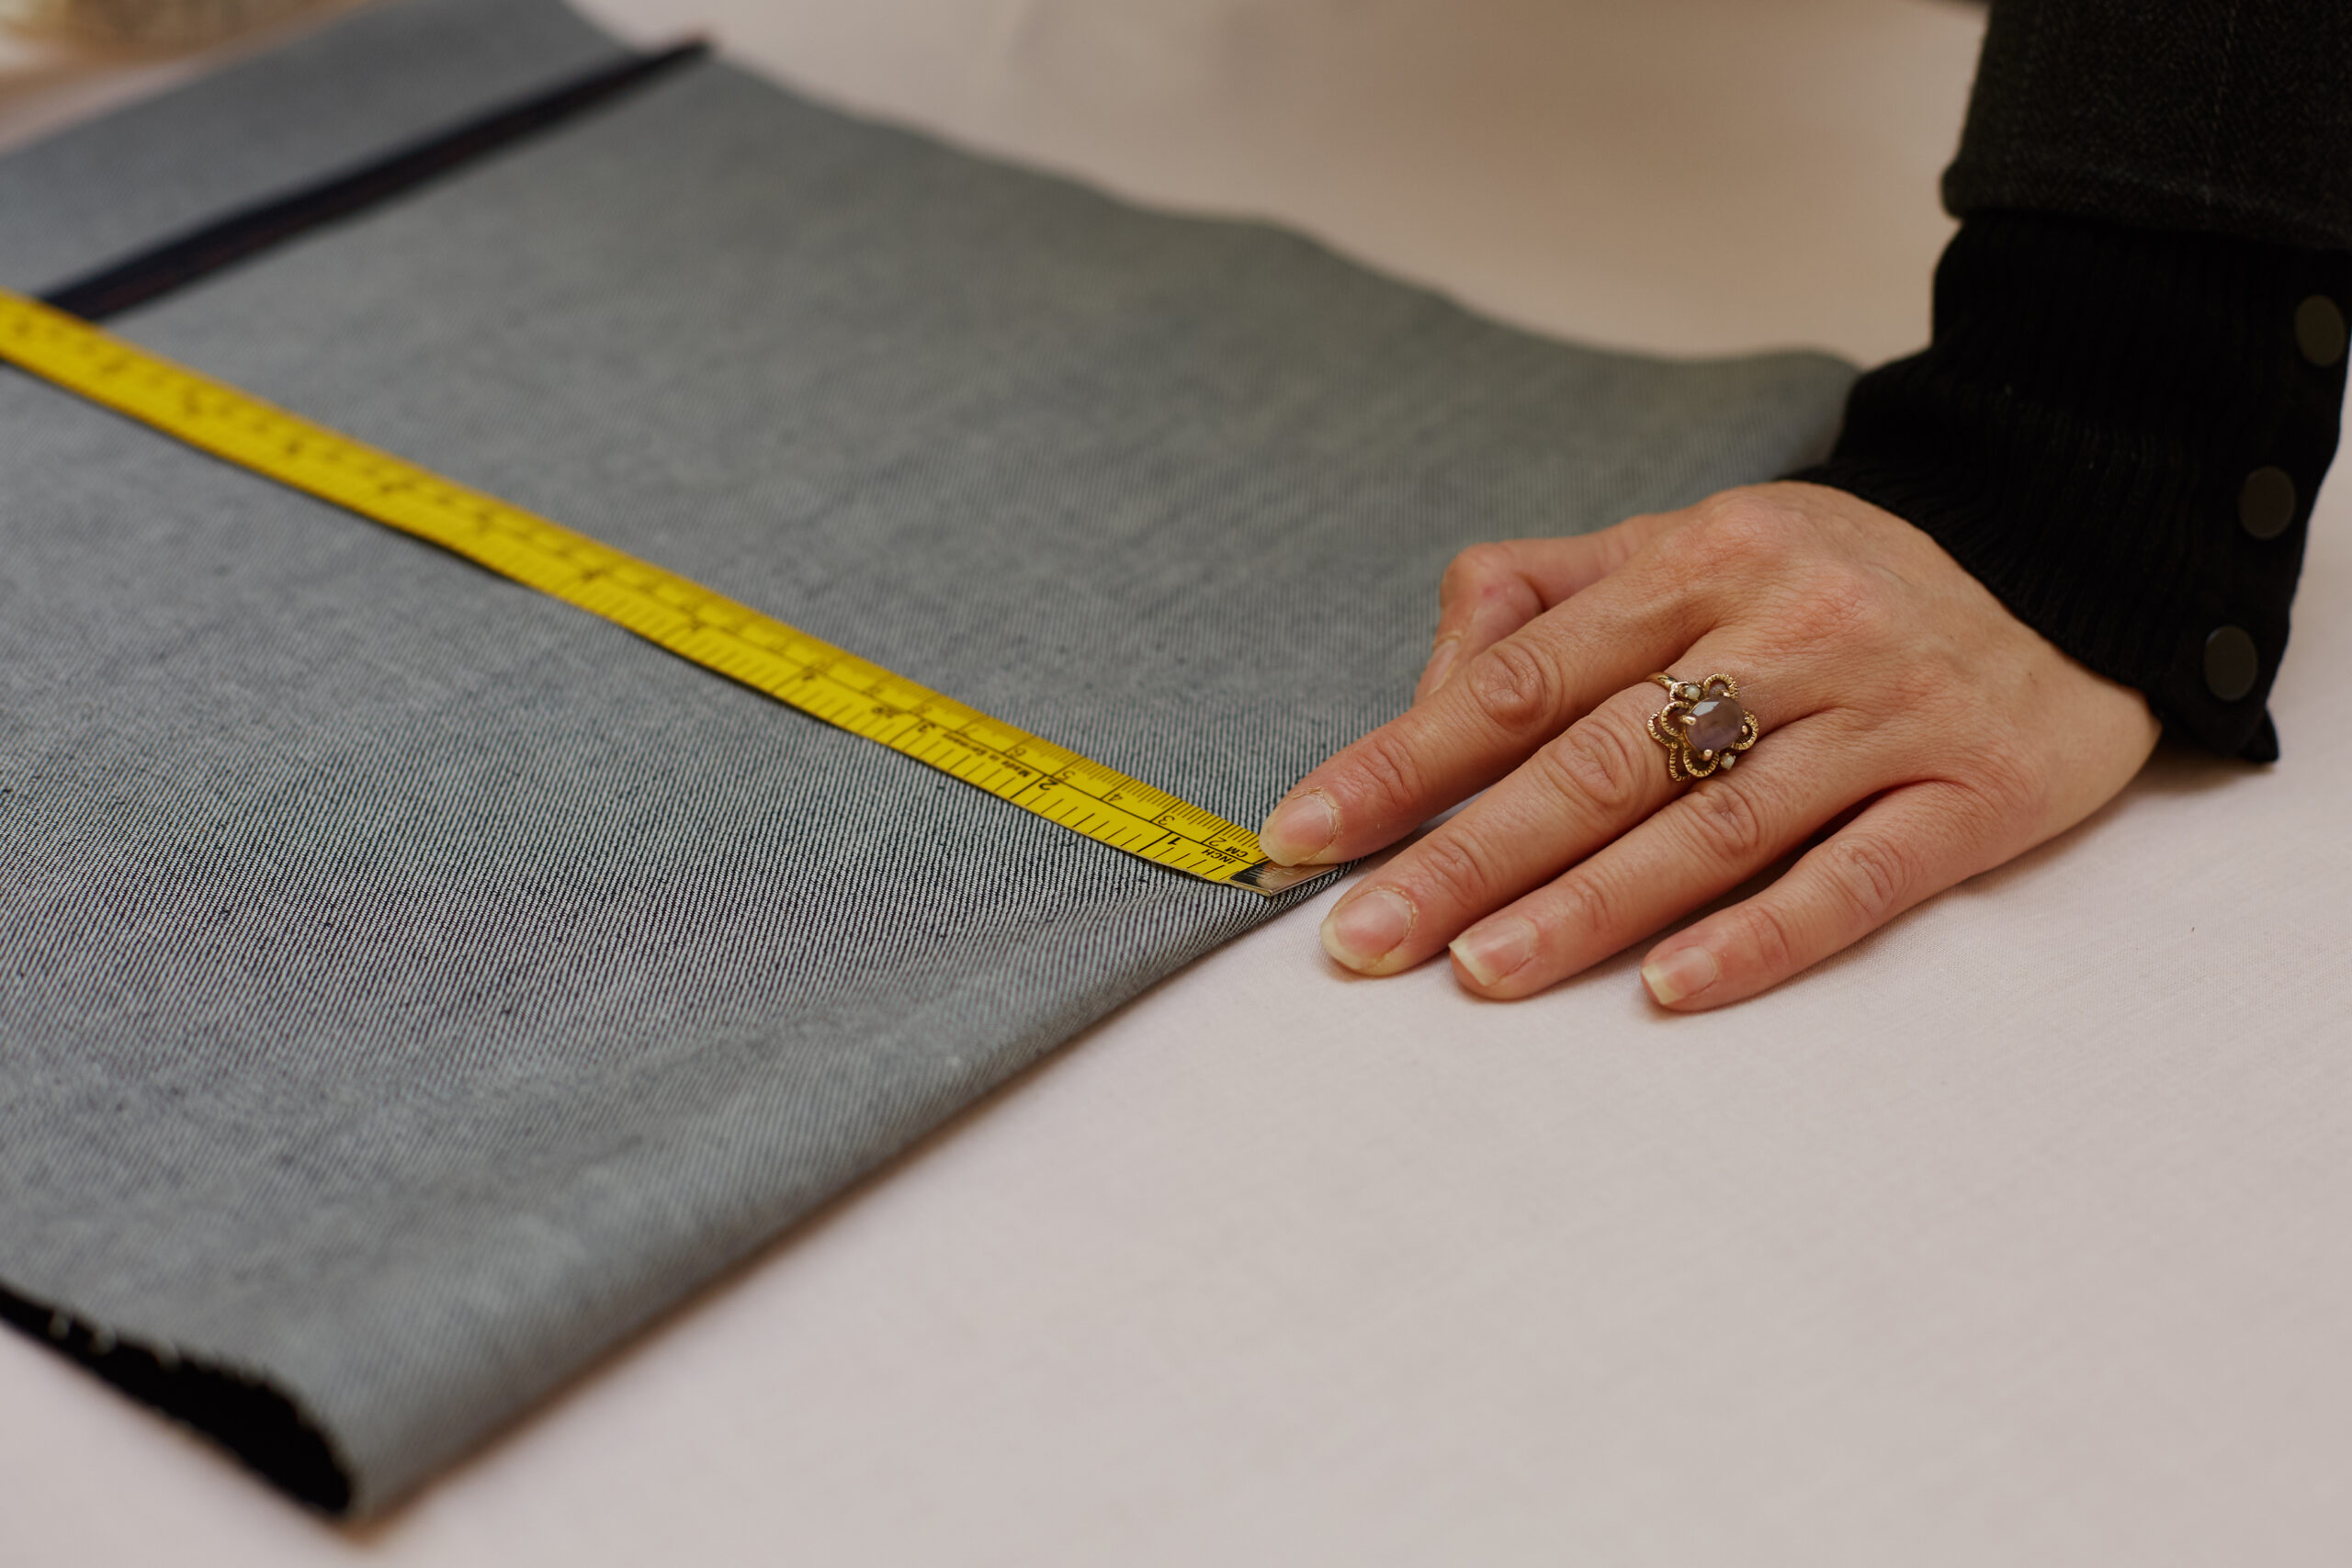
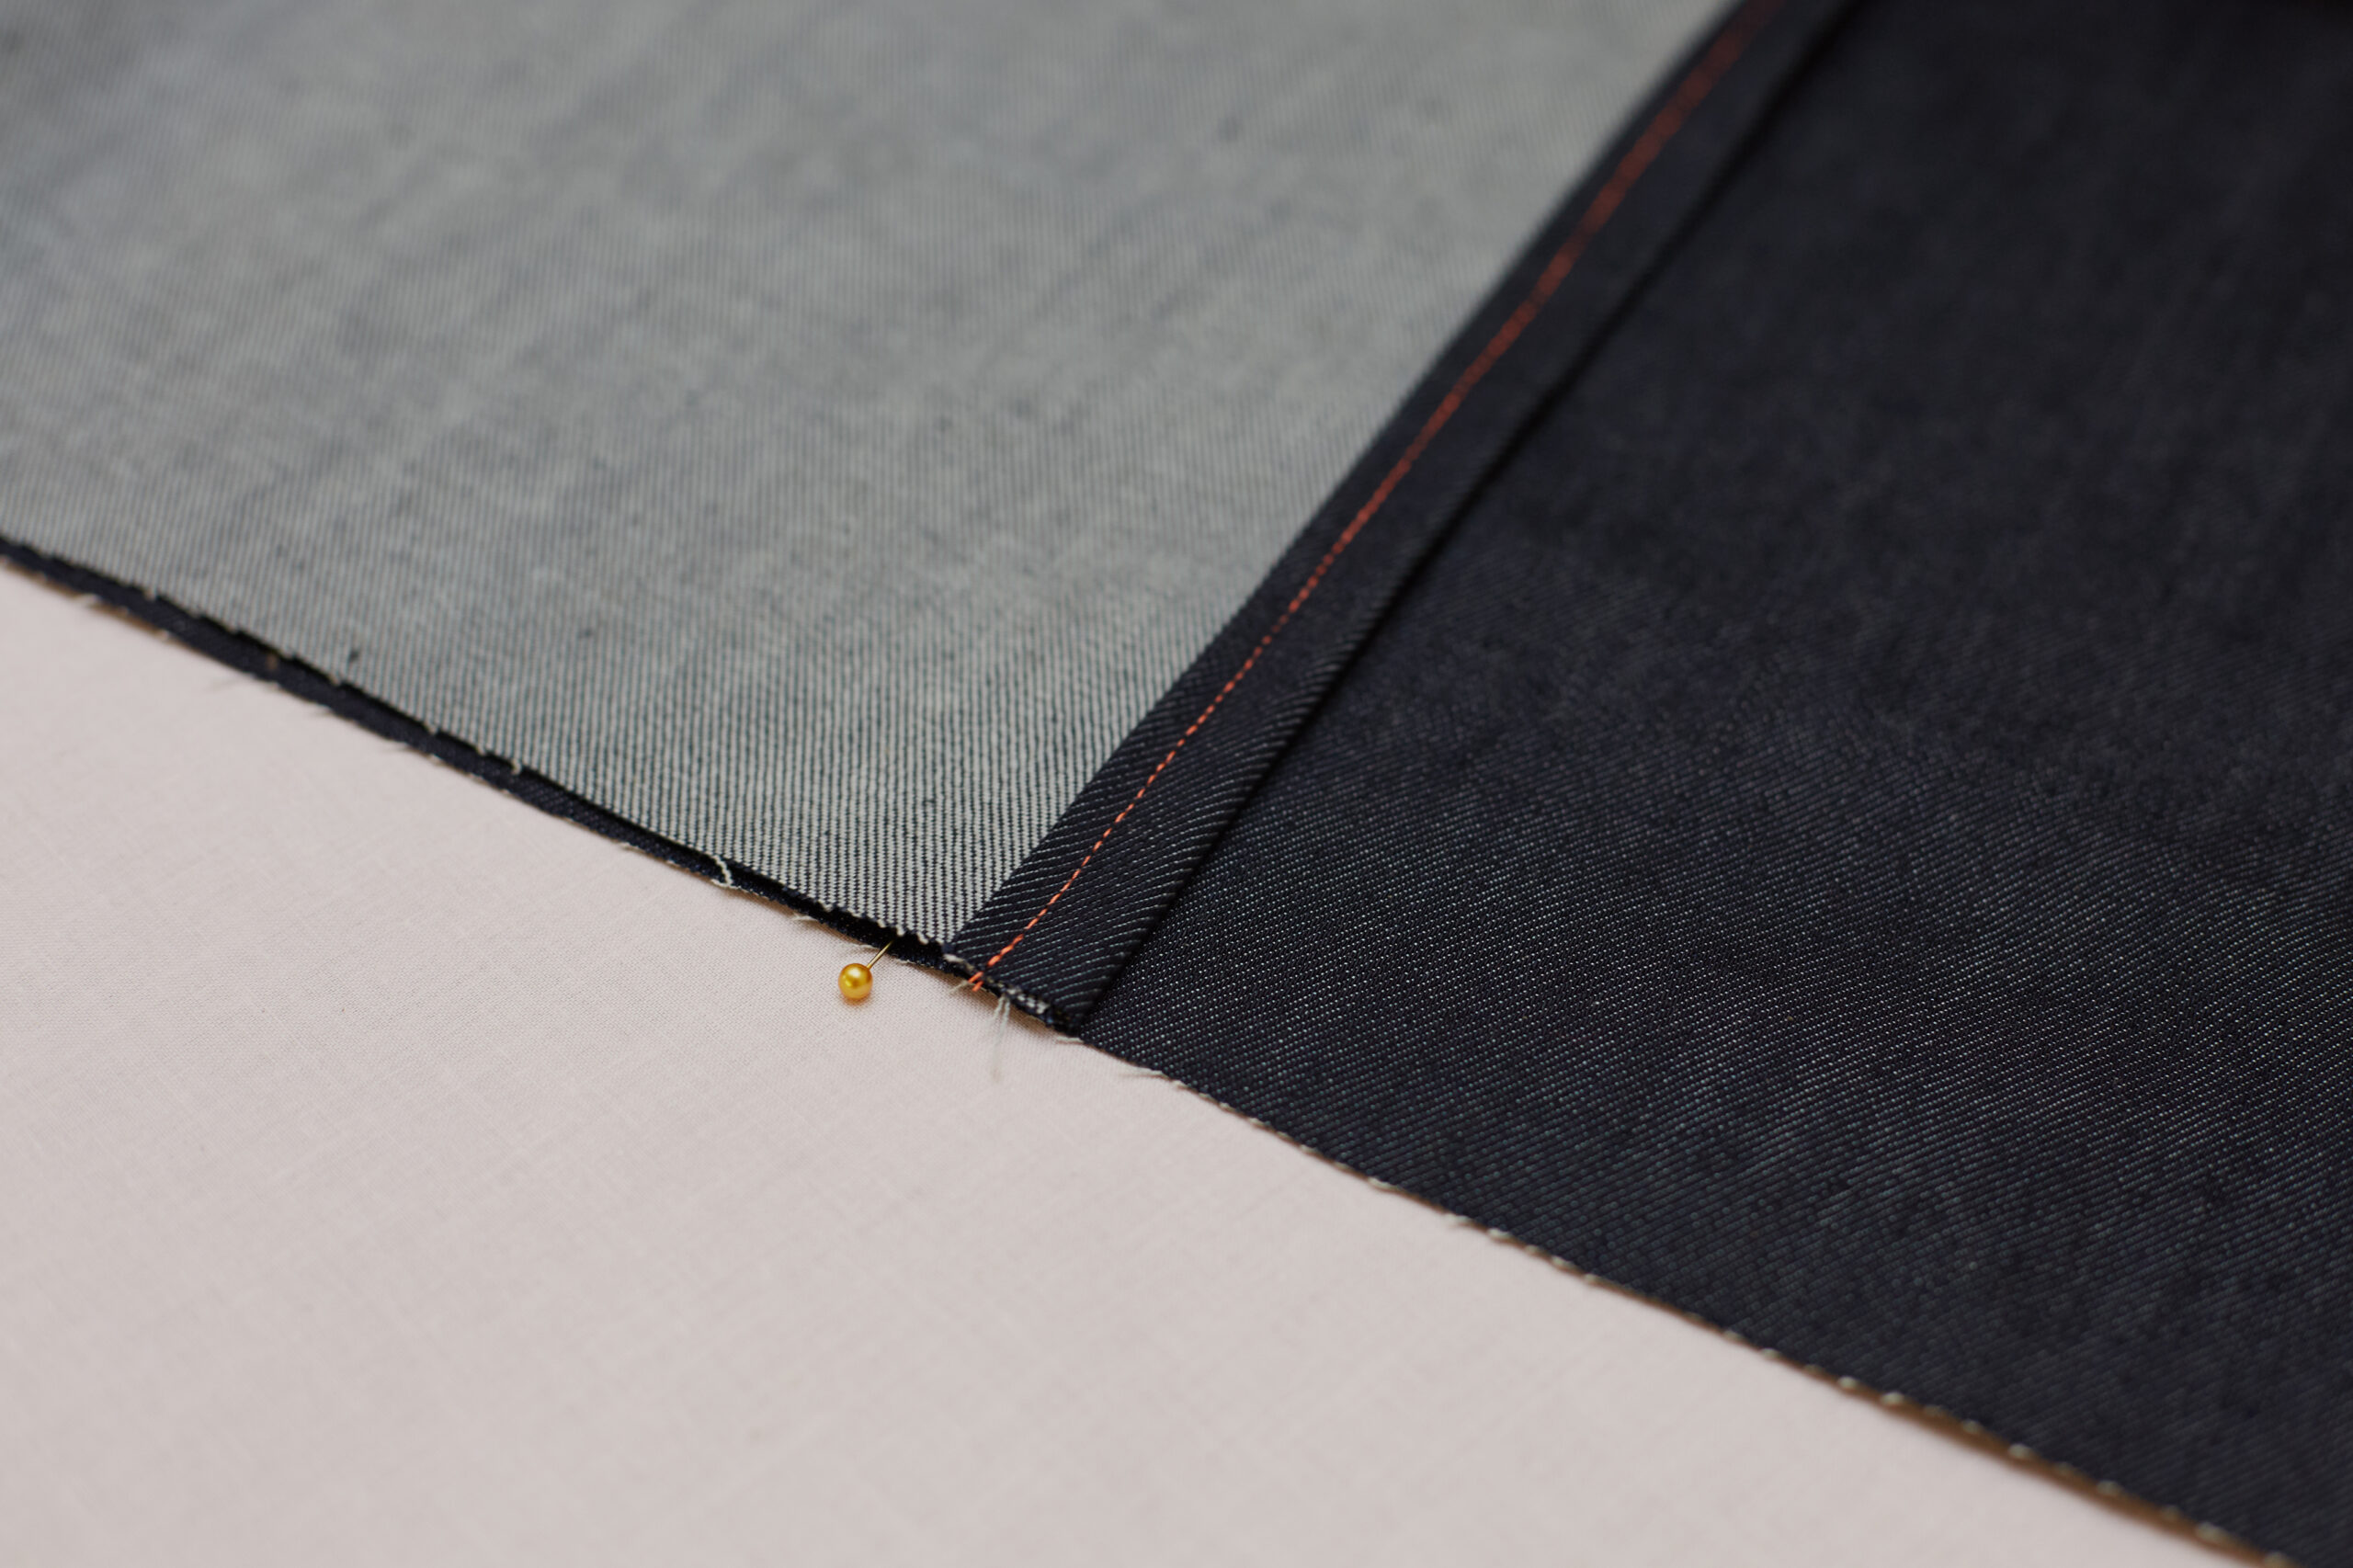
  • Basic pattern making and cutting
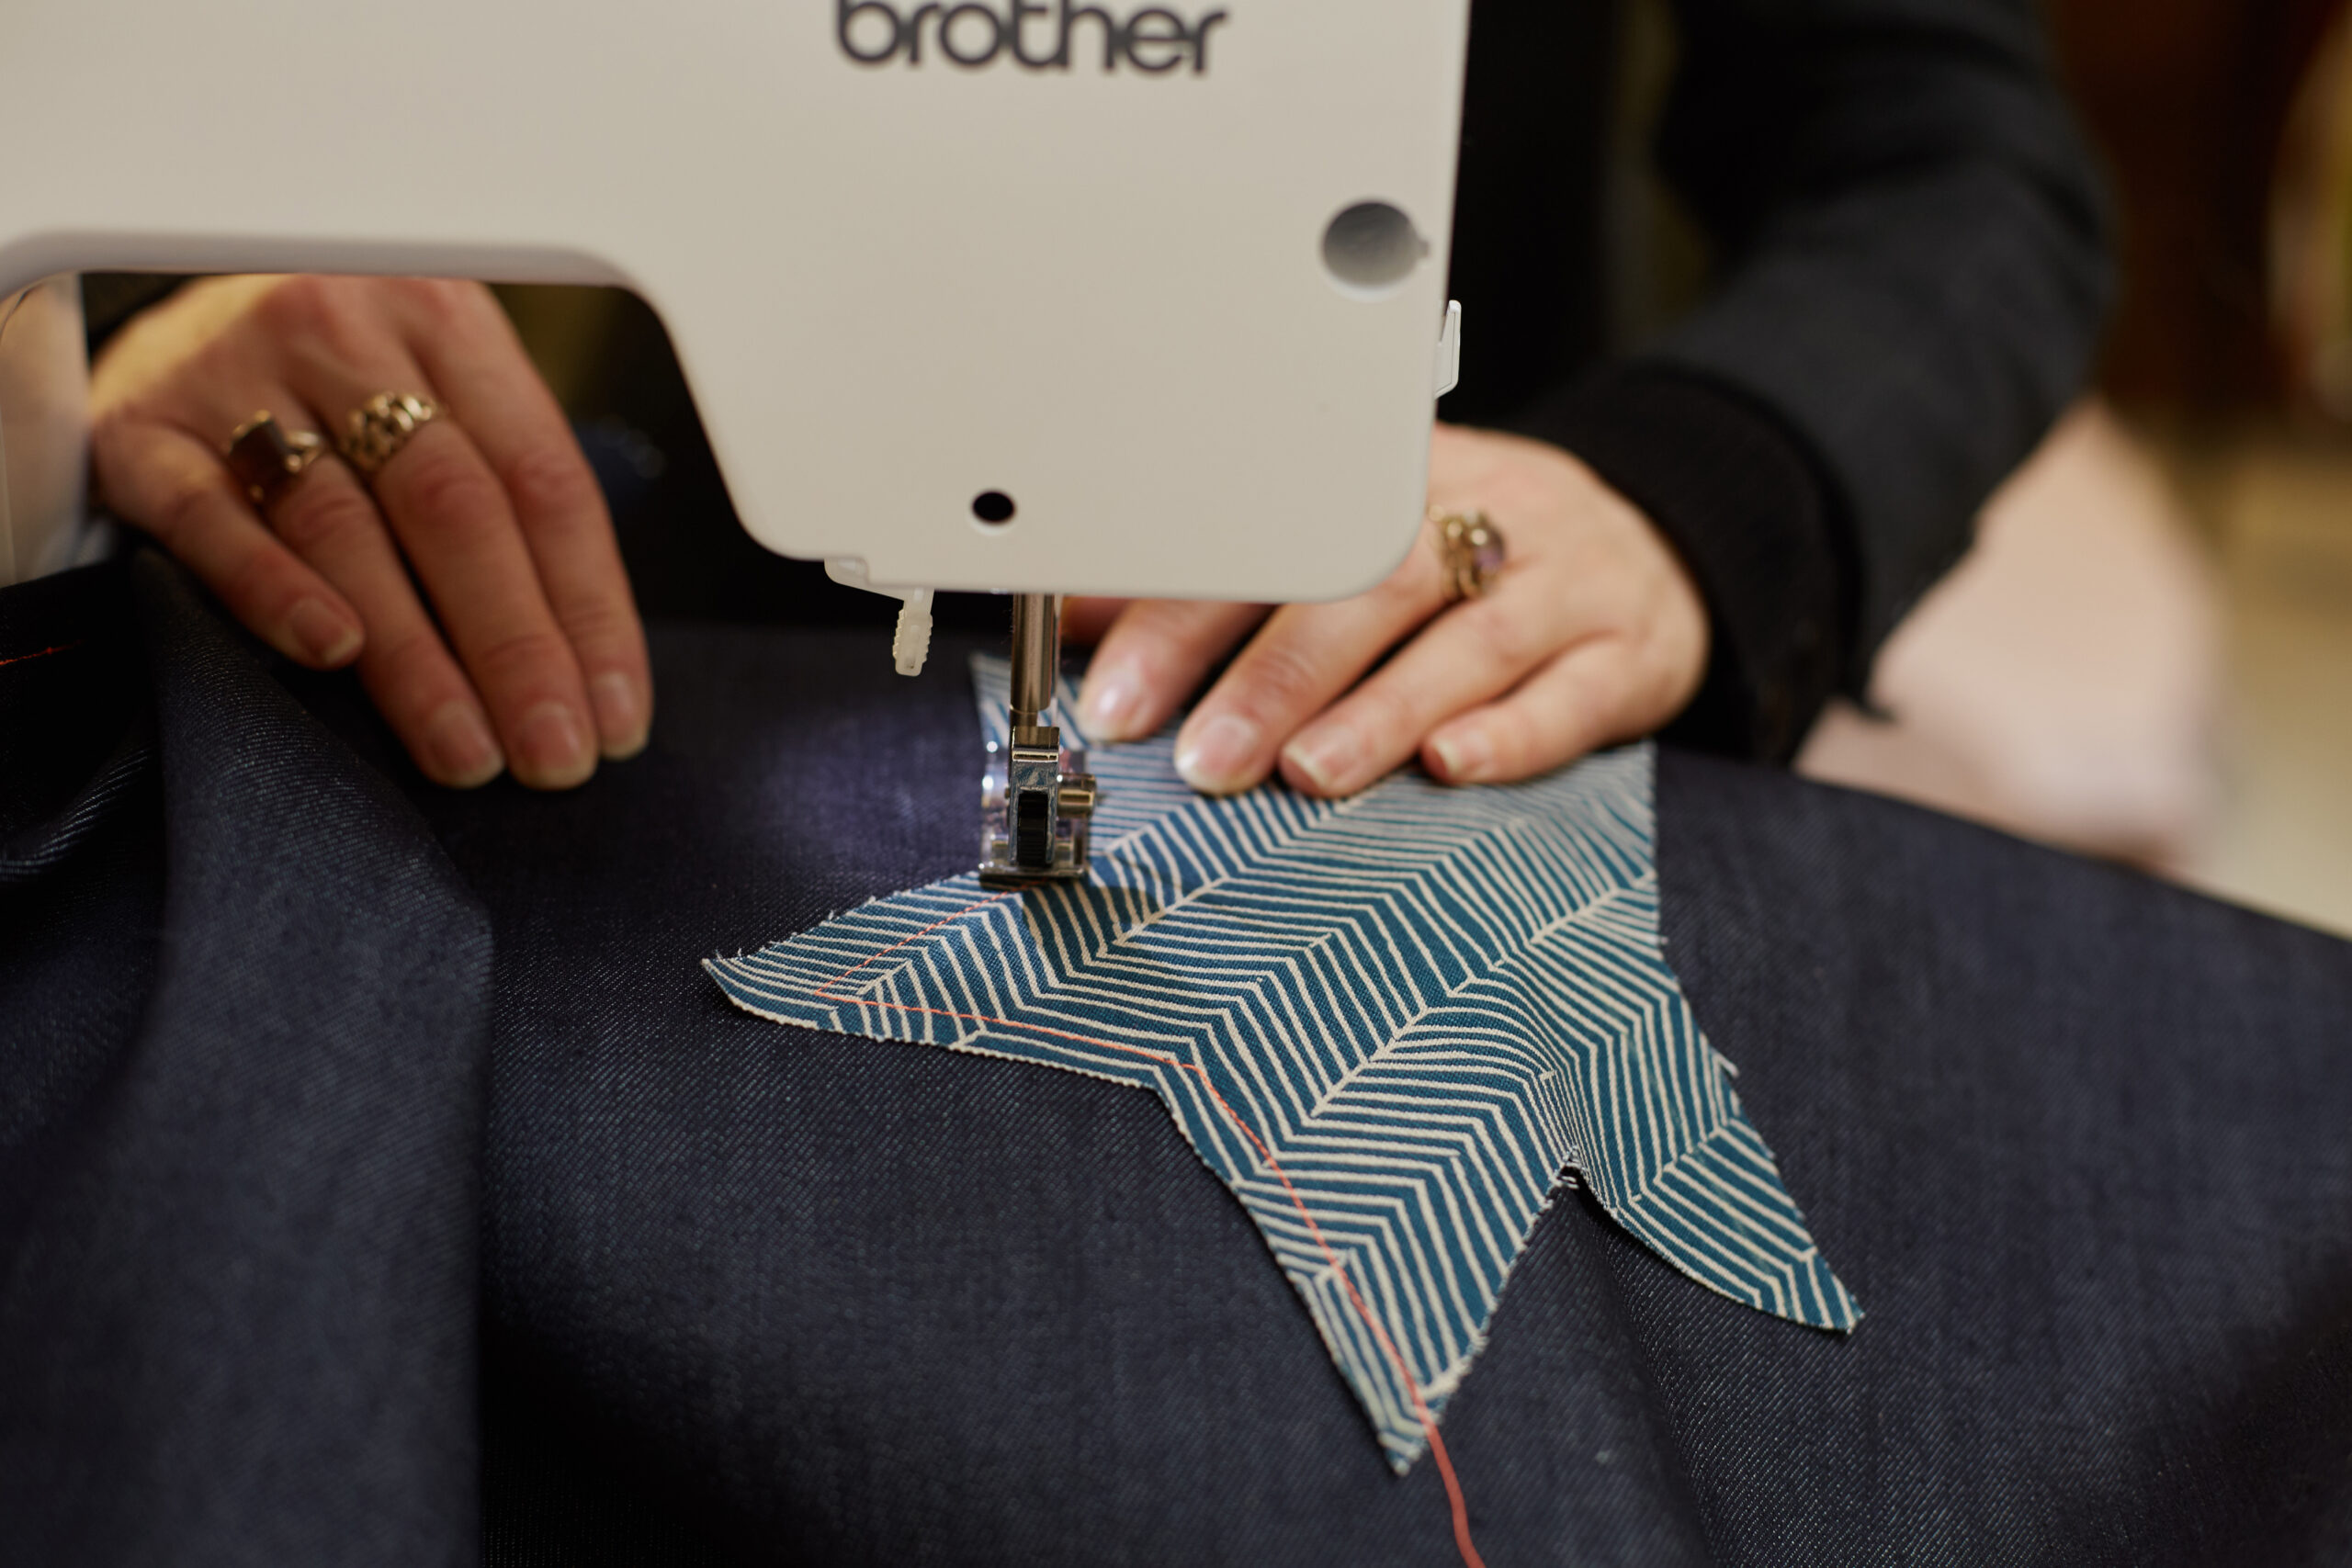
  • Designing and sewing on an appliqué patch
  • Seaming and hemming the fabric to create a personalised cushion cover.

What you’ll need

  • Fabric (approx 100cm x 40cm to make a 40cm square cushion or three 40x40cm pieces, plus contrasting fabric if you wish to add an appliqué patch)
  • 40cm square cushion pad
  • Sewing Machine
  • Threads (NB. you may want to match the colour of your thread to the fabric or choose a contrasting colour)
  • Pins
  • Iron & Ironing Board
  • Tape Measure
  • Ruler
  • Tailor’s Chalk (or ordinary chalk)
  • Fabric Scissors
  • Embroidery Scissors (optional)
  • Old Fashioned wooden knitting needle (optional)
  • Pinking shears (optional)

Step 1: Measure your fabric

  • Measure your cushion pad from corner to corner to calculate the size of your pattern.
  • There is no need to add a seam allowance as we don’t want the cover to be too loose. In class, we based it on a 40cm x 40cm cushion pad, however it’s easy to use these instructions to make different sized covers.
  • If we cut 100cm x 40cm of our choice of fabric, this will allow for the front, back and overlap of the cushion cover.
  • Tip: You can use a single piece of cloth or stitch pieces of fabric together (a great way to use up offcuts or remnants).

Step 2: Hem the edges

Iron the fold

On the shorter sides (40cm on our pattern), iron down a ½” / 1.5cm fold from front to the back, then followed by ironing a second ½” / 1.5cm fold. With this double fold, all the cut / raw edges are tucked in.

Pin and stitch the fold

Pin down your fold. With the back / ‘wrong side’ still facing you, straight stitch (2.5mm) with the needle set to the left. Stitch as close as you can to the left side of the folded hem.

Step 3: Adding appliqué

Once both sides are hemmed, you might want to add an appliqué patch to personalise your cushion.

Draw your design onto a piece of paper, it could be a hand-drawn shape or trace round an image you want to copy. I’ve used a star. Pin your paper shape to your contrasting fabric and cut out around it. Pin the fabric patch where you want it to be on your main piece of fabric. Use the sewing machine to use a zigzag stitch to attach the appliqué to the fabric, following the lines along the edge of the shape. Another option is to use a straight stitch to attach the appliqué first, and then add a zigzag stitch along the raw edges. This is helpful for larger applique shapes that might ‘bubble up’ or pucker whilst stitching. 

Step 4: Assemble the cushion cover

Fold hemmed edges

Lay the fabric out in front of you horizontally. “Right Side” (front of fabric) facing upwards. 

Fold one of the hemmed edges, from the left to the right, towards the centre of the cushion cover.

Now fold the other hemmed edge, from the right to the left, into the centre overlapping the other hemmed edge by at least 10cm.

You should now have a square shape in front of you. Measure and adjust the overlap to create a square cushion, plus an extra ½” / 1.5cm along the non-hemmed edges to create a seam allowance.

Pin and Stitch

Pin the two non-hemmed edges and straight stitch (2.5mm stitch length) with ½” /1.5cm seam allowance.

Remember to reverse / ‘lock stitch’ at the beginning and at the end.

Zig zag stitch

Follow up with a medium sized zig zag stitch (1.5mm stitch length) to seal the raw edges and stop the fabric from fraying.

Step 5: Iron and turn the cushion through

Iron and turn through

Once the cover is all sewn up, iron it while it’s still wrong side out.

Turn through to reveal the front / ‘right side’.

Carefully poke out corners with your finger or an old fashioned knitting needle.

Insert the pad

Insert your cushion pad

The finished cushion

Congratulations! You’ve made a cushion cover.

Thank You to Sophie Rochester at Yodomo for helping me bring these online resource pages to fruition.

X