What we learnt in the Beginners Sewing 2 class

How to sew a utility pouch / roll. Here’s a little reminder on how to thread up the sewing machine.  This project also includes the following skills:

  • Basic pattern making and cutting
  • Adding 2 styles of zip
  • Making a buttonhole
  • Adding bias binding tape
  • Creating pockets
  • Simple construction methods inluding: seams, adding a backing/lining
  • Simple finishing methods including: top stitching, using decorative stitching and binding raw edges

NB: There is a slight variation in how the utility roll is finished / assembled on my evening “Beginners Sewing Course” (over 3 eves) & the weekend “Beginners Sewing 2”. Both versions will be described in this tutorial.
What you’ll need: 

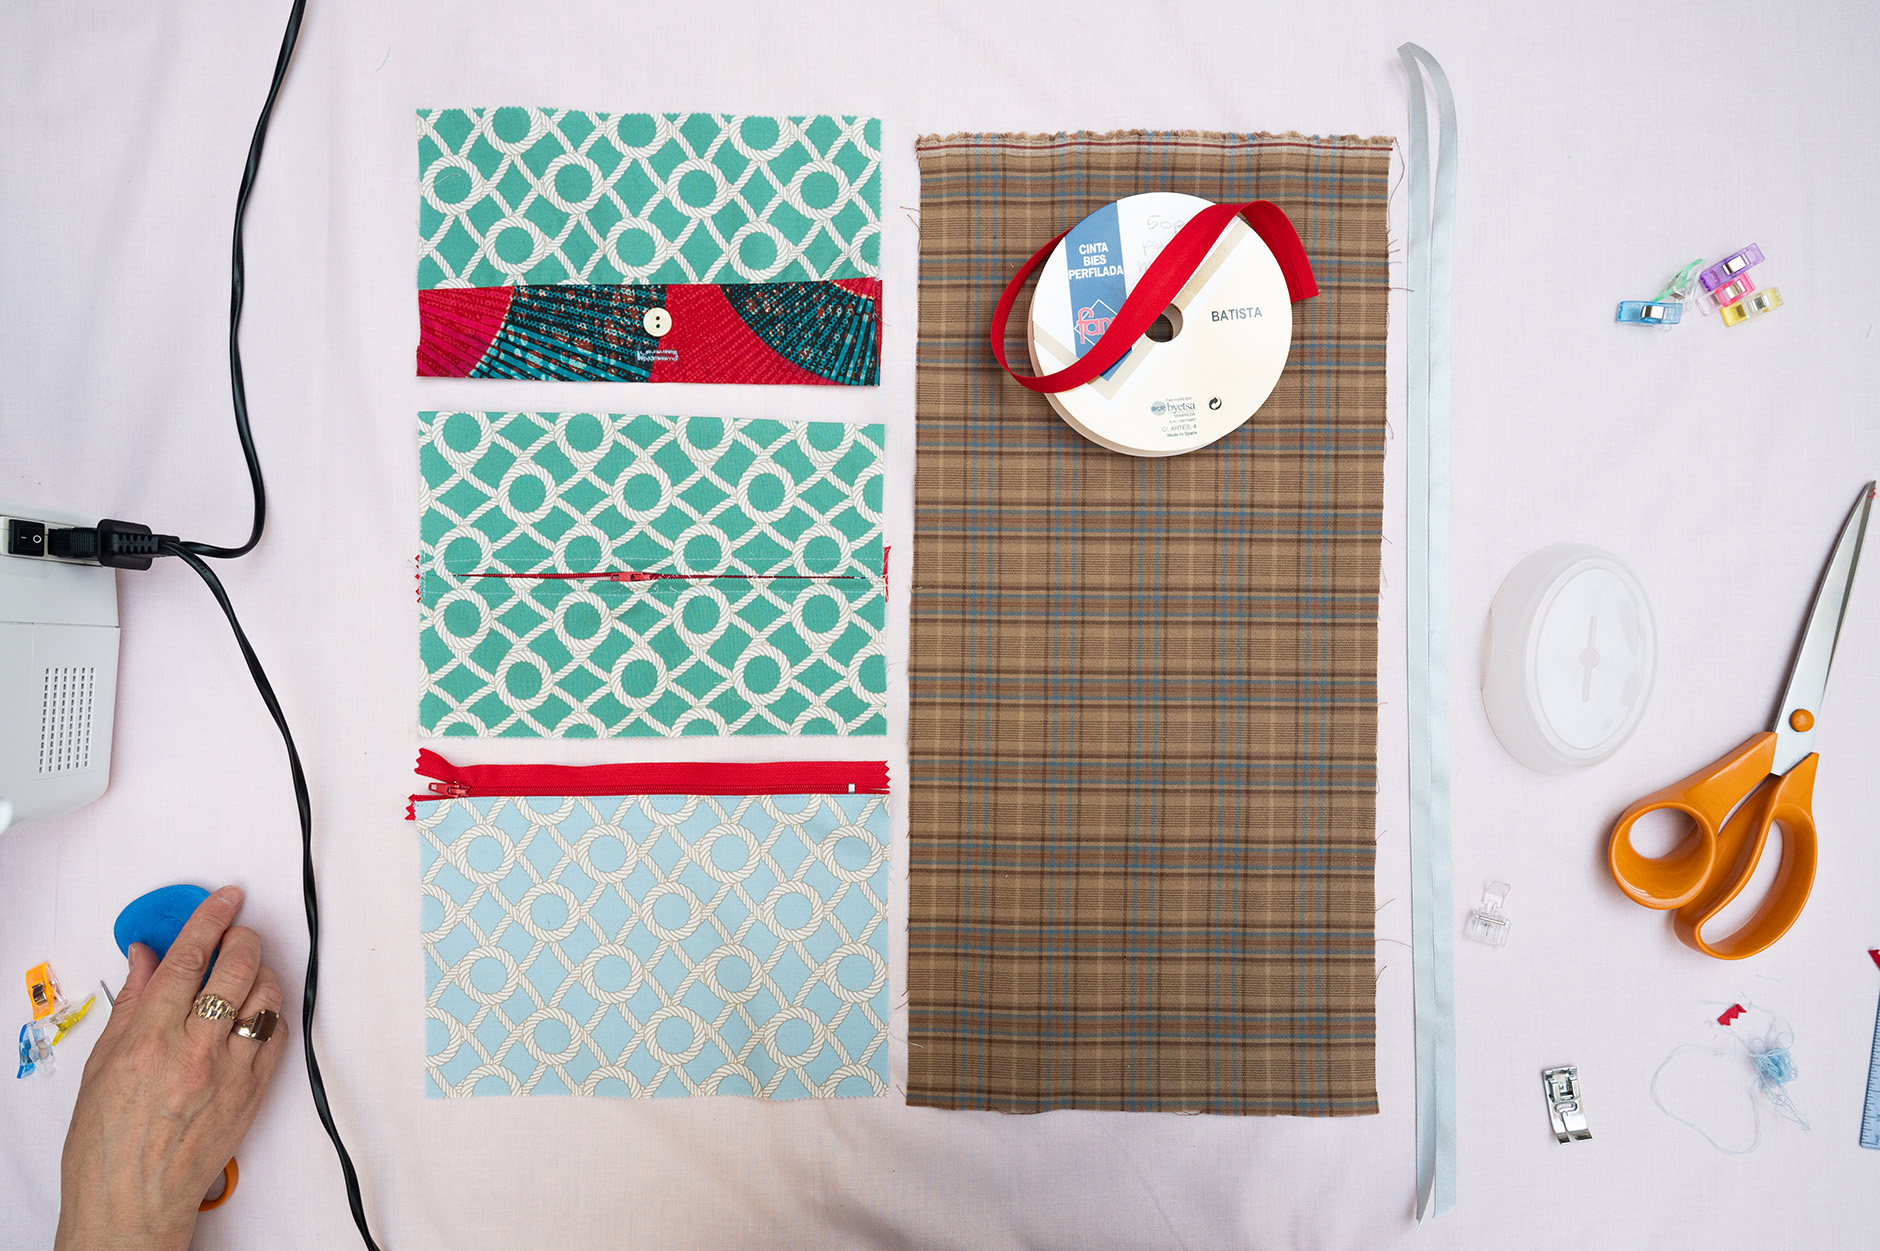
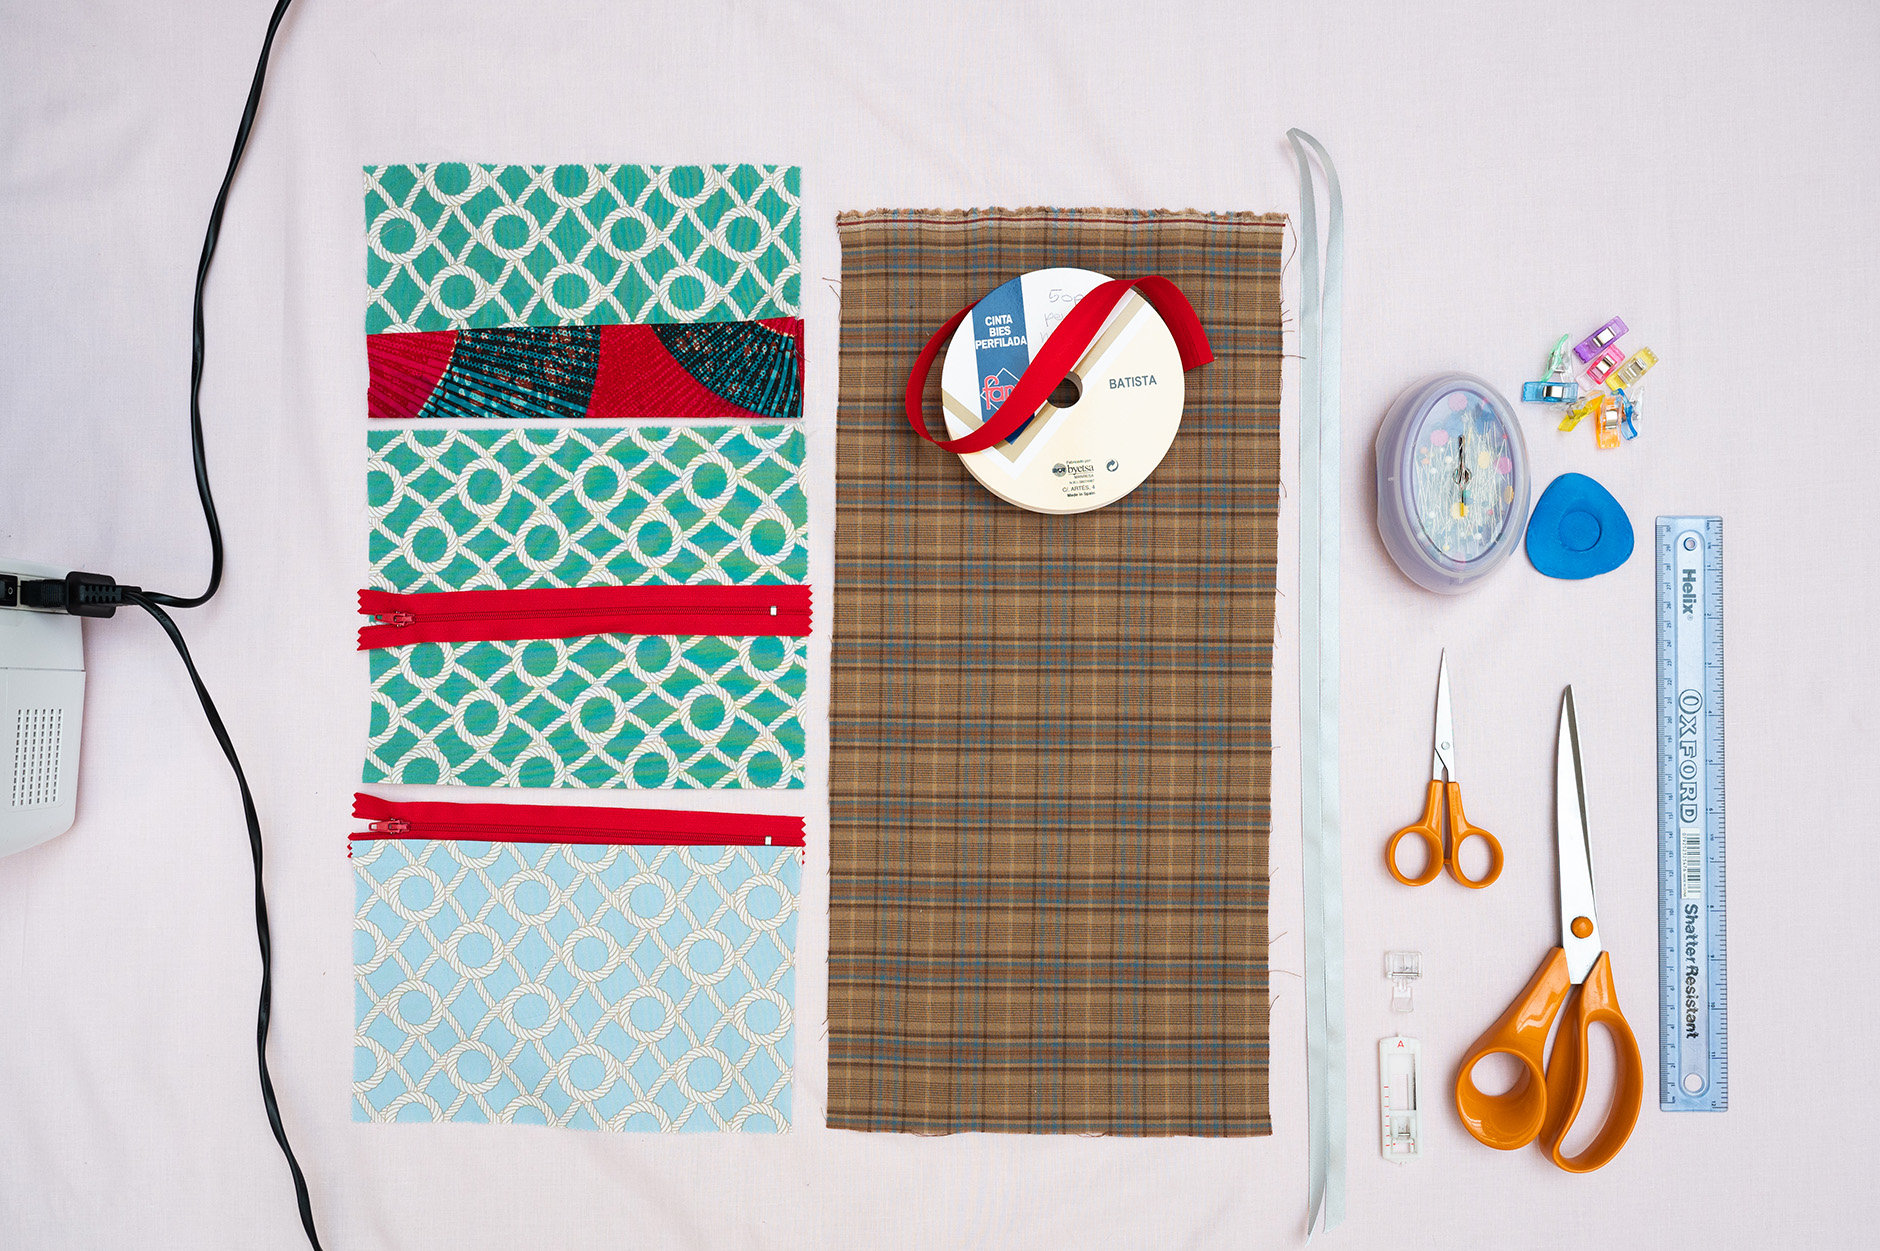
  • Fabric (our utility pouch pattern is based on 50cm x 25cm for the backing plus offcuts for 3 pockets in contrasting fabric designs, but adapt this concept and make it your way!)
  • 2 x zips (we used 8″ zips for this width of pouch)
  • 1 x button
  • Bias Binding Tape (we used 18mm)
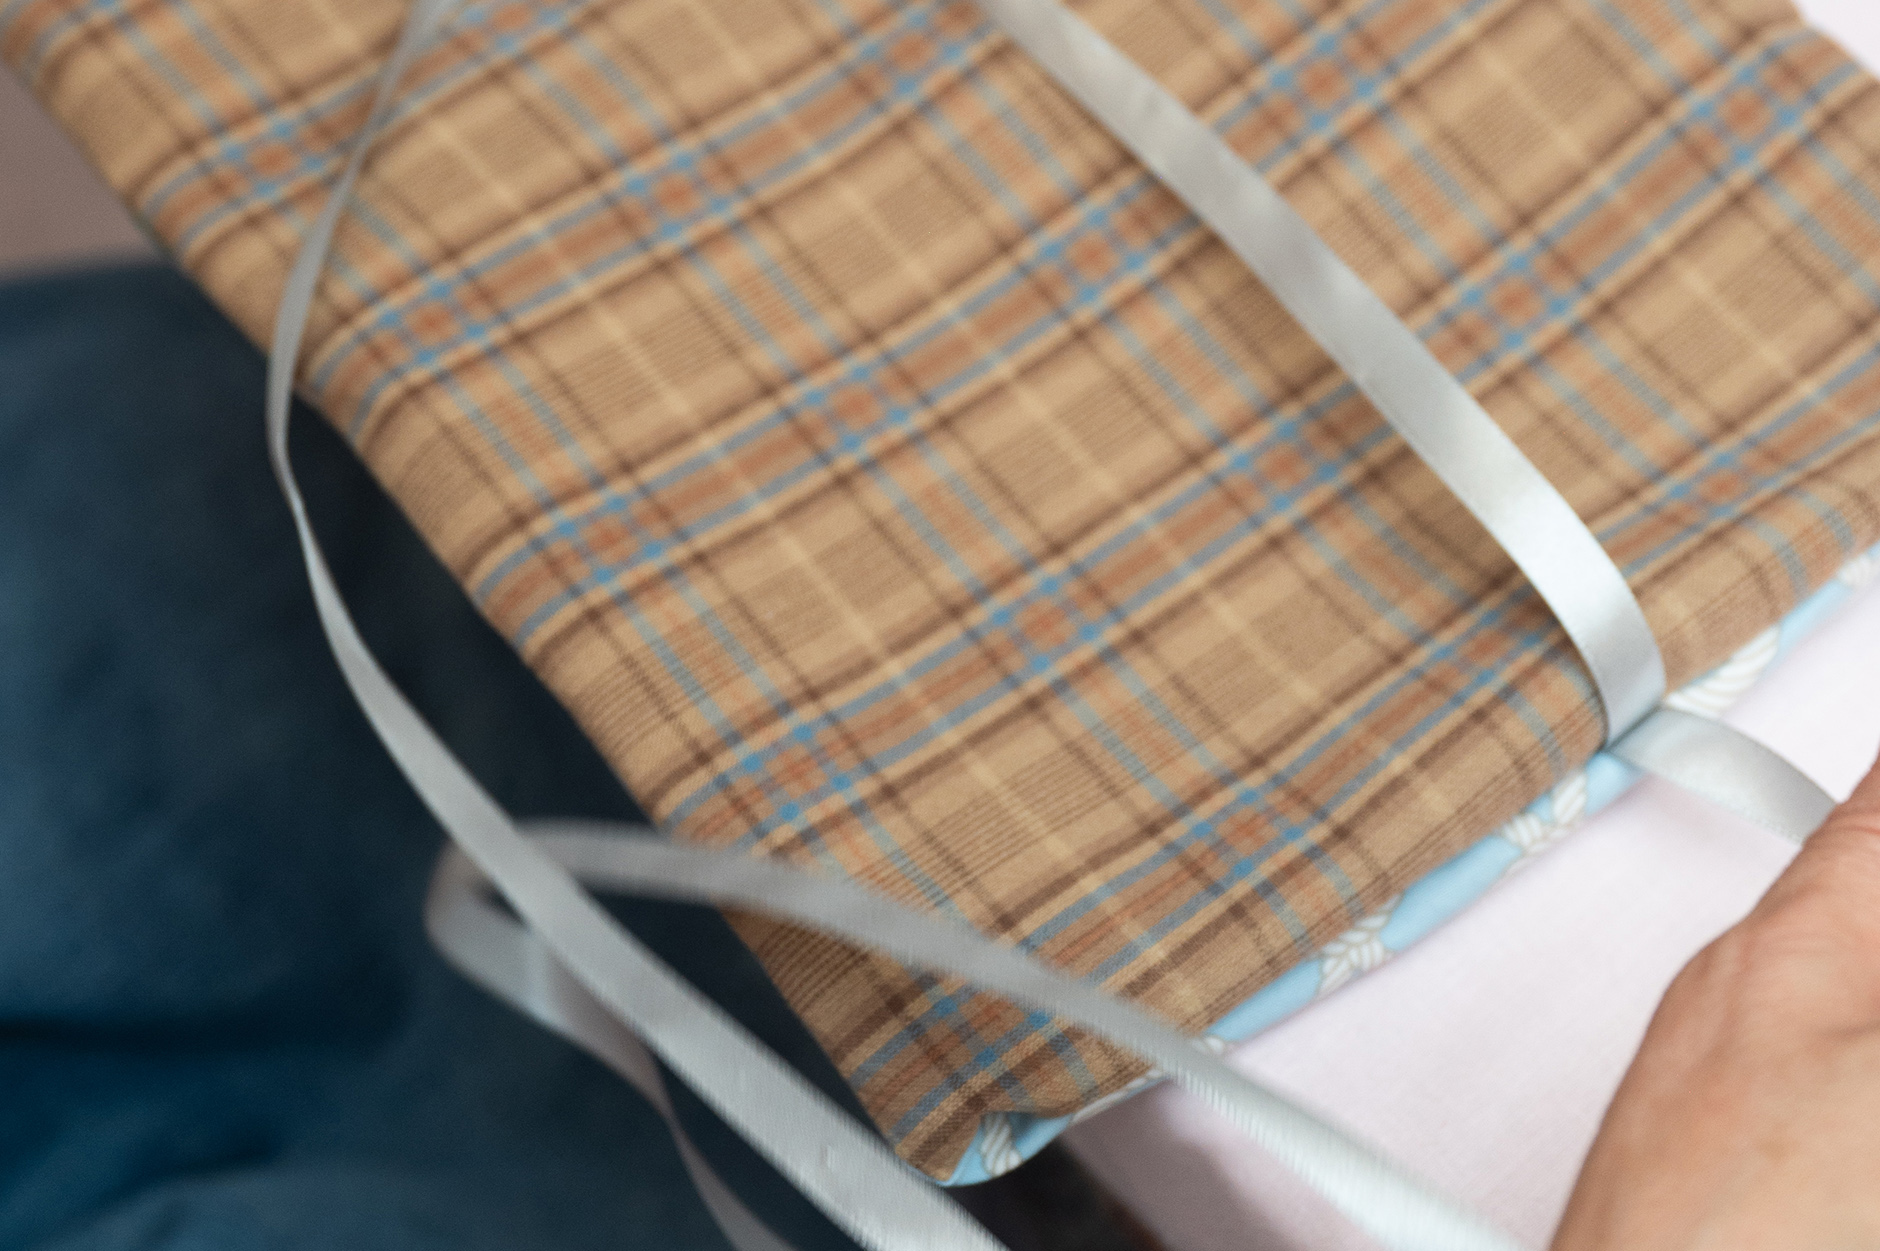
  • Ribbon or similar for tie
  • Sewing Machine + Zipper & Buttonhole accessories
  • Threads (NB. you may want to match the colour of your thread to the fabric or choose a contrasting colour)
  • Pins and Fabric Clips (optional)
  • Iron & Ironing Board
  • Tape Measure
  • Ruler
  • Tailor’s Chalk / Fabric marker
  • Fabric Scissors
  • Embroidery Scissors (optional)
  • Old Fashioned wooden knitting needle (optional)

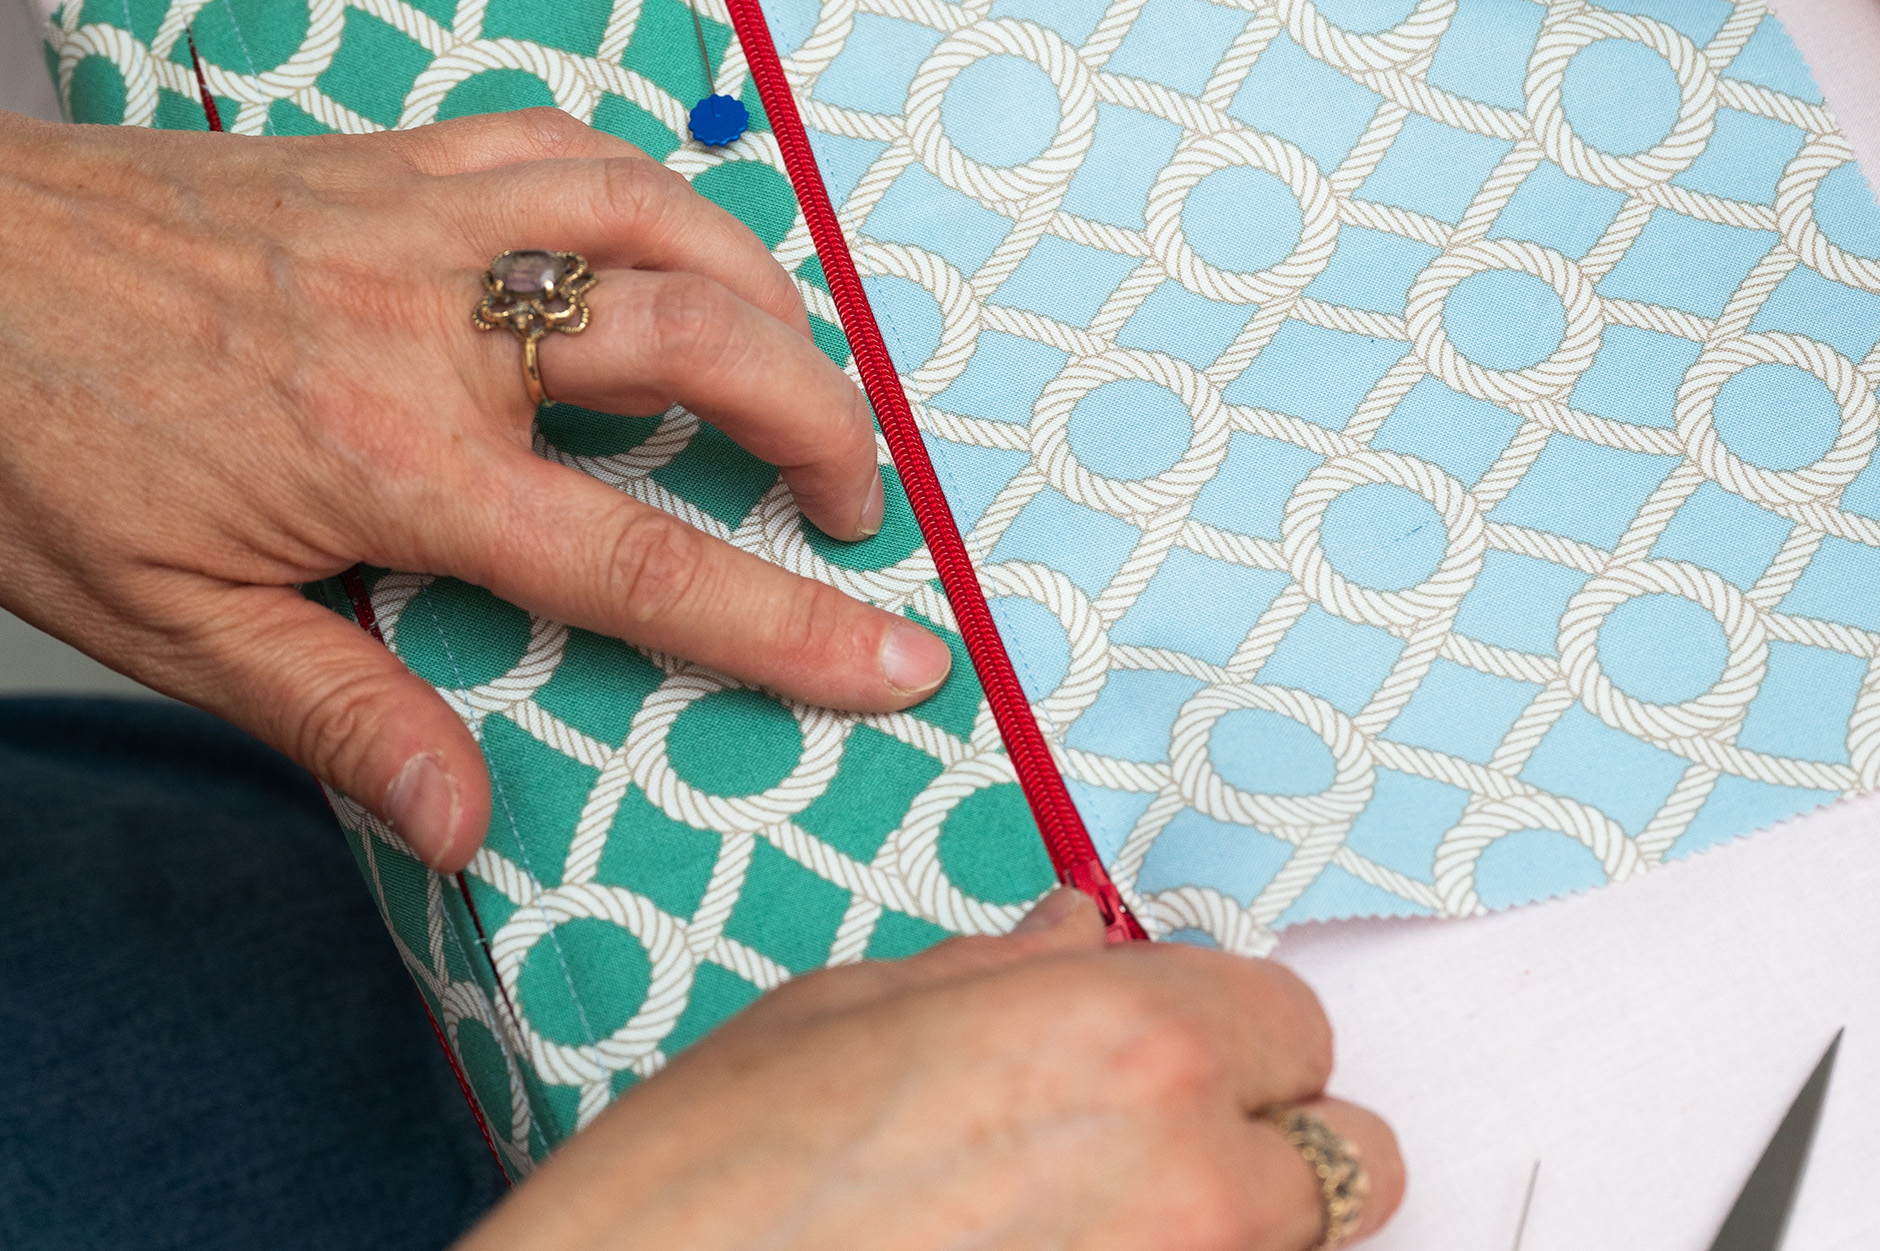
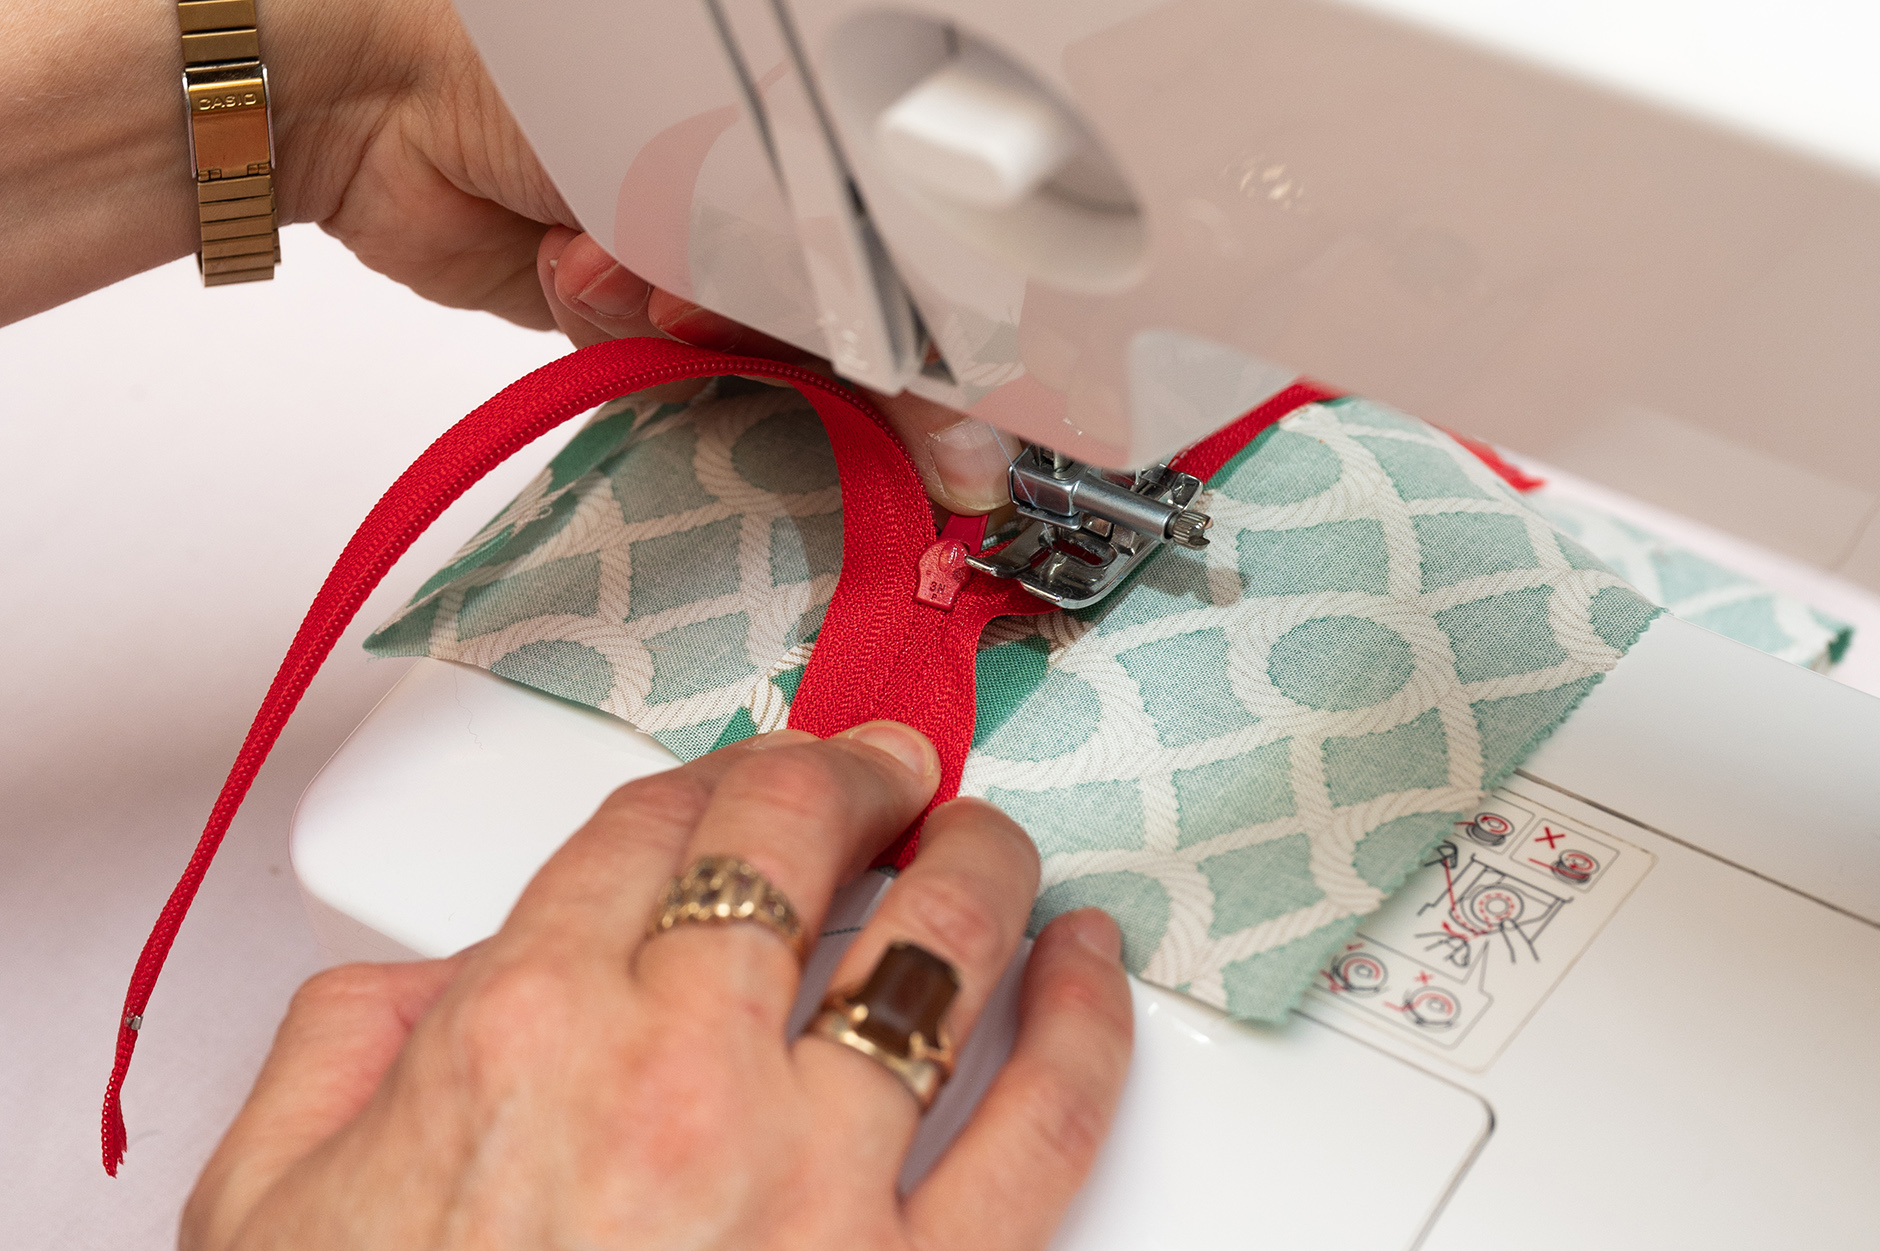
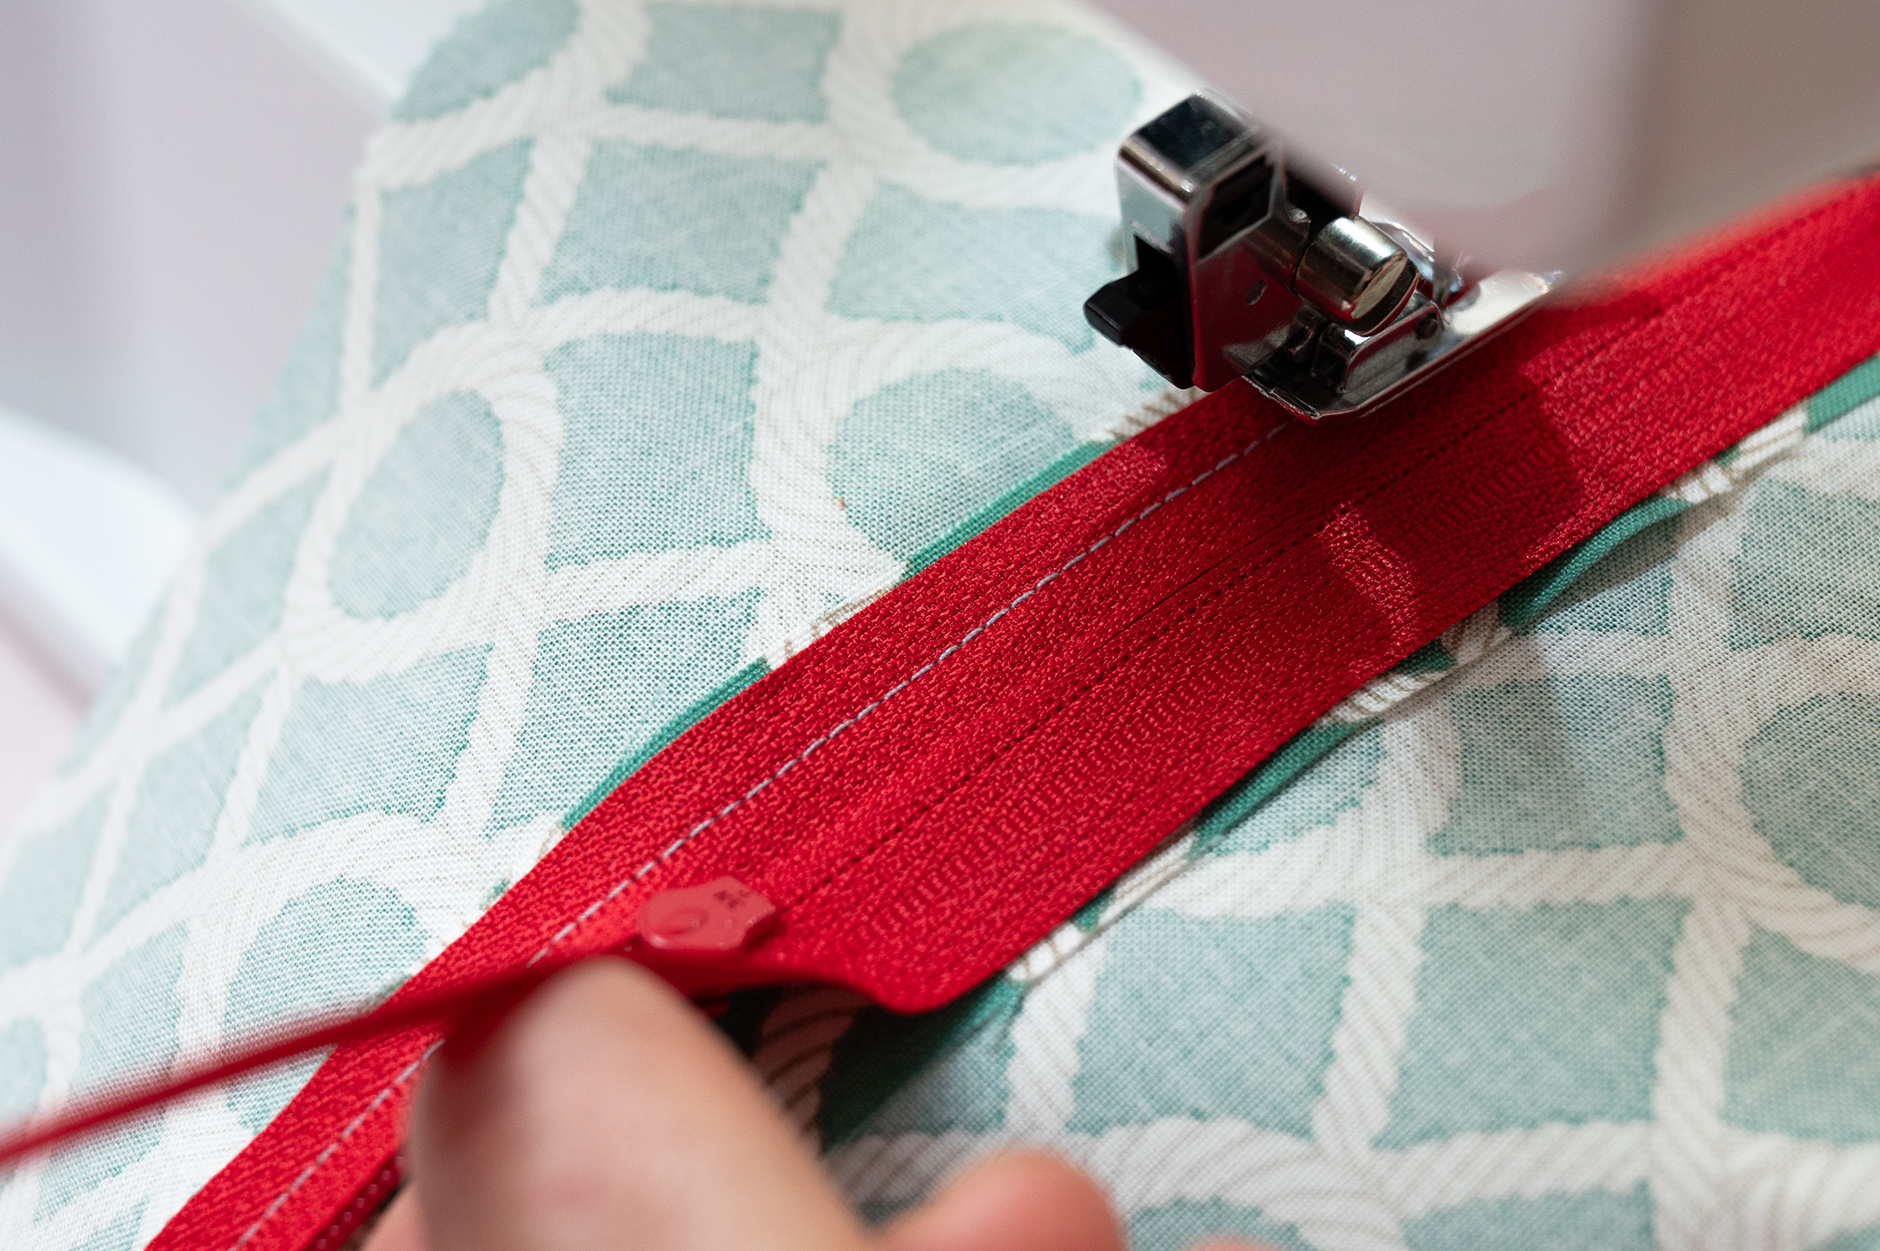
Pocket 1: Adding a visible zip (using a ‘zipper’ foot)

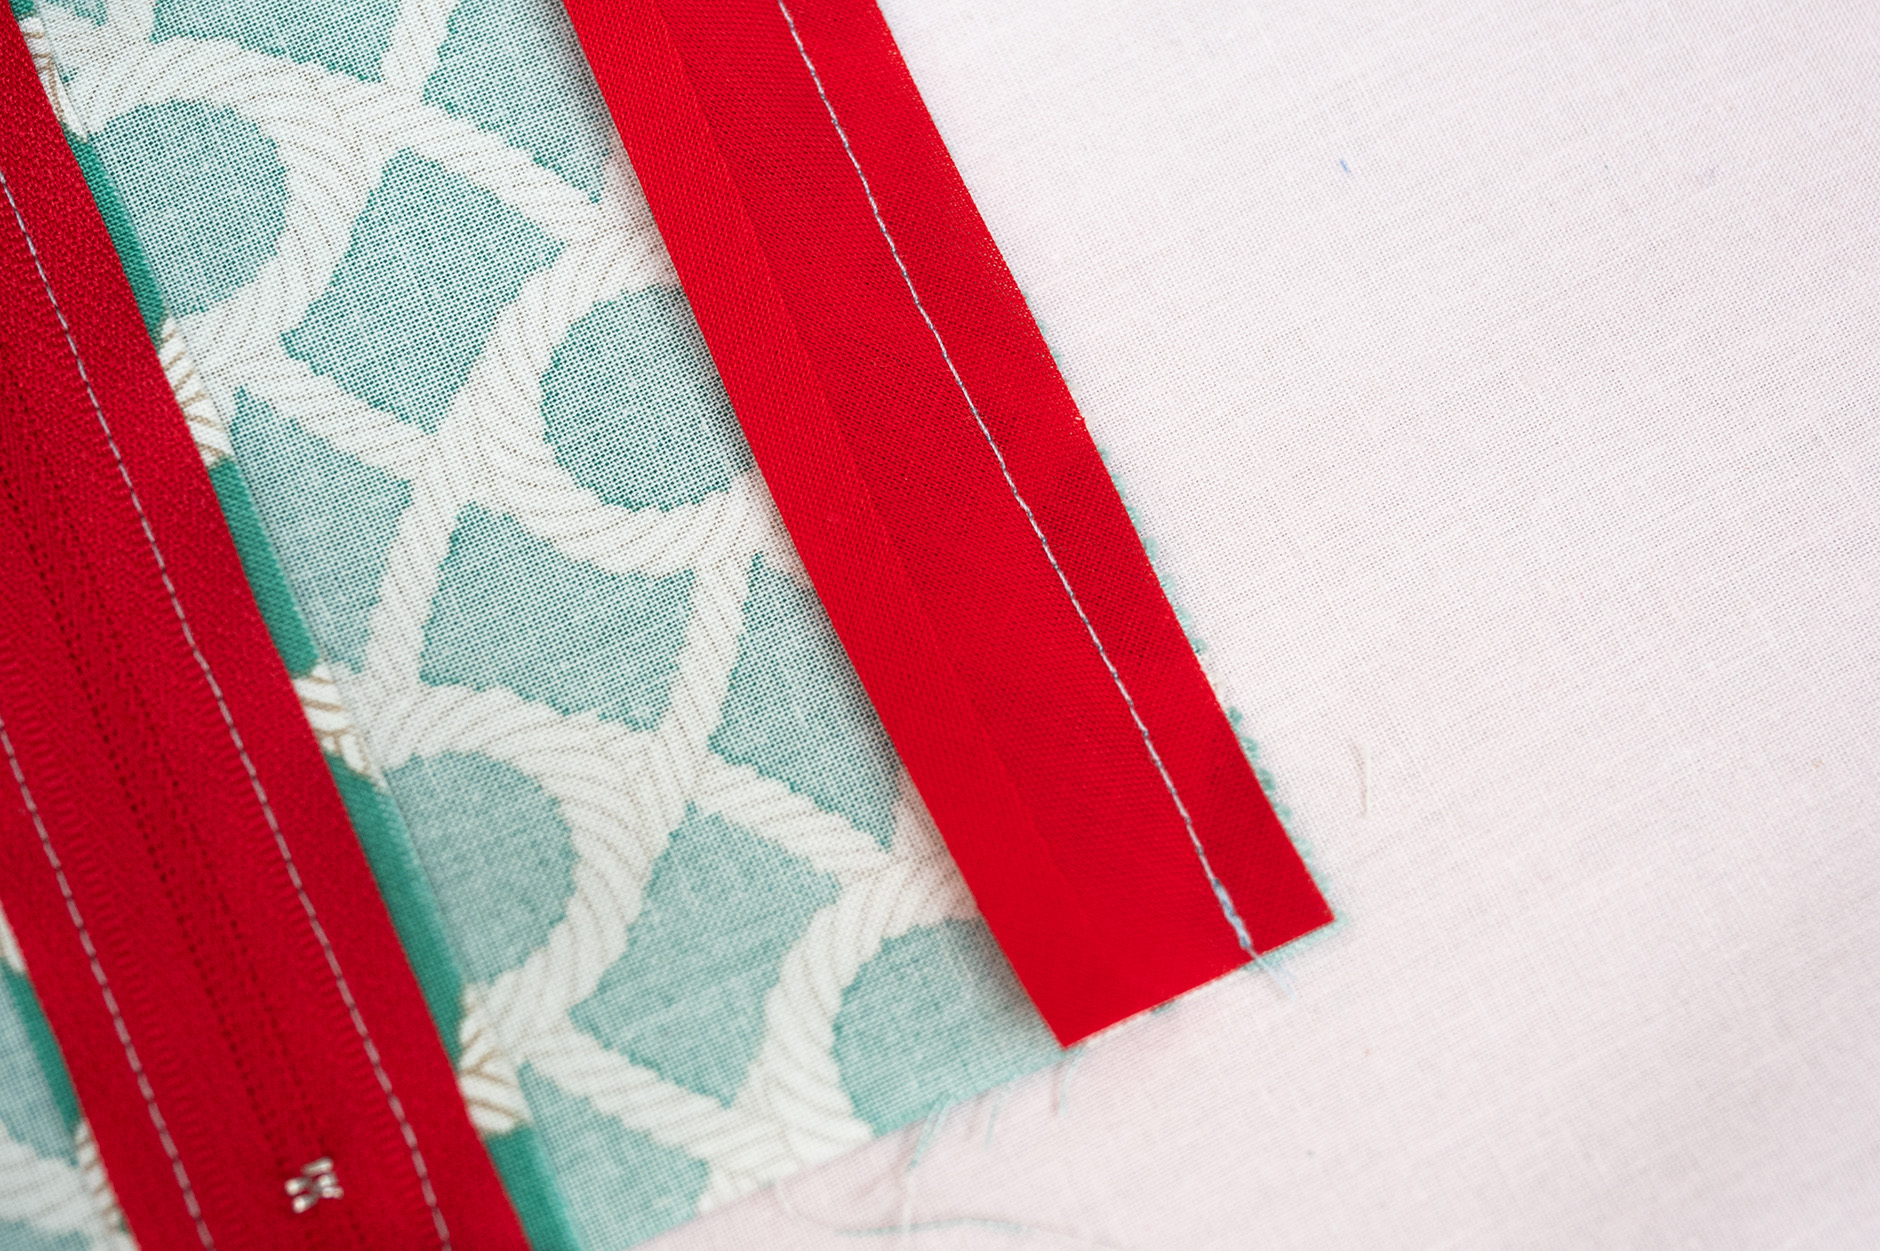
  • Once you’ve cut your pocket to size – allow for ironing over 1/2″ (or 1.27cm) fold to the ‘wrong side’ (or back of the pocket) along the inside edge of the pocket. In class we bi passed zig zagging the edge first before ironing the fold, which i’d recommend doing on unlined items.
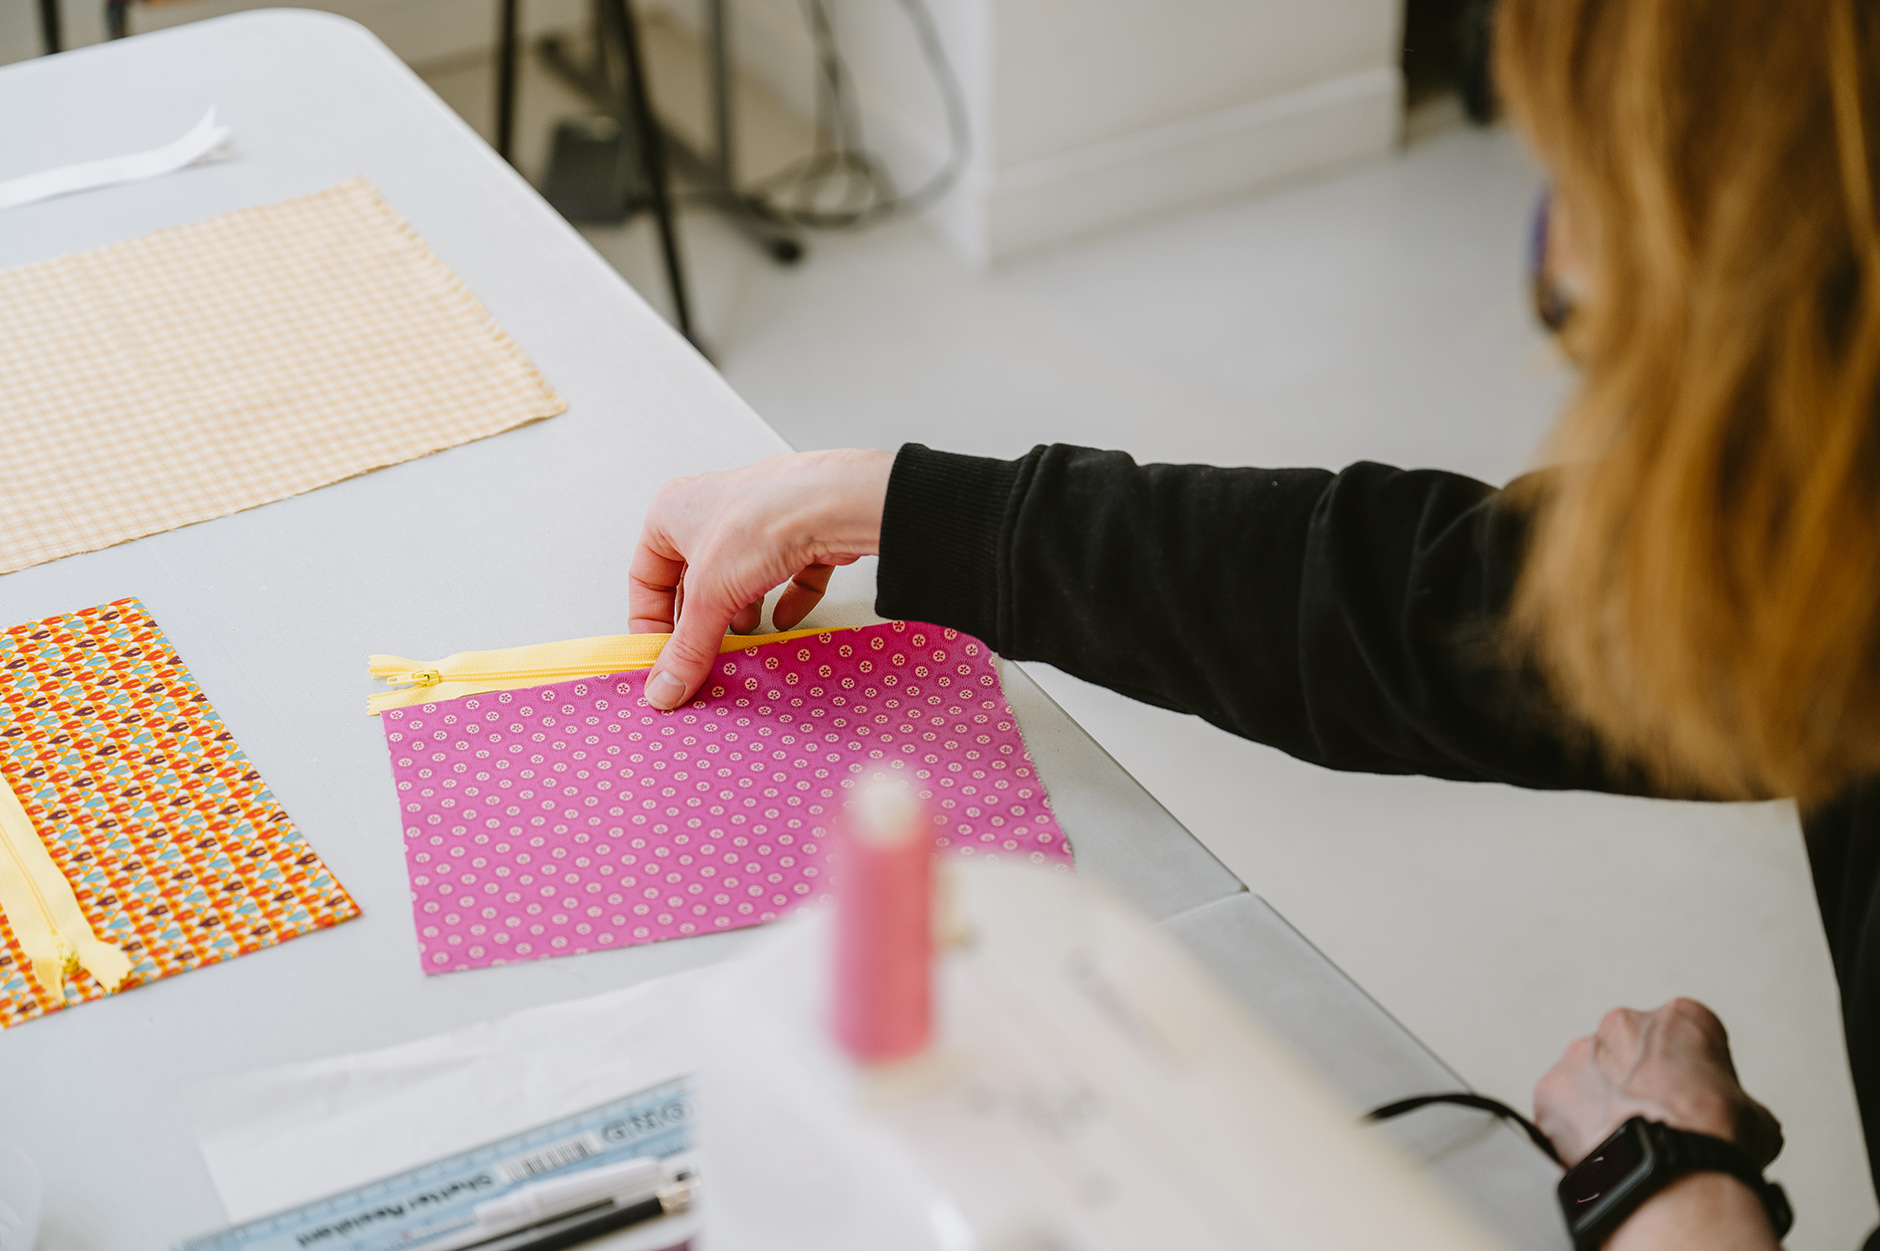
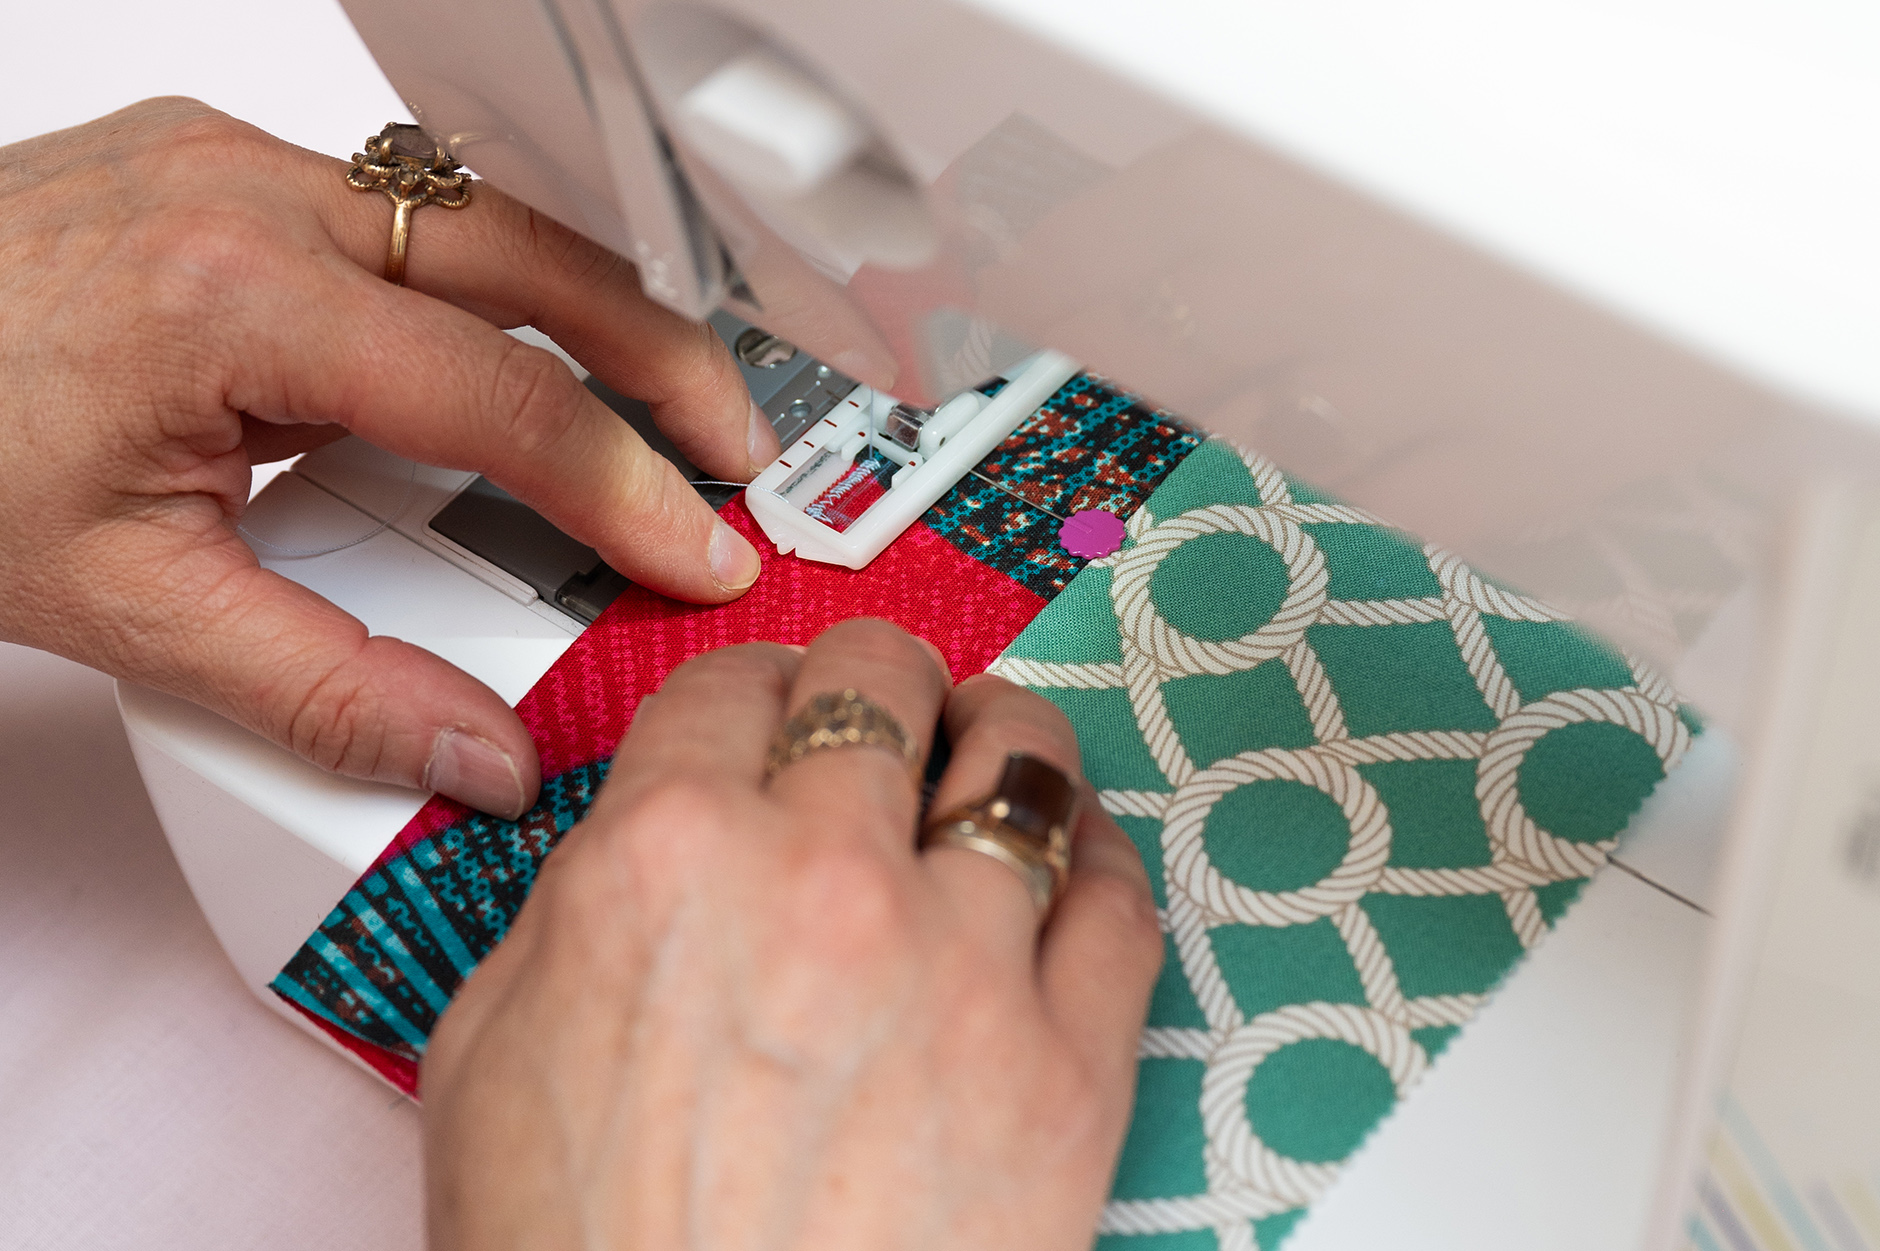
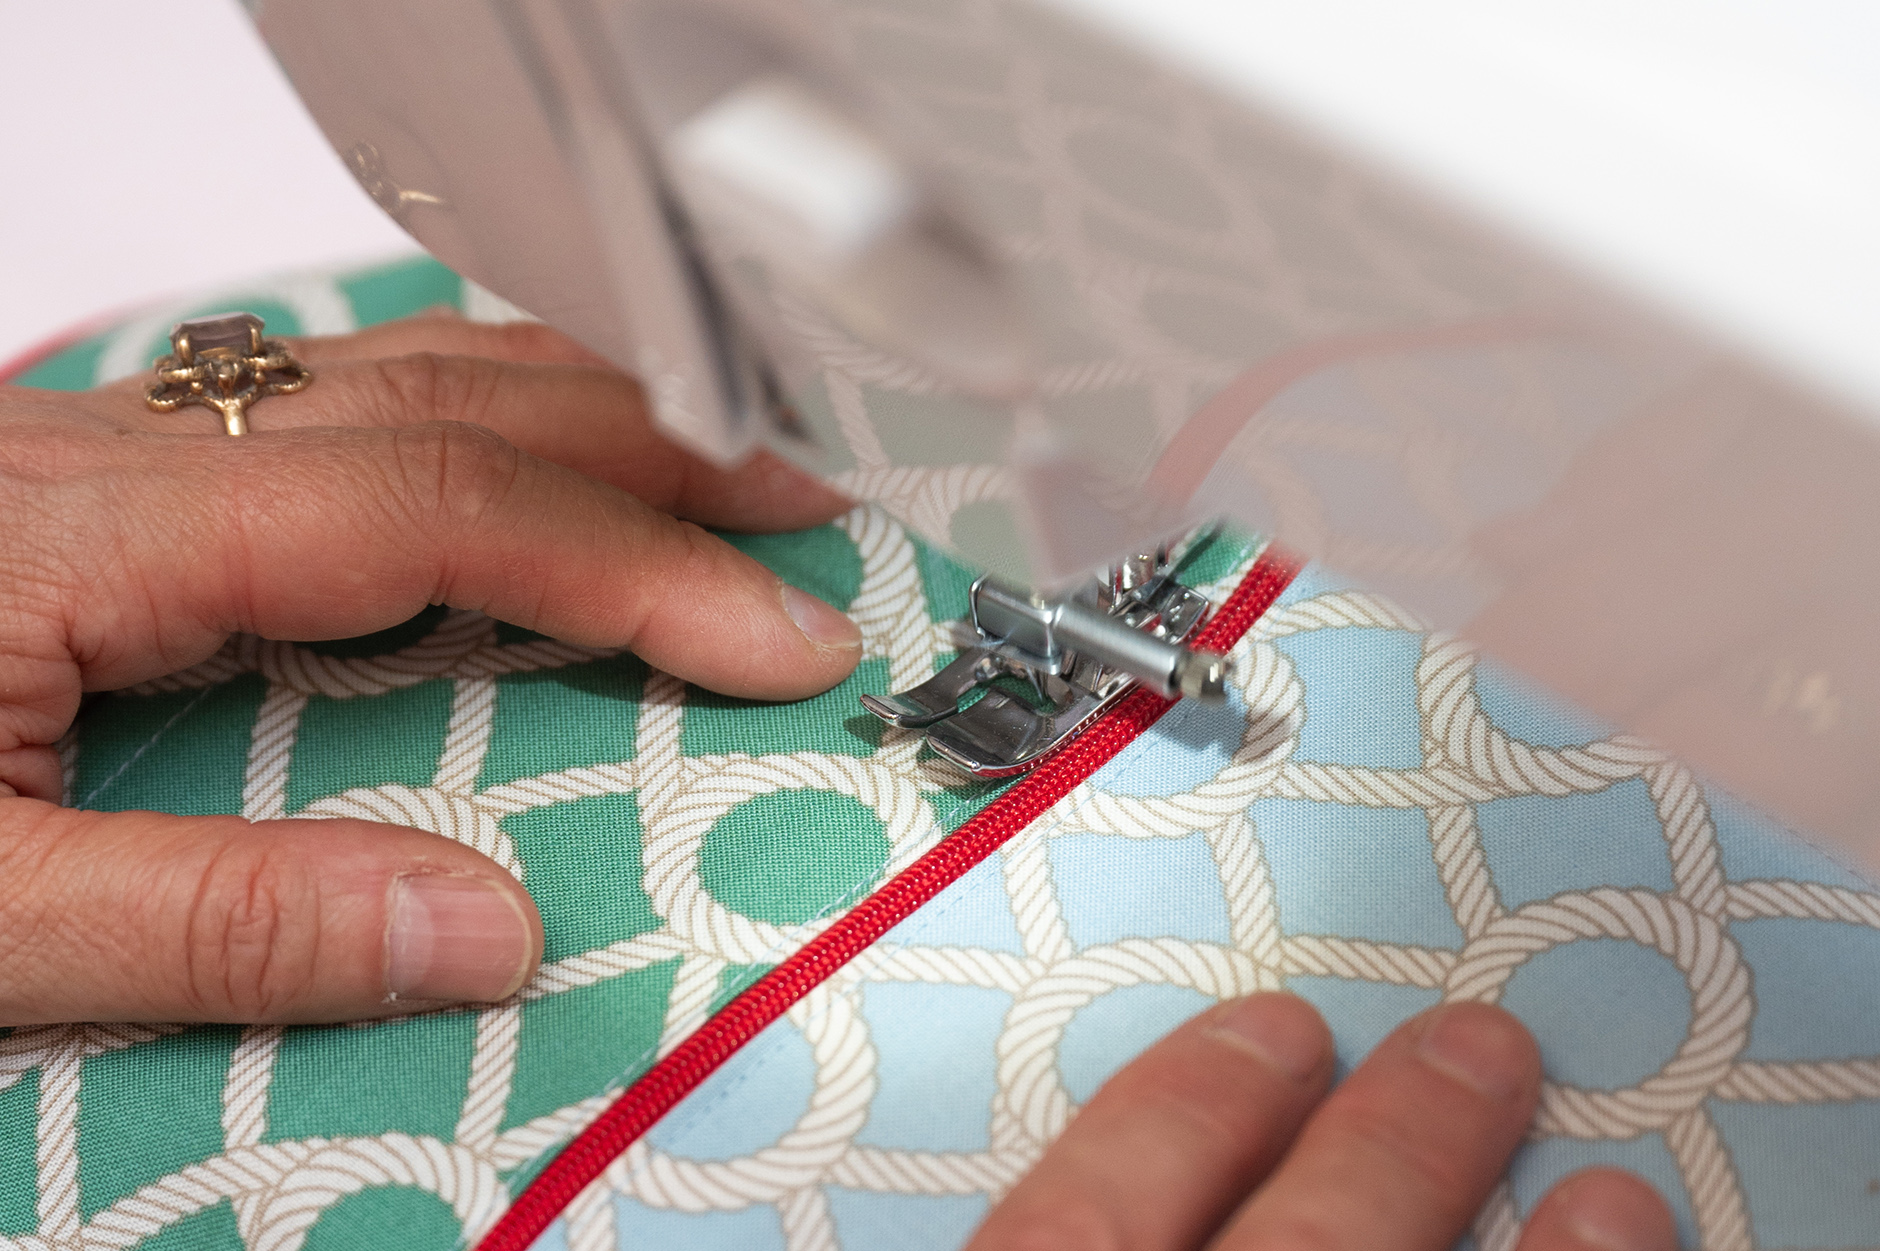
  • With the ‘right side’ (front) of the pocket facing you, pin the folded edge of the pocket onto the zip, next to the zip ‘teeth’. Centre the zip if it isn’t the same length as the pocket.
  • Change over to the zipper foot on your sewing machine. This video by ‘Brother’ is a reminder.
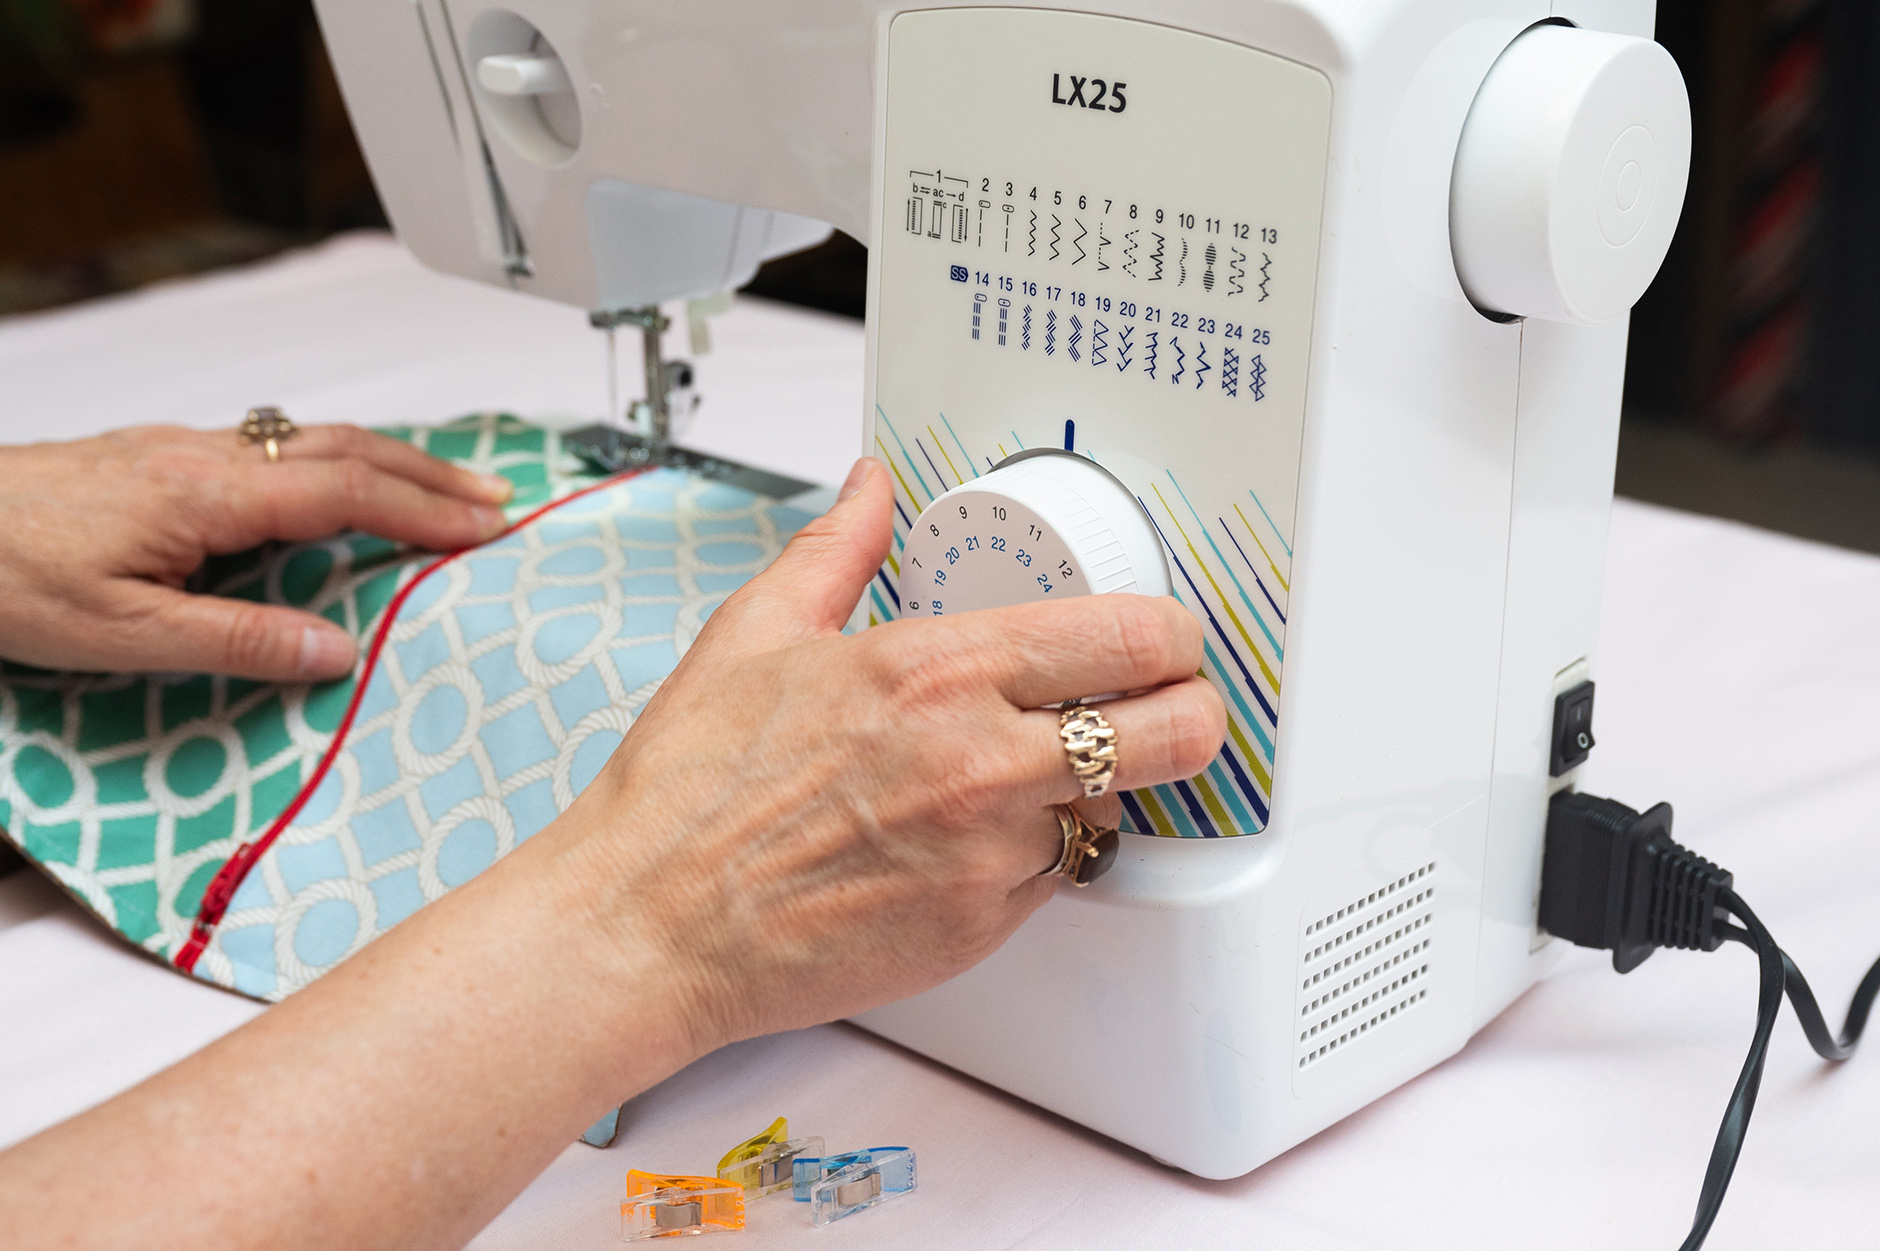
  • Set the stitch function to straight stitch (2:5mm stitch length) in a central position, so that the needle alignes with the small gap in the zipper foot (otherwise the needle gets broken!)
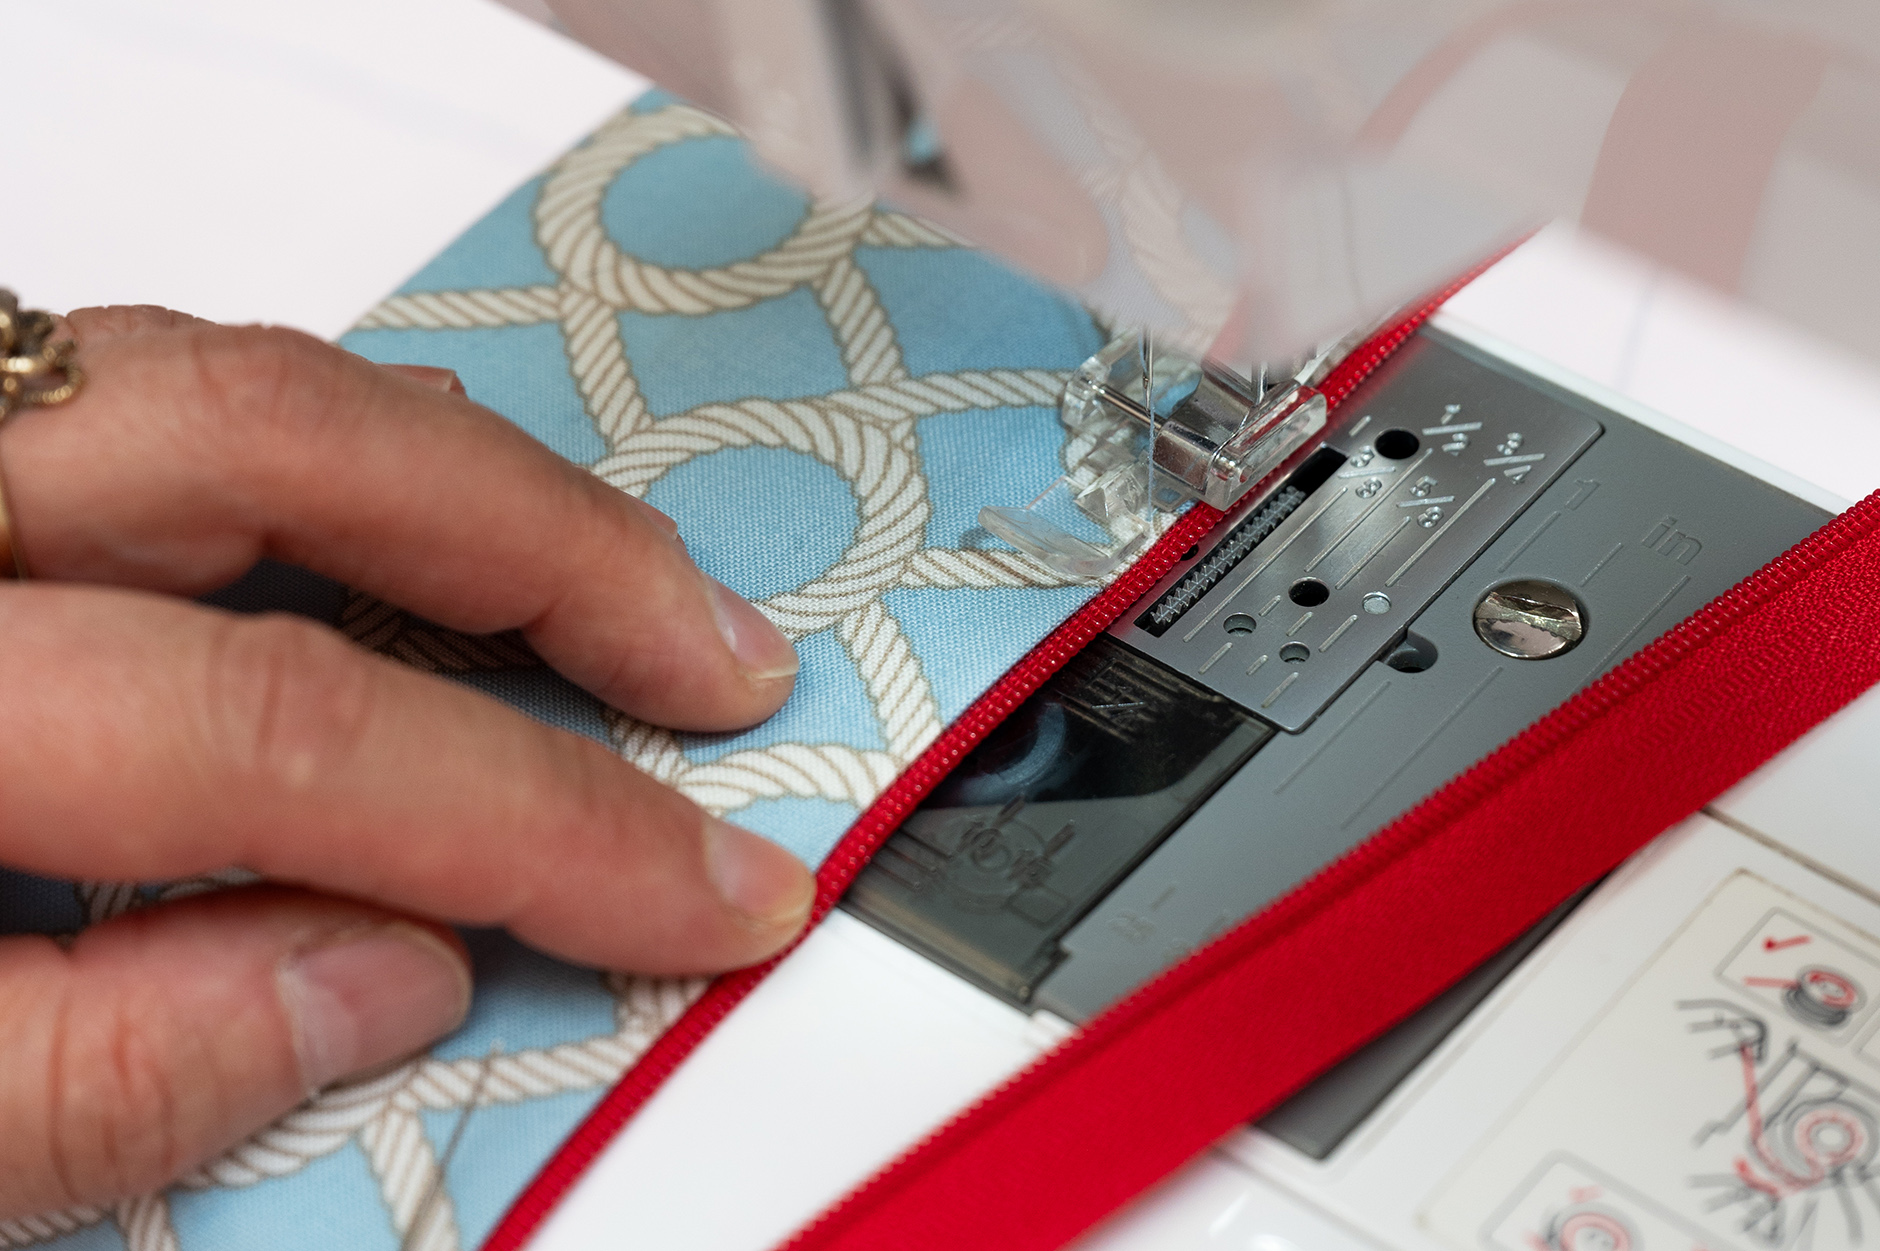
  • Align the small zipper foot next to the fabric fold, so that when you roll the needle down, it is 1-2mm to the left of the fold (If starting on the left side of the zip)
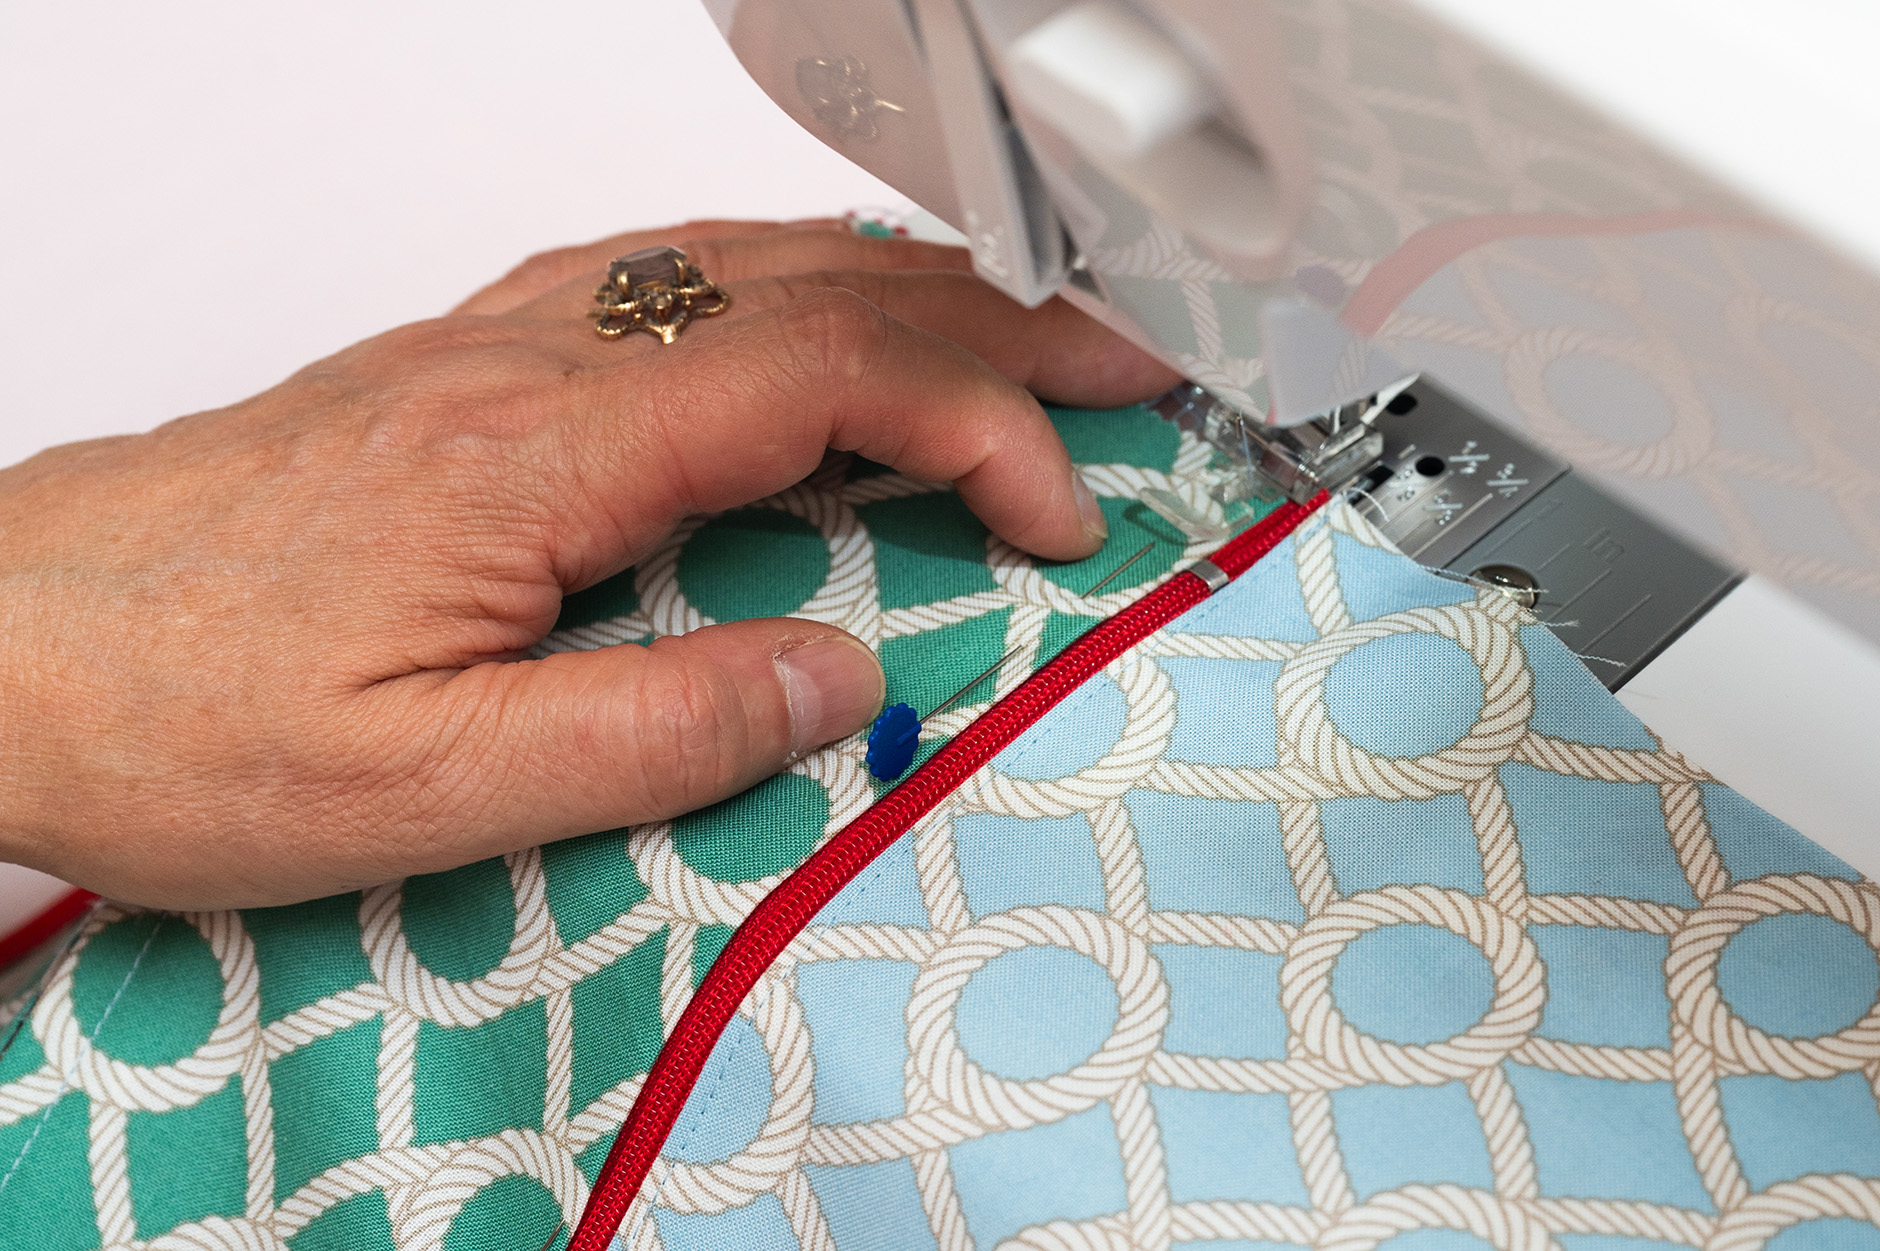
  • You will need to keep opening the zip slider to avoid an obvious “swerve” in your stitching! Re align the folded fabric edge as you take out pins.
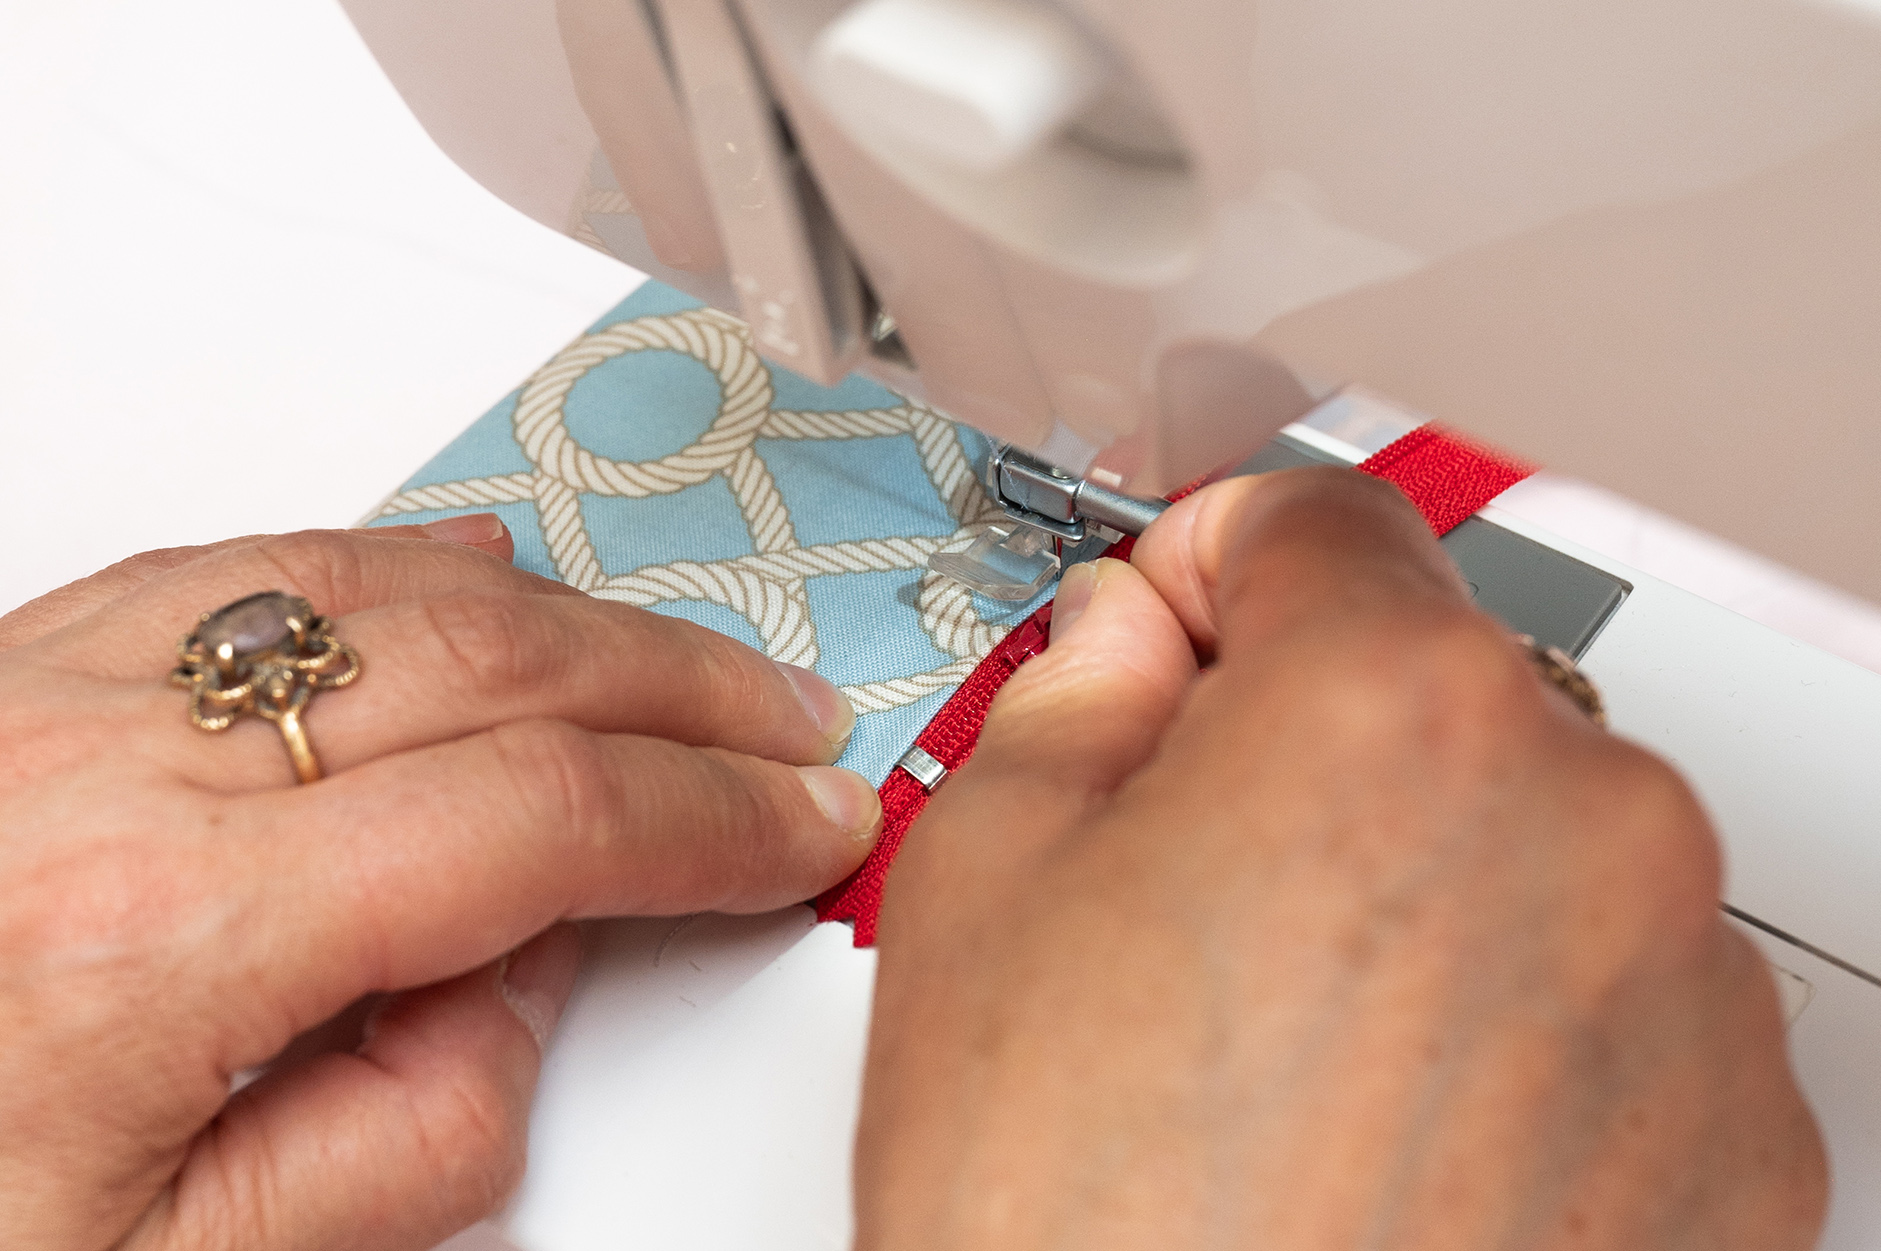
  • As you reach the stopper end of the zip, give yourself enough space to zip up and get the slider out of the way. Ensure your needle is firmly in the cloth, before lifting up the presser (zipper) foot, allowing the slider to get past. Continue stitching to the end of the pocket edge.

We then added next pocket to the other side of the visible zip. Repeat the above instructions! In class we worked up the other side from the bottom to top of the zip (Re opening the zip once at the top of the zip) In doing so we didn’t need to change the side that we clipped the zipper foot onto. On a garment (especially with a long zip) I would work from the top of the zip on both sides to ensure the opening matches up.

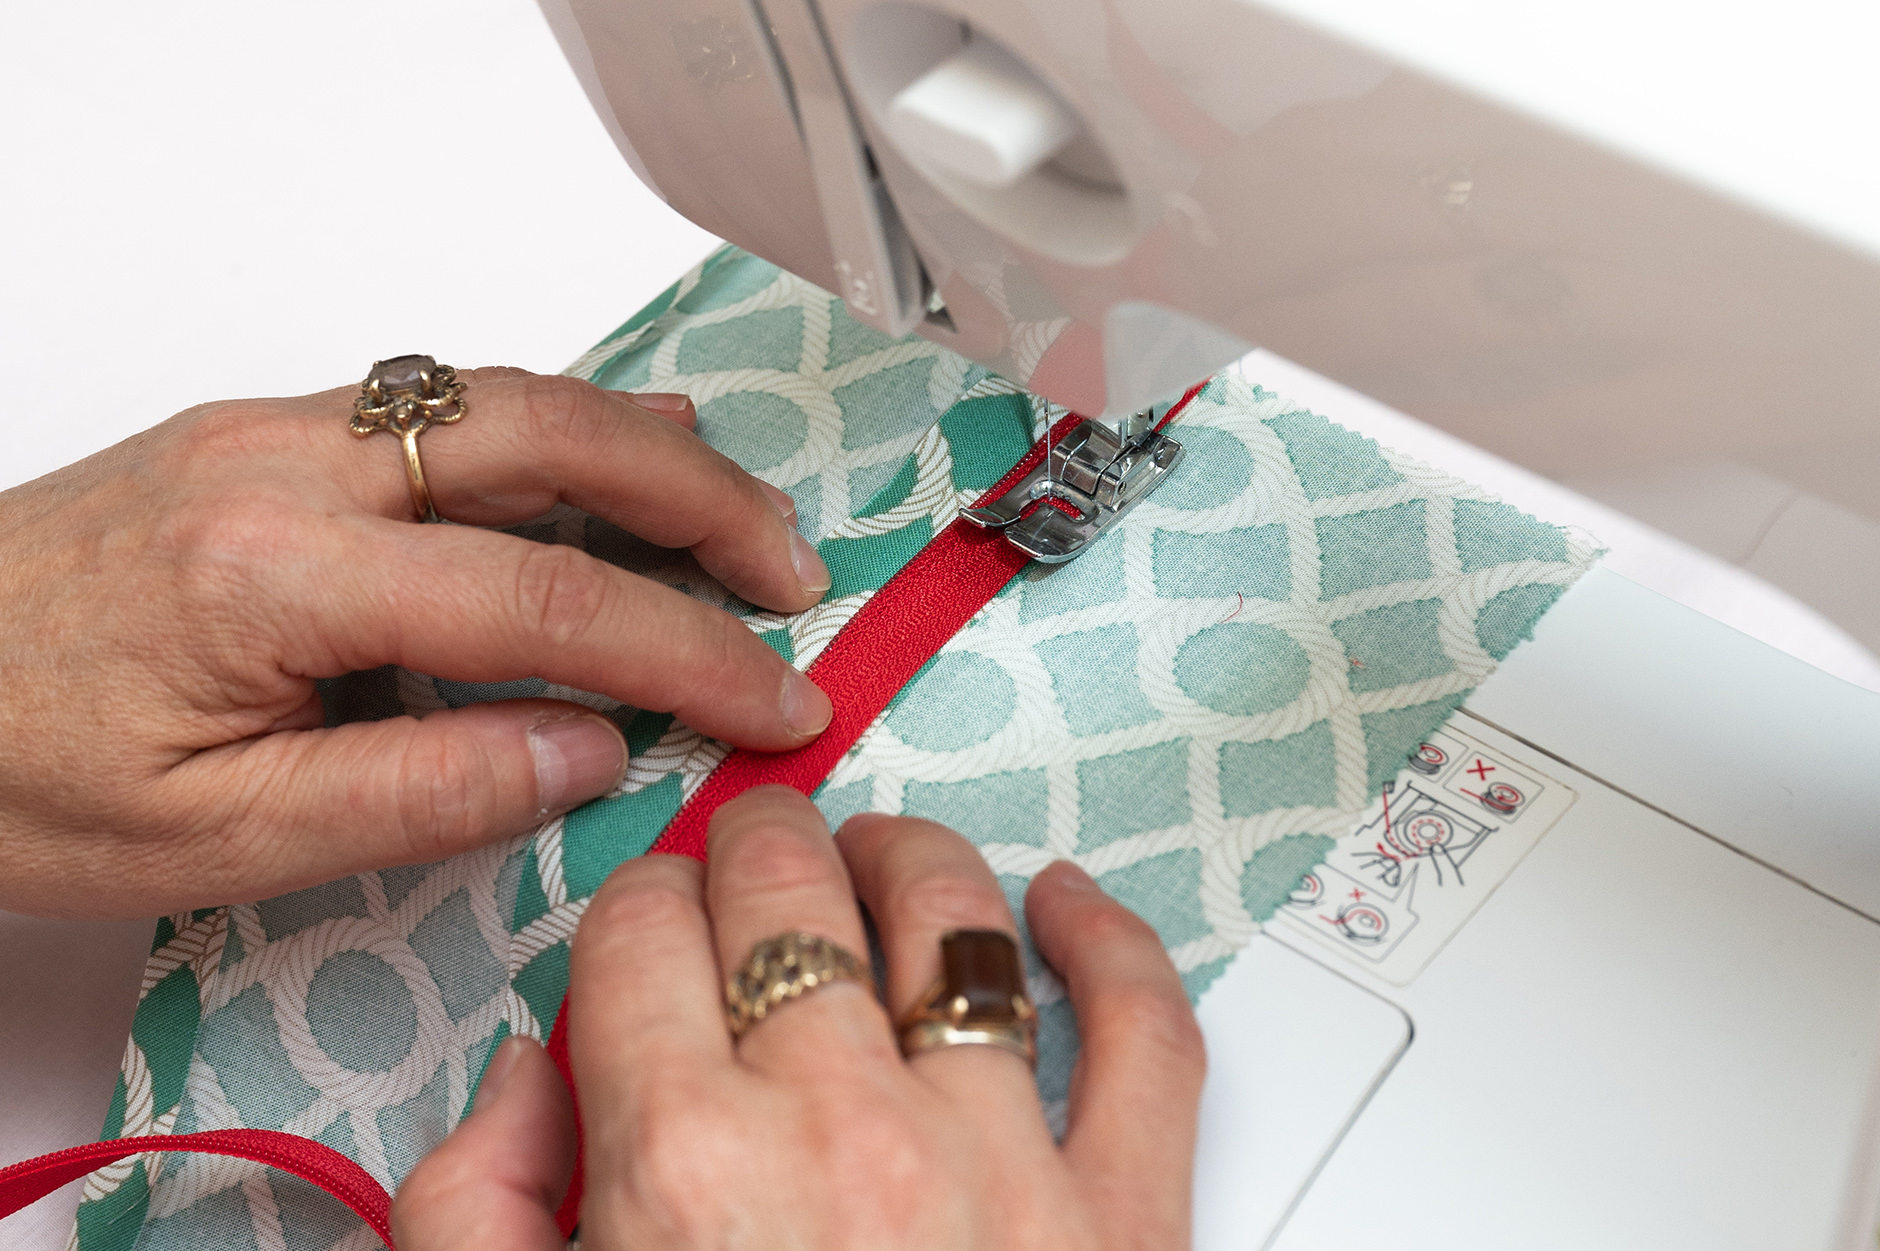
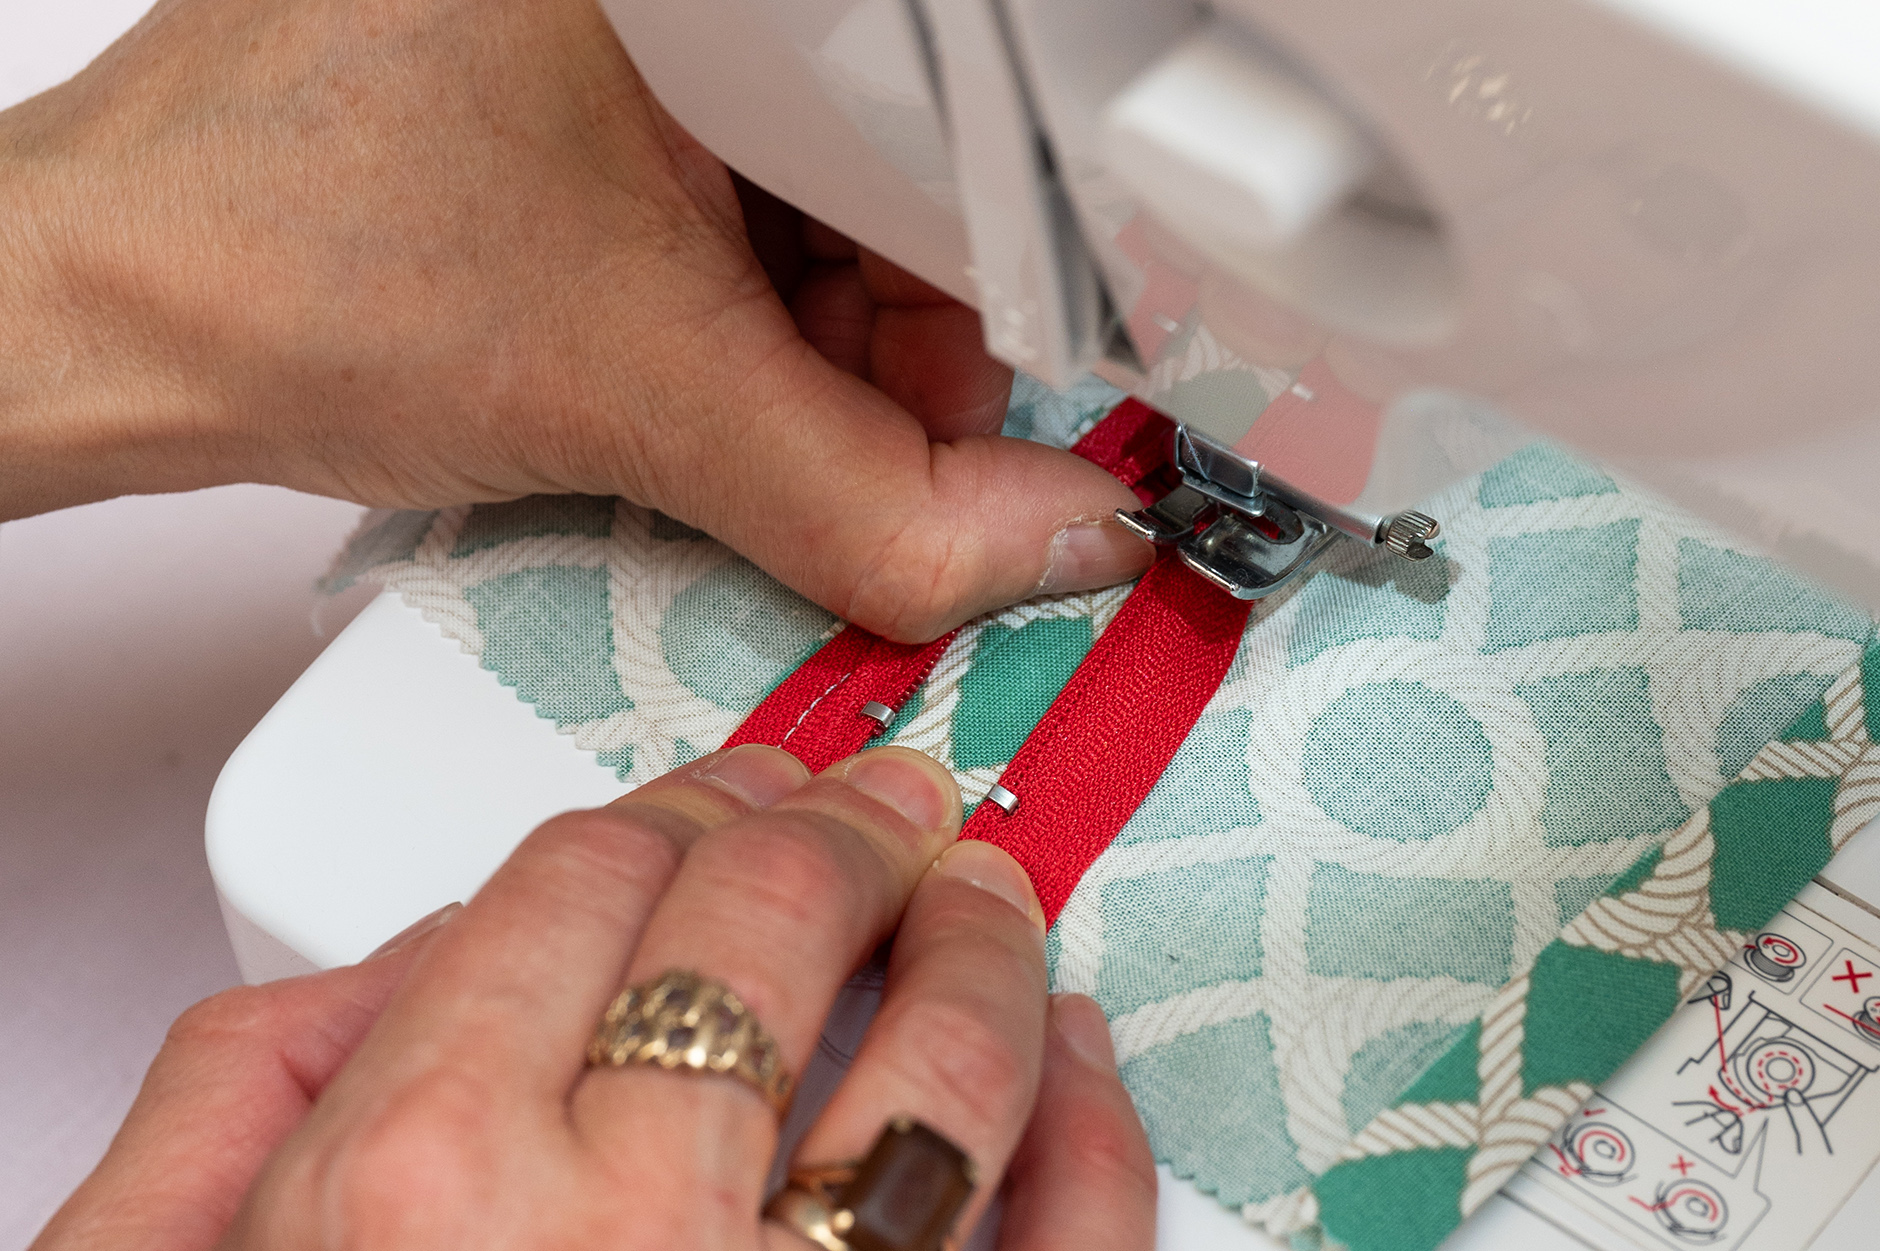
Pocket 2: Creating a covered zip (using a standard ‘J’ type foot)

  • This style of zip is inserted onto a pressed open seam. We cut through the middle of the second pocket to create a seam (or cut 2 halves when preparing your pockets) Ensure you allow a generous 1/2 ” seam allowance (so that there enough fabric on each side of the stitched join to attach your zip onto)
  • Change back to the regular ‘J’ foot on your sewing machine.
  • Set the stitch function to straight stitch (2:5mm stitch length) with the needle in the left position (In class we travelled clockwise around the zip, so if your machine only has a centre needle position, you will go around the opposite way to these instructions)
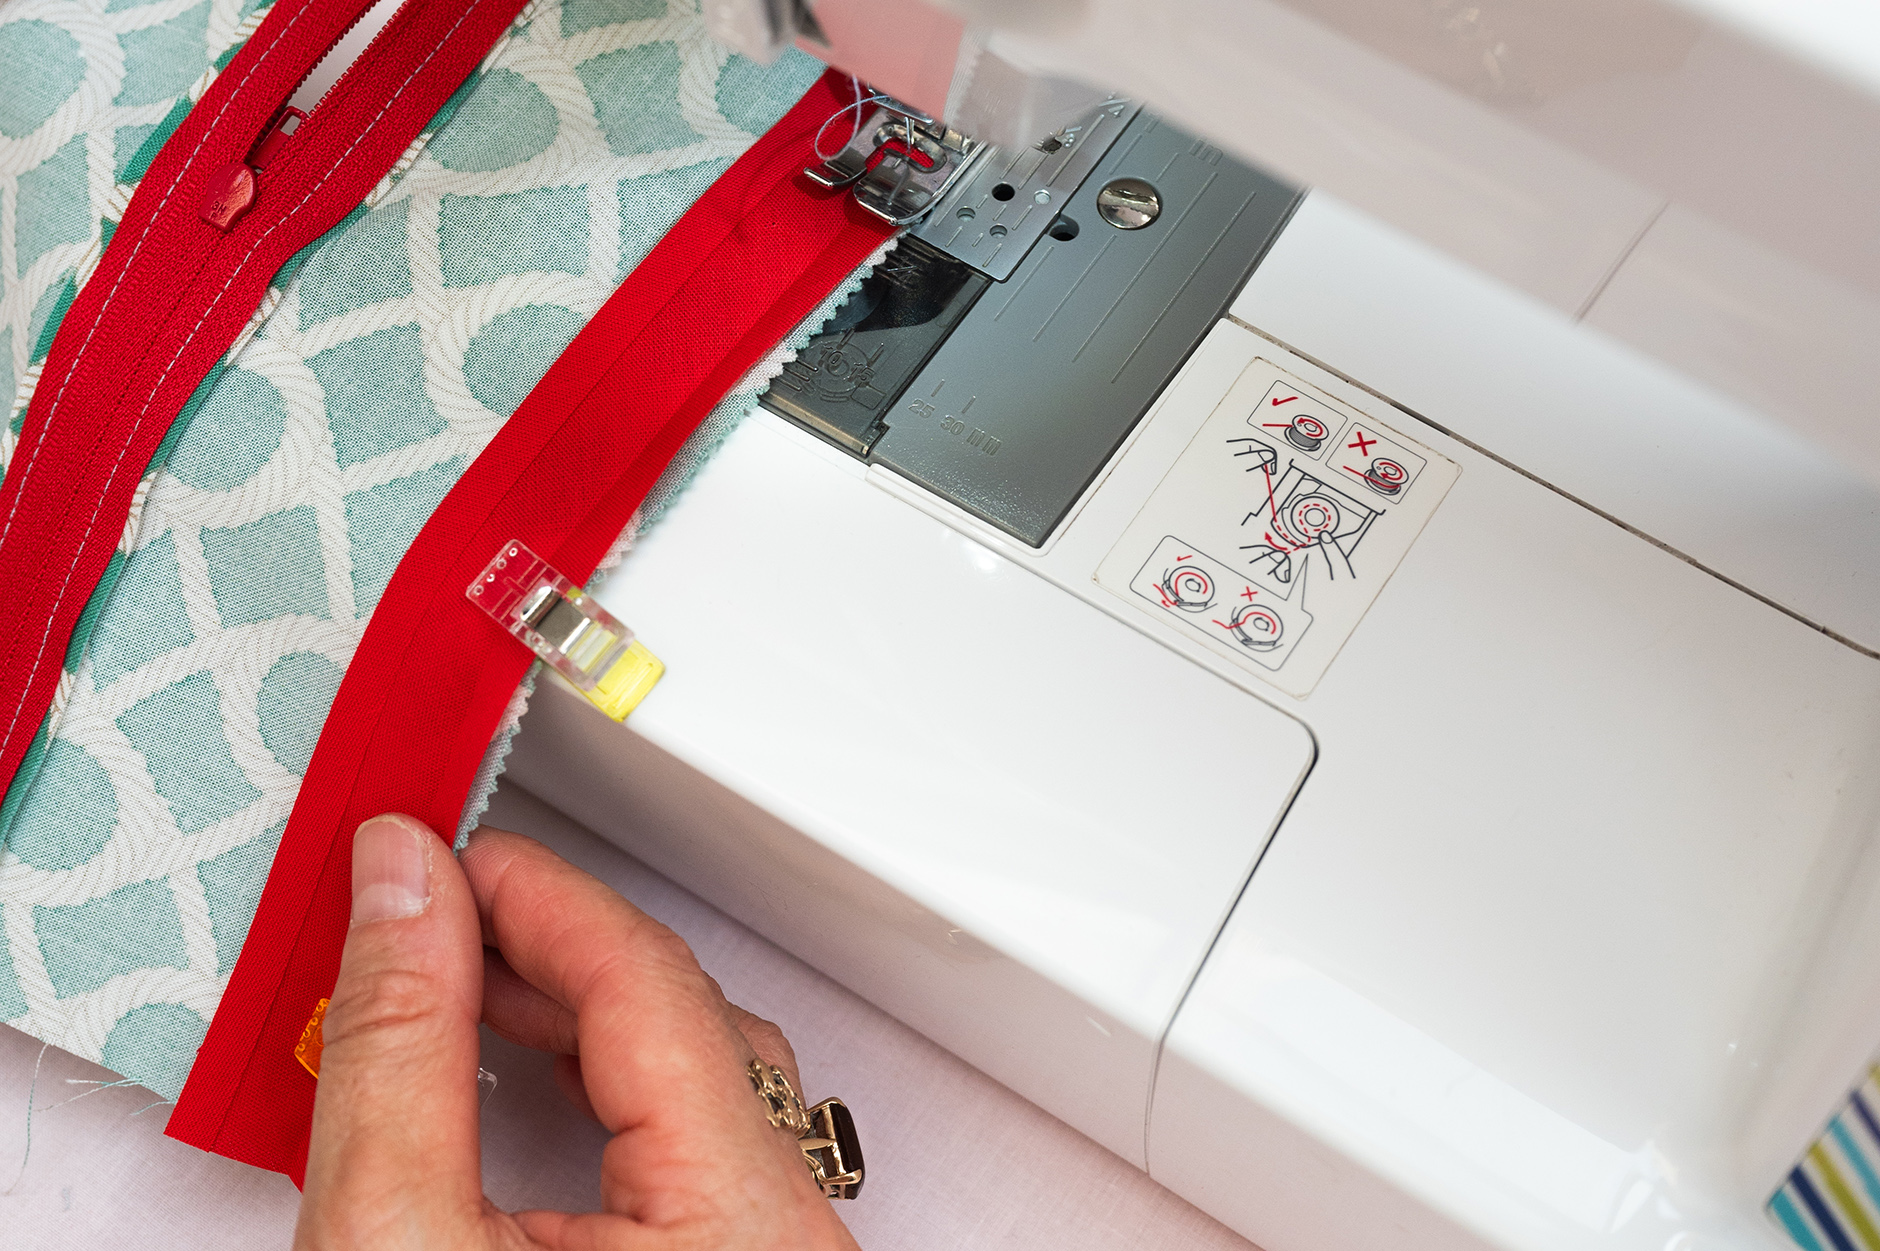
  • With the back of the seam facing you, open up your zip, place the zip on top of the seam, face down. Line up the inside edge of the zipper ‘teeth’ with the middle of the seam join. Pin down the right hand side of the zip – through all layers of cloth.
  • Line up the outer left side of the presser foot next to the outside edge of the zipper ‘teeth’. With the needle in the left position when you roll down the needle, the stitching should fall roughly in the centre of the tape part of the zipper (As explained above, If your machine doesn’t have a needle to the left function, you will need to start on the left side of the seam/zipper and use needle in the centre function)
  • Stitch down the length of the right side of the zipper, ensuring it remains centred next to the middle of the seam (as you take out the pins the zip can veer)
  • As with the last style of zip, as you reach the stopper end of the zip, give yourself enough space to zip up and get the slider out of the way. Ensure your needle is firmly in the cloth, before lifting up the presser ‘J’ foot, allowing the slider to get past. Close the zip. Continue stitching to the end of the pocket edge and turn (leaving your needle in the cloth) below the zipper stopper.
  • Continue stitching up the other side of the zipper. Lining up the outer left side of the presser foot next to the outside edge of the zipper ‘teeth’. As the zipper will be closed on this side, you can feel a ridge to to line the presser foot against. Again with the needle in the left position when you roll down the needle, the stitching should fall roughly in the centre of the tape part of the zipper  (If your machine doesn’t have a needle to the left function, you will be sewing in the opposite direction with the needle in the centre function)
  • As before, as you get closer to the slider, give yourself enough space to re open the zip and get the slider out of the way. Ensure your needle is firmly in the cloth, before lifting up the presser (zipper) foot enabling the slider to get past. This end is a bit trickier as you are pushing the slider away from you. Make sure the slider isn’t caught under the fabric folds otherwise it won’t budge!
  • Turn and sew across the top of the zip, back to where you started, reversing to strengthen the stitches, forming a stitched frame around side of the zipper (on a garment it would be U shaped stitching, so you can open and close the item!)
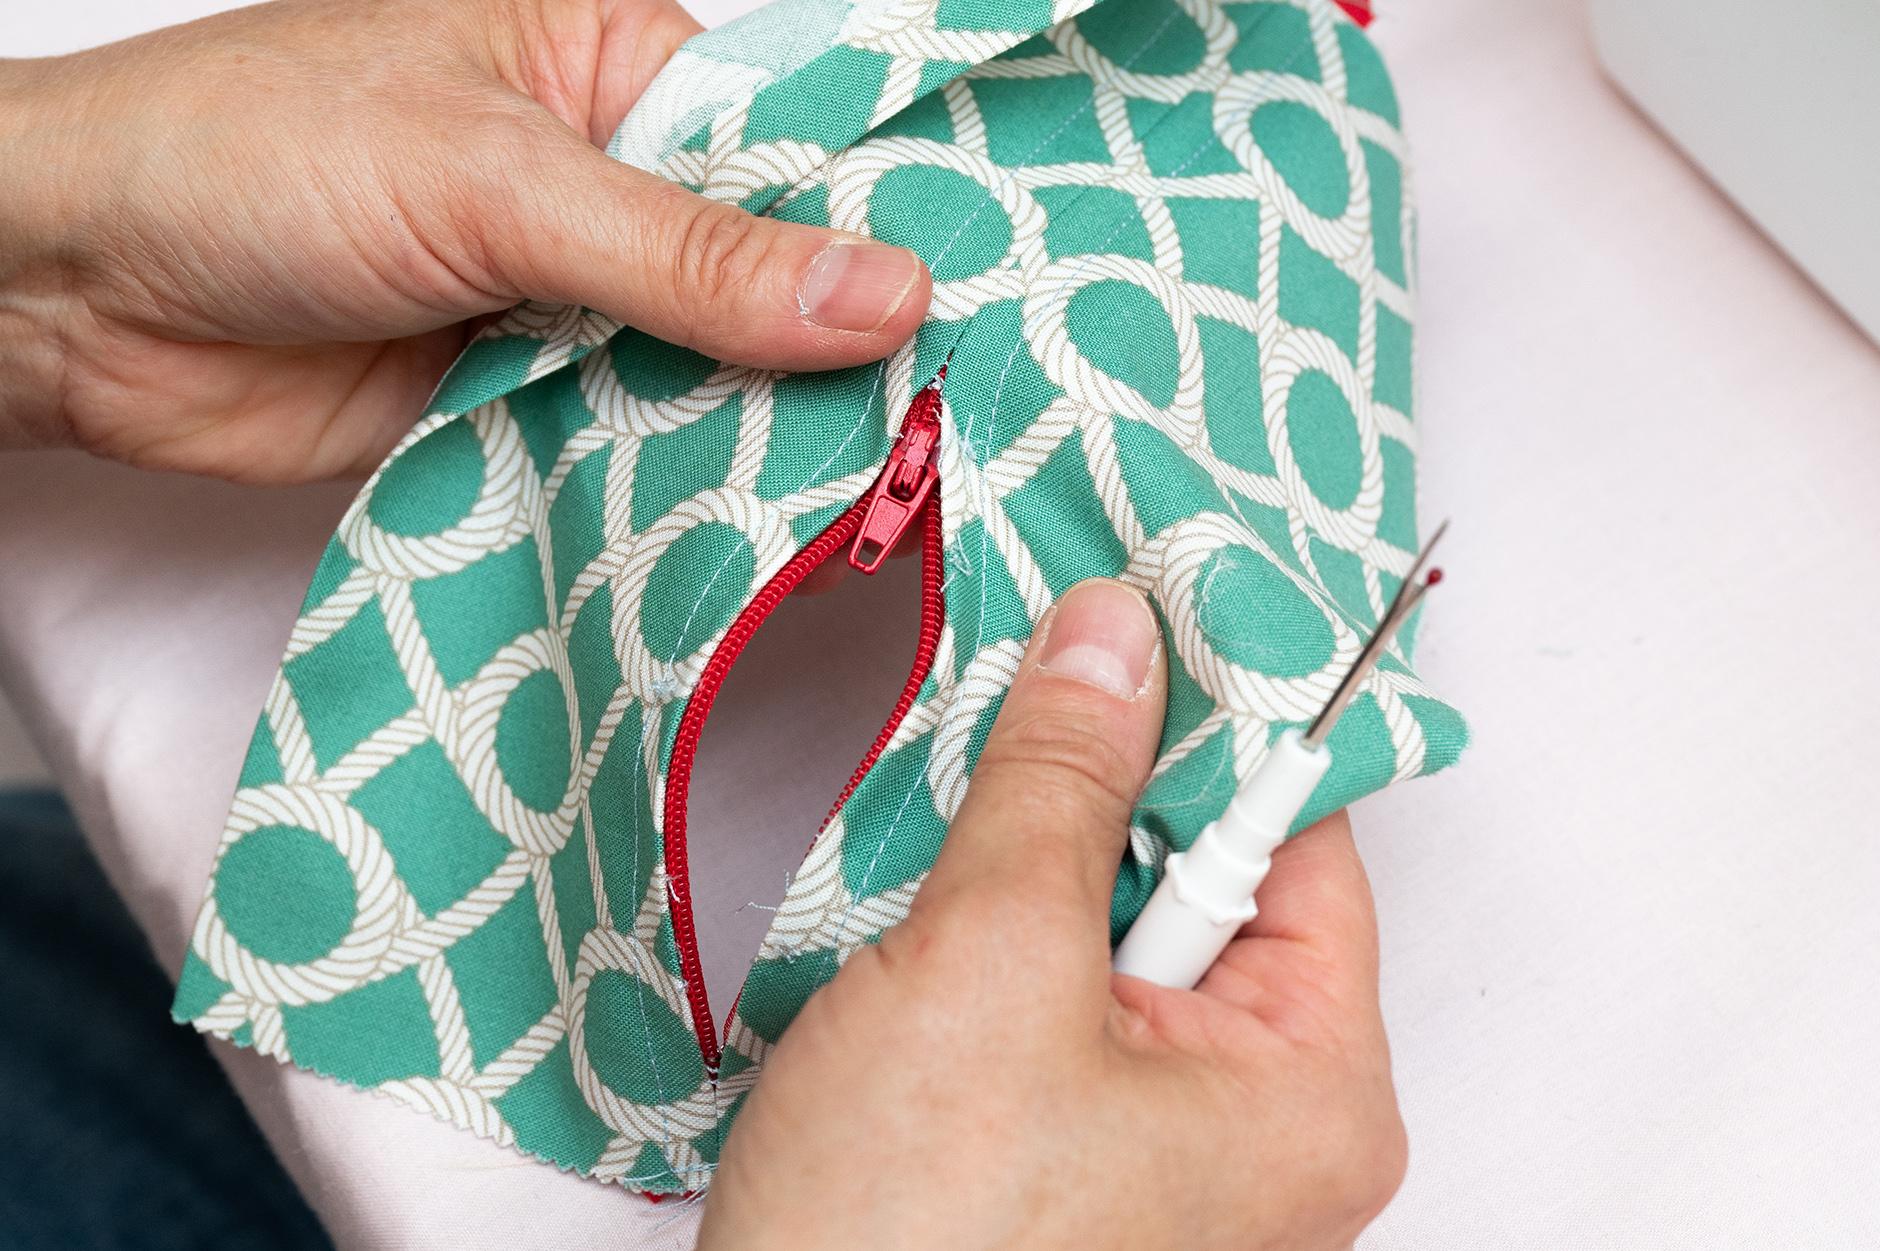
  • Now for the big reveal! Flip over the pocket to the ‘right side’ / front and carefully unpick the seam to show the zip lying underneath.

Pocket 3: Adding a buttonhole (using a buttonhole foot)

  • Change over to the buttonhole foot on your sewing machine. This video by ‘Brother’ is a reminder.
  • Set the stitch function to the buttonhole setting (a low stitch length – between F-1 on ‘Brother’ mechanical machines or 0-1 mm or buttonhole symbol stitch length)
  • In the class, I double up the fabric along the top of the pocket to reinforce the area where the buttonhole will be stitched.
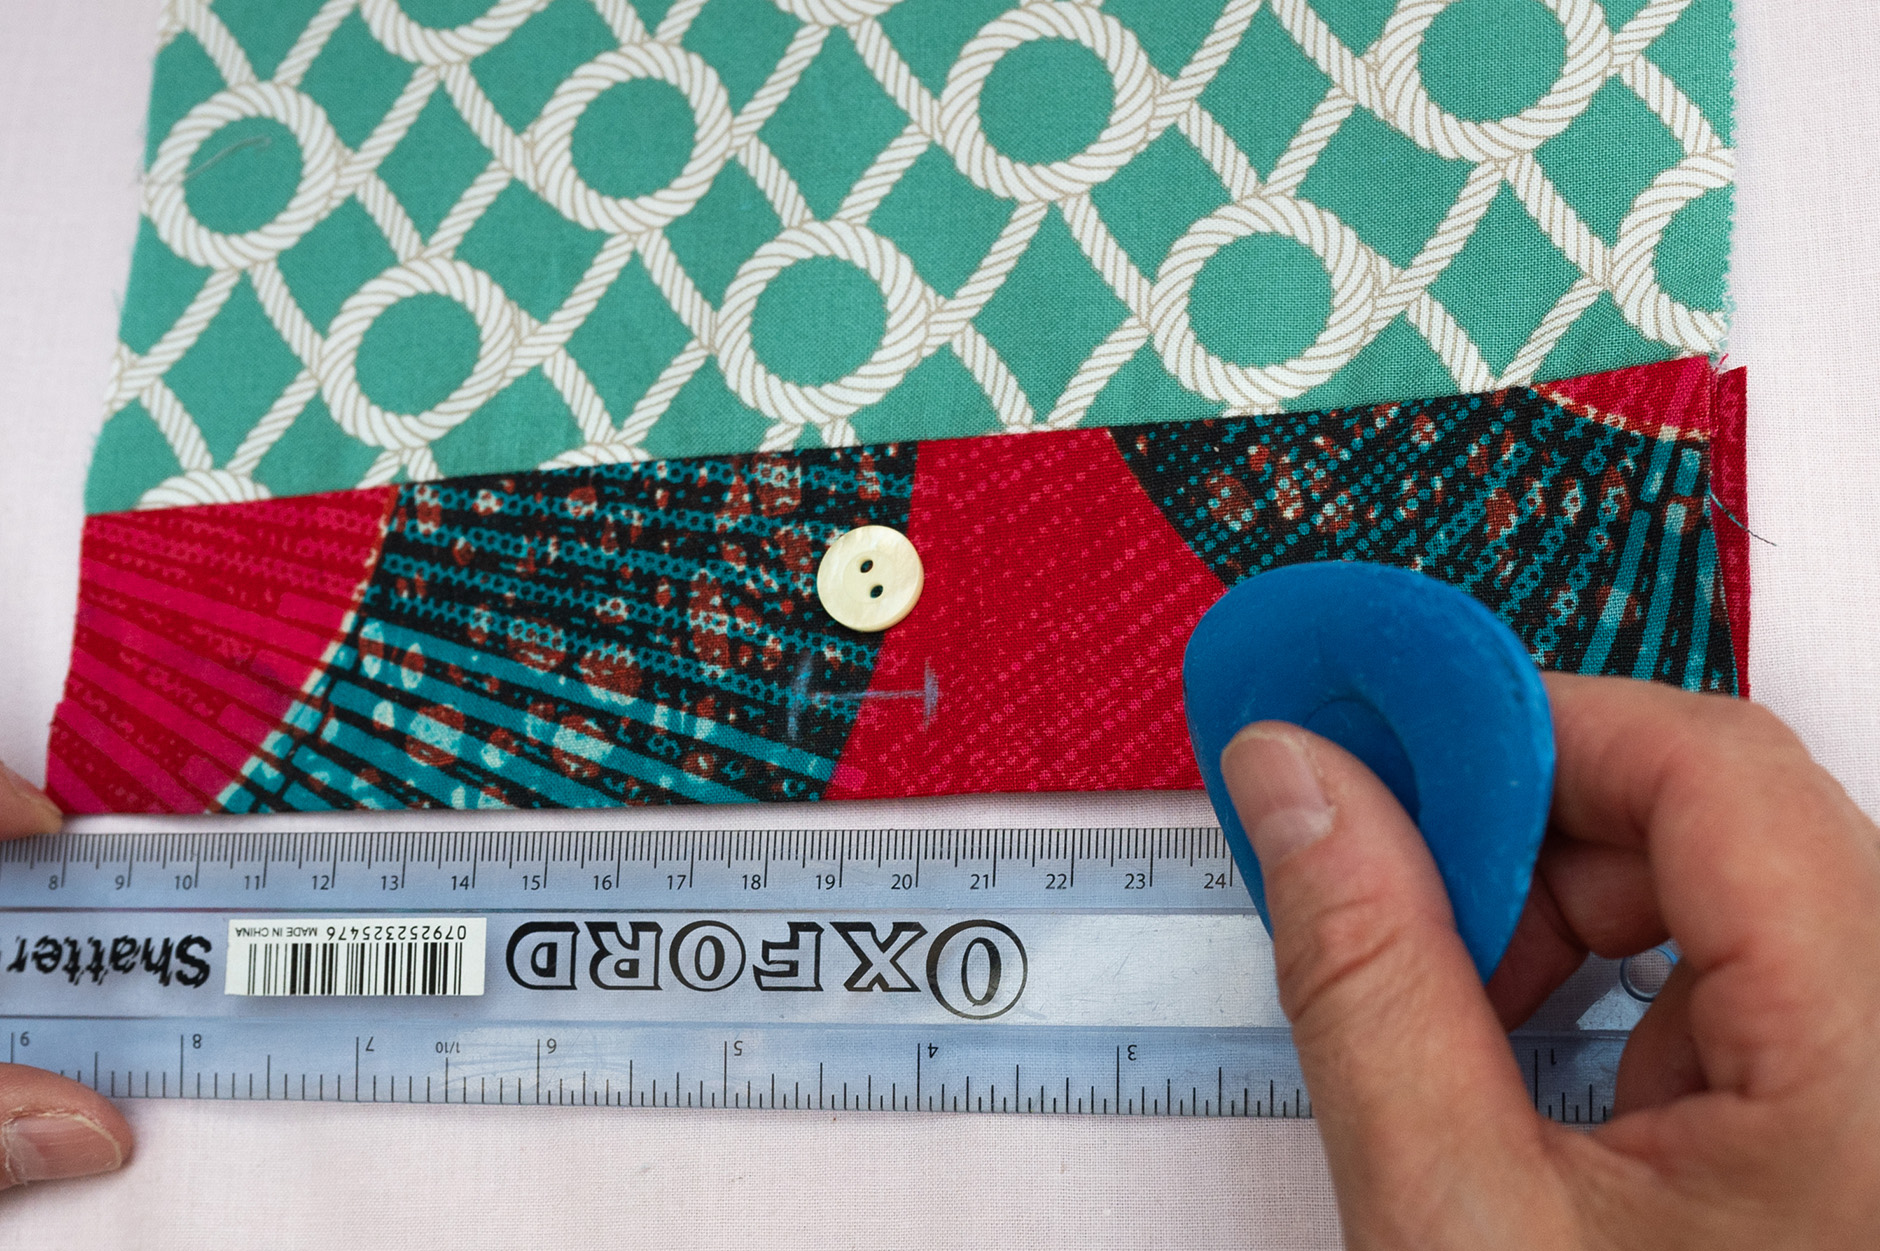
  • Mark up your buttonhole position with tailor’s chalk or 2 pins (so you know how long to make your buttonhole) If using pins ensure these are pulled out to avoid potentially damaging/breaking the needle.
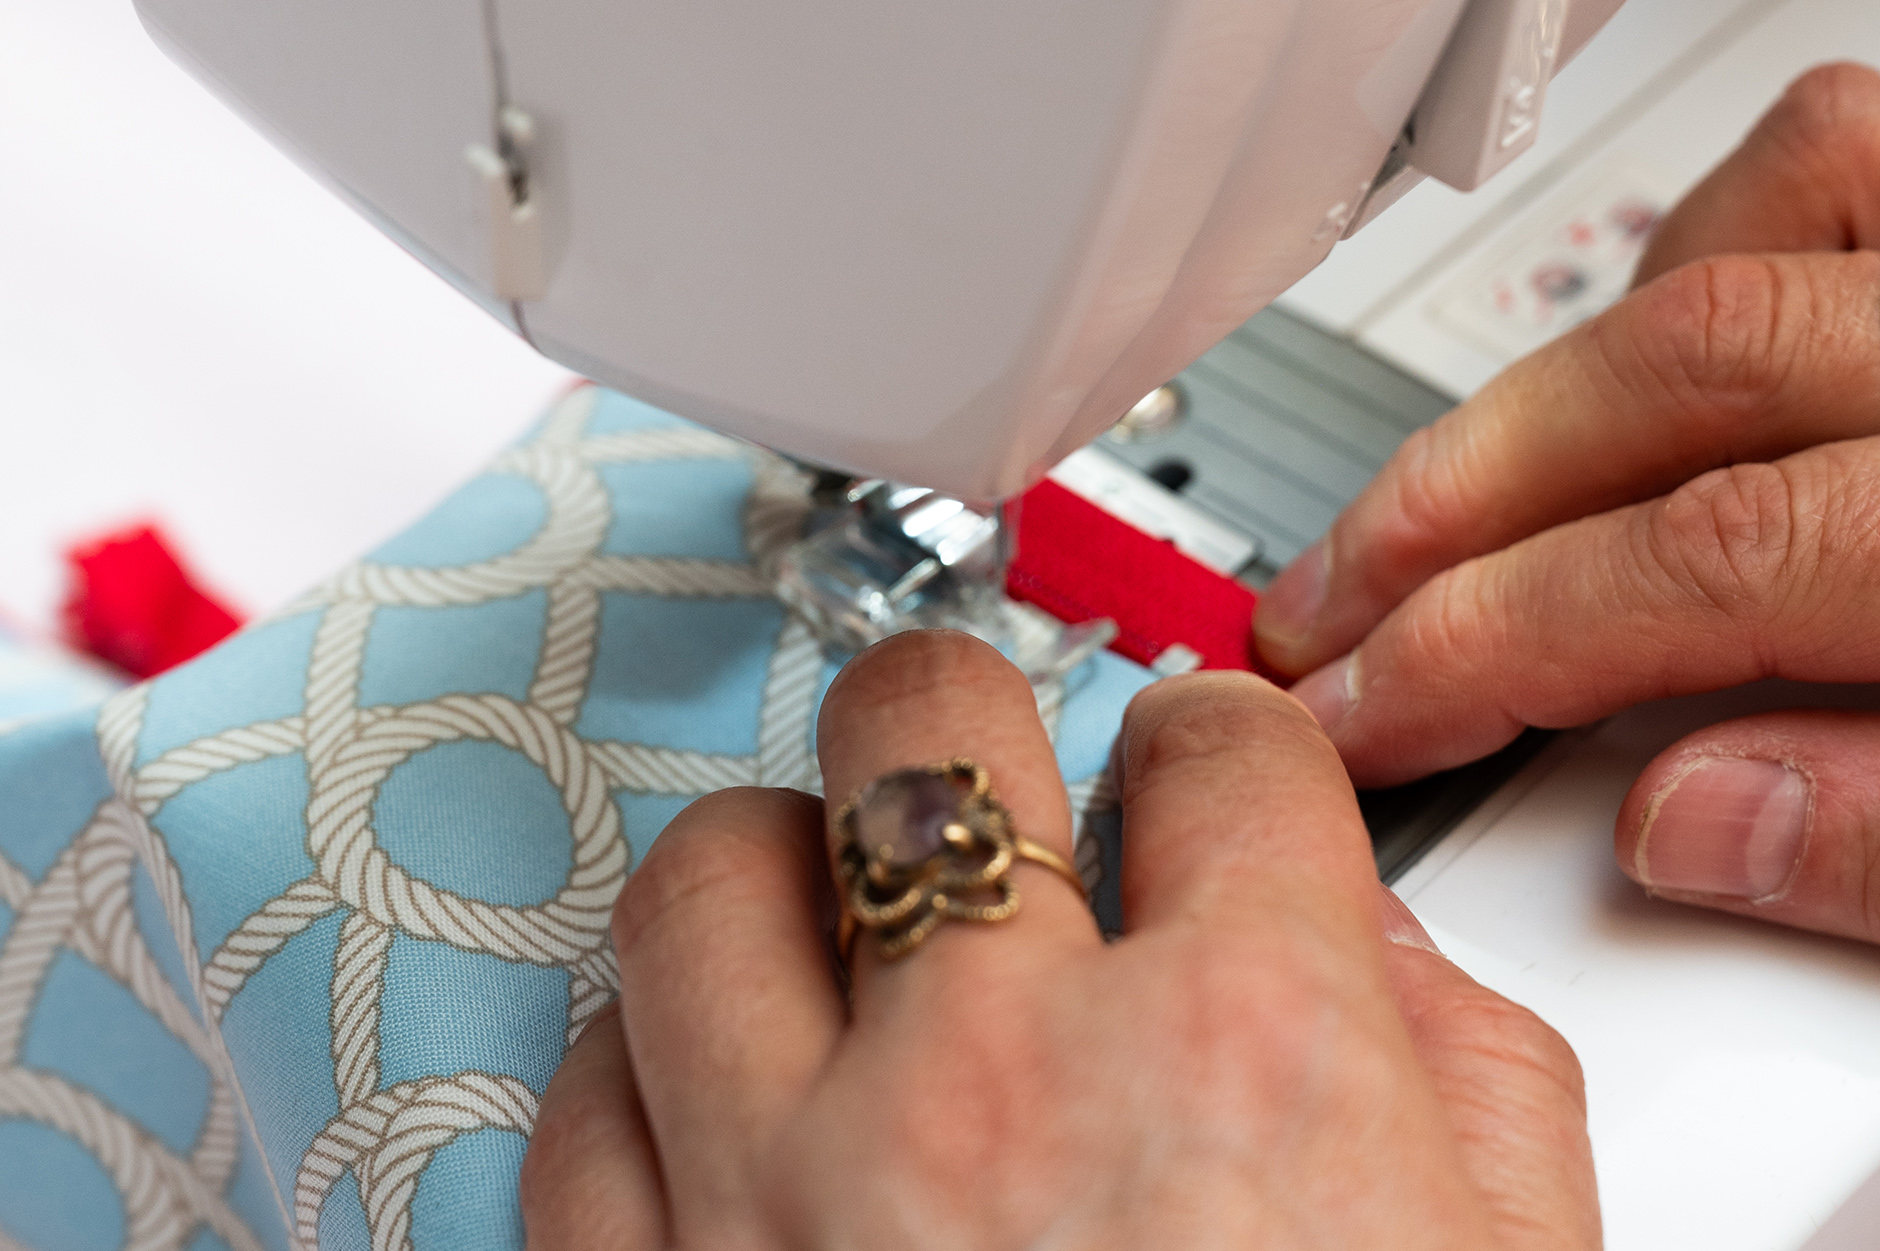
  • Turn the buttonhole dial to stitch each side of the buttonhole. Avoid over stitching the ‘bar tack’ at the front/top and back/end of the buttonhole as this can prevent movement causing a ball of stitching to build up! The stitched sides of the buttonhole may need help or resistance to stitch neatly. I always practice on some of the same scrap pieces of fabric to get a feel for how the fabric is moving and stitching in the buttonhole mode.
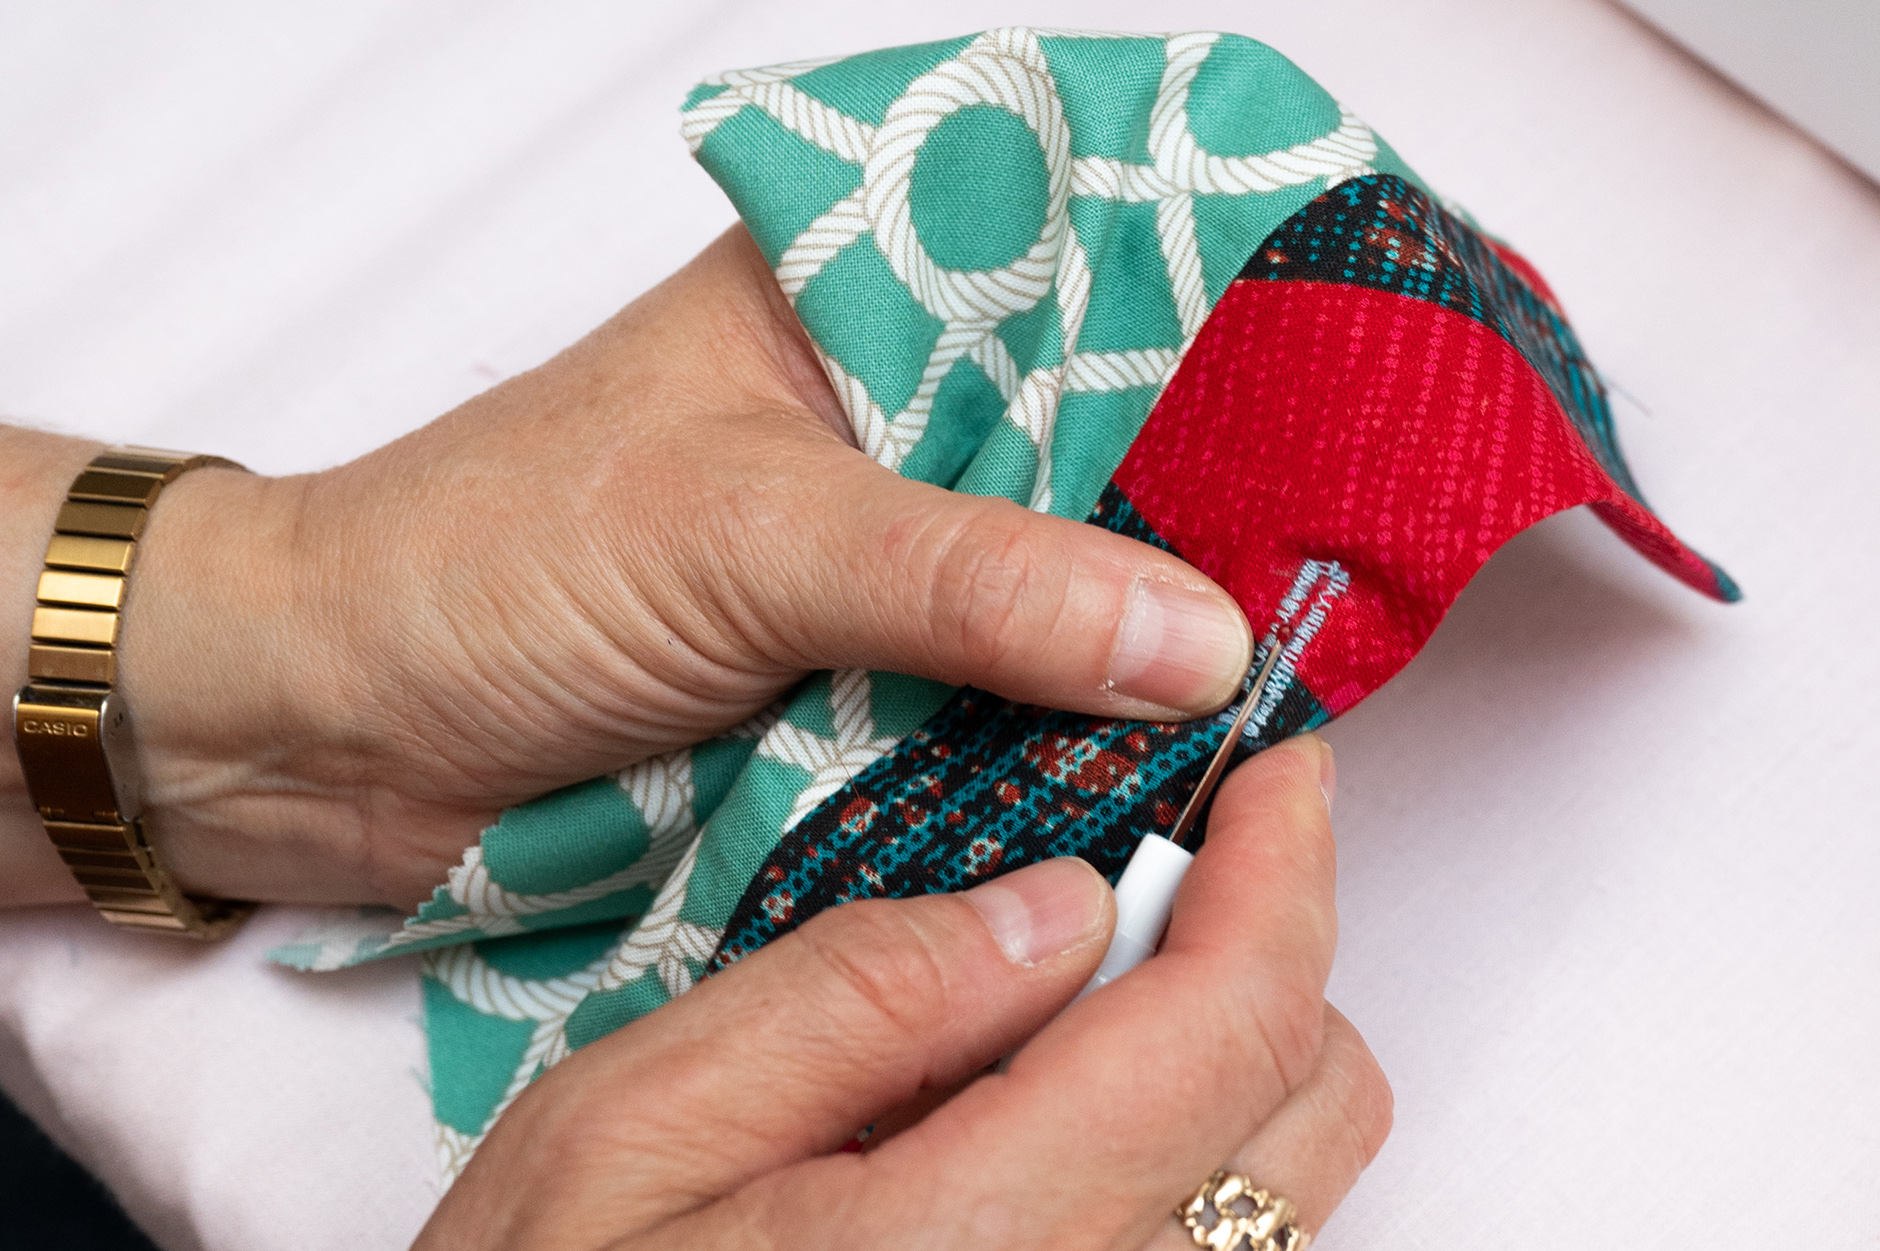
  • Use an unpicker to make a hole and then scissors to open up the buttonhole inside the stitched frame.

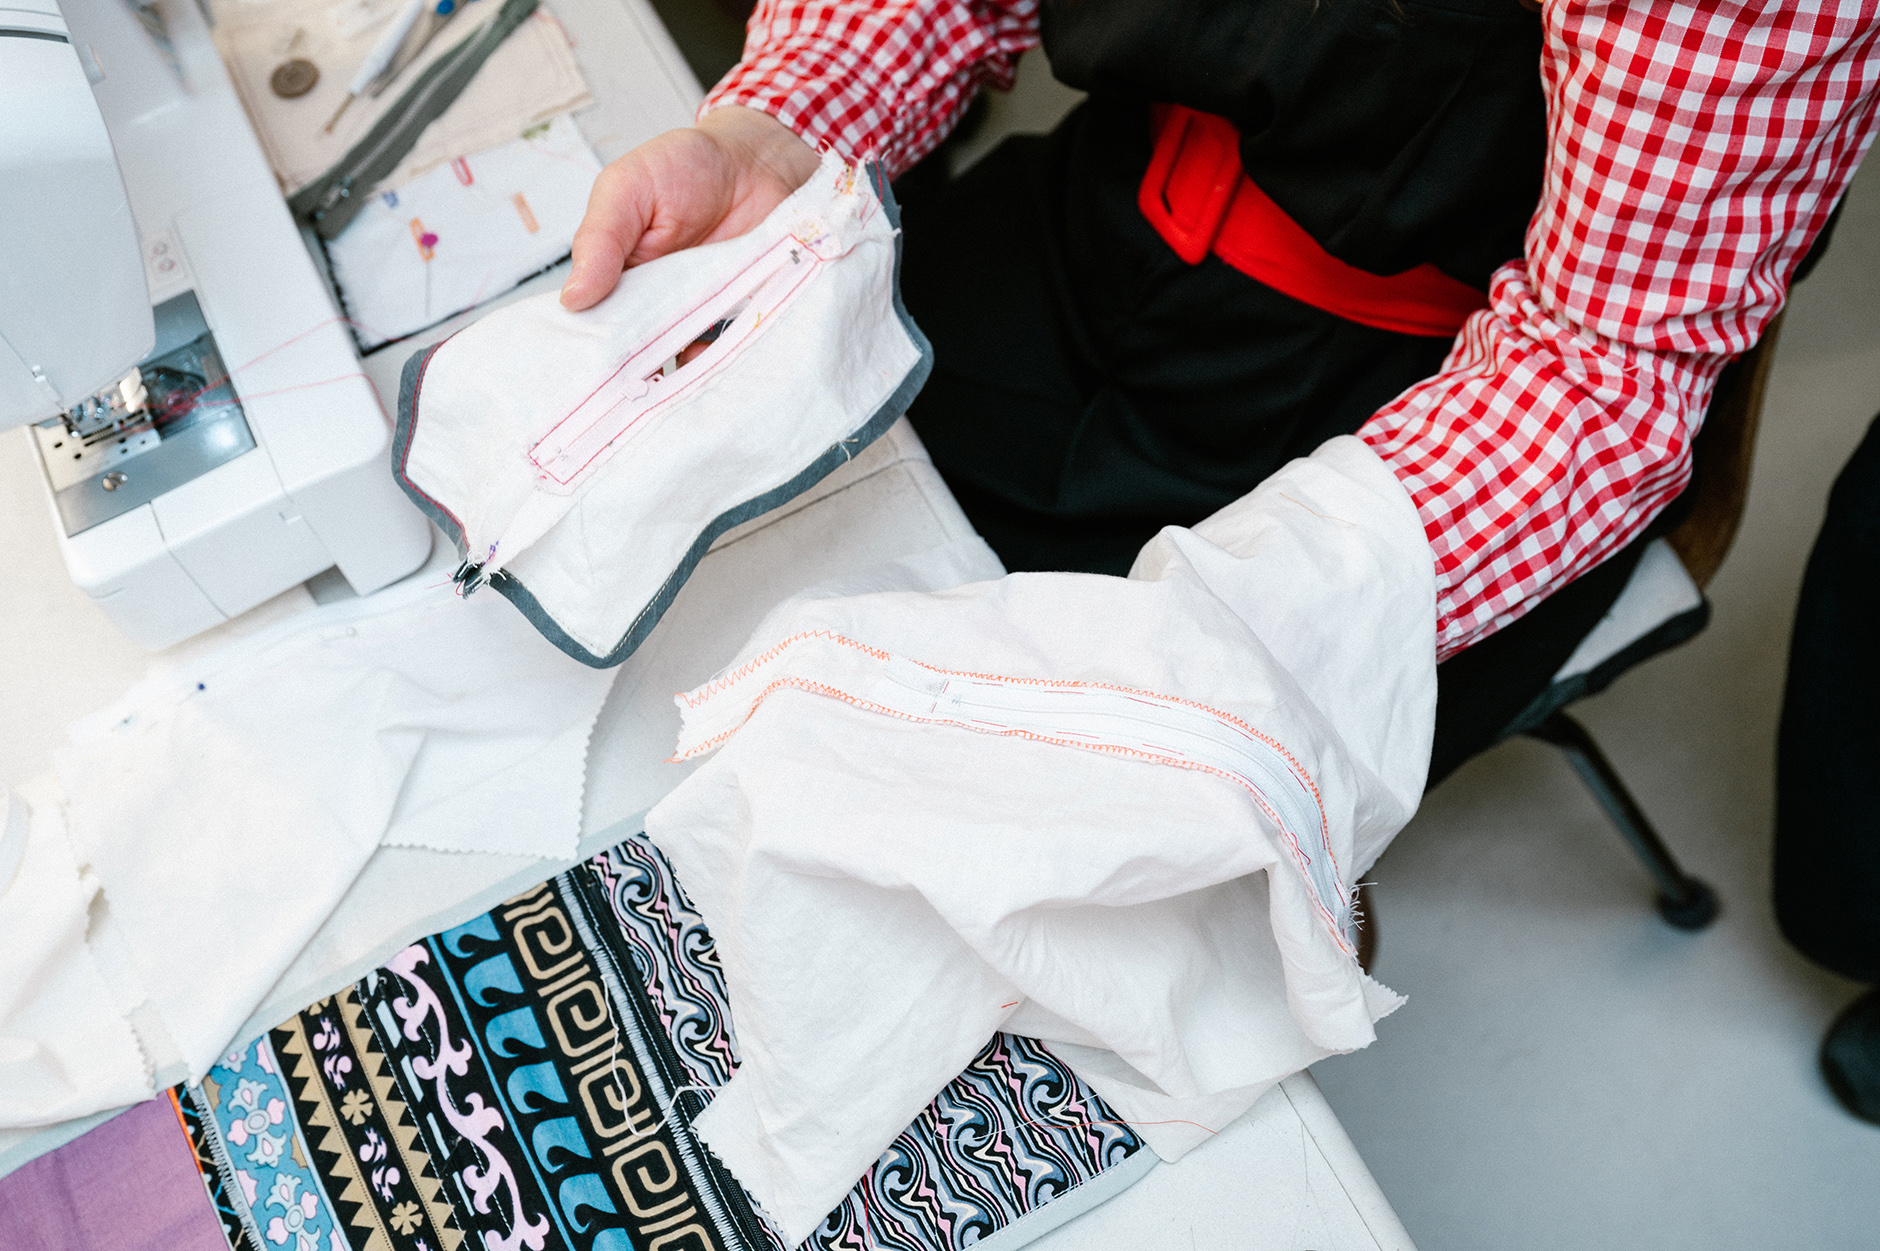
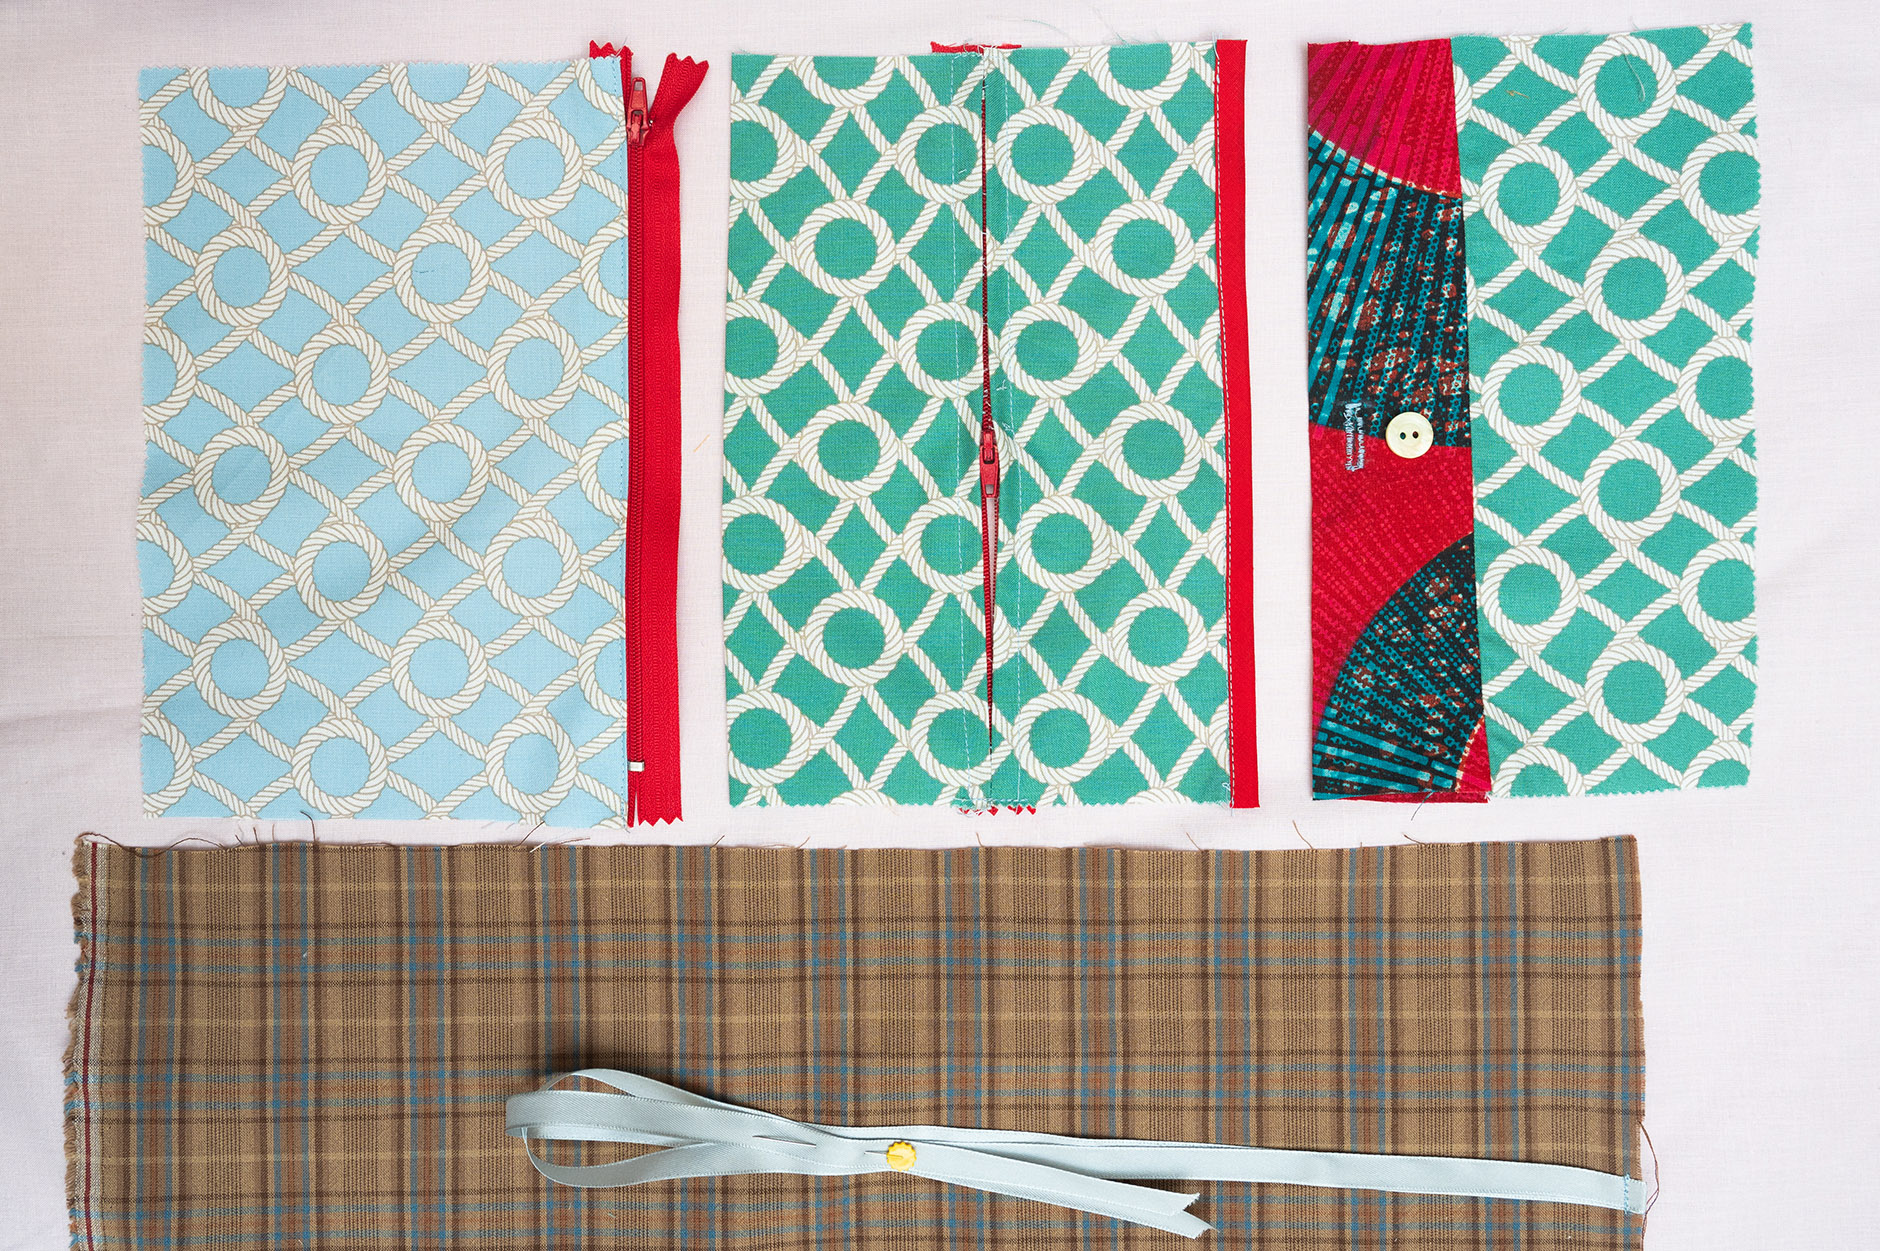
All 3 inside pocket compartments are now made!

NB: In the photo I hadn’t joined both sides of the visible zip pocket, which needs to be done! (as above)

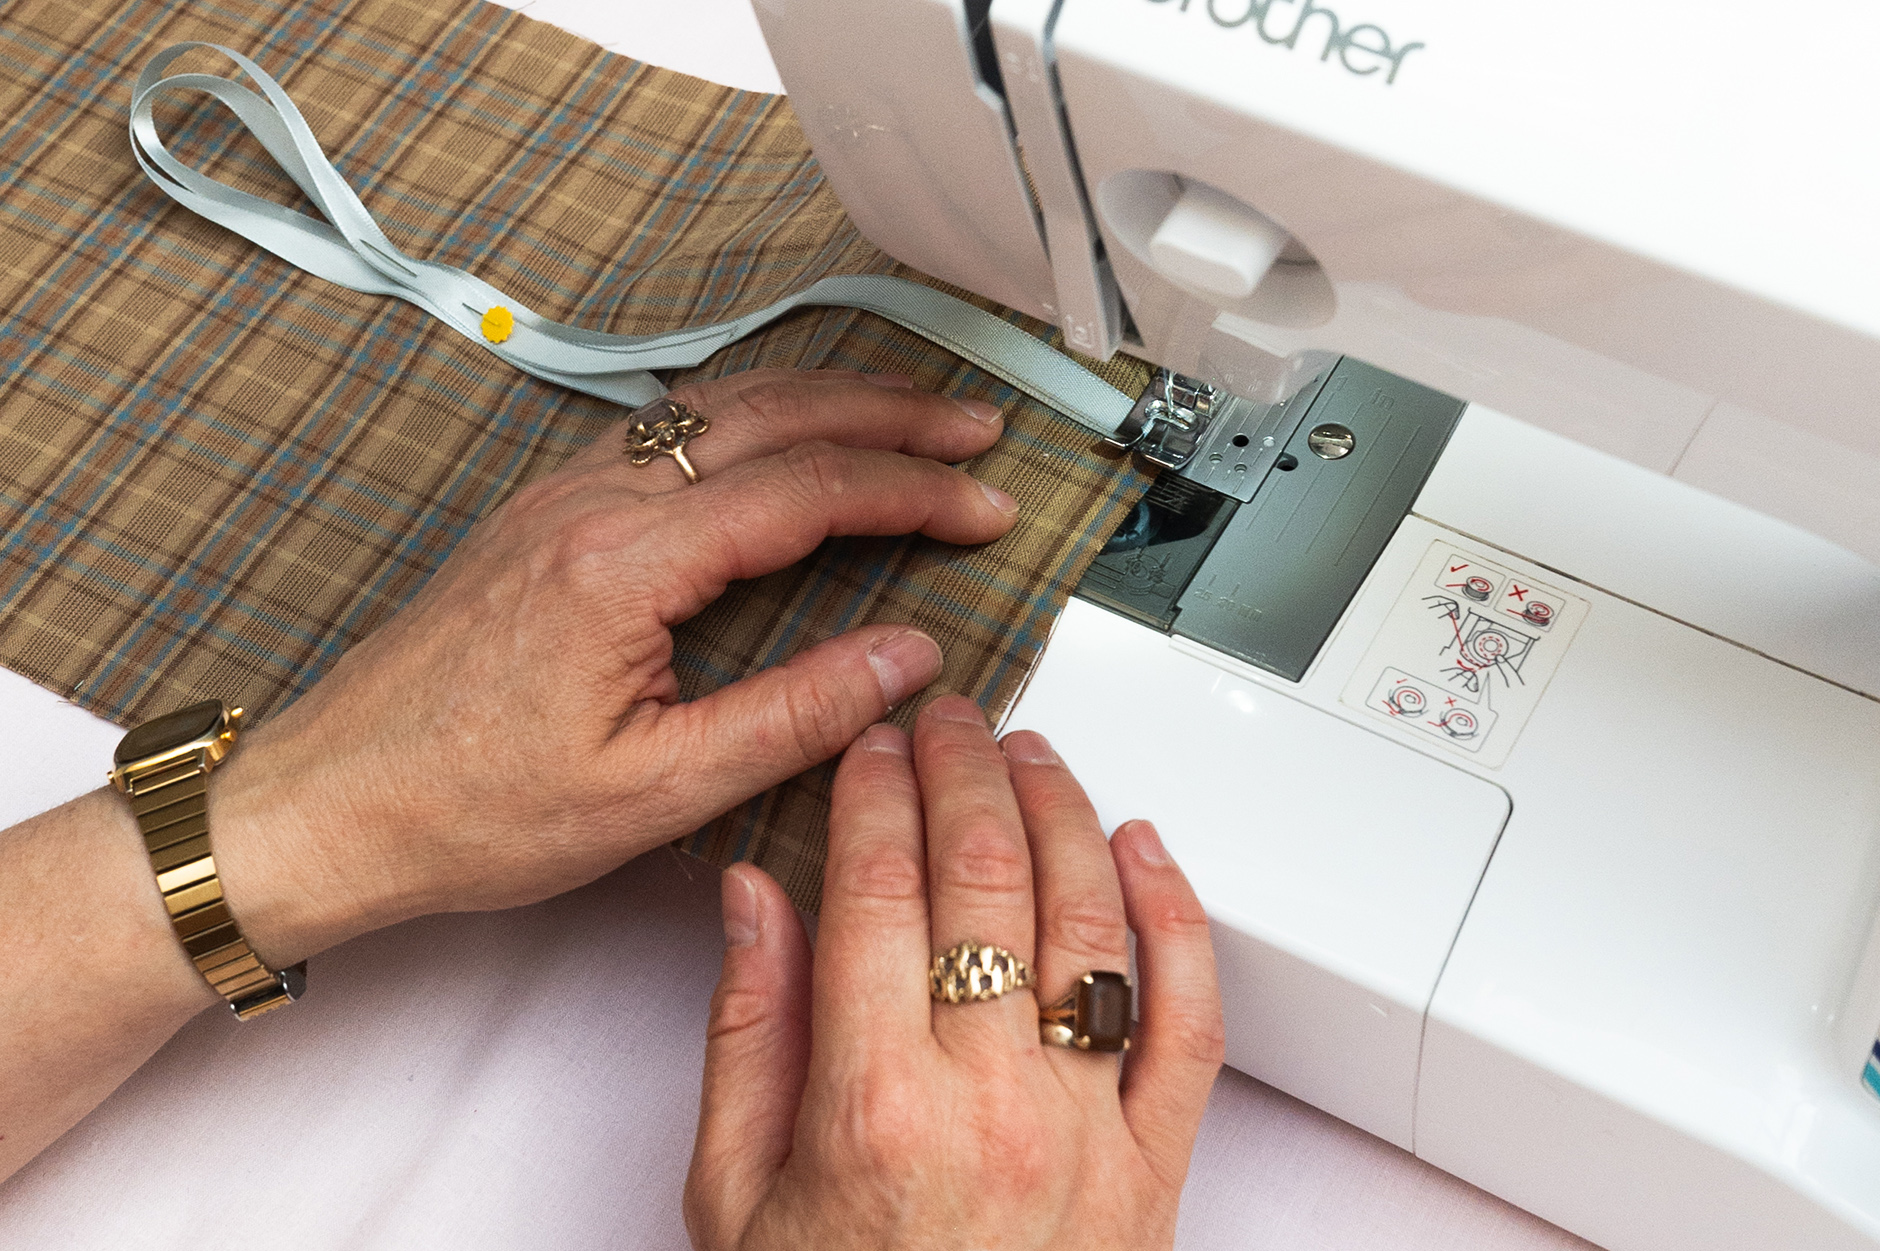
At this stage you might want to ‘stay stitch’ the ribbon / tie next to the centre of short edge on the backing fabric. Pin the tie into the centre of the backing piece, out of the way ready for joining the two sides later.

Version 1: Adding bias binding to edge of the second pocket (“Beginners Sewing Course” Evening 2)

  • Cut a piece of bias binding tape the length of your pocket. Turn over the tape and open up one of the folded sides, line up with the edge of the pocket/cloth. Pin or clip onto the back/inside of the pocket.
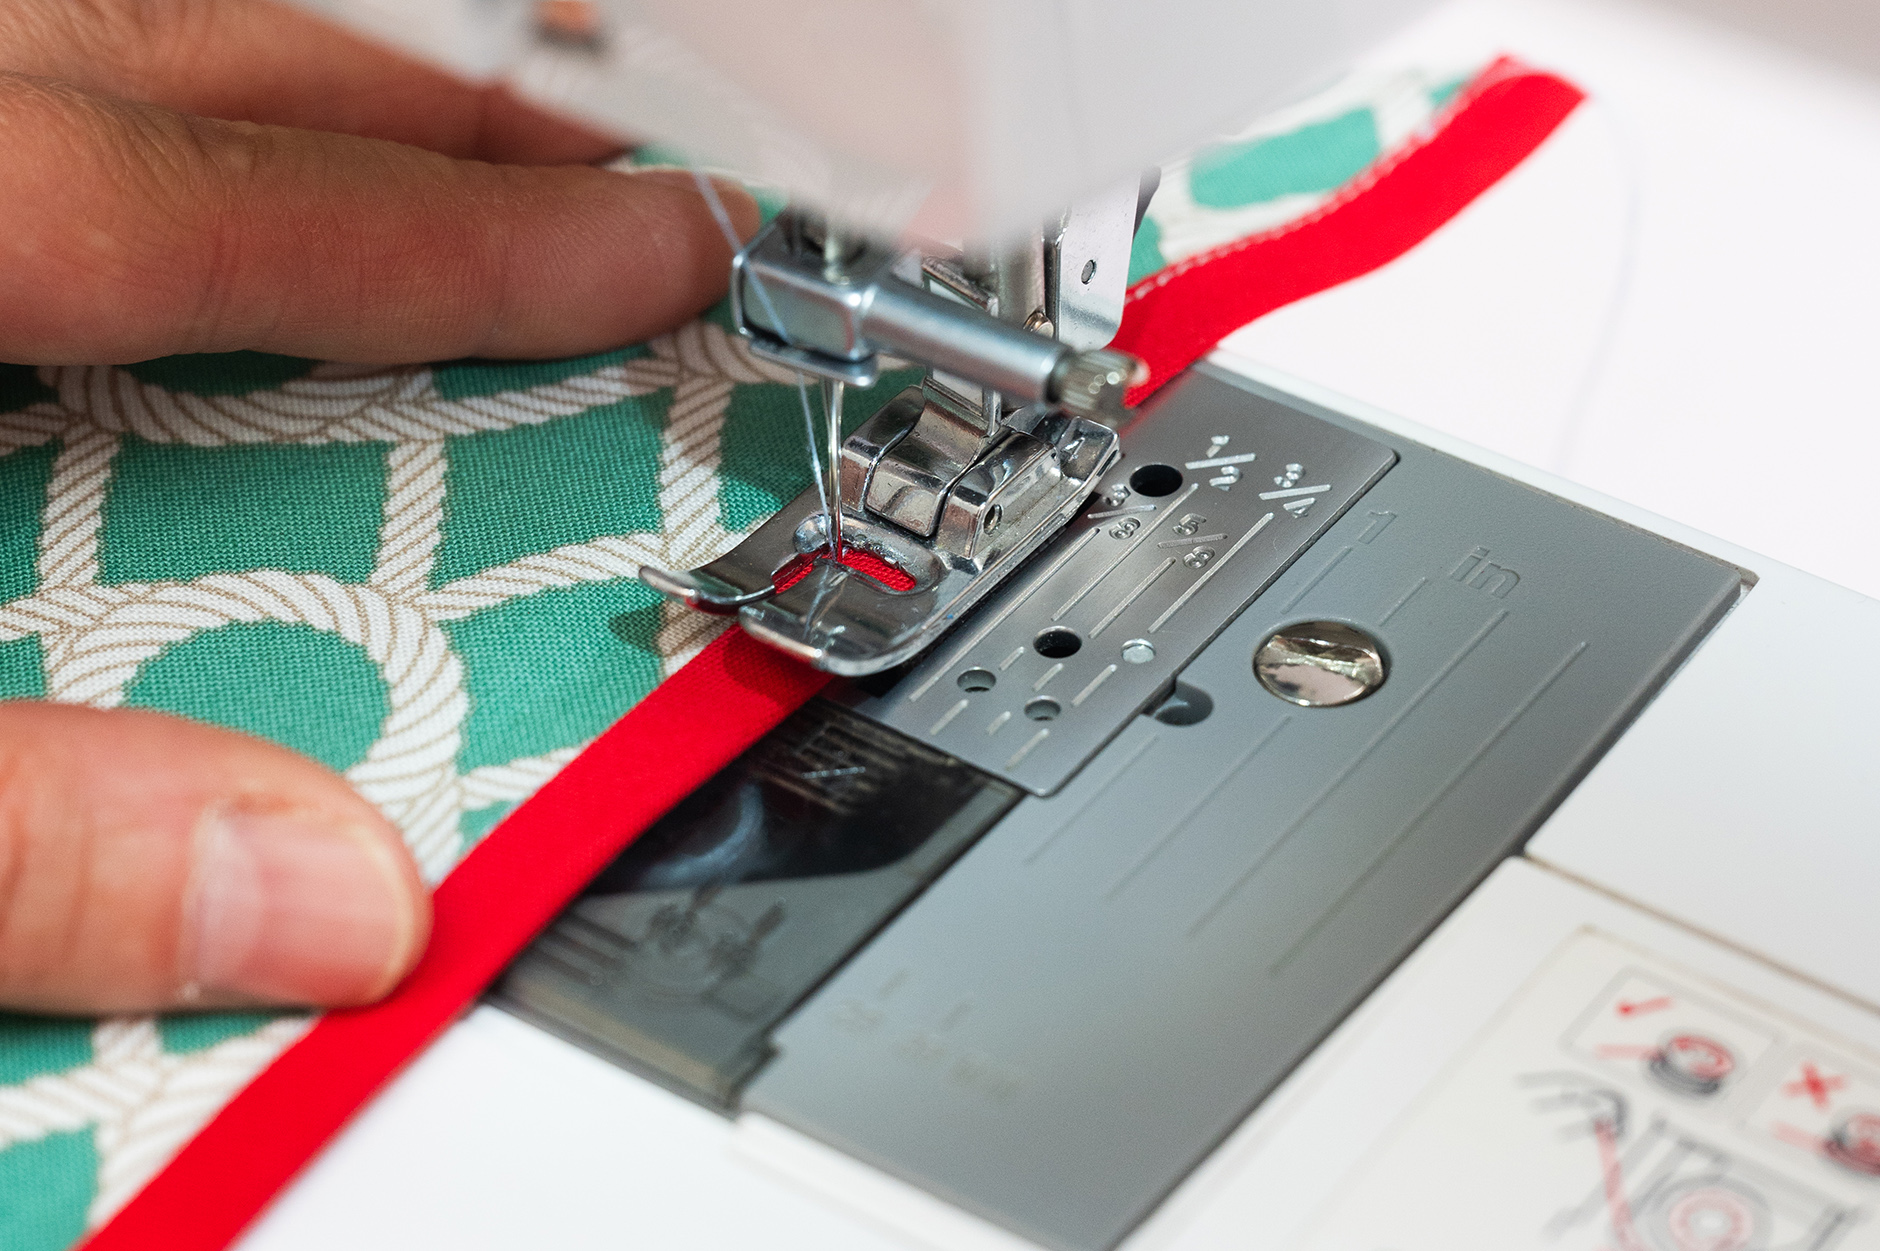
  • Using the standard ‘J’ foot, line up your needle with the ‘fold line’. Stitch along this crease line (remembering to reverse/lock stitch at the beginning and end of the join)
  • Fold the biding over to the front of the pocket, keeping the 2nd folded edge closed this time.
  • Iron into position, using your first line of stitching as your guide. You want to just about cover the stitching, allowing the binding to sit evenly on both sides of the pocket.
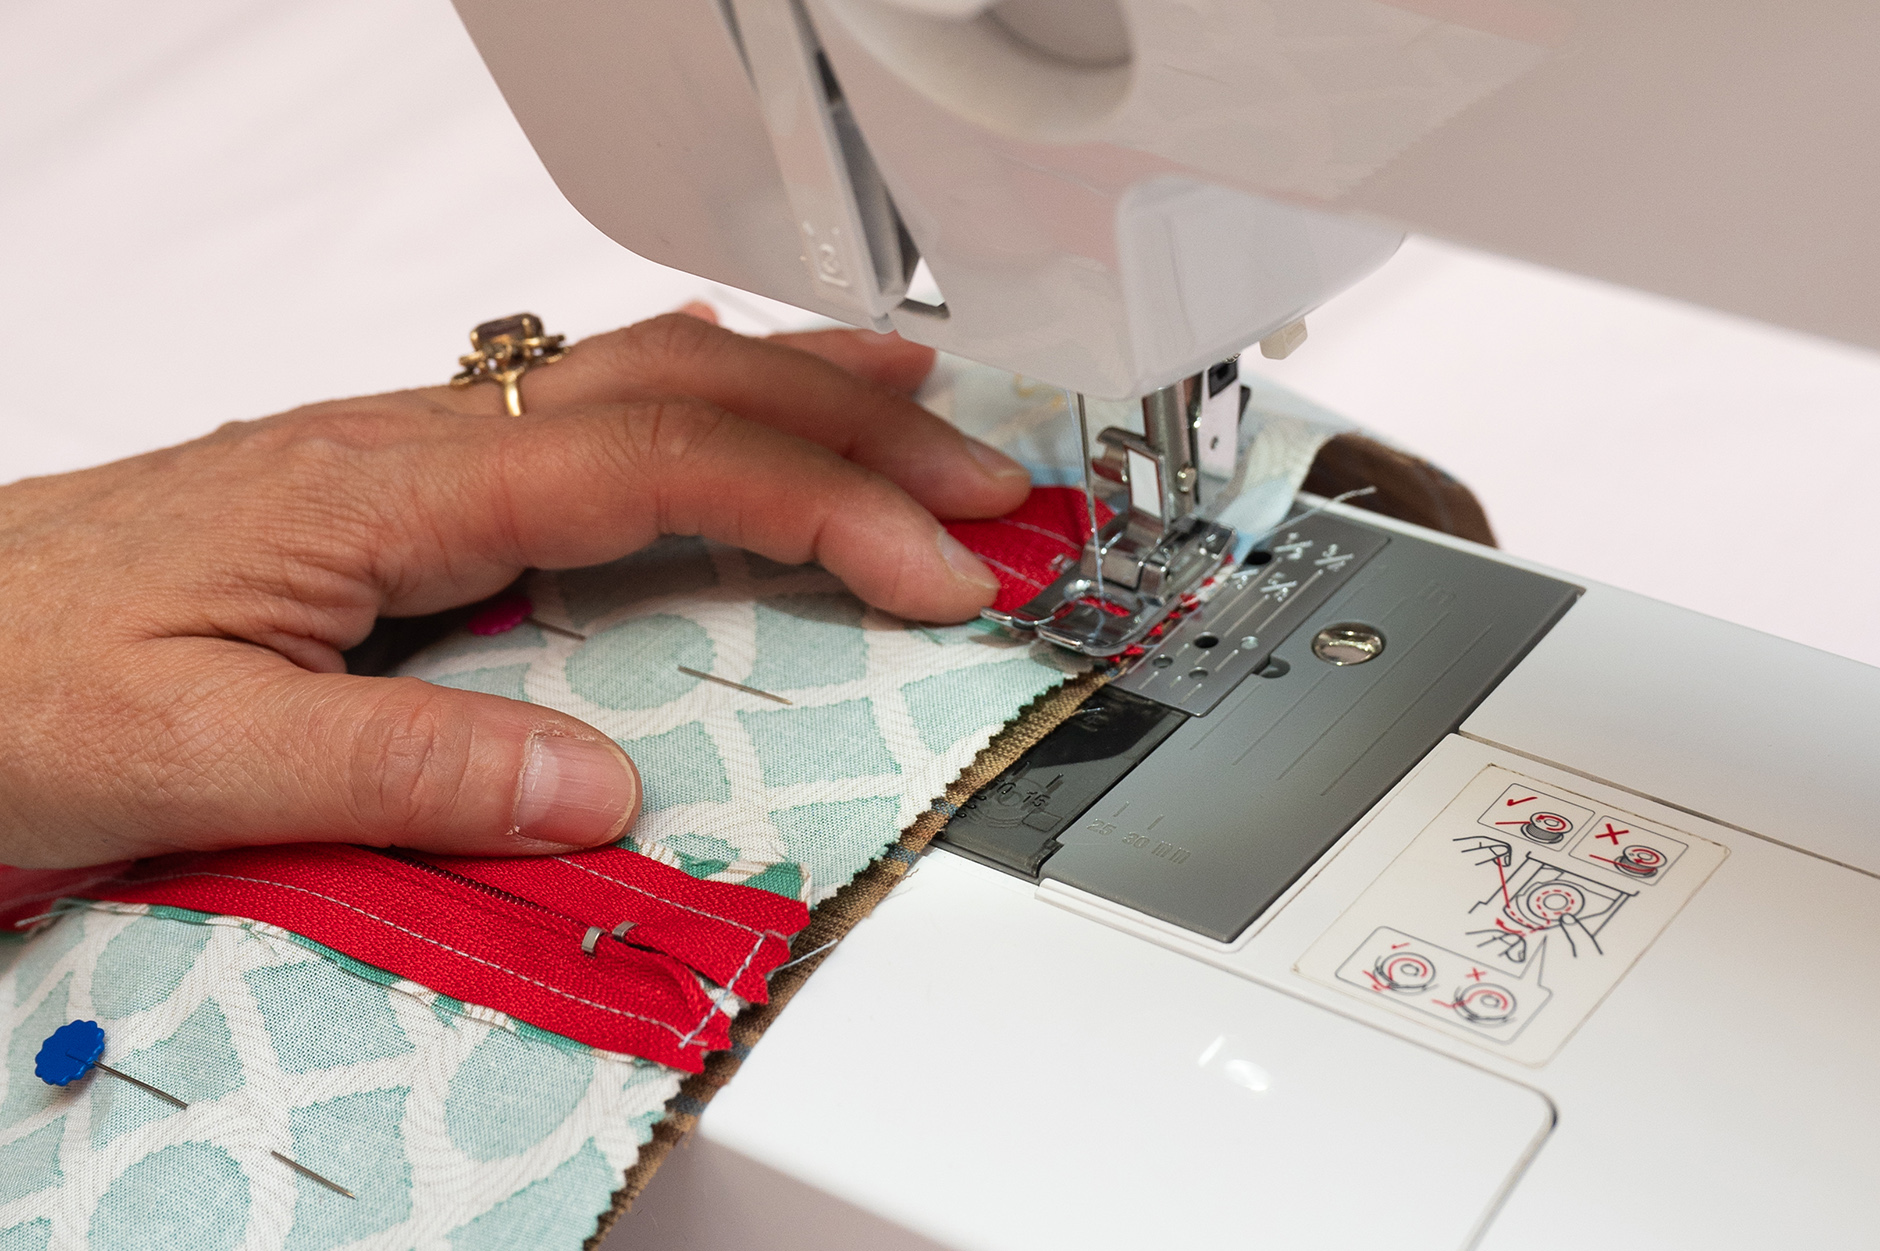
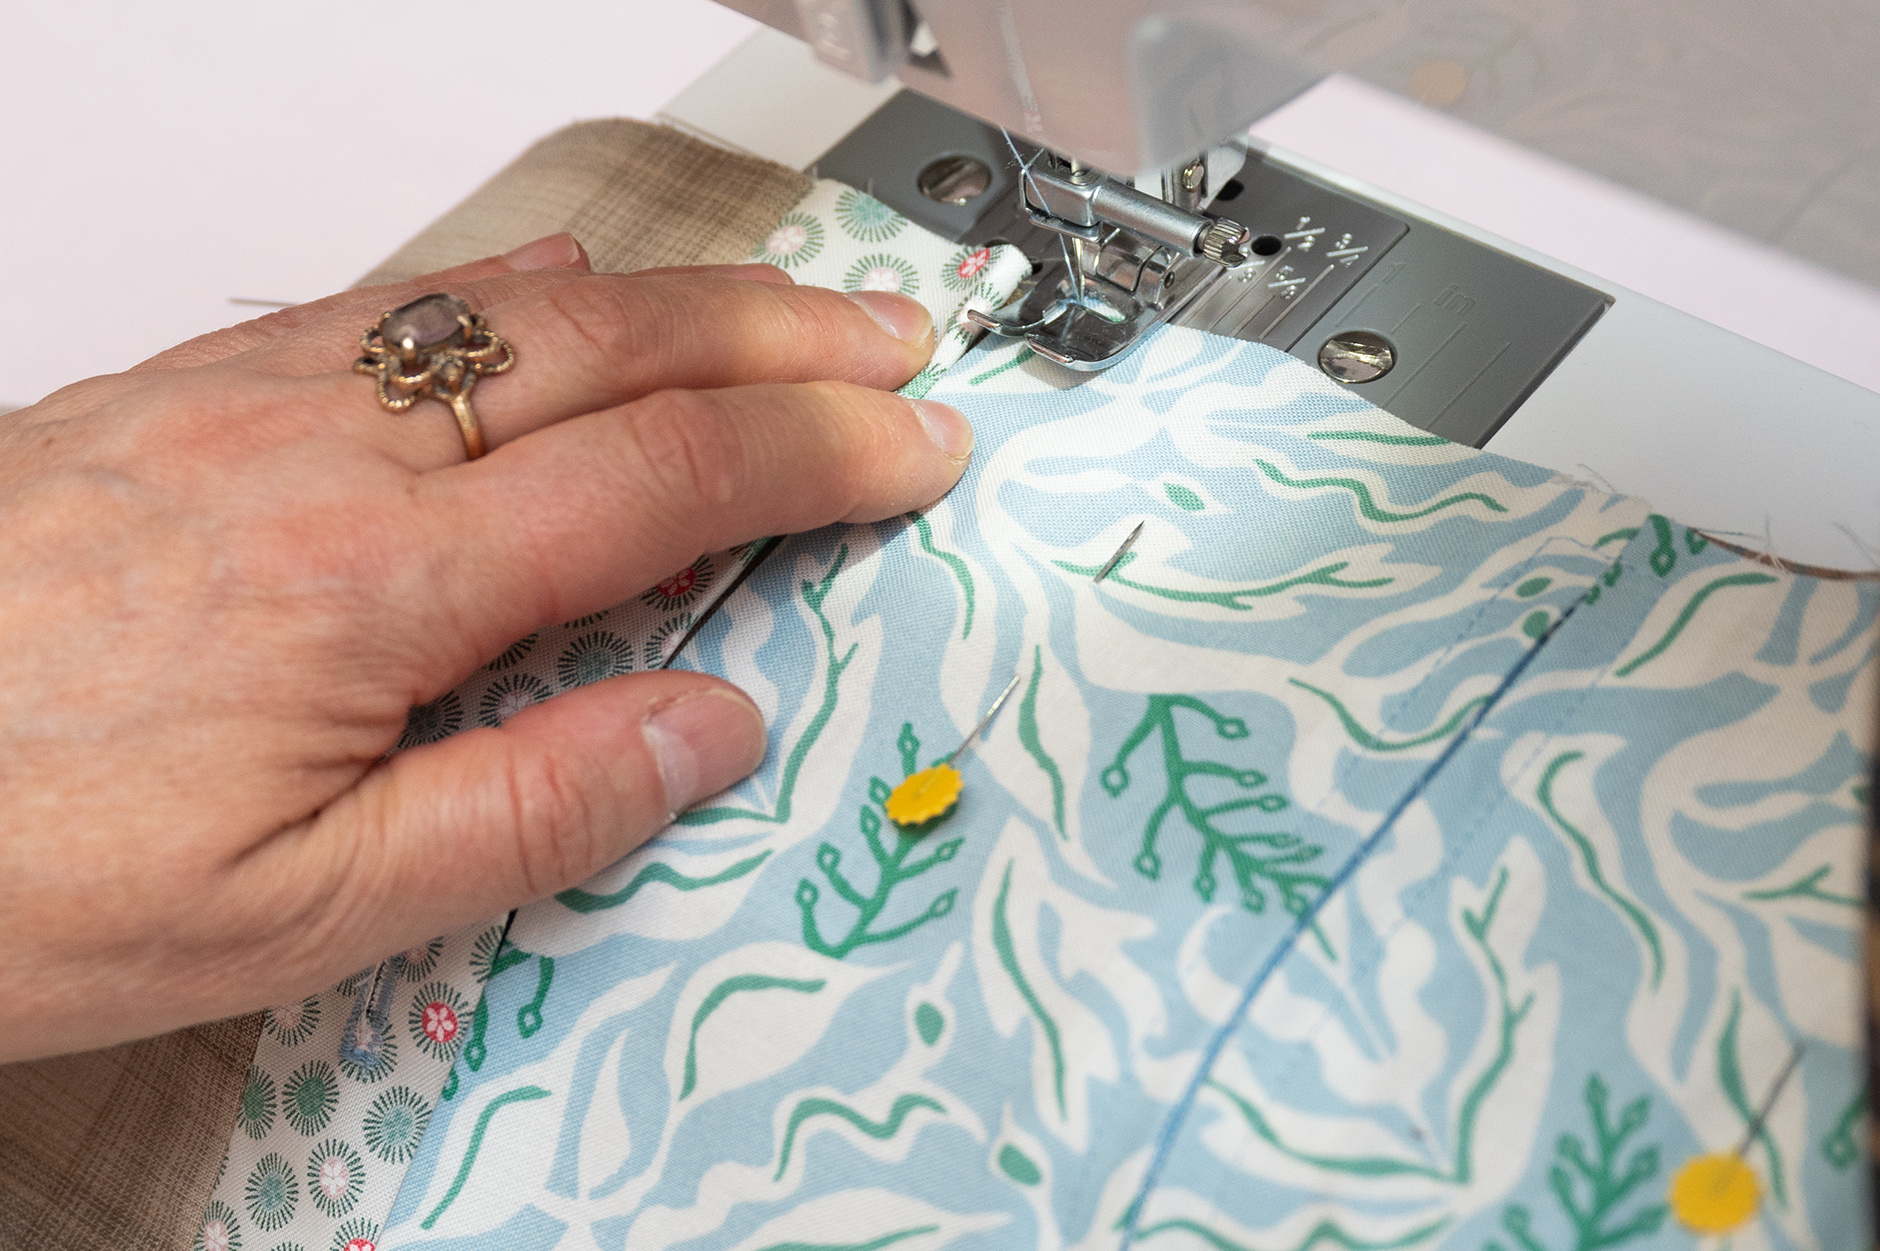
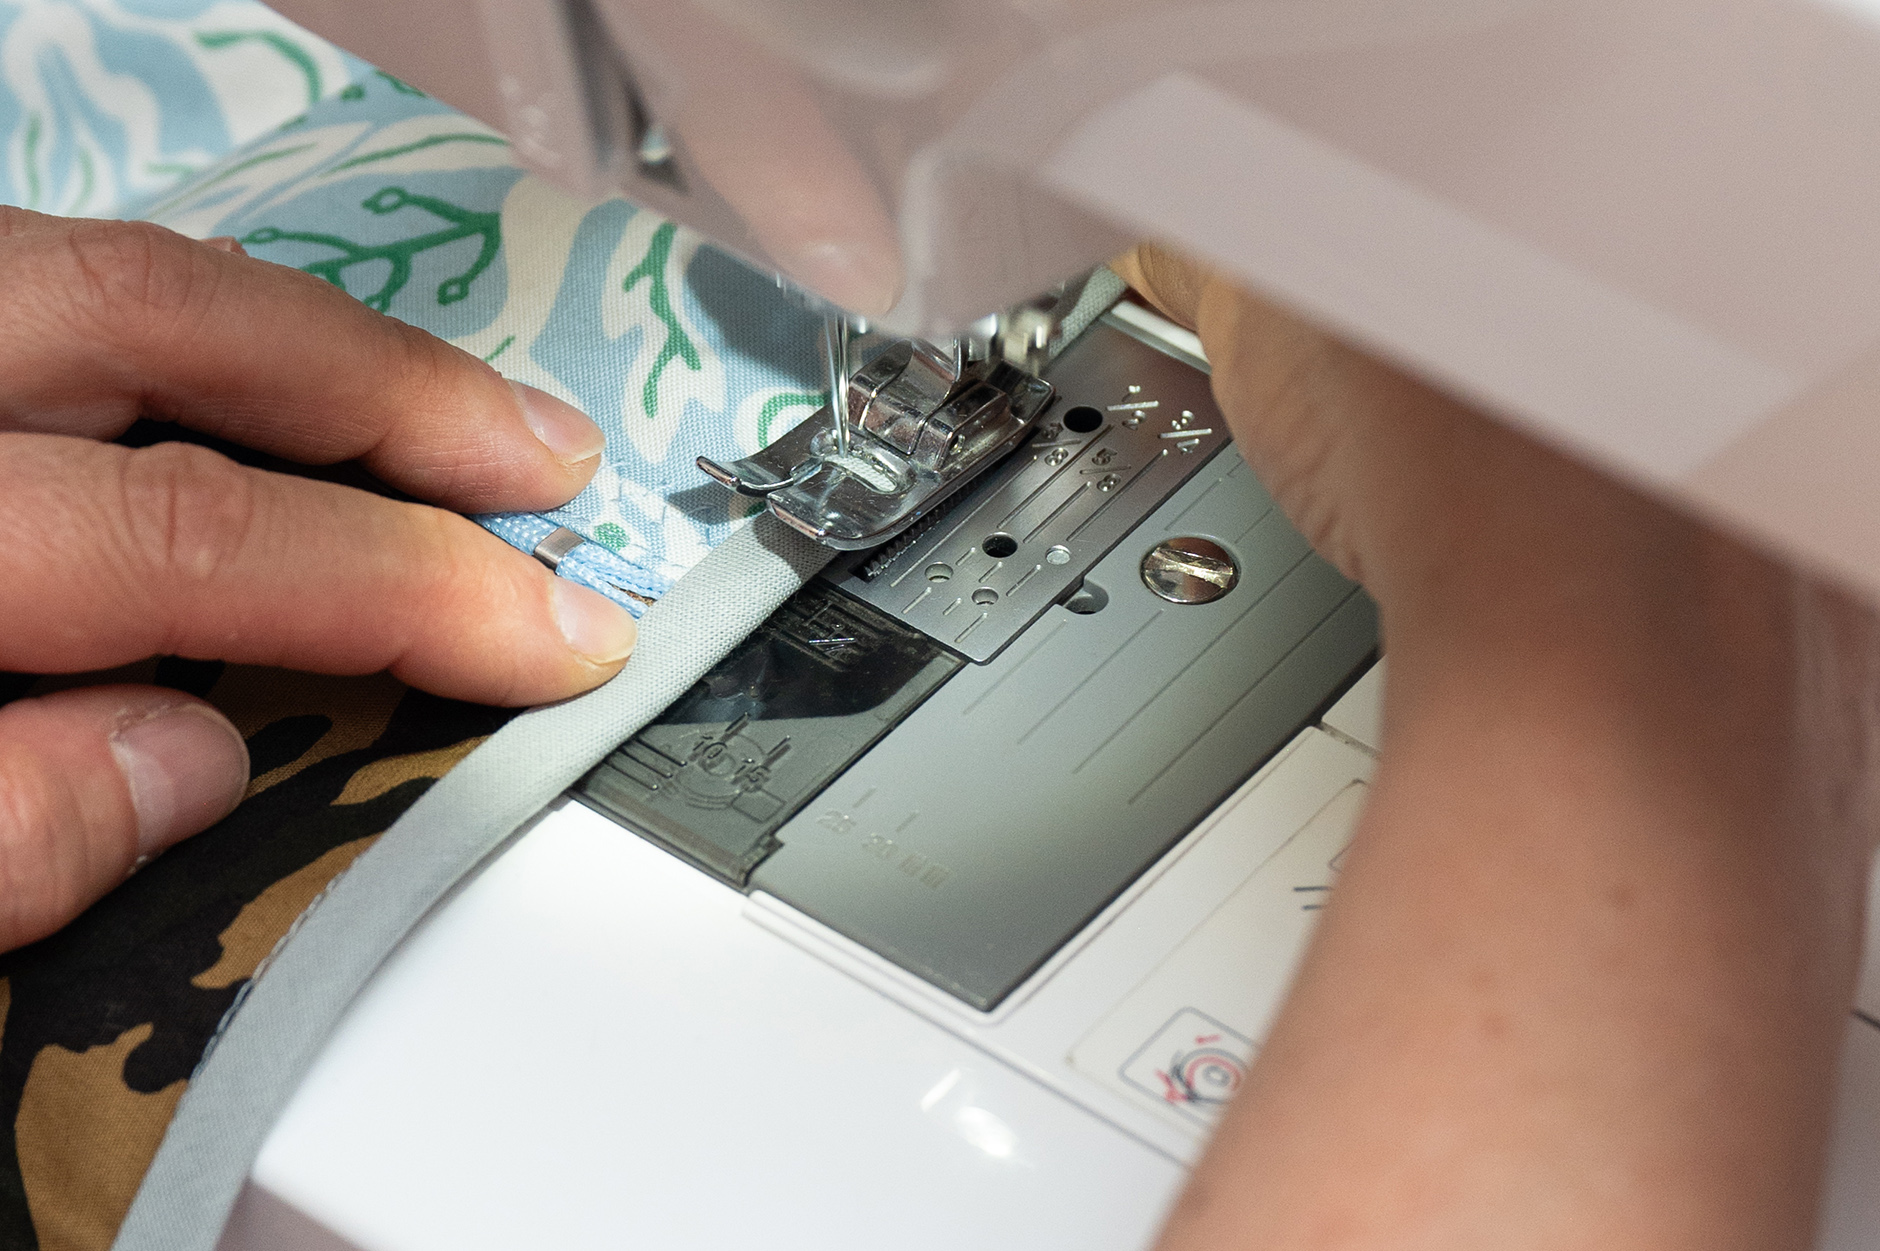
  • Pin or clip the binding in position. Move needle to the left position and line up the edge of the binding with the inside left side of the presser foot, so that your stitching is close to the edge of the binding – much like stitching a hem (again if your machine only has a centre needle position, you will need to adjust your binding/fabric accordingly)

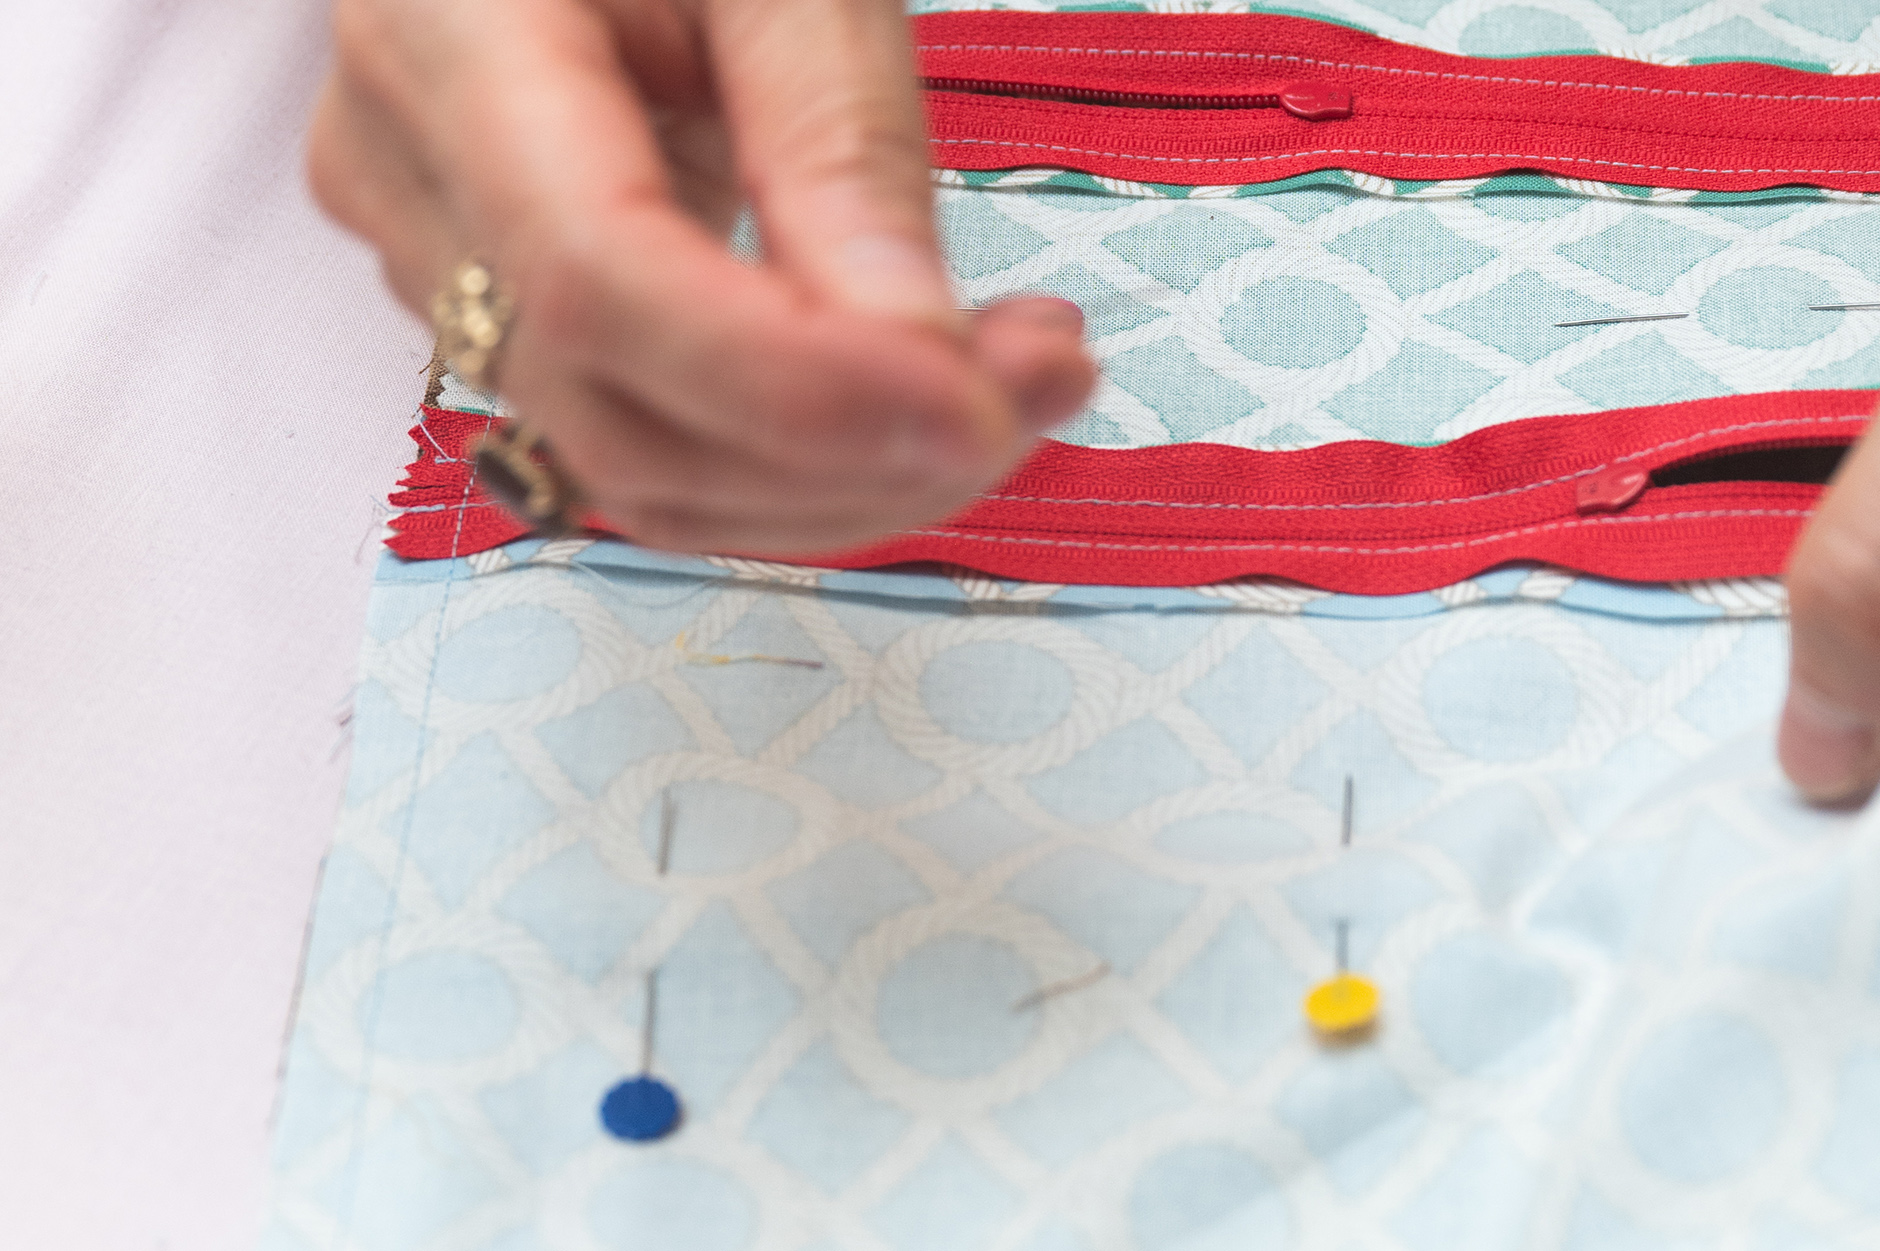
Completed pockets with bias binding addition!

NB: In the photo I hadn’t joined both sides of the visible zip pocket, which needs to be done! (as above)

Version 1: “Bagging Out” or adding the backing (“Beginners Sewing Course” Evening 2)

  • Place the inside layer (x 3 pockets section) on top of the backing fabric, with the ‘right sides’/2 fronts facing each other, and the zipped pockets end towards the tie/ribbon end of the backing fabric.
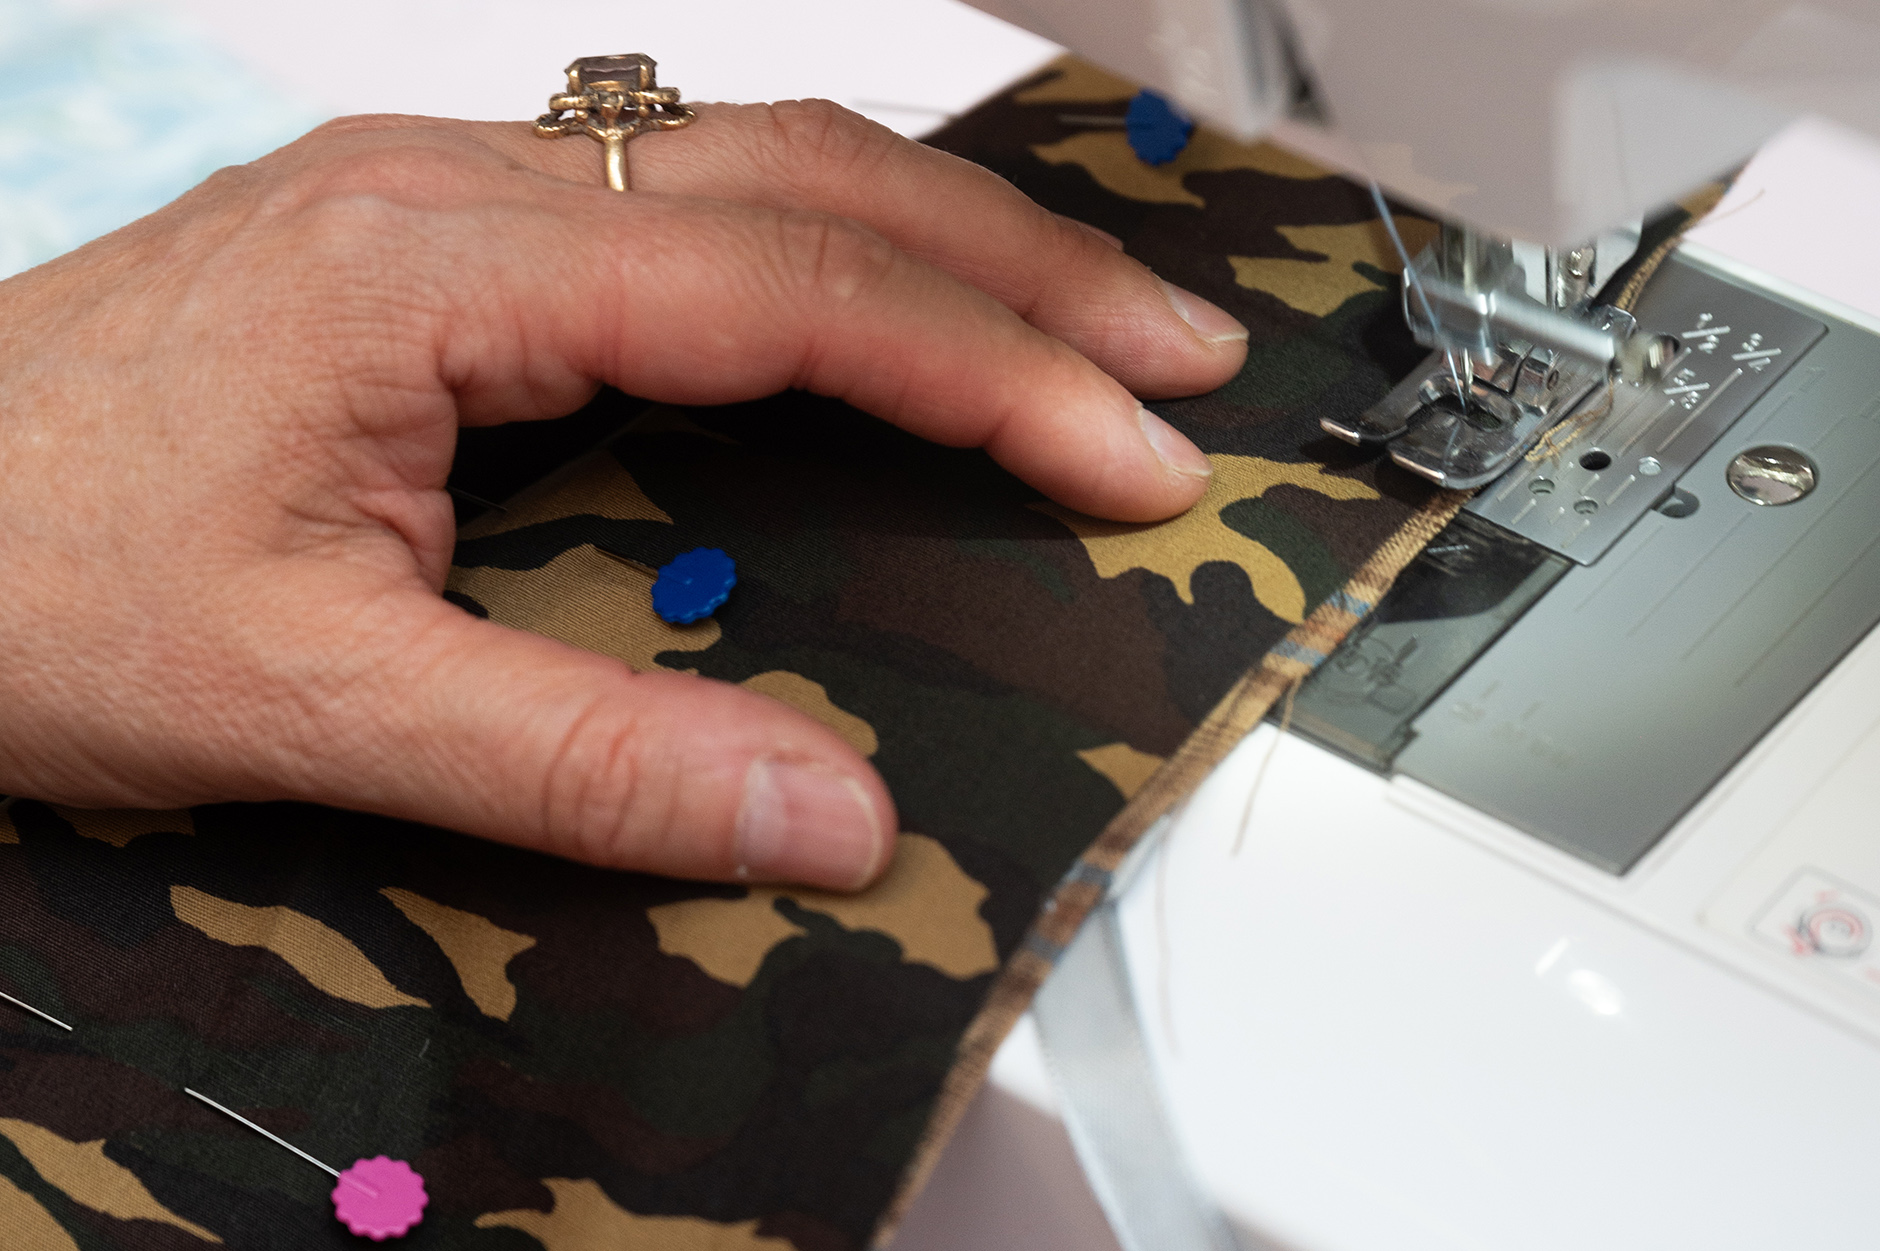
  • Pin in several places around the centre of the pouch to keep the 2 layers together whilst stitching. Pin also any opening areas such as zip or pocket edges to prevent them from splaying open and creating a gap.
  • Trim away any excess fabric / or chalk a line, marking a new edge to tidy up and get a clean ‘true edge’ to follow whilst stitching.
  • Stitch in straight stitch (2:5mm length) around all 4 sides, with needle in the central position (approx 1cm seam allowance)
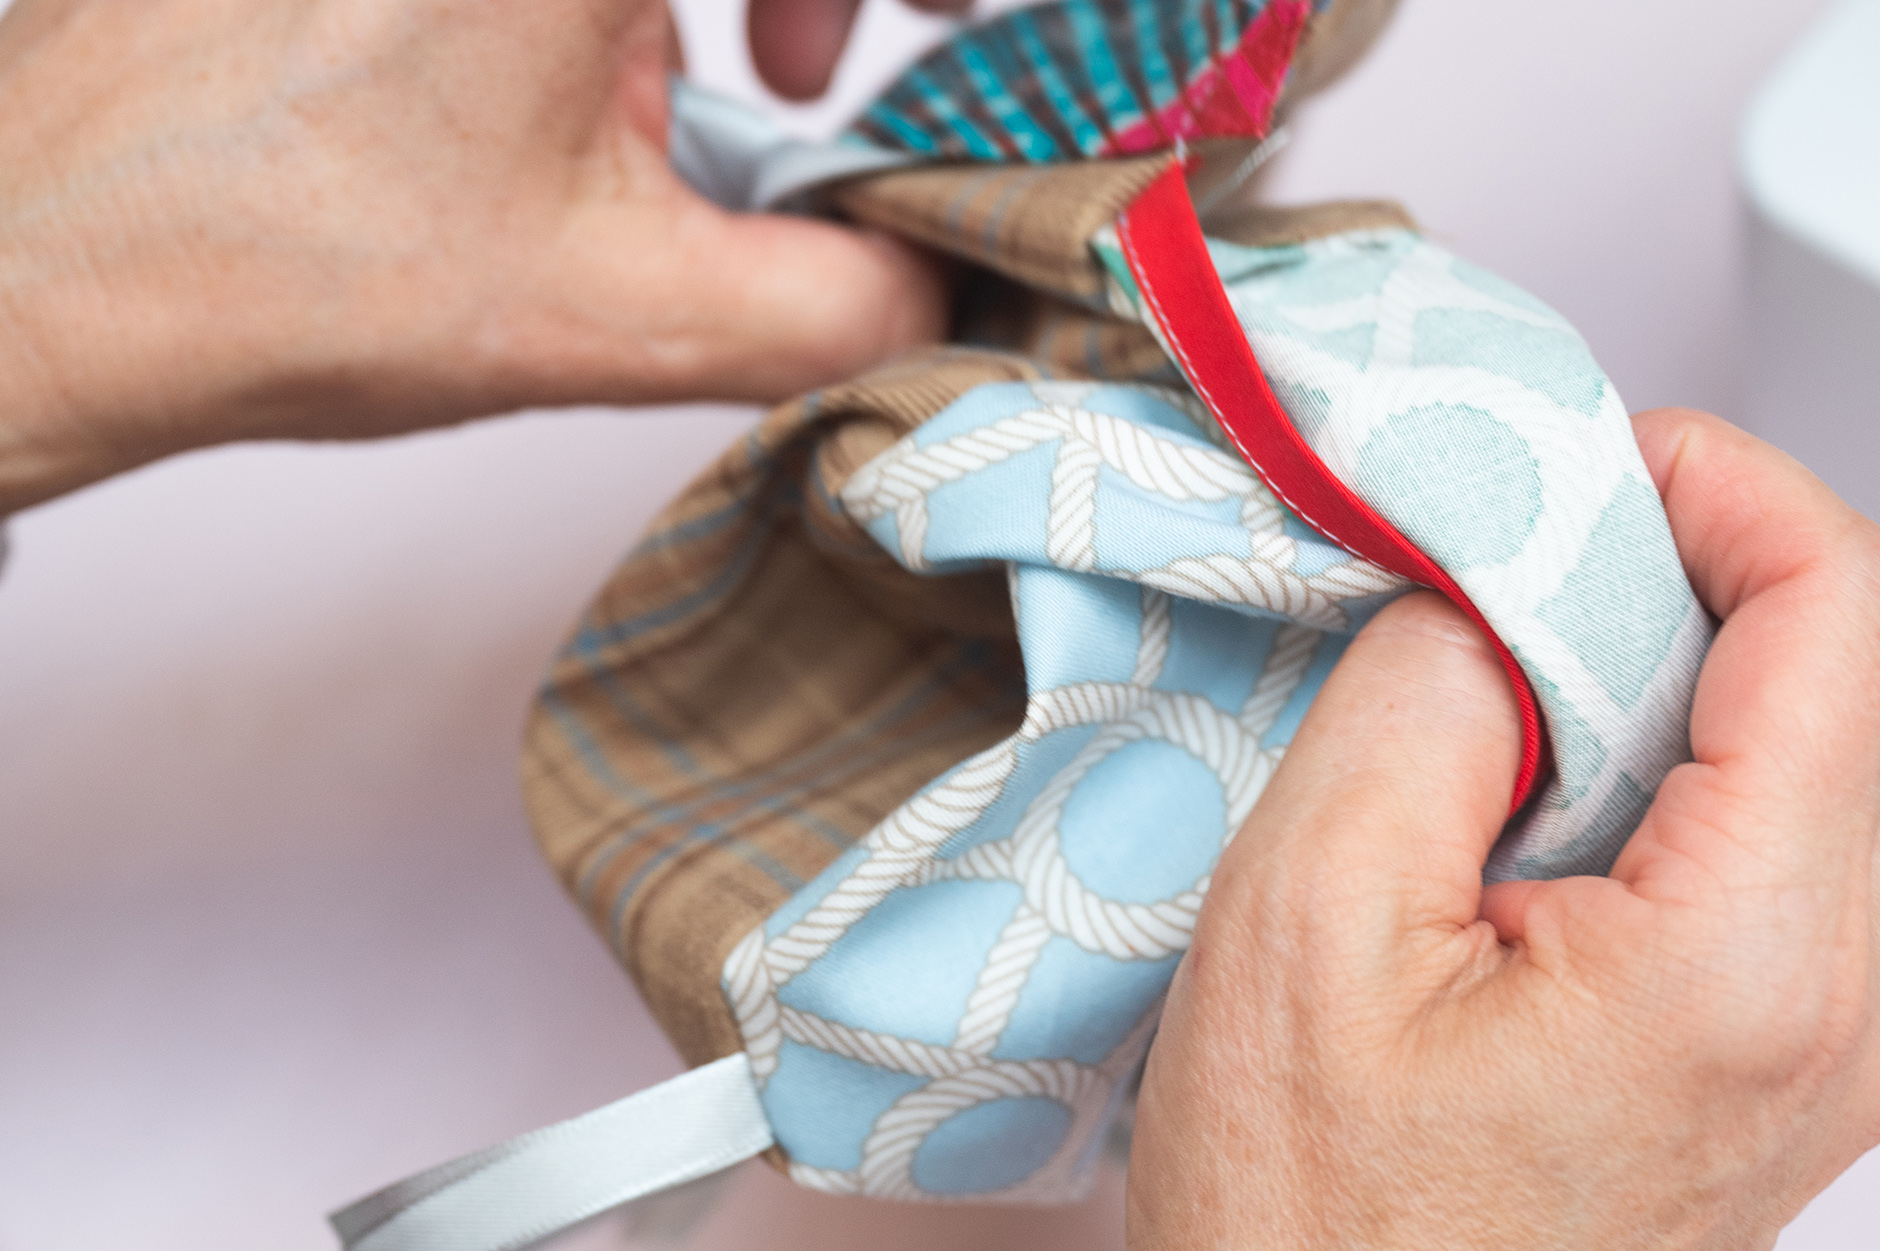
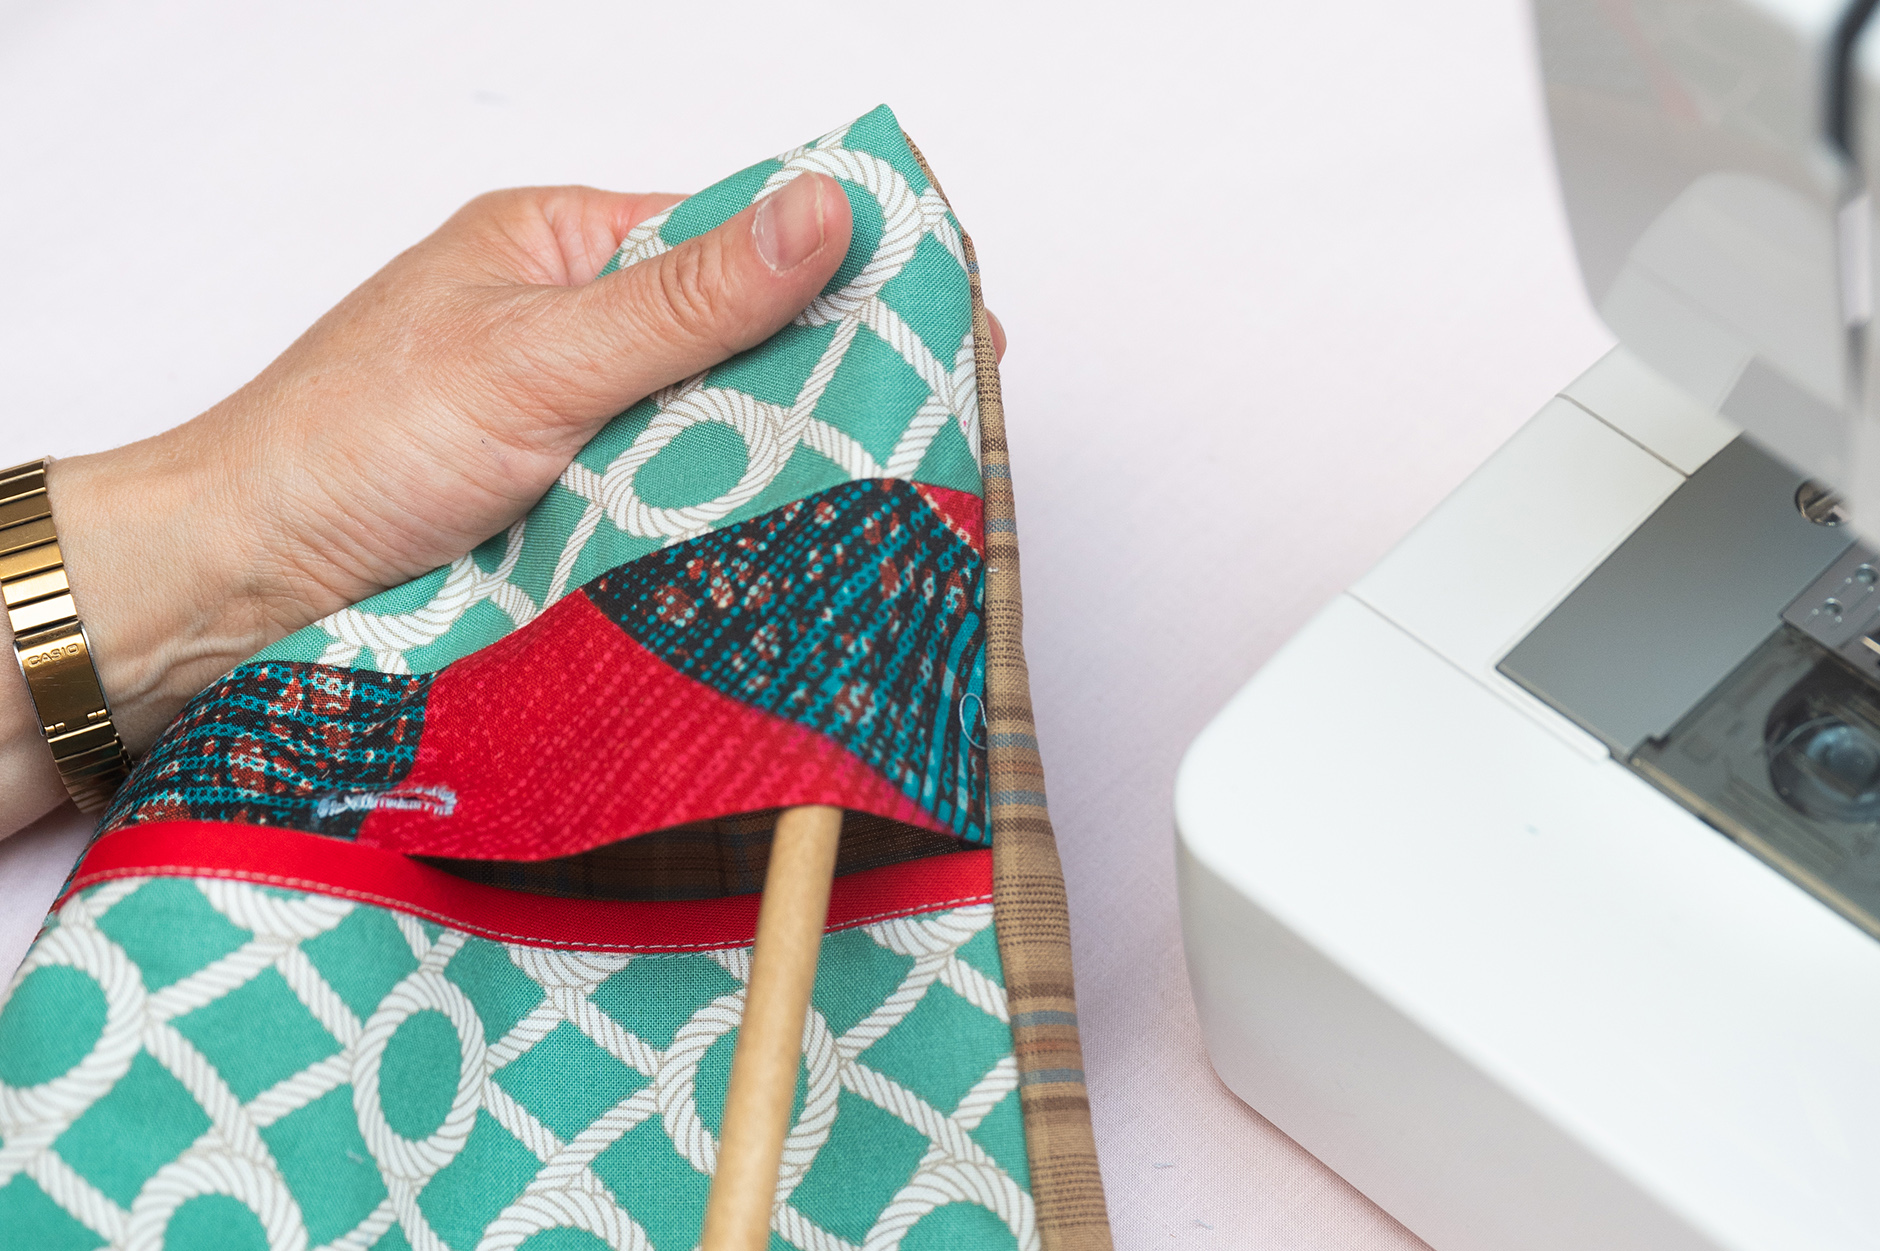
  • Remove pins and turn the pouch the right way round through the gap between the pockets (next to binding edge)

Tips for getting a neat finish when ‘Bagging Out’:

  • Carefully trim away any extra fabric in corners to remove bulky bits and get nice sharp edges once turned through.
  • Use a blunt wooden knitting needle (or similar) to carefully tease out corners and edges.
  • Give the pouch an iron to flatten, un pin the tie/ribbon and prepare for ‘top stitching’.

Version 1: “Top Stitching” Adding a finishing and strengthening stitching around the edge of the completed utility pouch  (“Beginners Sewing Course” Evening 2)

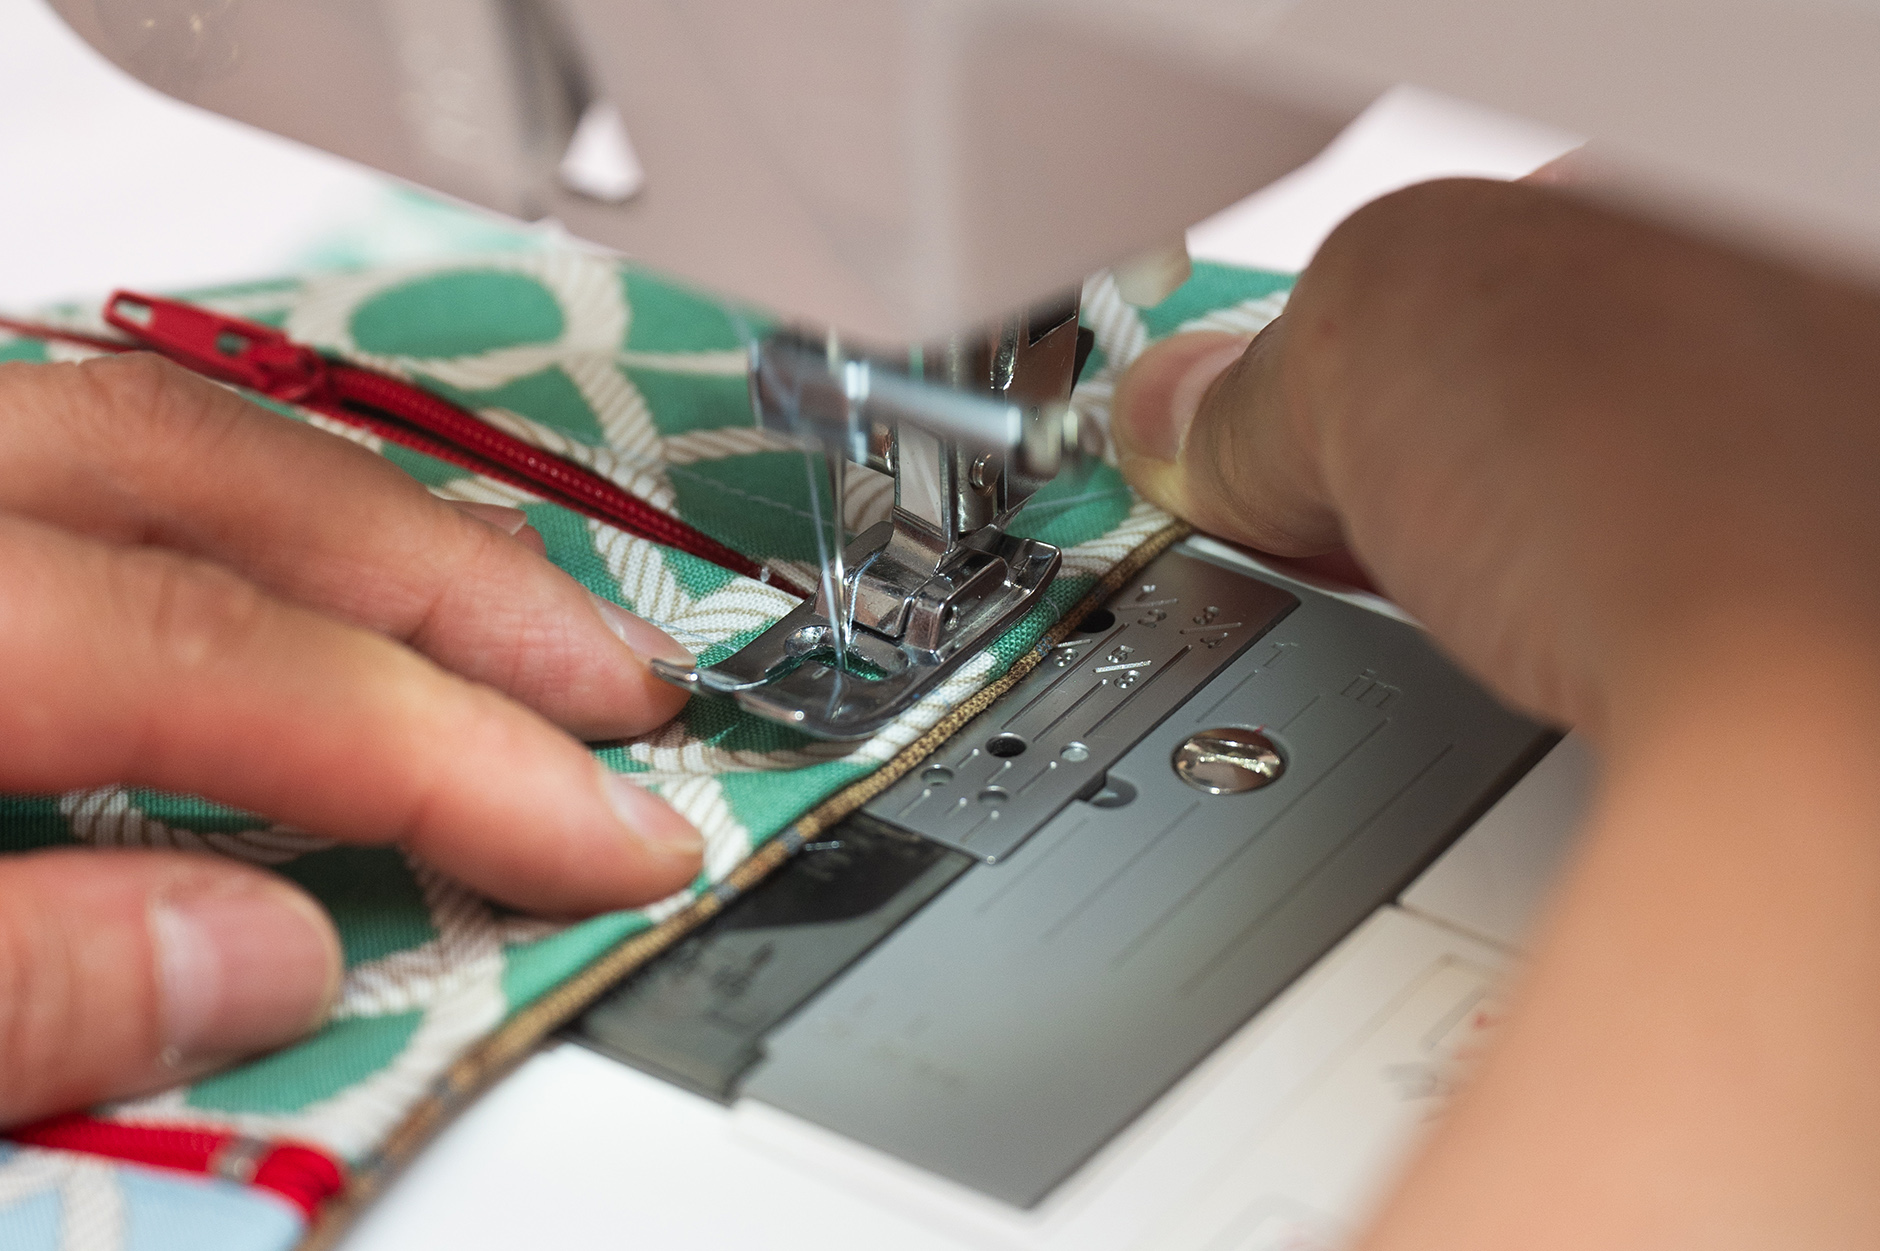
  • With needle in centre position, using straight stitch (3mm length to aid movement over the layers) line up right side of the presser foot against the side / outer edge of the pouch.
  • Stitch around all 4 sides. Be Careful! of zipper edges / metal bits that could break a needle. You may need to hand roll the needle over to sew these sections with caution!

Version 1 & 2: Seperating the pocket compartments (“Beginners Sewing Course” Evening 2 & Beginners Sewing 2 – Weekend Class)

  • In class we used a decorative stitch / embroidery stitch to add extra detailing. The stitching will be visible inside and outside the pouch. The purpose is to secure and seperate the different pockets (DO NOT sew along the top of the 3rd pocket as this has a buttonhole finish and you will hand sew a button behind your buttonhole and onto the backing fabric to open and close this pocket!)
  • Stitch above the visible zip on the second pocket and above the binding (“Beginners Sewing Course” Evening 2) or onto a folded edge (Beginners Sewing 2 – Weekend Class)

Version 2: Assembly and applying bias binding to finish the edges of the utility pouch (Beginners Sewing 2 – Weekend Class)

  • With this version, we build the pouch as we see it, placing ‘wrong sides’ / backs of the fabrics together.
  • Pin in several places around the centre of the pouch to keep the 2 layers together whilst stitching. Pin also any opening areas such as zip or pocket edges to prevent them from splaying open and creating a gap.
  • Seperate and stitch down the pocket compartments, perhaps with a decorative stitch (see previous instruction)
  • ‘Baste’ or ‘Stay’ Stitch (4mm length) around all 4 sides, with needle in the central position, aligning as close as you can to the edges of the pouch / fabric, so that the basting stitch gets covered by the bias binding.

Version 2: Adding bias binding around the outer edge of the pouch  (“Beginners Sewing 2” Weekend Class)

  • Keep your bias tape on the roll or in it’s uncut length, to ensure you have enough to get around all 4 outer edges of the pouch.
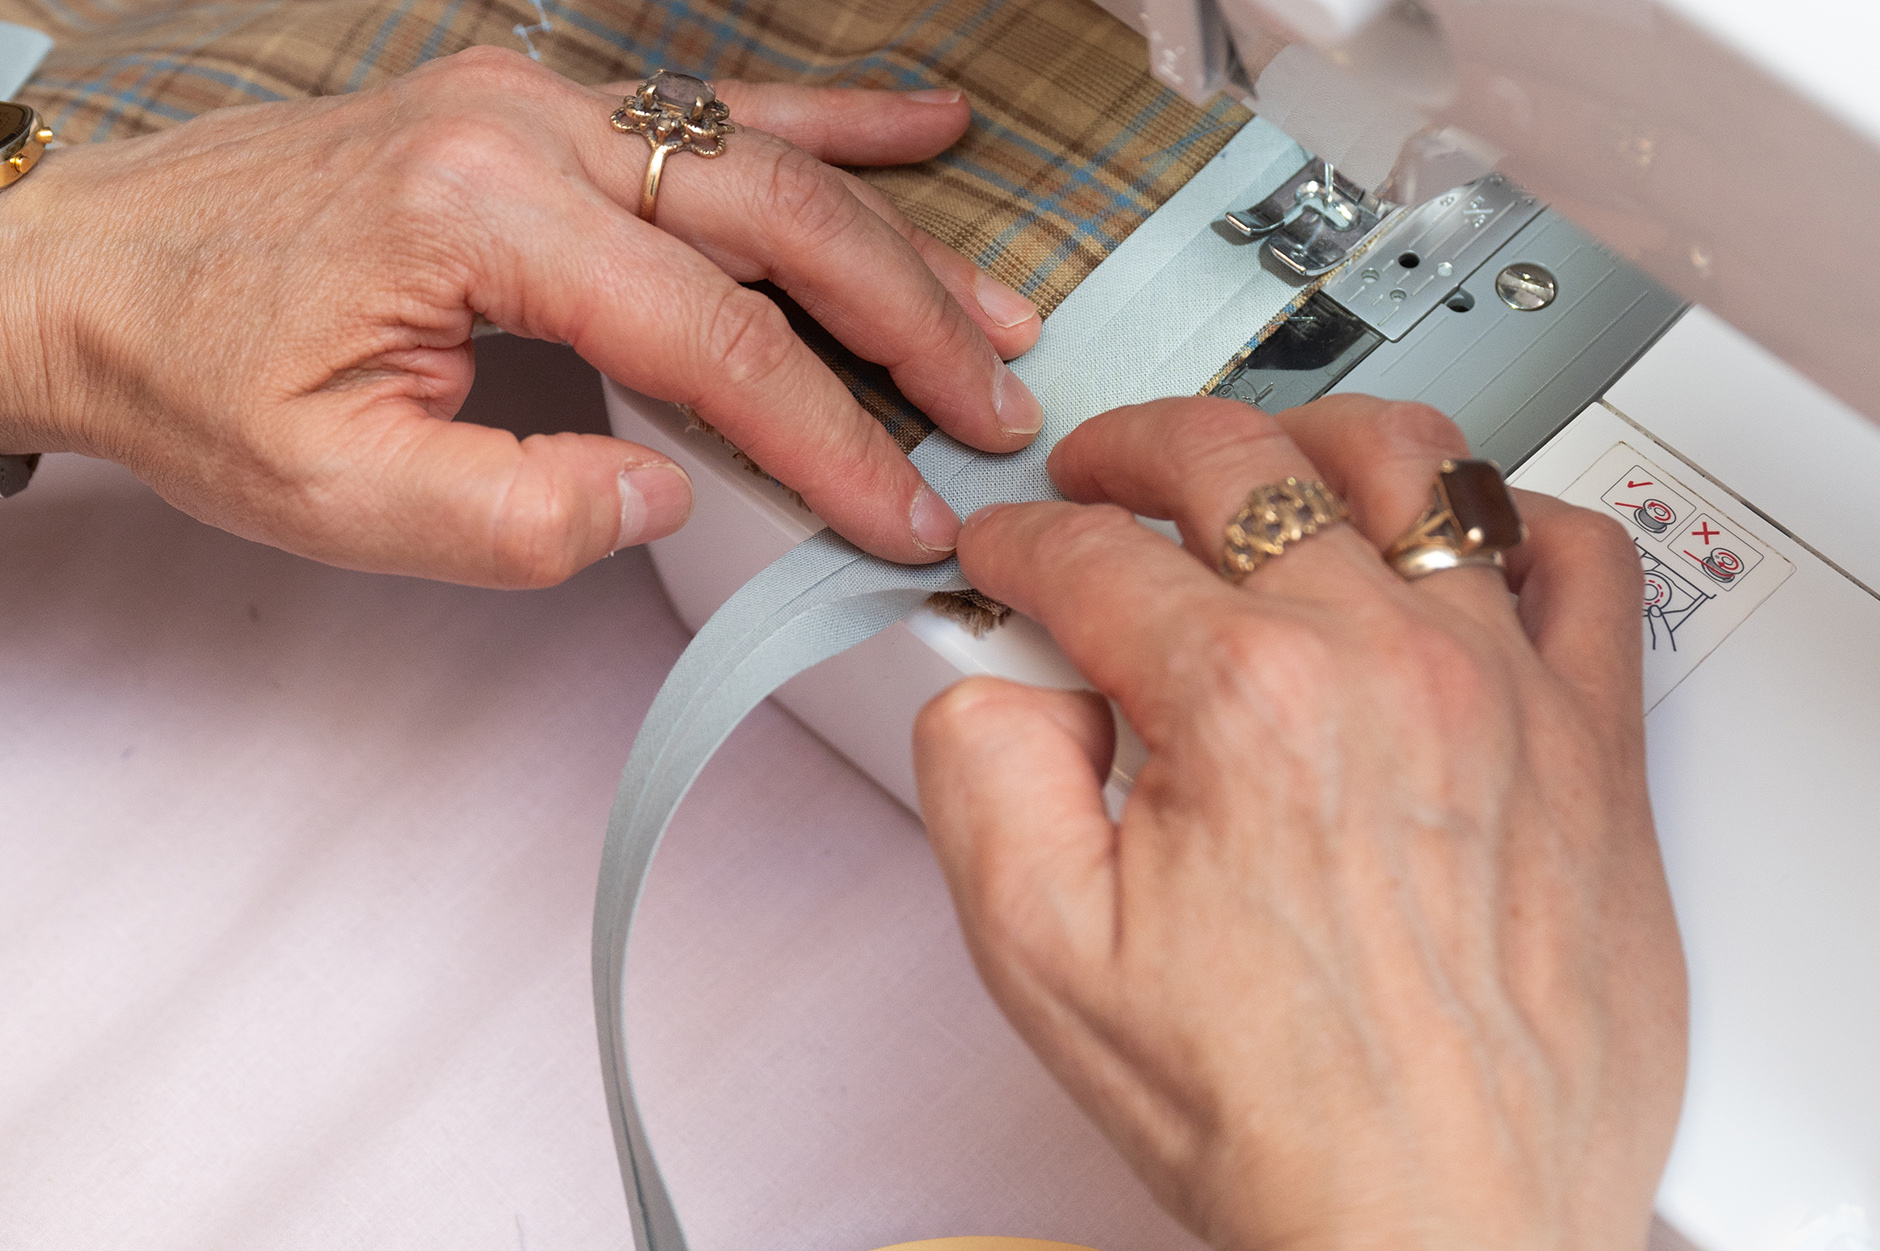
  • Turn over the tape and open up one of the folded sides, lining up in the centre (rather than starting in  corner, as to give a consistent finish) of one of the outer edges of the pouch. Fold over the start of the tape inwards (to avoid a cut/raw edge) pin or clip some of the tape in position ( I find it easier to move the pins or clips around in small sections as I stitch)
  • Decide which side of the pouch you want to start on, the second step of folding over and stitching down will have visible stitching.
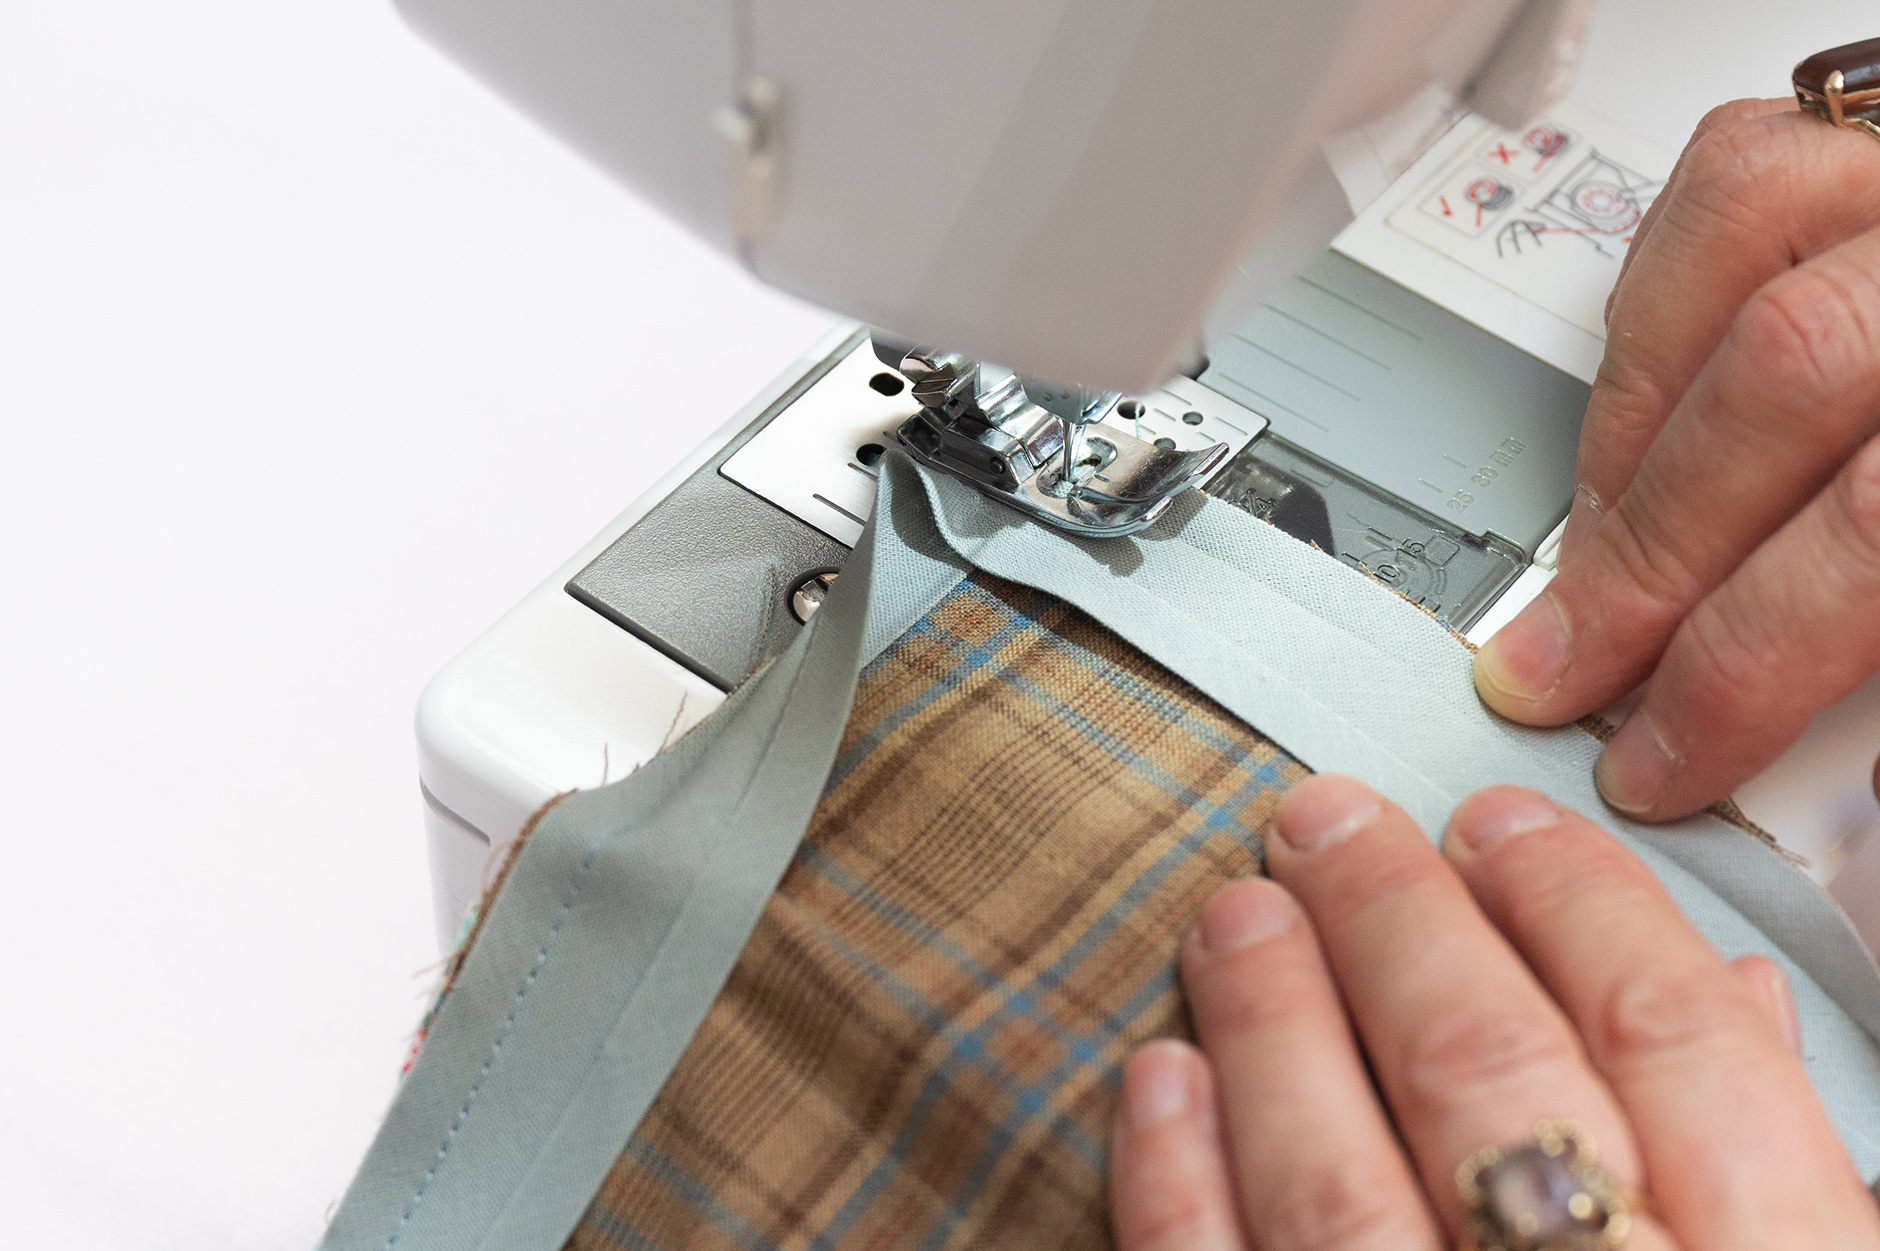
  • Using the standard ‘J’ foot, line up your needle with the ‘fold line’. Stitch along this crease line (remembering to reverse/lock stitch at the beginning and end of the join)
  • Corners! Ensure you don’t stitch to all the way to the edge, but pivot before the corner, the same distance as the crease line to set yourself up for the next side. Make sure the binding is pushed away as to not accidentally catch when stitching.
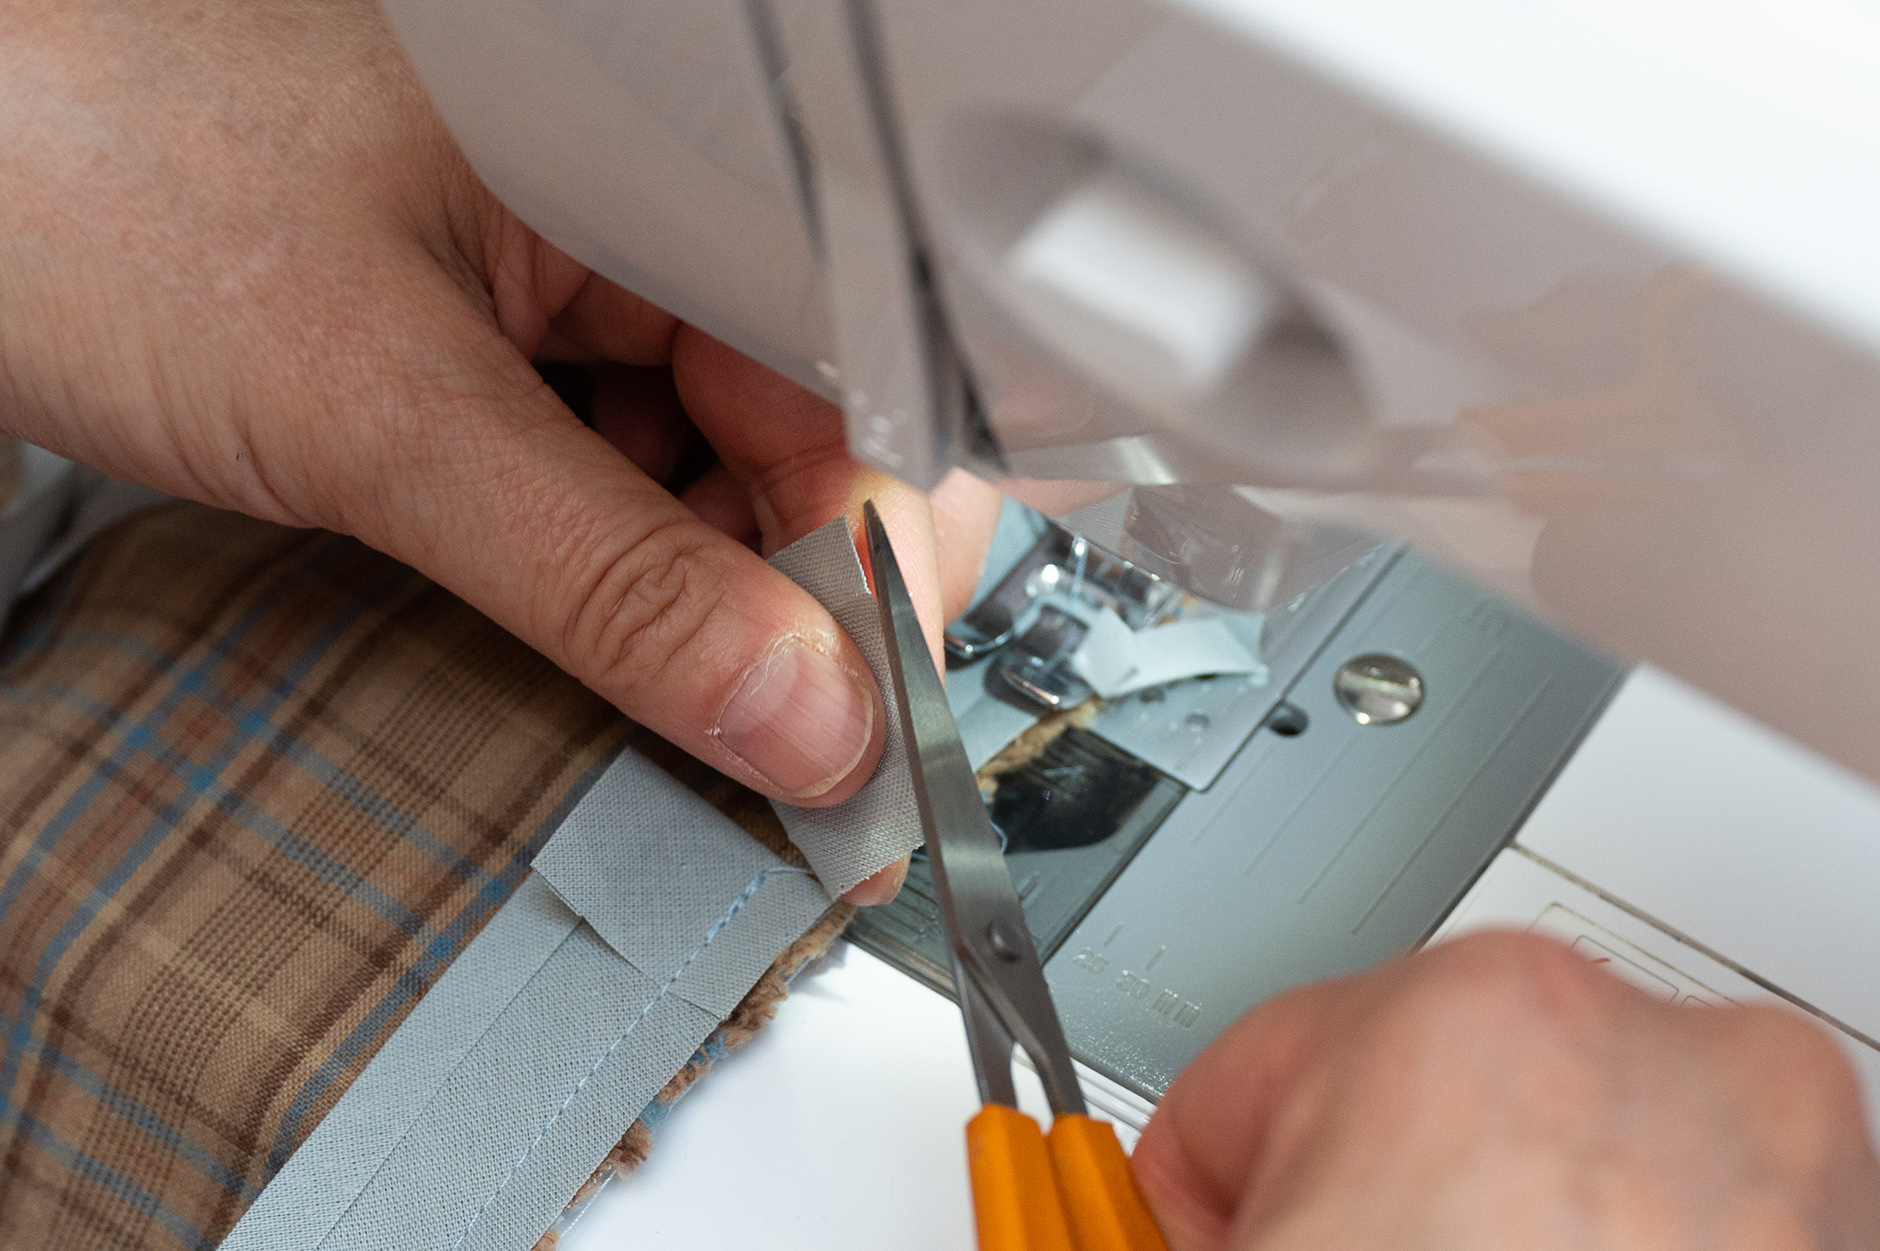
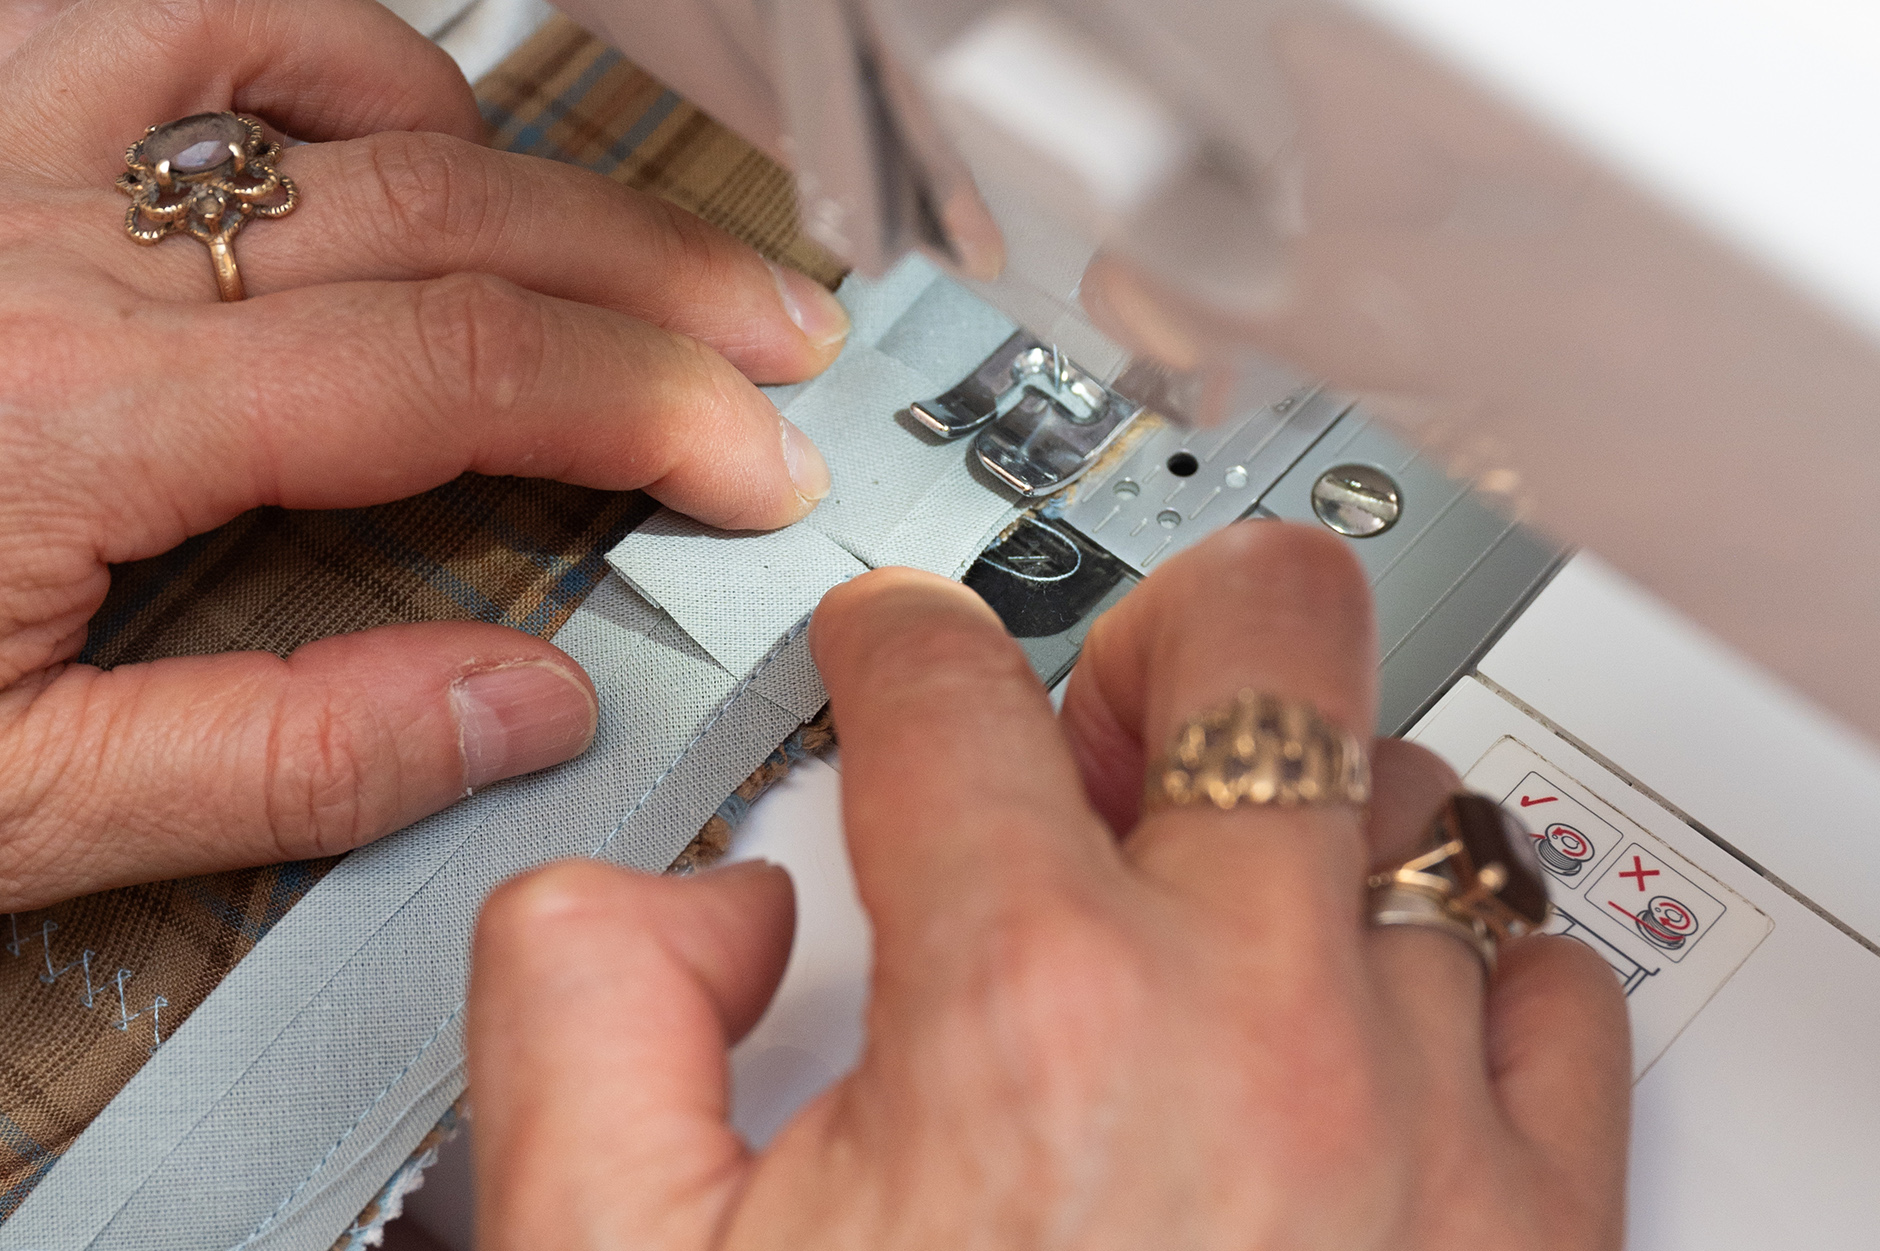
  • Once you’ve attached the binding to all 4 sides and you are nearing where you started, cut the tape with enough to fold back on itself and butting up next to the starting fold.

Version 2: Getting a neat finish to the bias binding (“Beginners Sewing 2” Weekend Class)

  • Carefully peel back the binding and trim away any extra fabric in the corners and other sides to remove bulky bits and get nice sharp edges once turned through. Be Careful! not to accidentally snip too close or into the bias binding tape!
  • Fold the binding over to the other side of the pouch, keeping the 2nd folded edge closed this time.
  • Iron into position, using your first line of bias binding stitching as your guide. You want to just about cover the stitching, allowing the binding to sit evenly on both sides of the pouch. Round the corners or add a small pleat to shape.
  • Pin or clip small sections (as you go) of the binding in position. Move needle to the left position and line up the edge of the binding with the inside left side of the presser foot, so that your stitching is close to the edge of the binding – much like stitching a hem (again if your machine only has a centre needle position, you will need to adjust your binding/fabric accordingly)
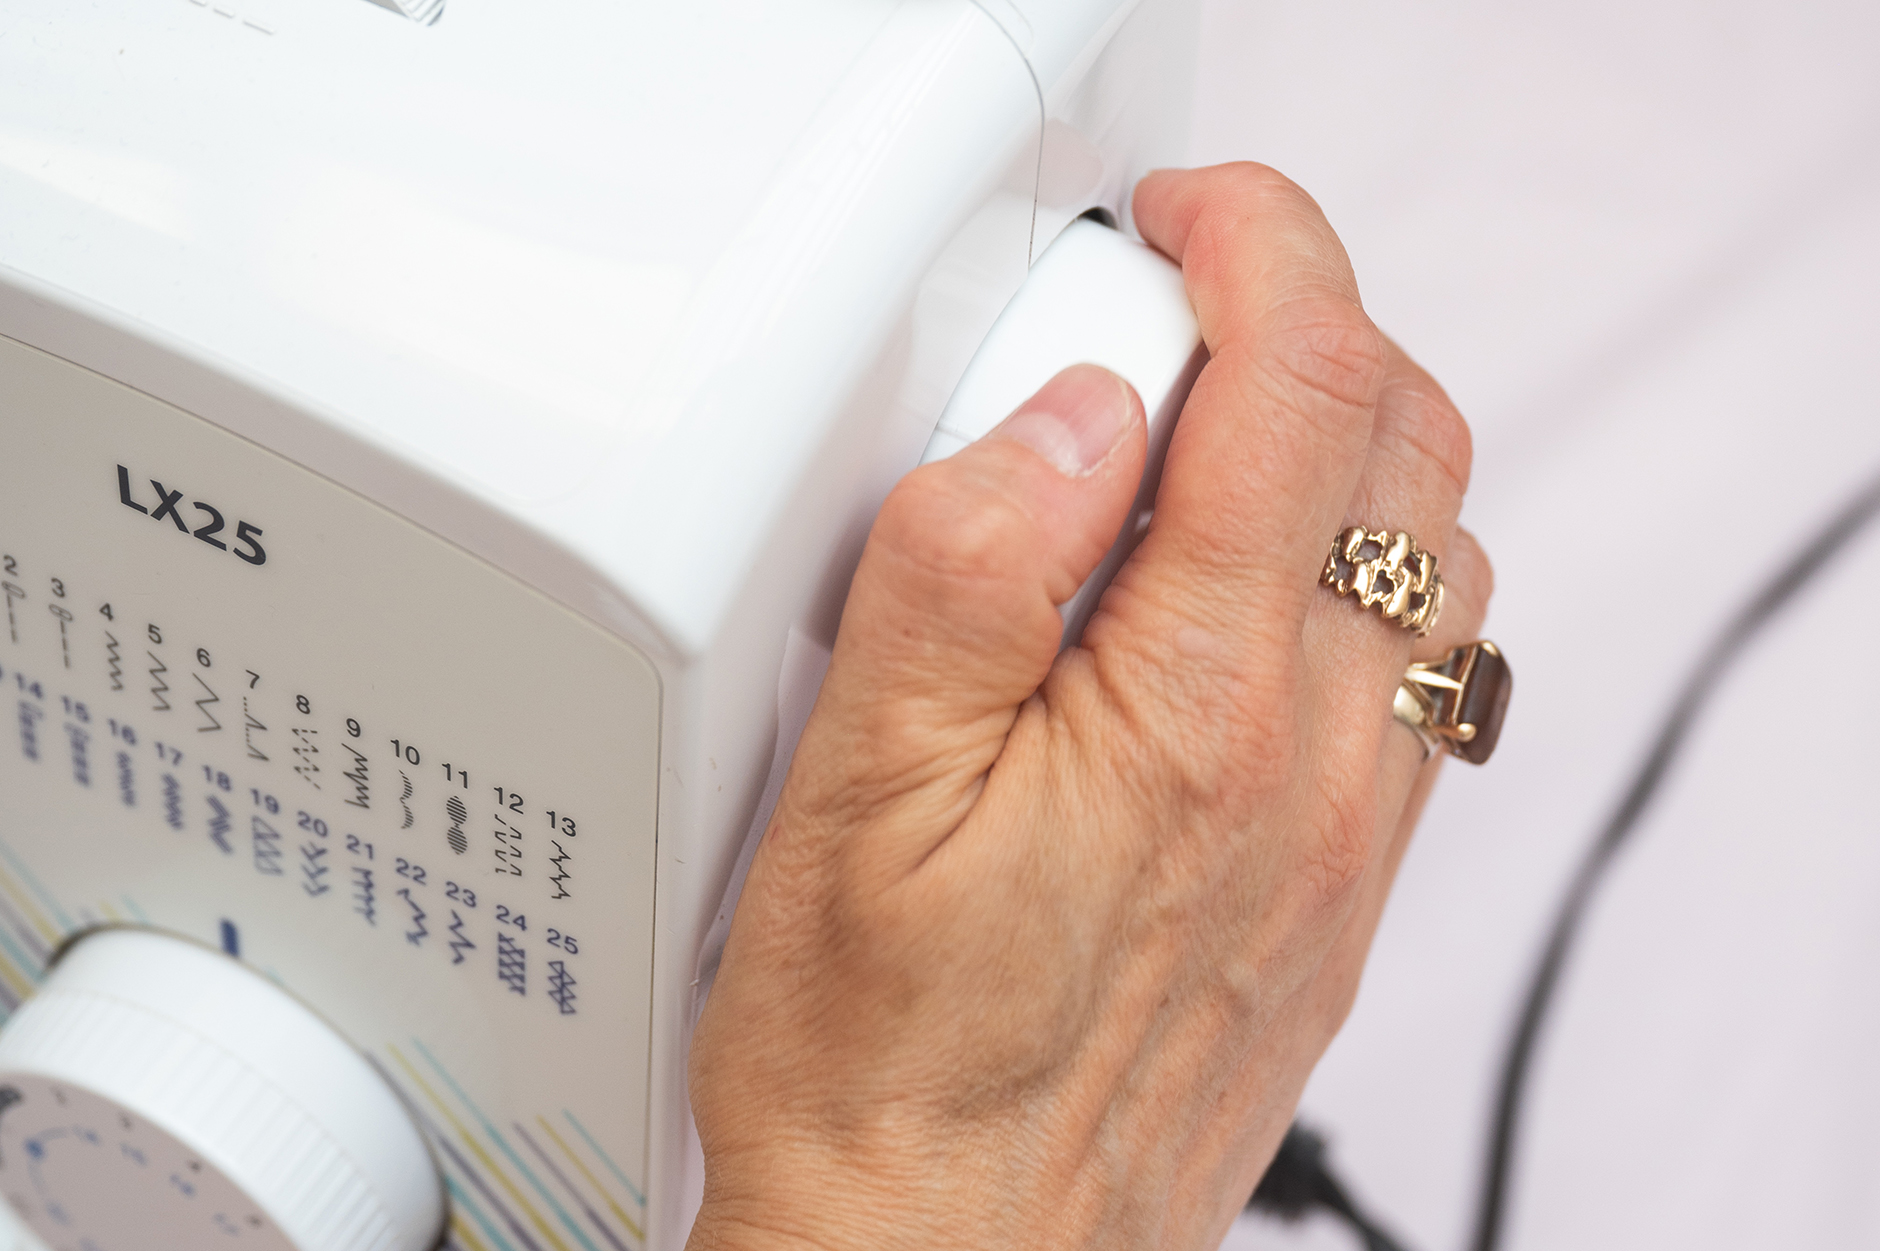
  • Stitch slowly and incrementally! In the corners use the hand wheel to manually stitch to get an even finish!

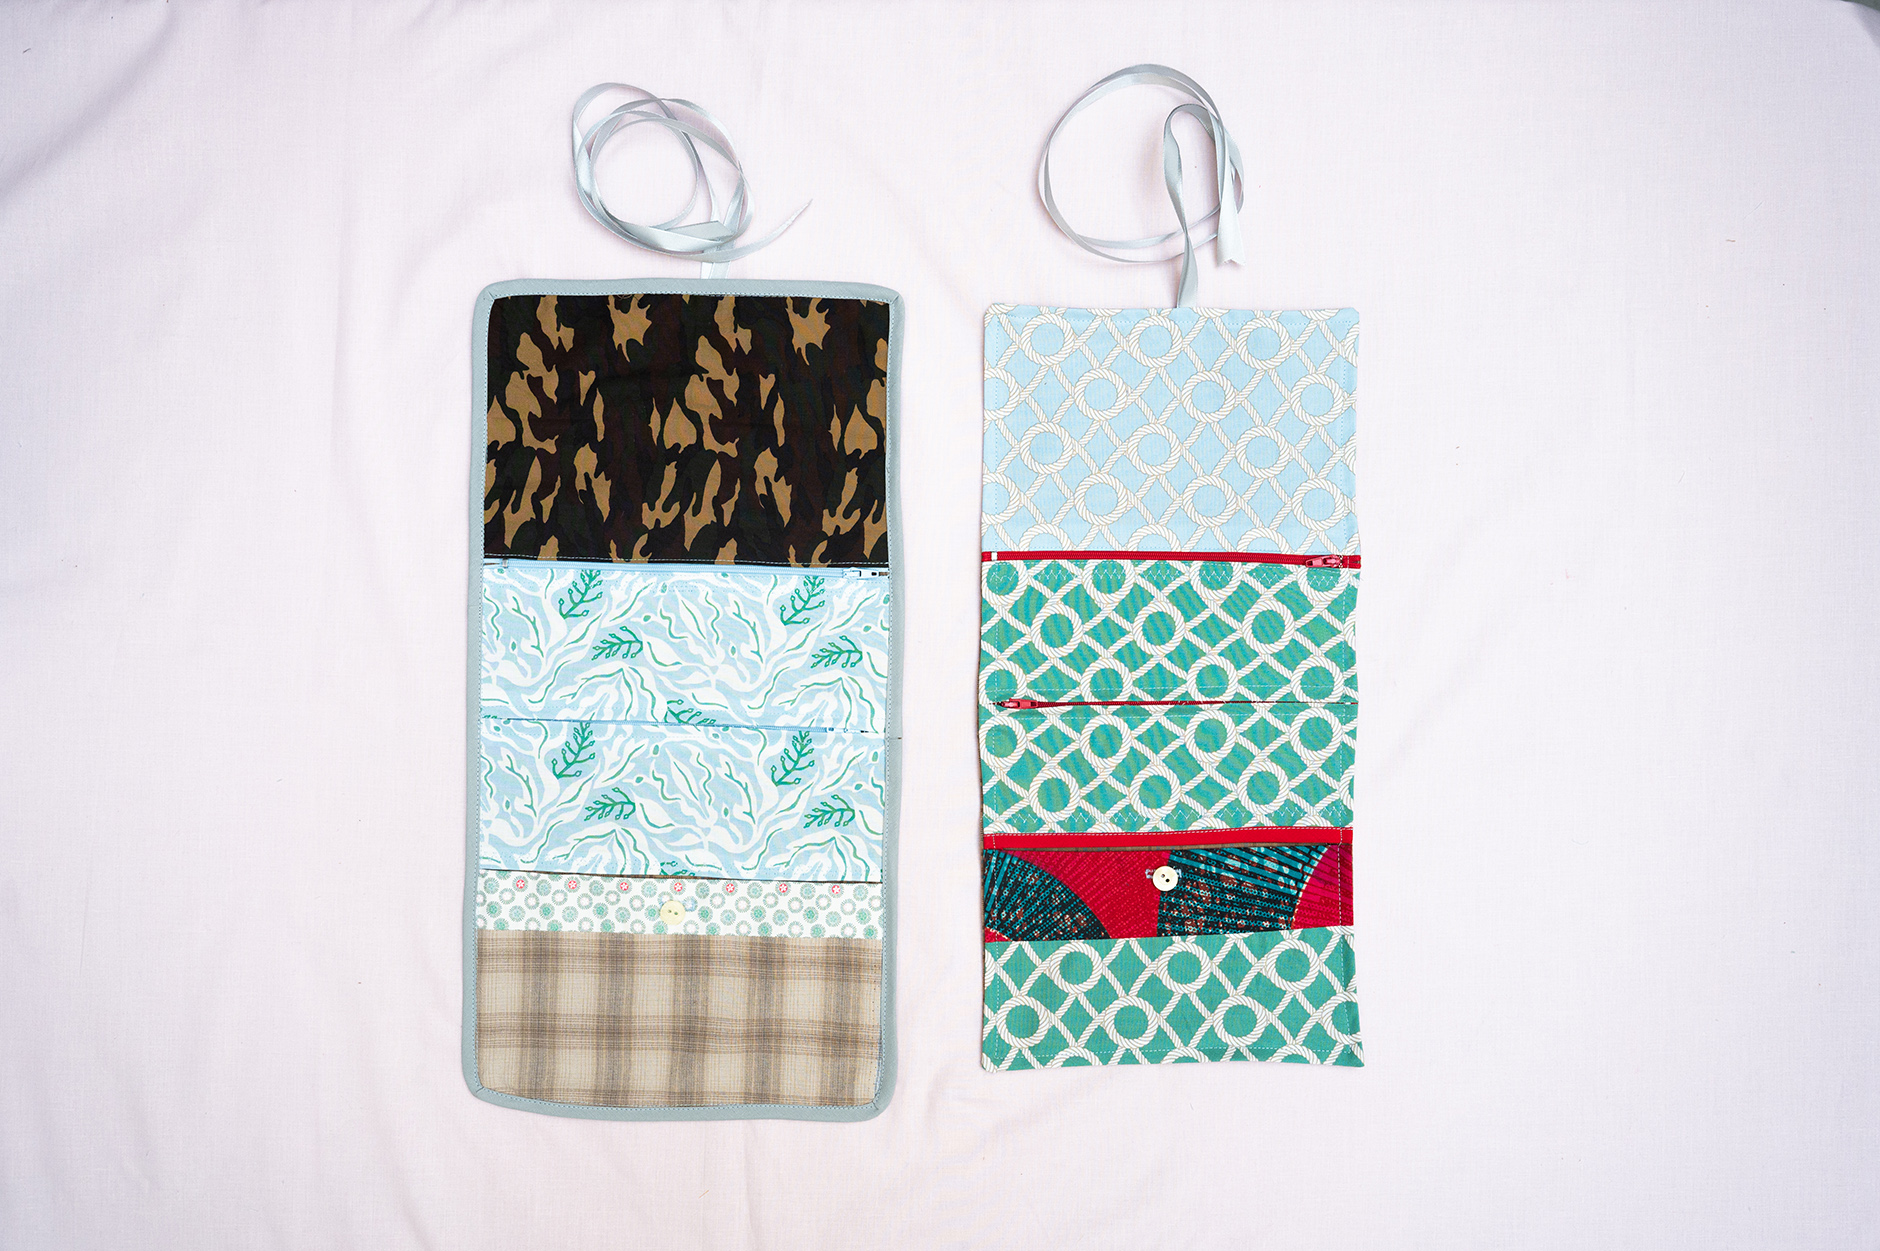
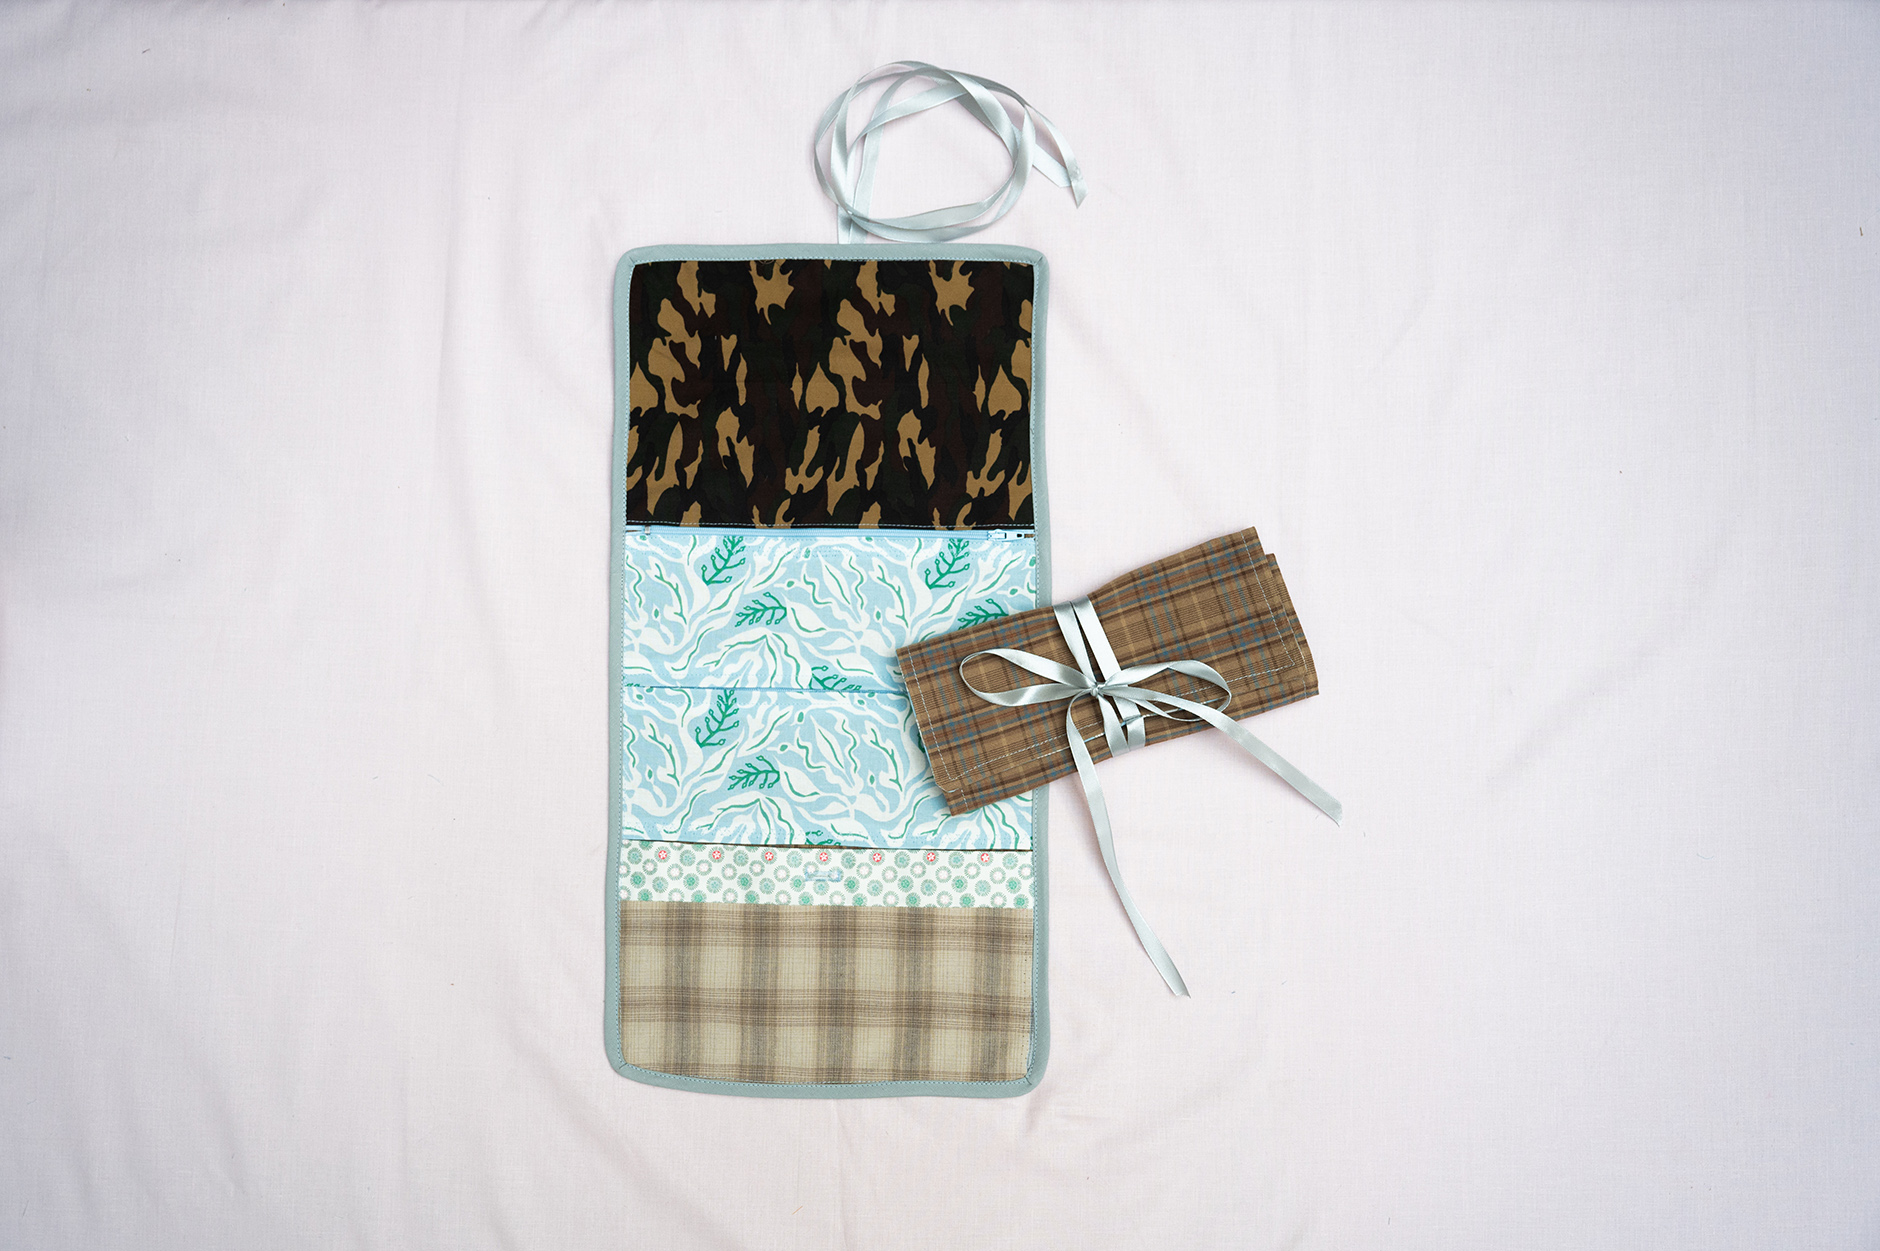
TA-DA! The completed utility pouches! (Version 1 & 2)

Keep on stitching and being creative! With every make, we learn something new, get more confident and refine our skills.

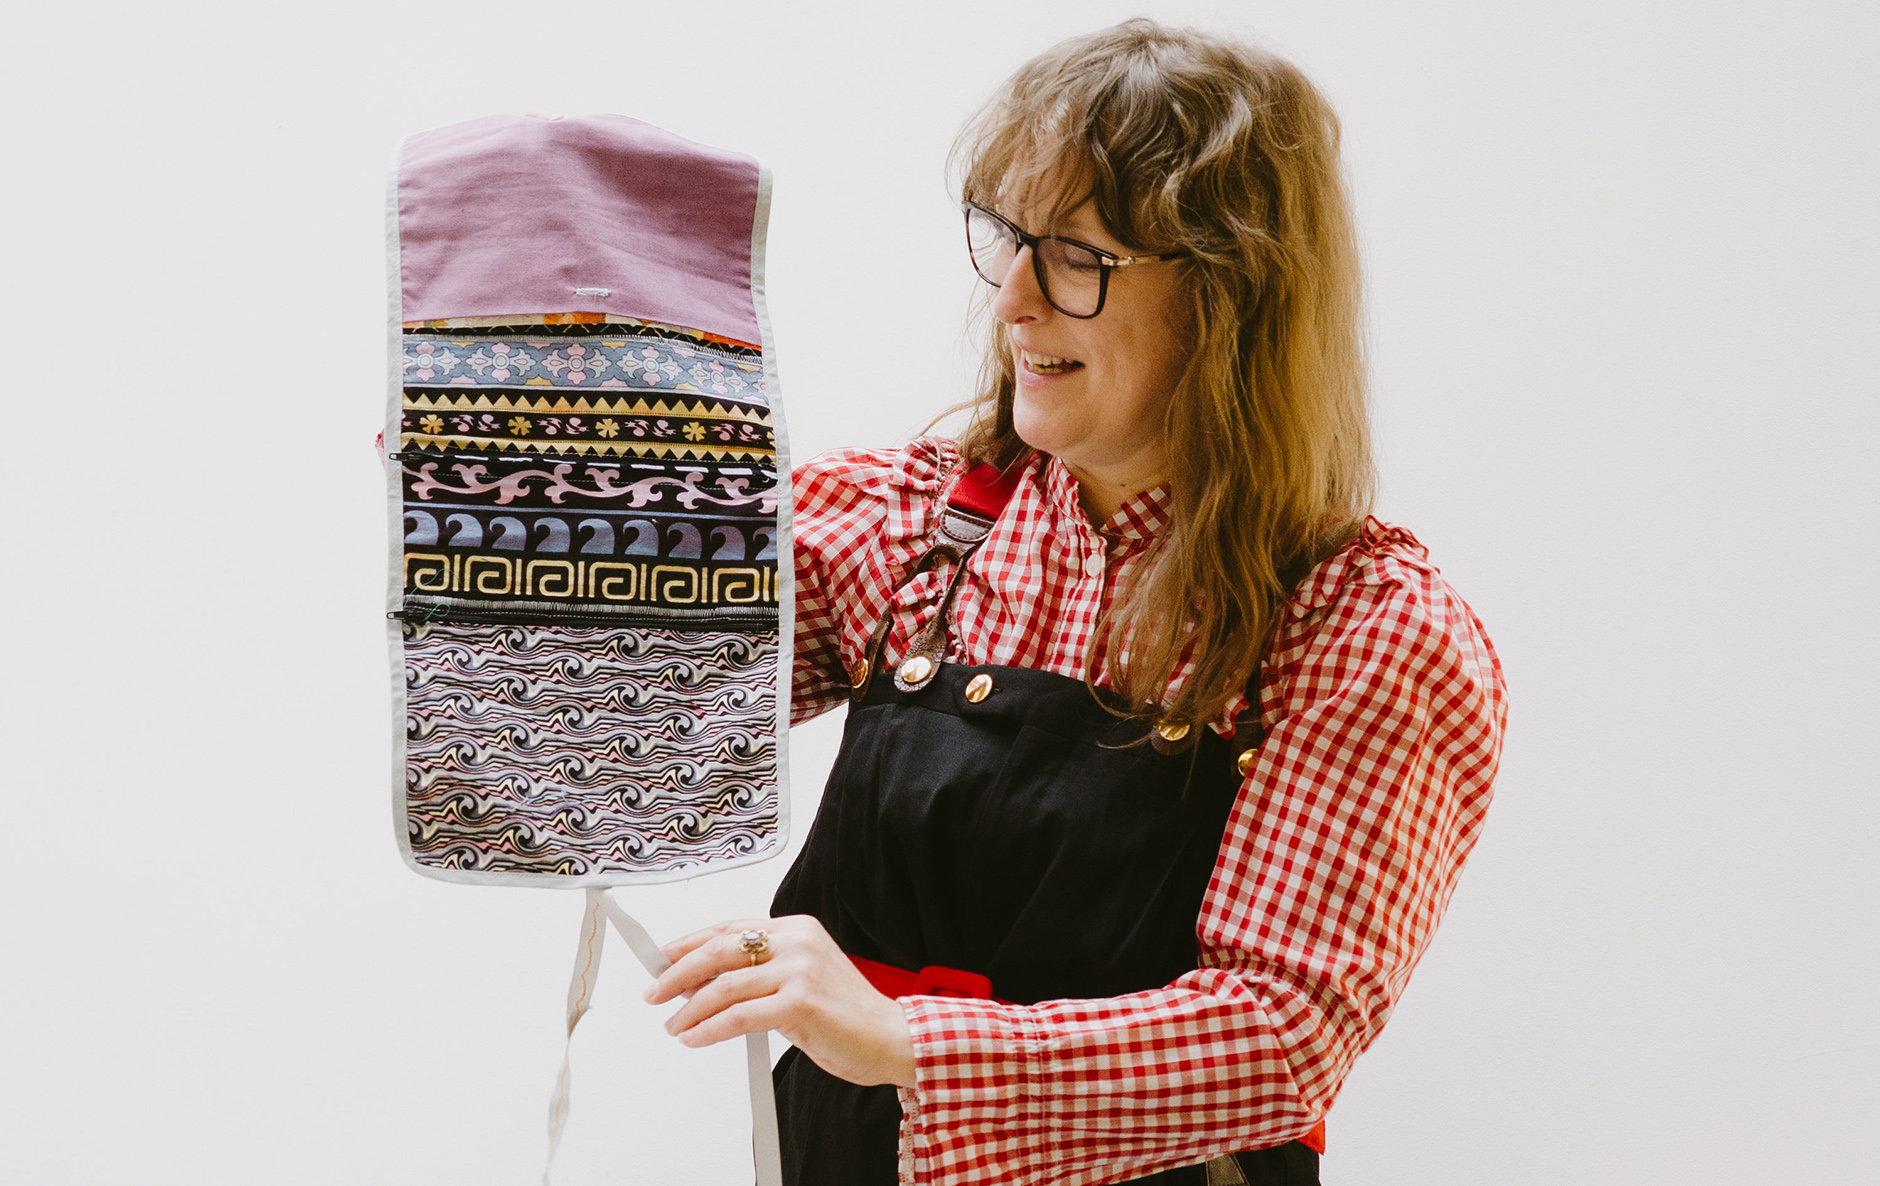
With gratitude to photographer Karolina Wielocha for bringing this after care tutorial to life!

Hope to see you at Fabrications again! Barley X

X